Quick Links
The Linuxrsynccommand is a powerful file copying and folder synchronization tool.
Here are ten common use-cases that you’ll be able to put to good use on your own systems.
The rsync Tool
Thersynctool copies files and directories between two computers.

fatmawati achmad zaenuri/Shutterstock.com
These files are transmitted to the destination computer.
To support all this functionality,rsynchas many options and figuring them all out takes time.
We’ve collected these 10 examples to help you get started.

We’ve already written about doing backups withrsync, so we’re concentrating on other uses here.
For all of its many options, the structure of anrsynccommand is simple.
We need to provide the source, the destination, and the options we want to use.
Copy Files to a Different Directory
Here’s a simple example to get us going.
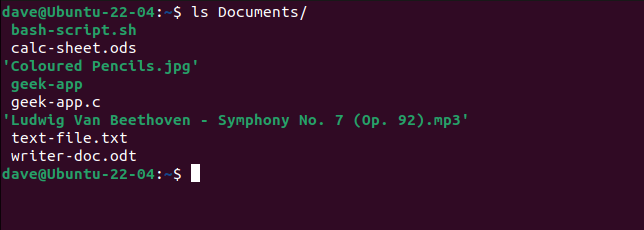
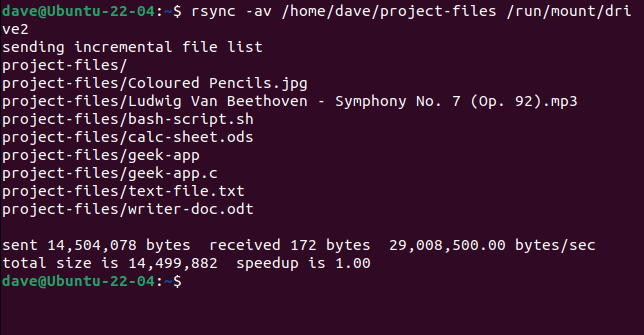
We’re going to copy the files from the “project-files” directory to the “Documents” directory.
We’re using two options, the-a(archive) option and the-v(verbose) option.
The verbose option tellsrsyncto explain what its doing as it does it.
The
option preserves file ownership and some other items we’ll look at shortly.
The format of the command is
.
Usinglson “Documents” folder shows the files have been copied.
Whilersyncis working, the files are listed as they’re copied.
We’re told:
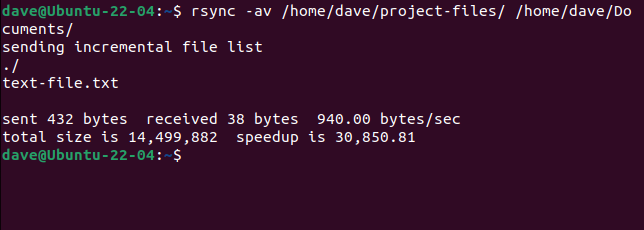
We modified the text file in the source directory and repeated thersynccommand.
This time the only file that needs to be updated is the text file we modified.
The speedup figure is now 30,850.
The-a(archive) option actually represents a collection of other options.
It tellsrsyncto copy the contents of the directory.
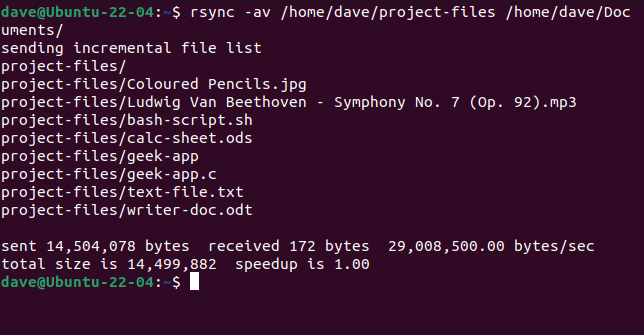
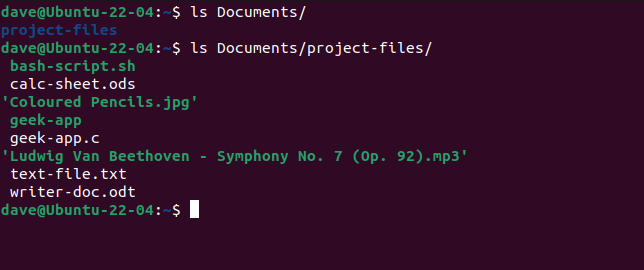
If you don’t provide the trailing forward slash,rsyncwill copy the directory and its contents.
This time the directory name is added to the file name as they are listed.

If that drive gives up the ghost, you’ve lost the source and destination copies of those files.
Copying them to another hard drive is a much more robust way to protect your data.
All we need to do is provide the correct path to the destination drive.

Looking at the other hard drive shows us the directory and files were copied over to it.
Related:What to Do When Your Hard Drive Fails
4.
It reports on what would have happened if the command had been executed.
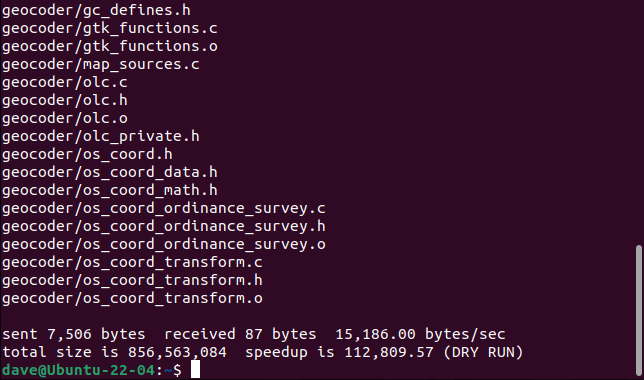
This way, we can see to it that the command does exactly what we expect.
To force a dry run we use the–dry-runoption.
This means the destination directory will be an exact copy of the source directory.
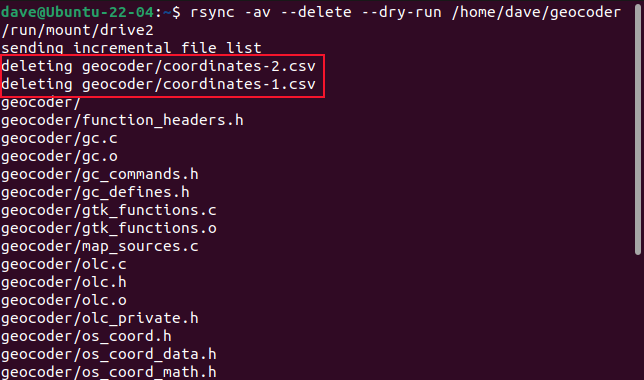
We’ll be prudent and use the–dry-runoption first.
We’re informed that two files will be deleted.
This time the contents of the directories are synchronized and the two extra files are deleted.

If the transfer wasn’t successful, the source files are not deleted.
The option we need to use is–remove-source-files.
Note that the files can be deleted even if no files are transferred.

Also,rsynconly deletes the files from the source directory.
It doesn’t delete the source directory nor any sub-directories, just the files in them.
We can see this by using the-R(recursive) option withls, on the source directory.
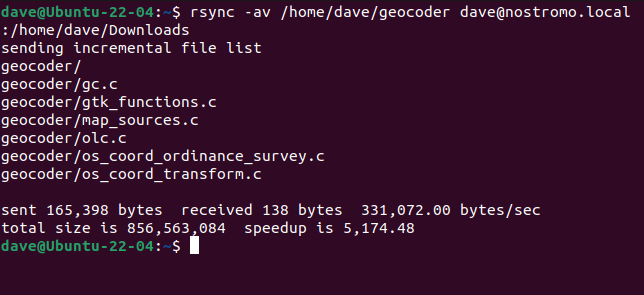
Set up SSH communication between the two computers before you attempt to usersyncto the remote computer.
If you jump in with a password,rsyncwill prompt you for the password.
If you use SSH keys to log, in the process is seamless.
On our test web connection, these two commands are equivalent.
We get the same information reported to us as we do when we’re copying files locally.
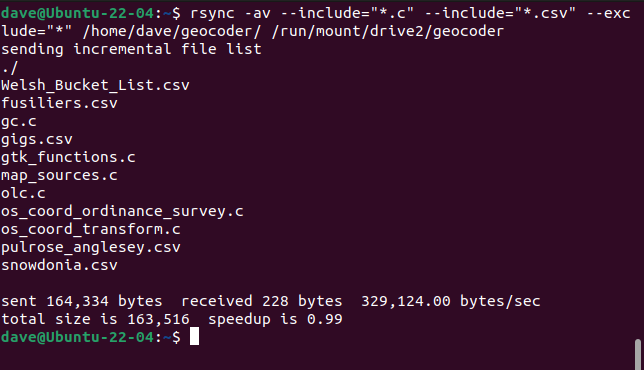
You canexclude themusing the–excludeoption.

In a similar way, you could choose to include specific files and directories with the–includeoption.
To only copy your included files you have to–excludeeverything else.
Also, see to it you have a trailing forward slash on your source file path.

This command copies only C source code files andCSV data filesto the destination computer.
The only files copied are the ones we specifically included.
Compress Files in Transfer
The-z(compress) option causesrsyncto compress the transferred files.
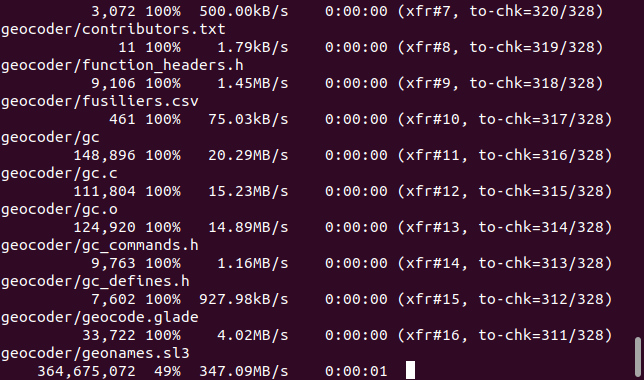
This can speed up lengthy transfers.
The-P(partial, progress) option actually adds two options,–partialand–progress.
The–partialoption tellsrsyncto keep partially transferred files if a transfer fails.

This saves time when the transfer is restarted.
The output scrolls past pretty quickly, and it is difficult to read.
you’re able to improve things slightly by removing the-v(verbose) option from the command.
Even then it is still difficult to read as it whizzes by.
It is often more useful to monitor the progress of the overall transfer.
This gives a progress report that is actually useful.
For many use-cases, that’s all you need.
Get comfortable with that and the rest will come easily.
Related:The Non-Beginner’s Guide to Syncing Data with Rsync
