All you should probably do is create a bootable Ubuntu USB drive, also called a live disk.
So, let’s do it!
First, Download the Ubuntu ISO
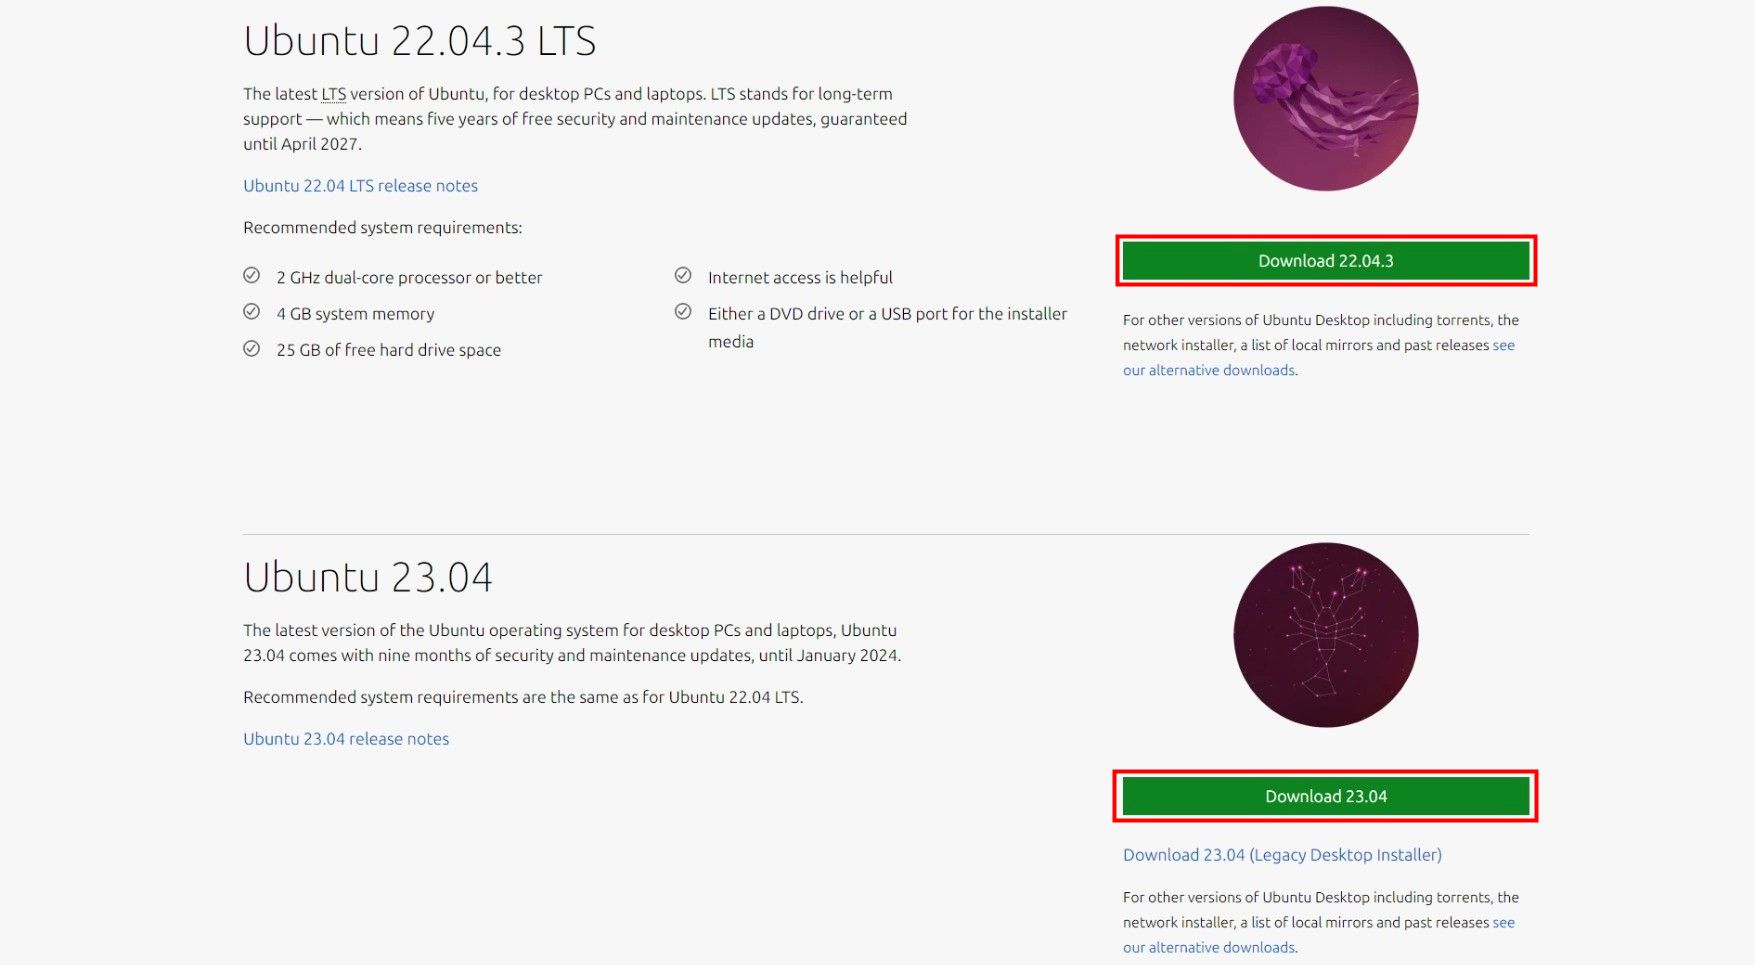
The first step is downloading the ISO image fromUbuntu’s website.
Jordan Gloor / How-To Geek
On that page, you better choose which Ubuntu version you want.
The ISO file is considerably large, around 5GB, so it may take some time to complete.
An ISO file is called a “disk image”.
Simply put, it’s like compressing everything in a hard drive into a single file.
We have three options: balenaEtcher, Rufus, and Ventoy.
It has an installable version and a portable one that runs directly from the EXE file.
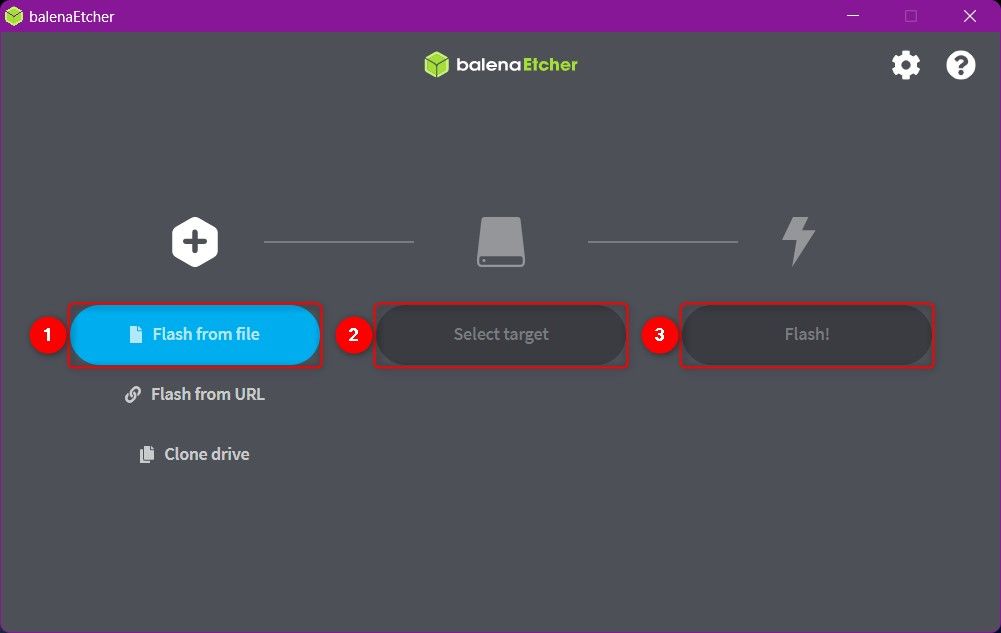
After opening balenaEtcher, select “Flash From File” and navigate to the downloaded file’s location.
Then, choose your USB drive on “Selected Target”.
The app usually hides your rig’s disks, listing only removable ones.
Then, punch “Flash!”
You might be prompted torun the app as administrator.
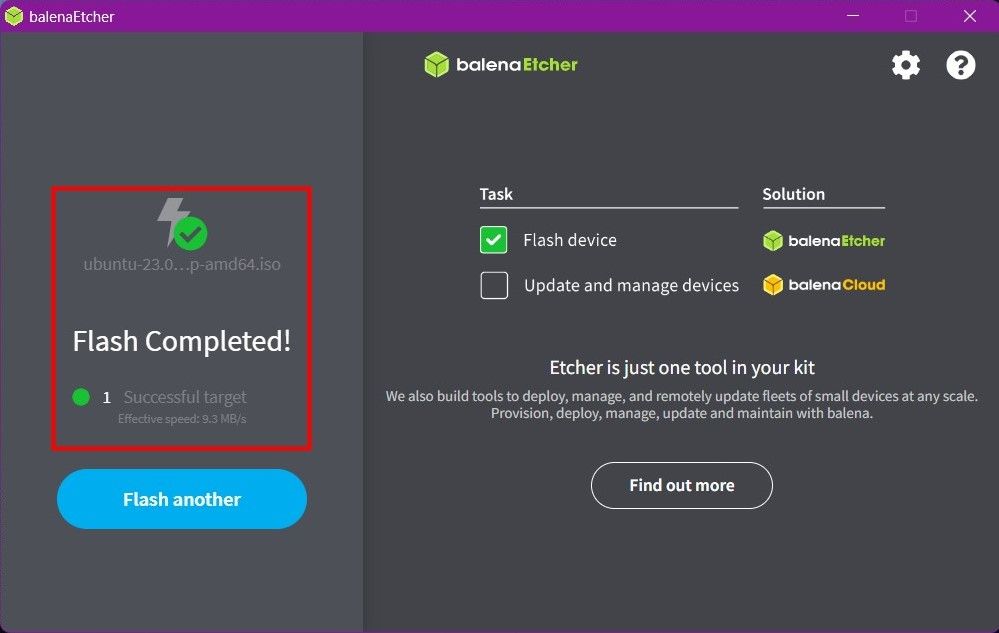
When you see the “Flash Completed” prompt, it’s done.
However, with its optional features, it may seem more complex than it is.
To begin,download Rufusagain, there are installable and portable versions, but both are very small downloads.
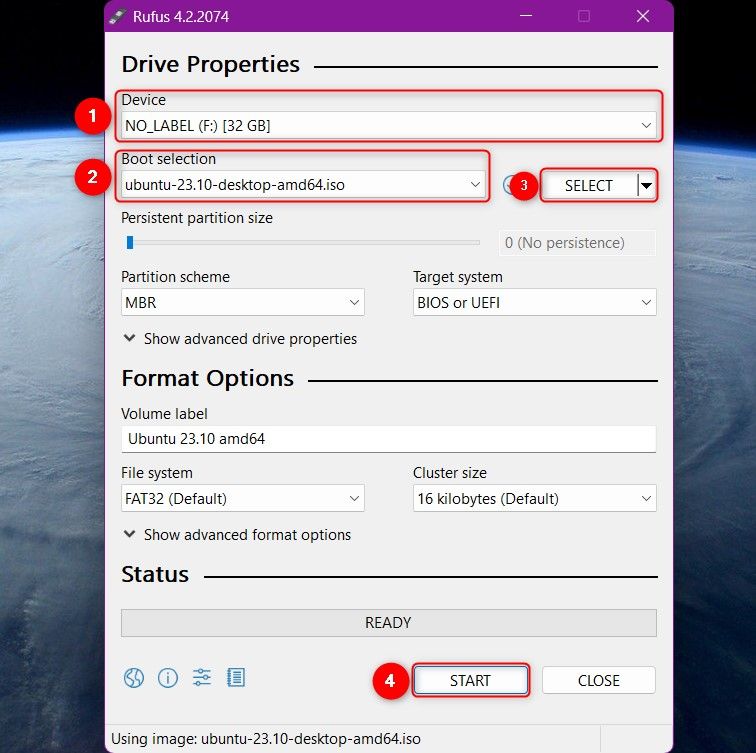
Rufus opens with a small window showing a few options.
There’s no need to worry about most of them.
After that, poke the “Start” button at the bottom of the window.
Rufus will give you a few warnings.
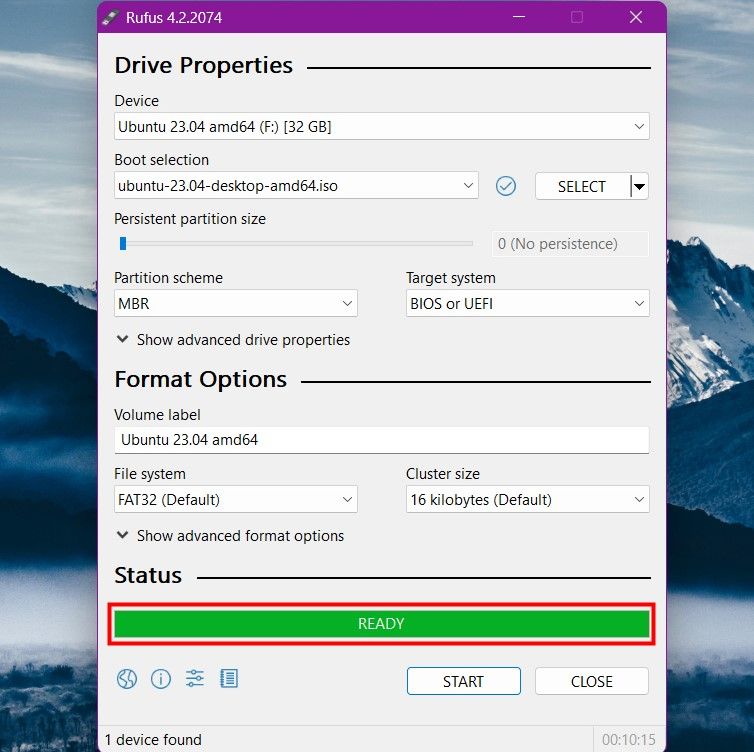
When the progress bar (highlighted in red) finishes, the process is done.
Option 3: Install Ubuntu From Windows With Ventoy
Ventoy works differently from the previous tools.
Ventoy, on the other hand, is like a micro-sized OS.
You flash Ventoy on the USB stick and then copy the whole Ubuntu ISO file to the thumb drive.
The advantage is that, in this case, you’re not limited to a single disk image.
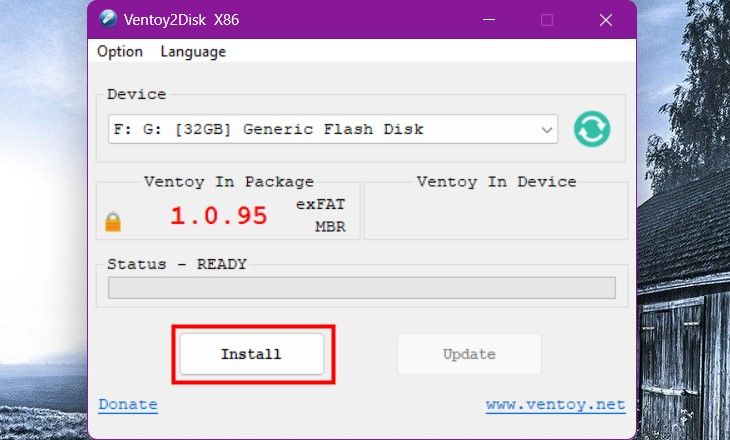
That also means Ventoy’s interface is simpler than the one in Rufus or balenaEtcher.

Select your desired USB drive and click “Install”.
Since Ventoy is a very lightweight tool, this should take less than a minute.
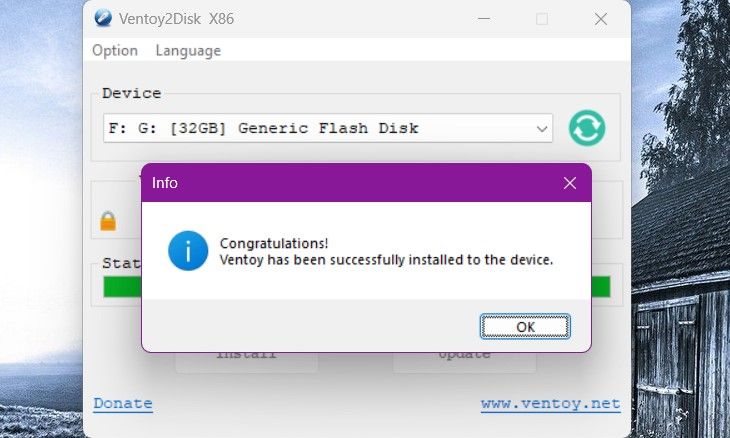
Then, a new partition (aptly named Ventoy) will be created on the USB stick.
Copy your Ubuntu ISO file to that partition and we’re good to go.
You’ll probably need todisable a setting called Secure Bootin theEFI configs/BIOS menu, too.
