The first step is tocustomize and use the stylesoffered by Word.
This is the main look of your document and will dictate much of what is presented and how.
The “Styles” can be found in the “Home” tab.
Format the headings and the normal text to however you want them to look through the styles.
Right-hit a style in the “Styles” group and click “Modify” to alter their parameters.
We’d recommend the following modifications:
Use Word’s Format Painterto save time.

Use the same method for the other styles in your document.
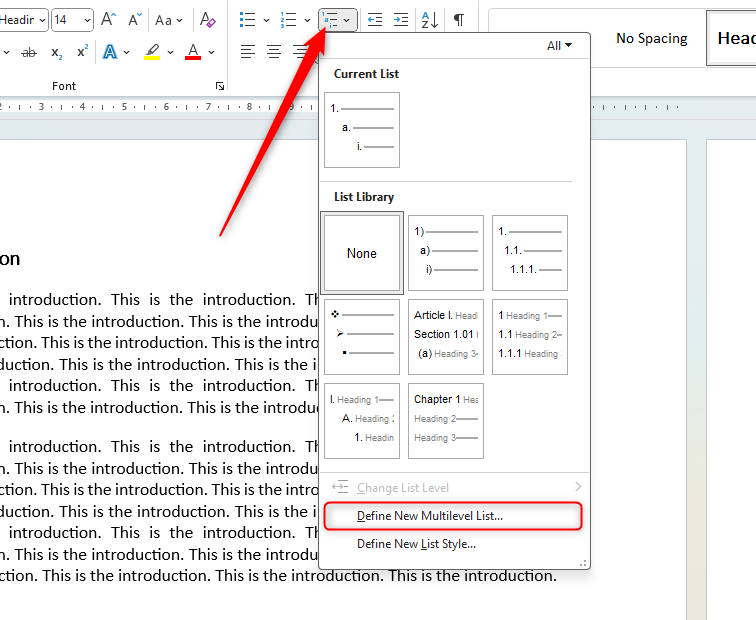
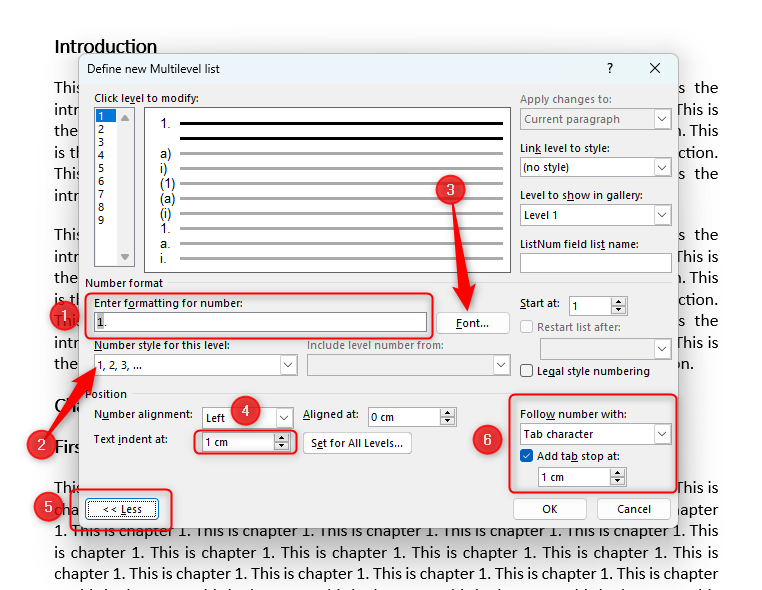
Click your first heading and hit the “Multilevel List” icon.
Next, click “Define New Multilevel List”.
In the dialog box that opens, change your prefs to how you would like them to be.
When you have finished this step, click “OK”.
Your first header will now be correctly formatted.
Usethe Format Painterto apply the multilevel list to the other level 1 headings in your document.
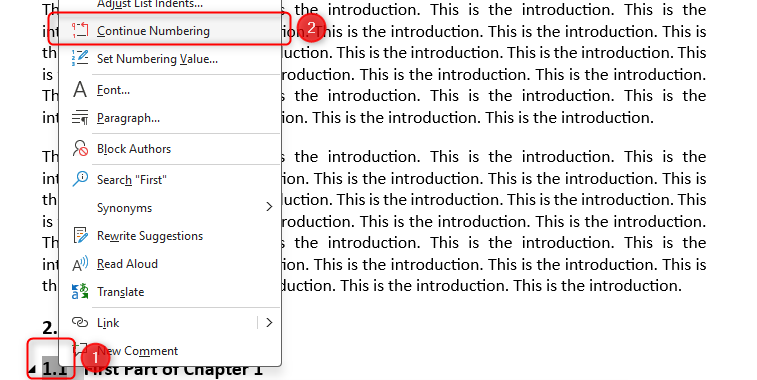
If your level 2 numbering isn’t accurate, right-smack the number and click “Continue Numbering”.
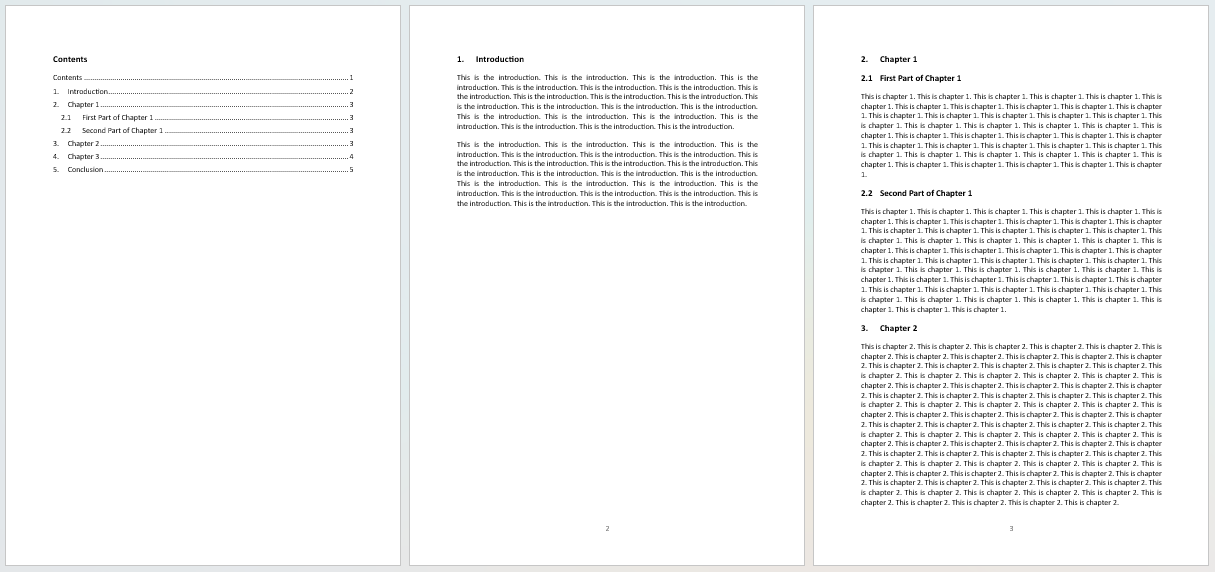
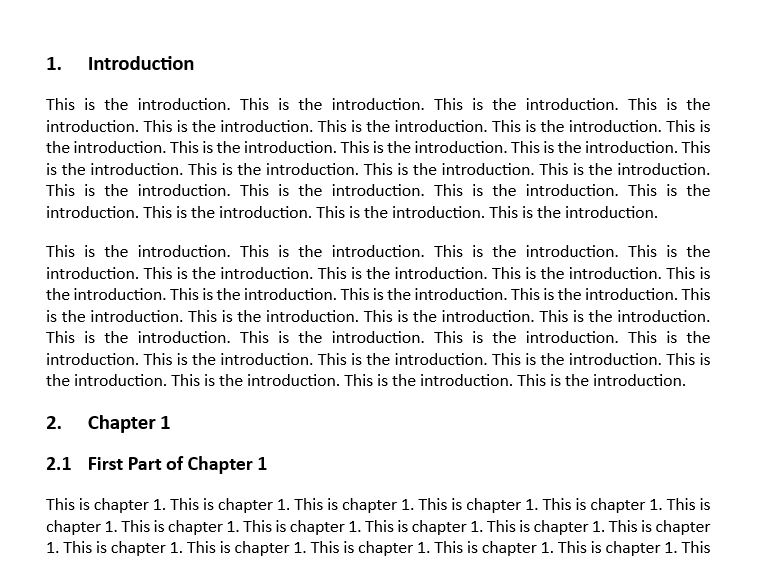
Here’s what our document looks like after adding styles and creating the multi-level list.
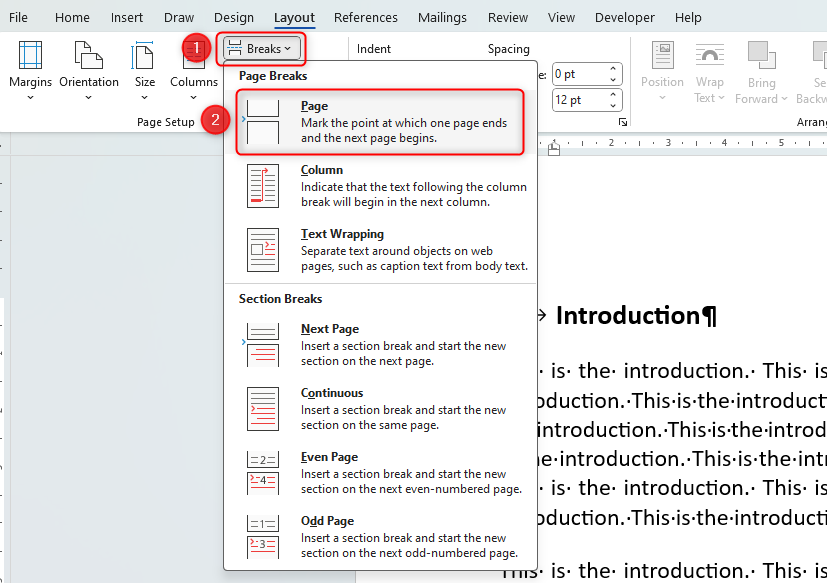
Click before the heading of your second section (where you want the break to appear).
Then, in the Layout tab in the ribbon, click “Breaks” in the Page Setup group.
Finally, click “Page” in the drop-down options that appear.
You will see that the introduction is now separated from the next section in your document.
If your multilevel list numbering disappears after the page break, use the Format Painter to fix it.
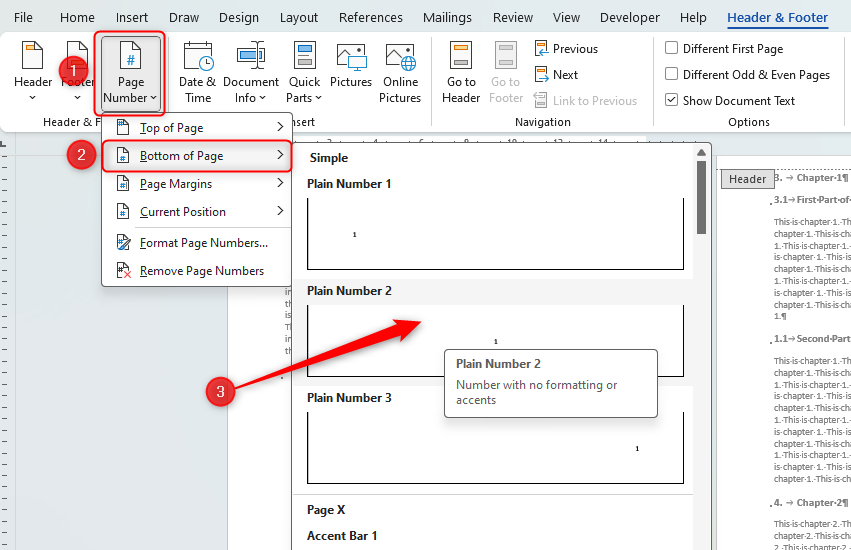
Double-click in the footer area of any page in your document.
This will add page numbers to the bottom of our page, centrally aligned.
If you’d prefer, you canmake the page numbering not appear on the first pageof your document.
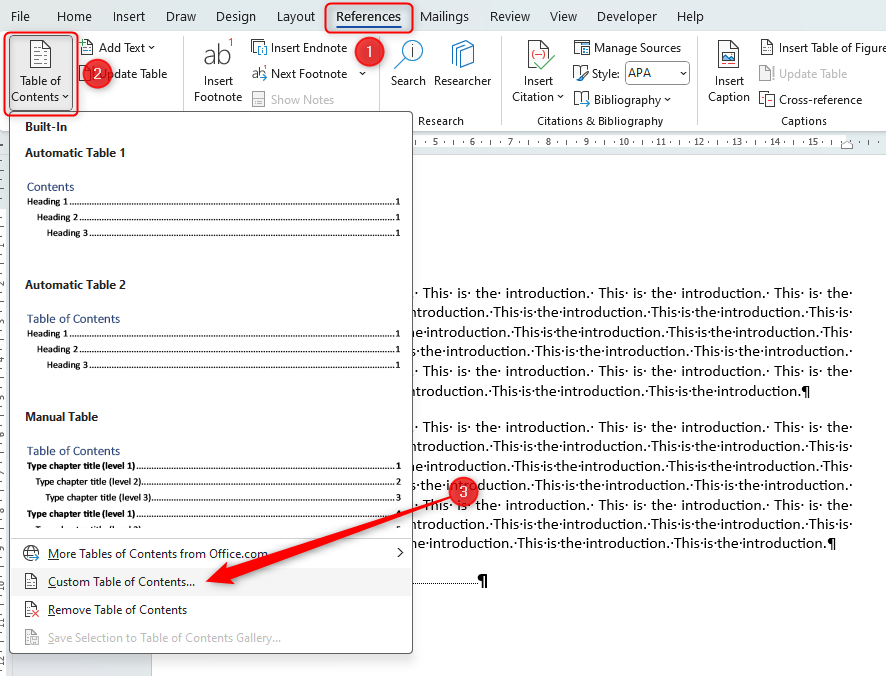
You should also add another page break after the contents to separate this from your introduction.