Here are five tried and tested techniques.
This is easy to do, but fairly limited in scope.
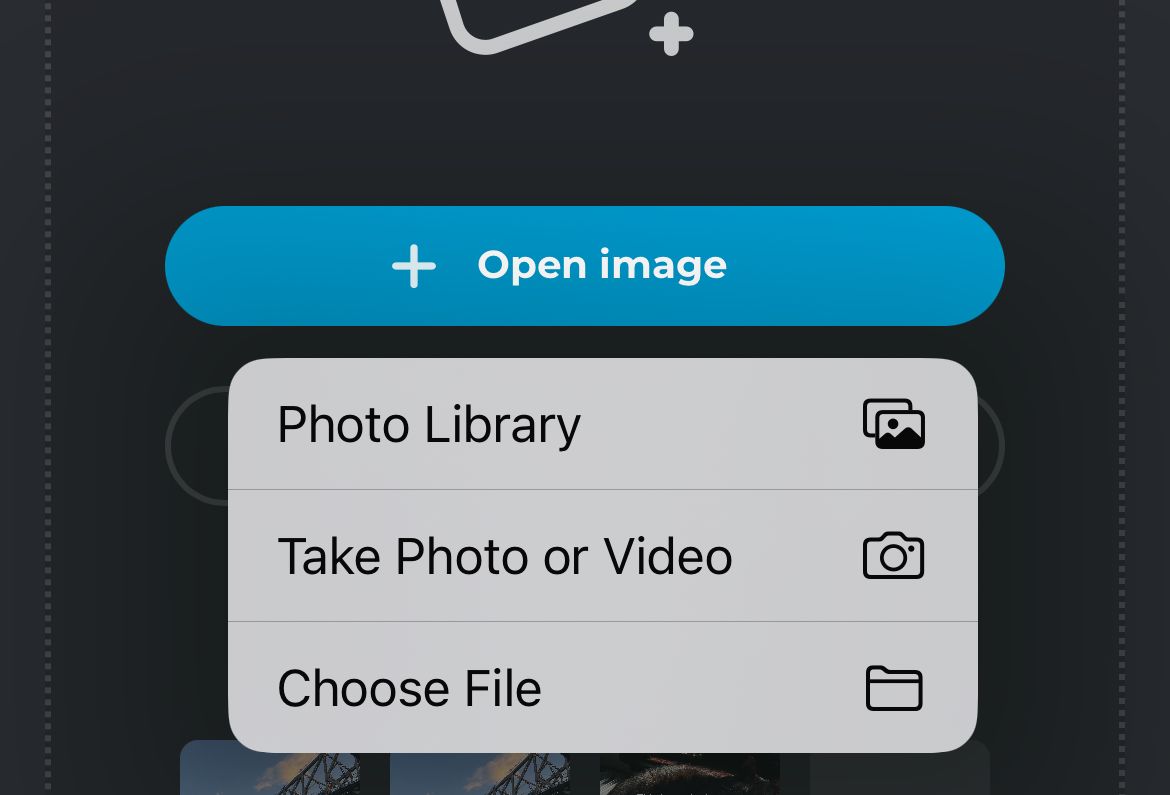
To get started, double-check your chosen image is saved to your Photos library.
Corbin Davenport / How-To Geek
Youll also find it under the Share menu.
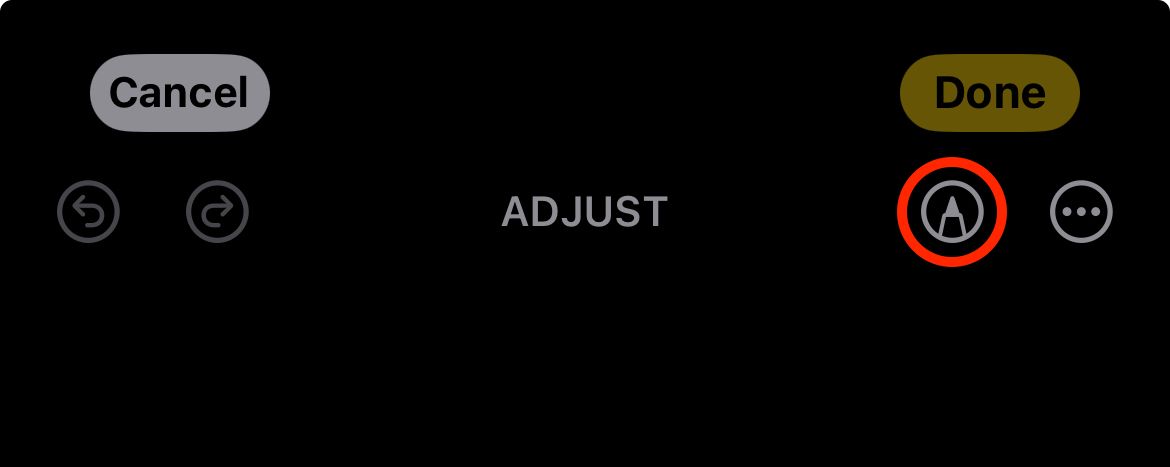
If you dont see the Edit button, tap on the image once to reveal the Photos interface.
Next, tap on the Markup button in the top-right corner of the screen.
Tim Brookes / How-To Geek
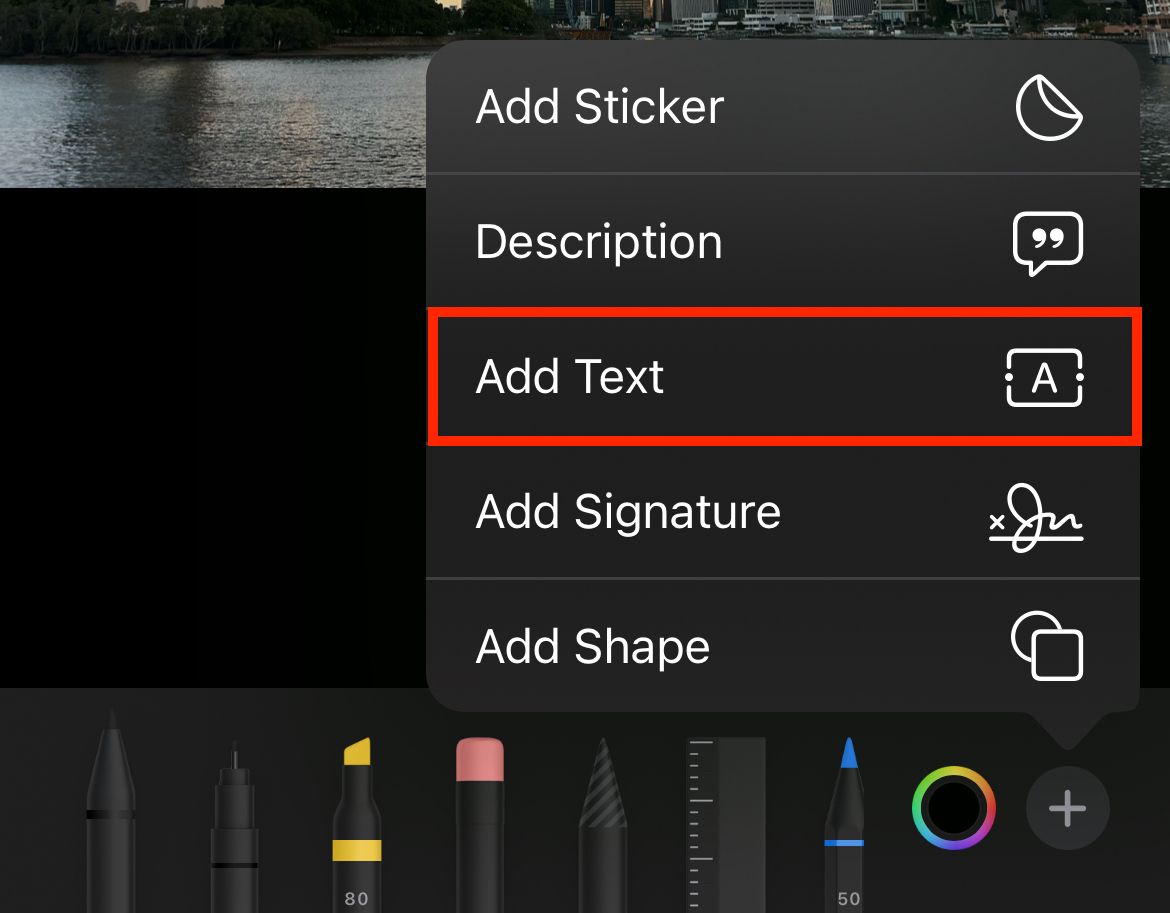
This looks like a pen tip, and its located alongside the ellipsis … icon.
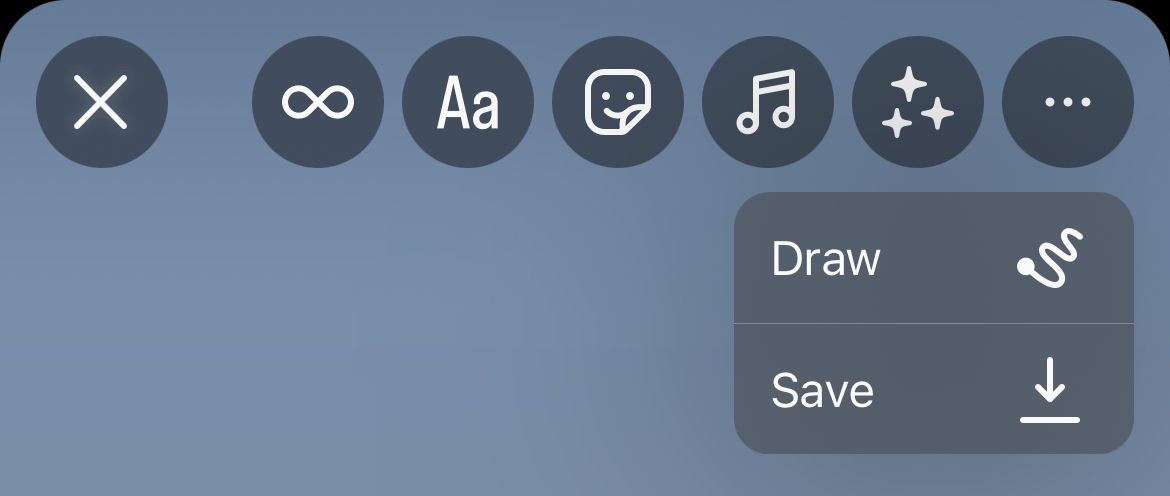
Youll be warned that Live Photo mode will be switched off if you continue.
Hit OK to proceed and the Markup interface will appear.
Hit the plus + button and choose Add Text to add a text box to your image.
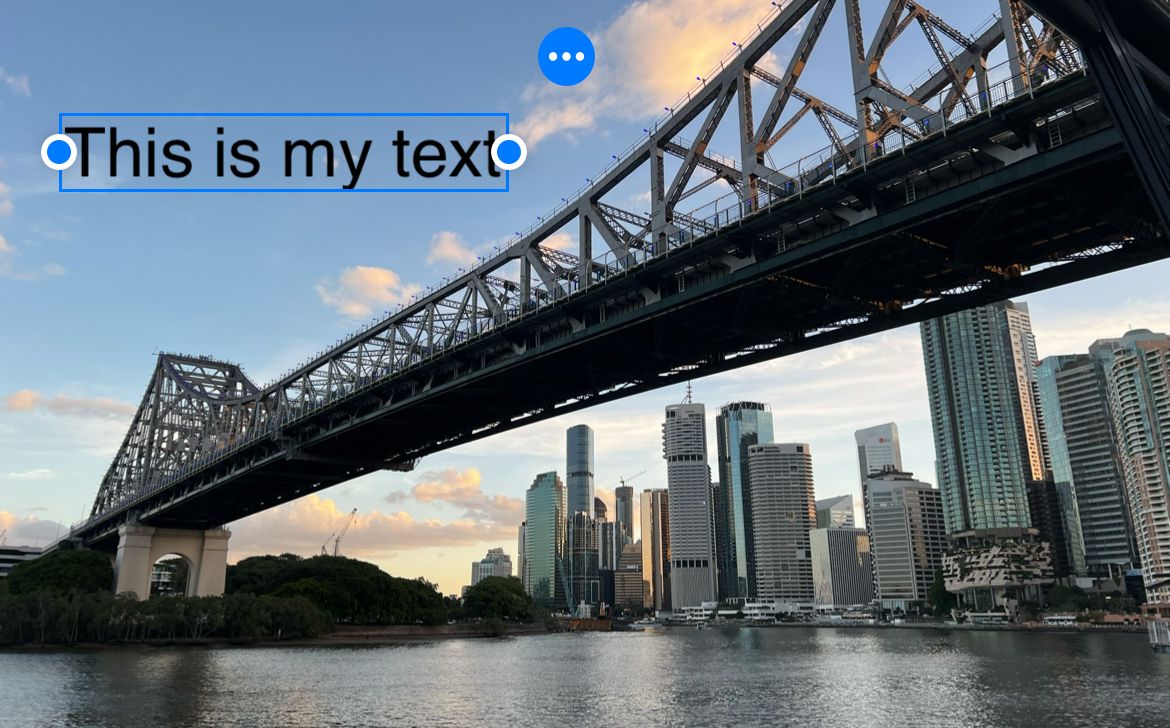
you’re able to now drag the text box into place, wherever you want it.
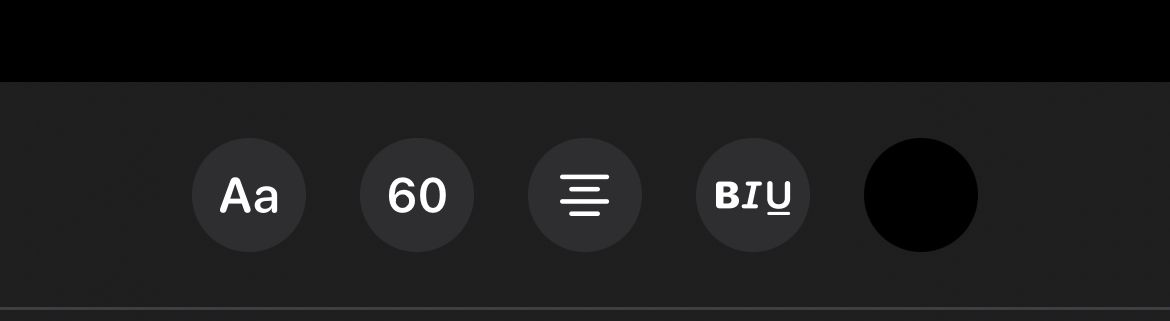
While choosing a color you might also adjust the opacity of your text.
Once youre done, hit Done in the top-right corner of the screen.
Share your image as you would normally from the Photos app and the text will be included.
Add Text Using Freeform
Freeform is Apples collaborative whiteboard tool.
Tim Brookes / How-To Geek
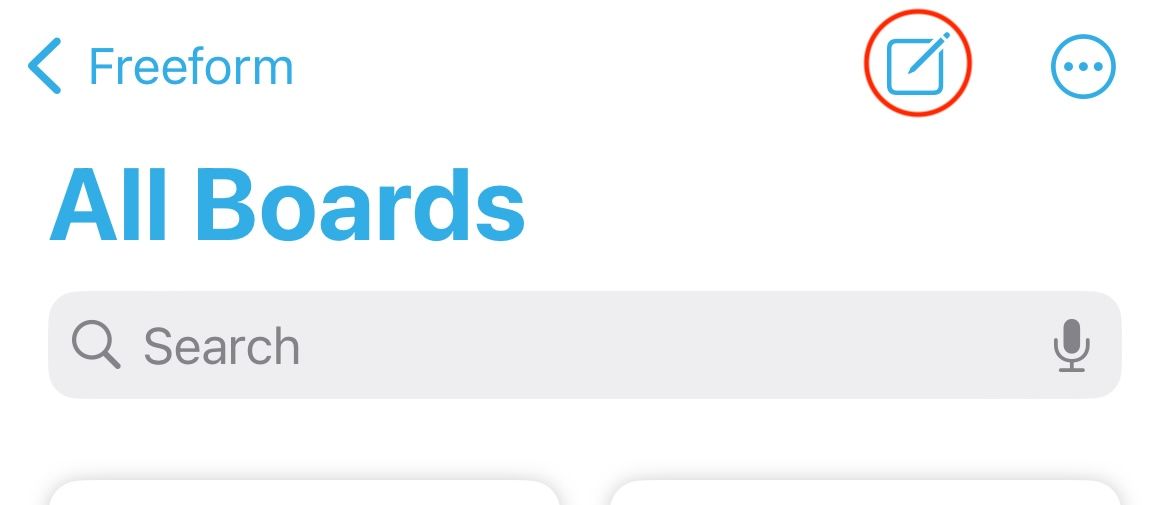
To get started, downloadFreeformfrom the App Store (its free).
Next, start a new board using the New button in the top-right corner of the screen.
With your image in place, tap on the Text Box button at the bottom of the screen.
Drag the text box in place then double-tap inside it to edit your text.
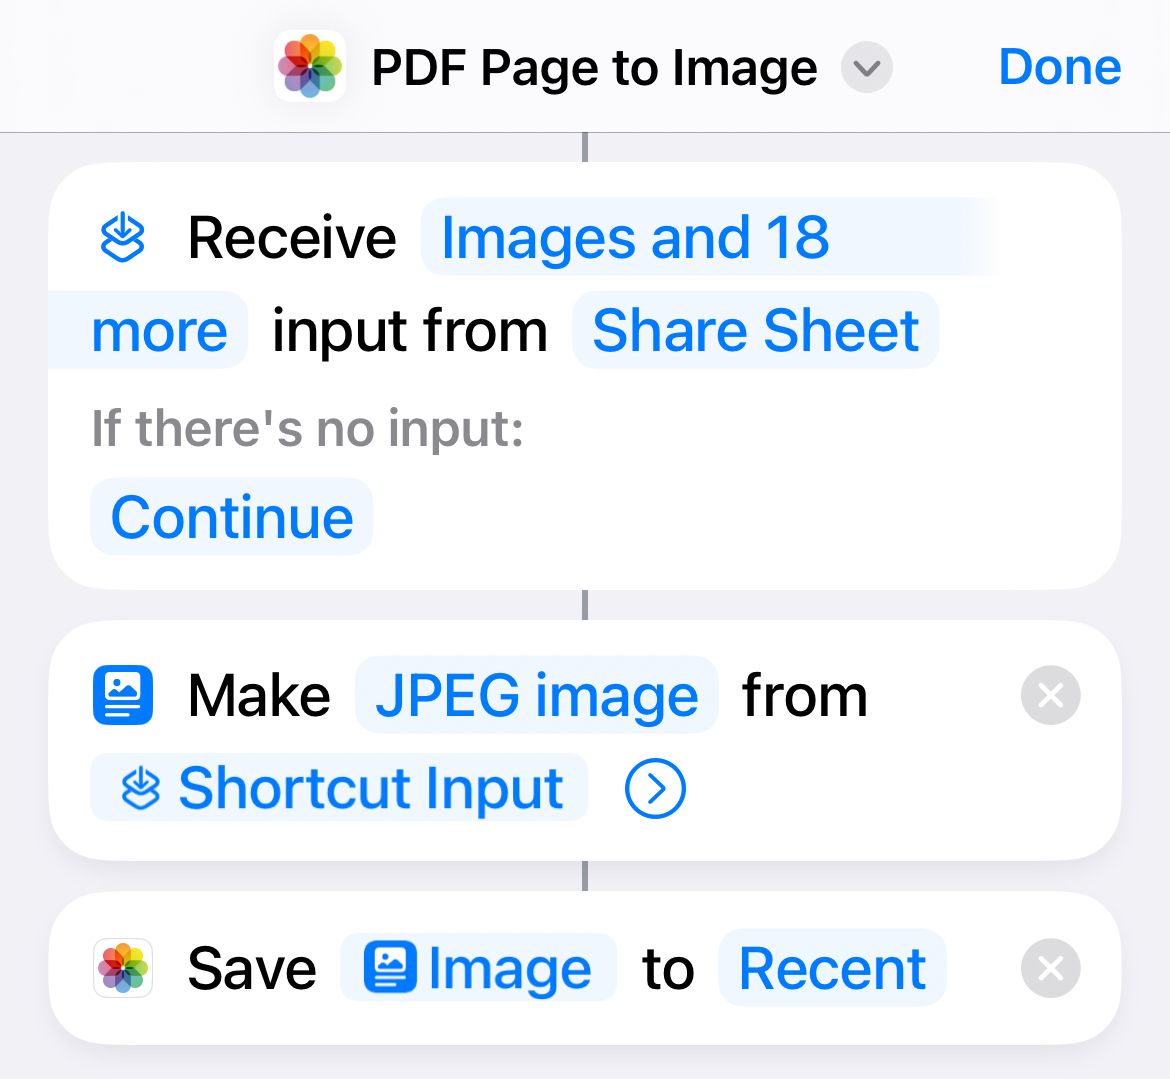
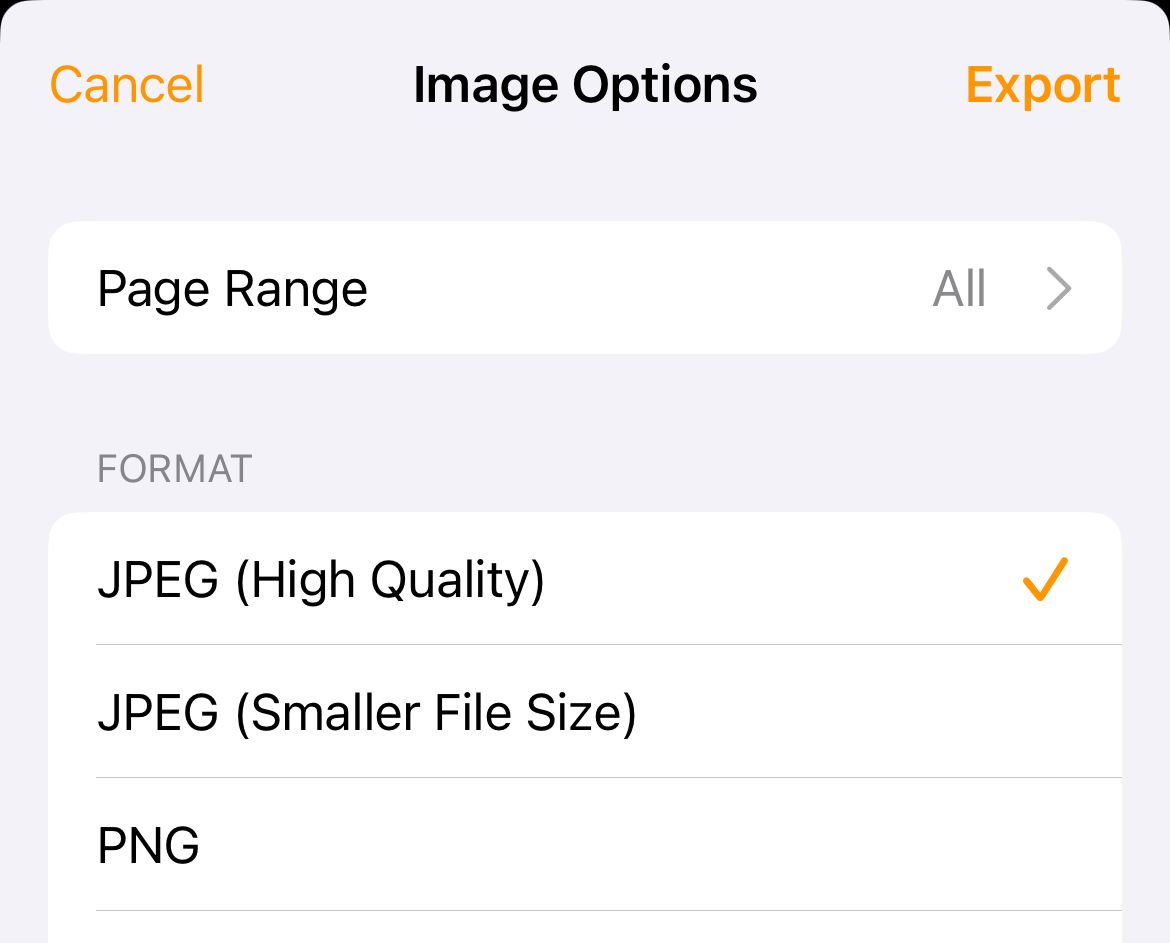
Finally, launch the Shortcuts app and create a new Shortcut.
Add the Make Image from PDF Page action to a new workflow.
Change the PNG Image variable to whatever you want, and the PDF variable to Shortcut Input.
Give your Shortcut a name, like PDF Page to Image and save it.
This is a very hacky method that can result in a lower-quality image than may be preferable.
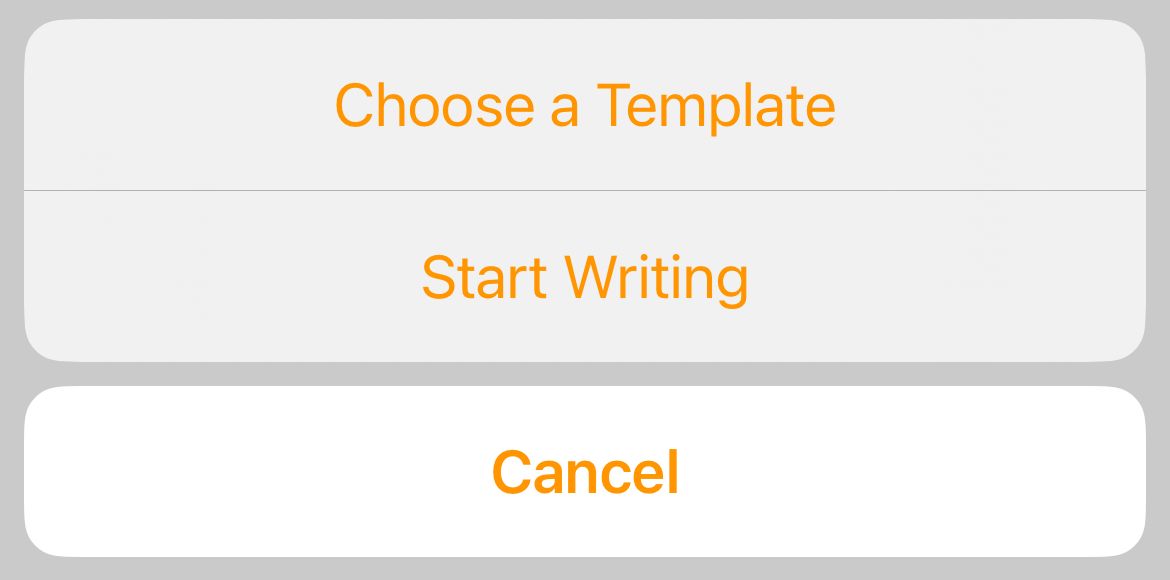
First, youll need to downloadPagesfrom the App Store (its free).
Now open it and create a new blank document, ignoring Apples templates, using the Start Writing option.
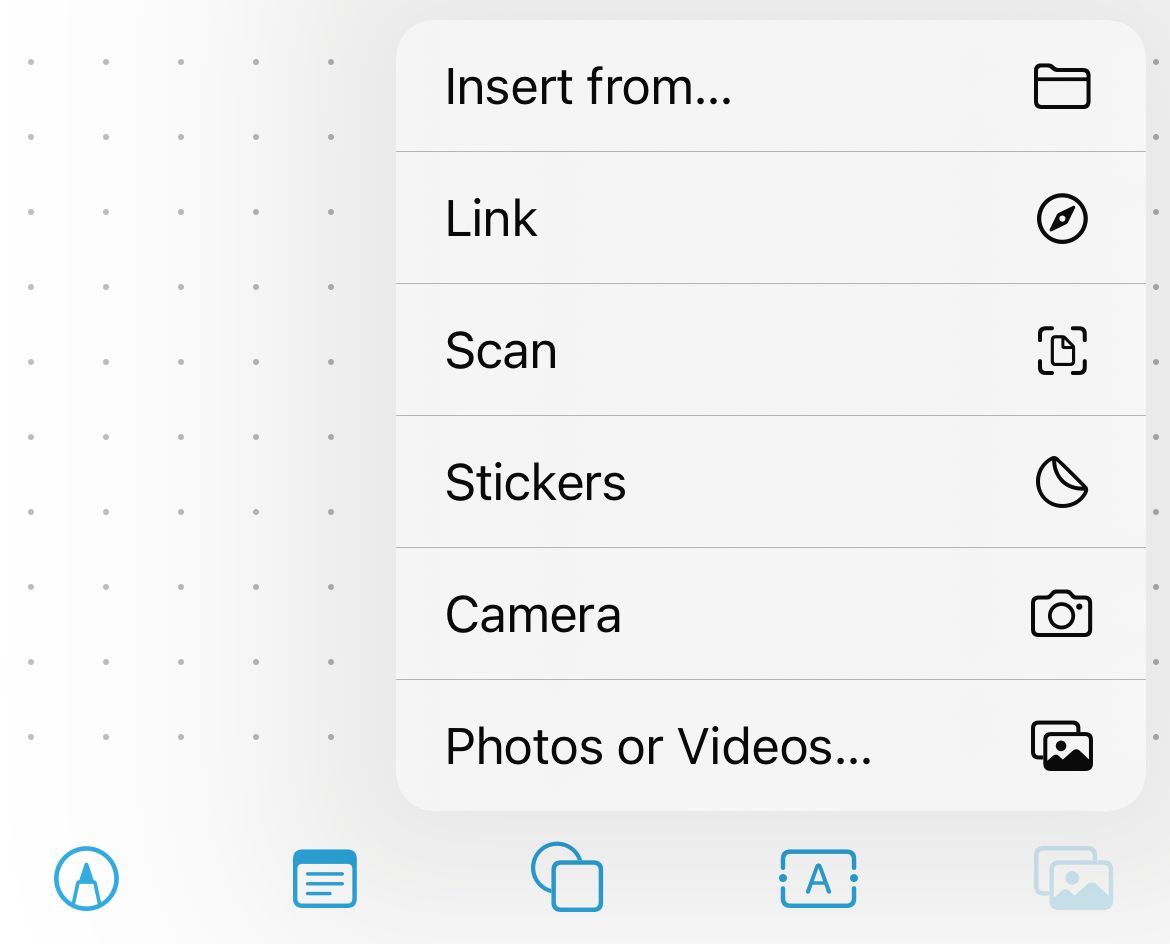
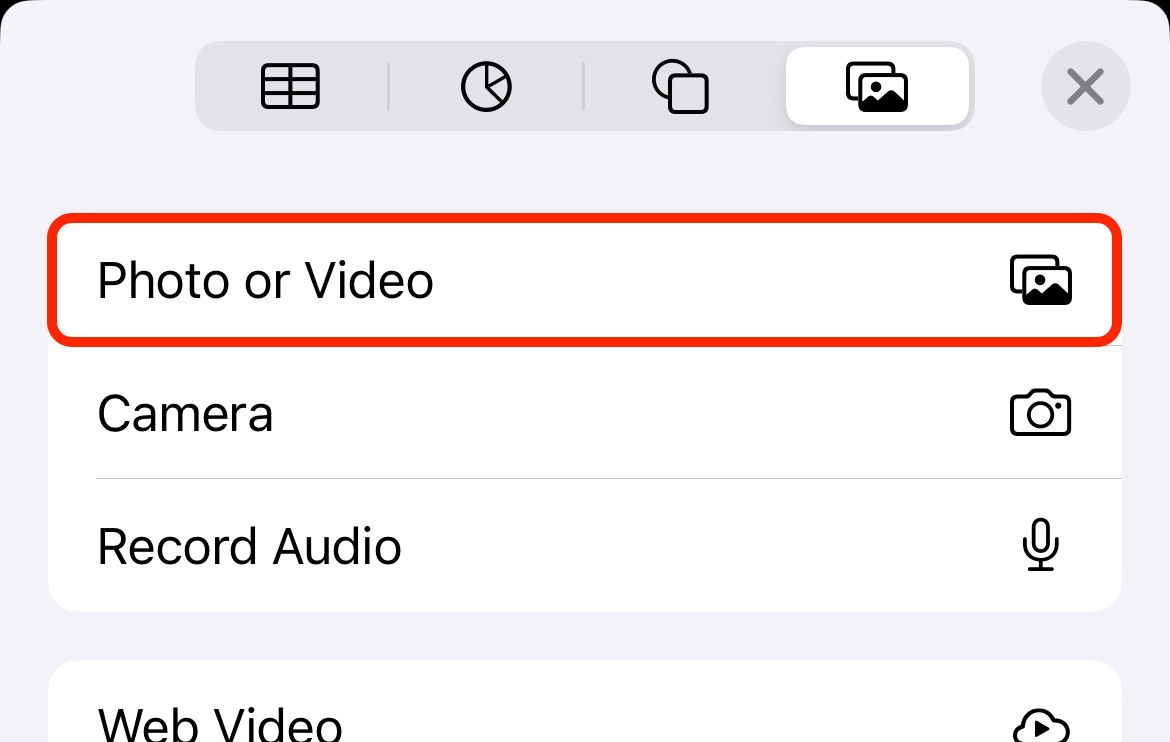
With a new document open, hit the plus + button and snag the media tab.
Tim Brookes / How-To Geek
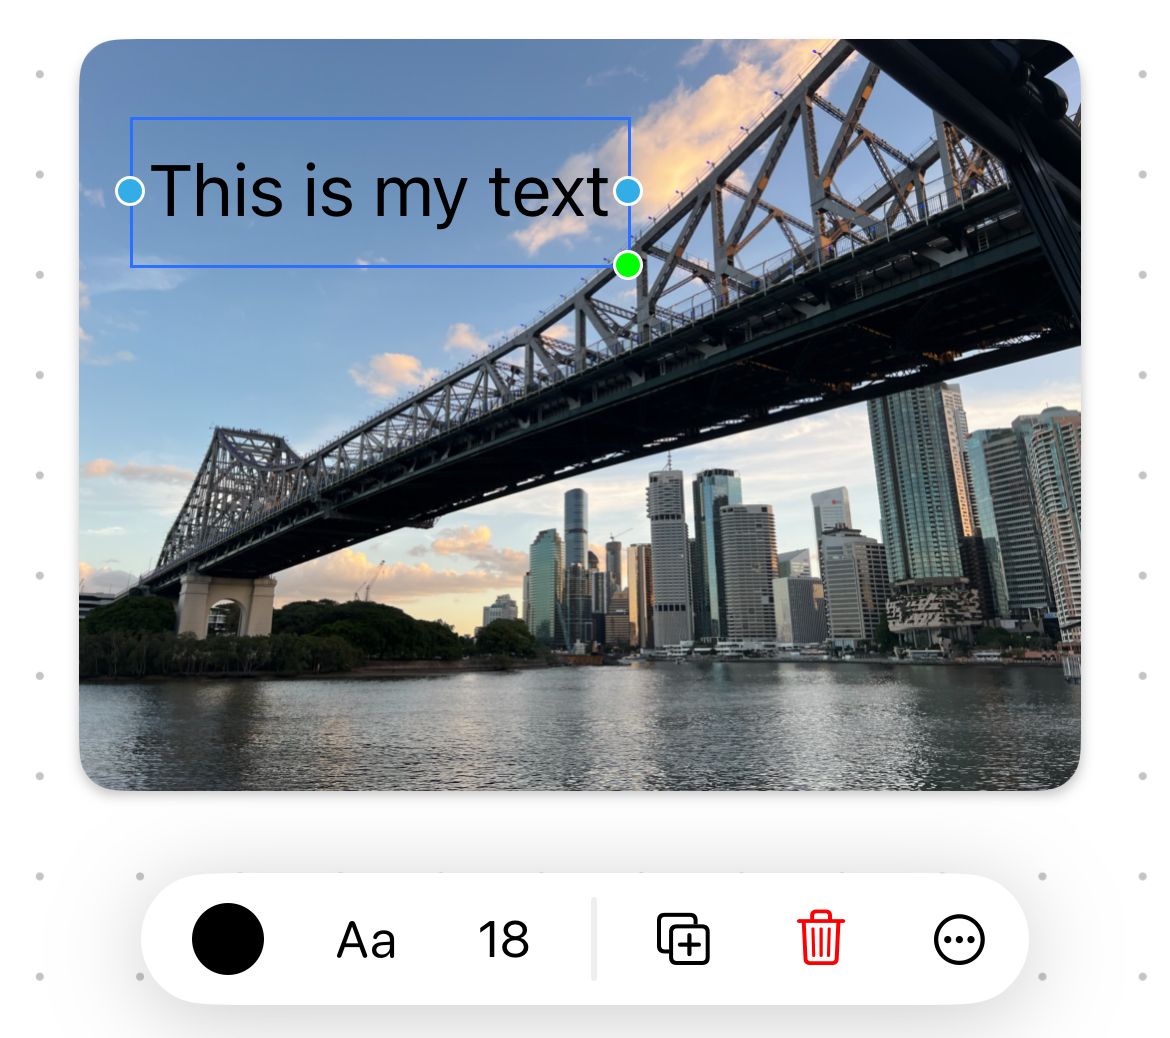
Tap on your image to select it, then tap on the Formatting paintbrush icon to reveal more options.
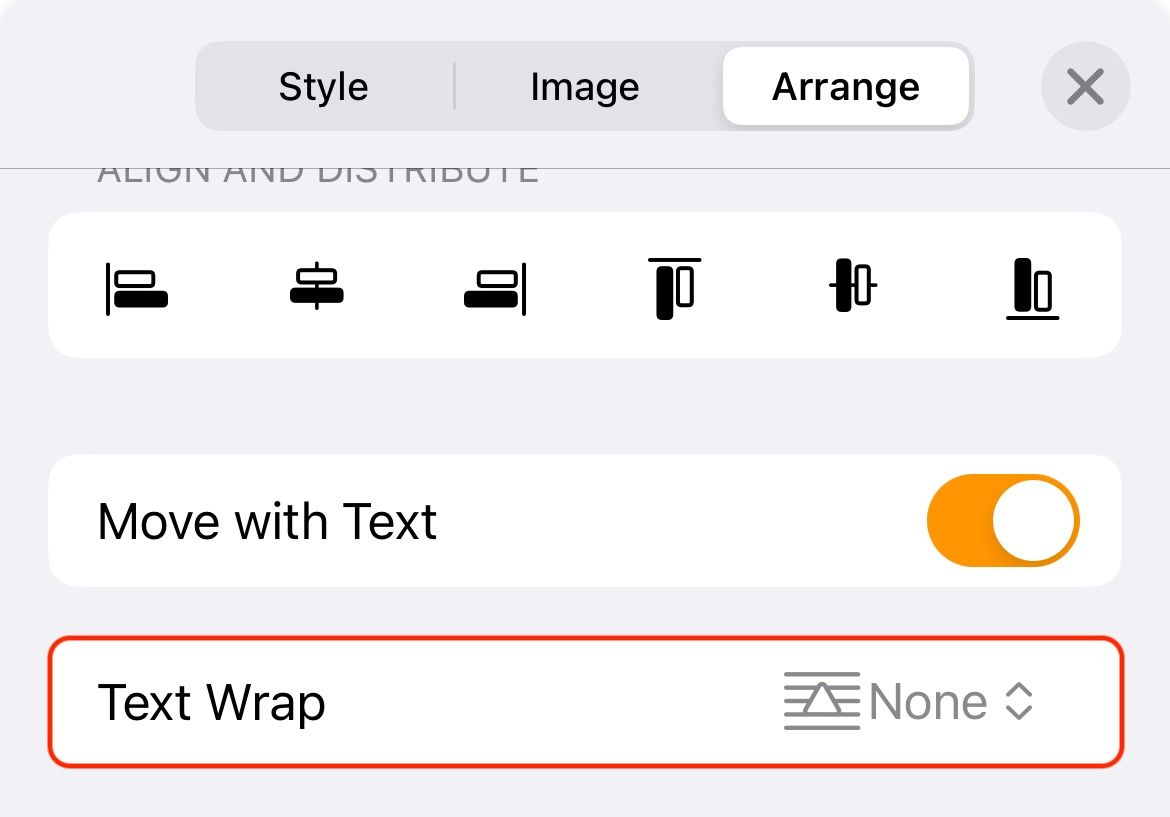
Under Arrange choose More Options and then set Text Wrap to None.
This instructs Pages not to move text around if it intersects with the image.
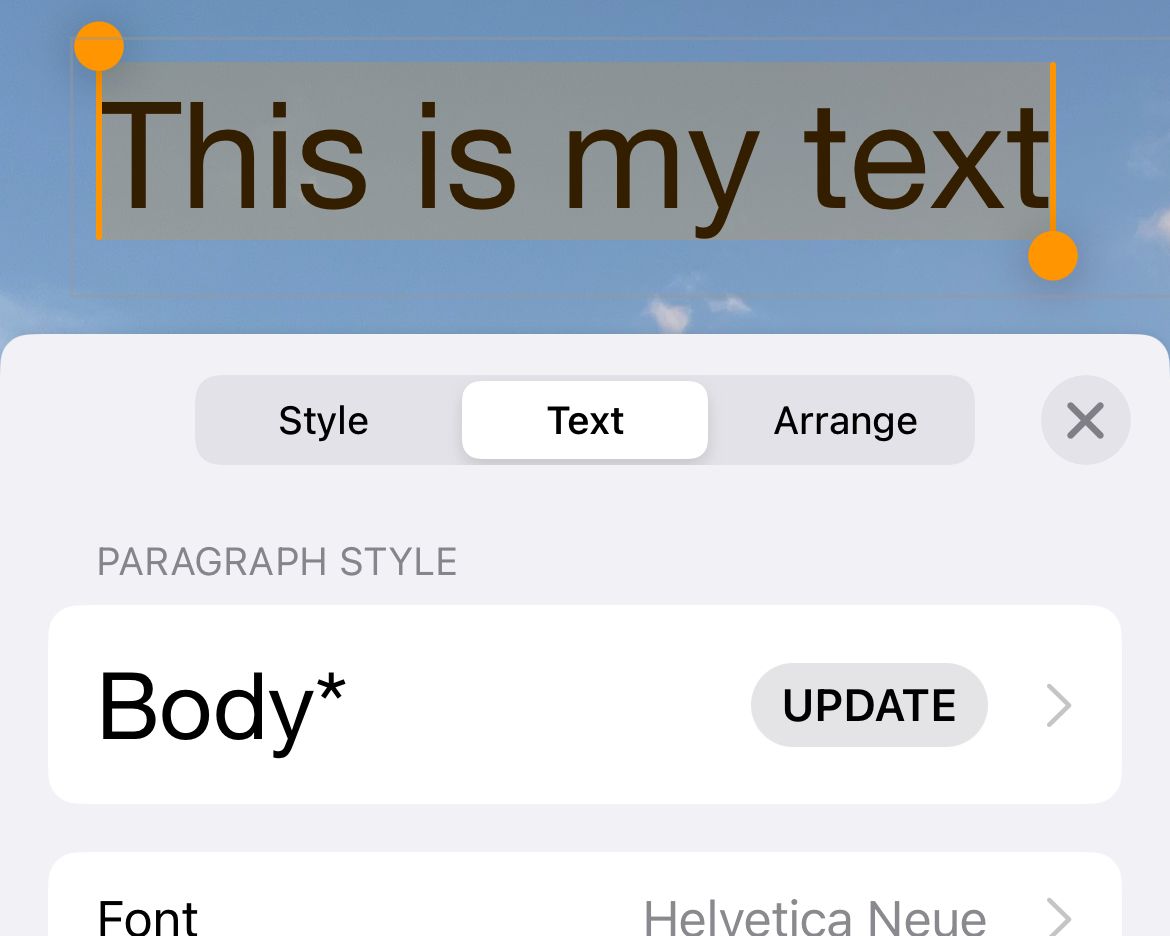
Double-tap within the text box and edit the text as necessary.
Add more images, diagrams, and whatever else you see fit.
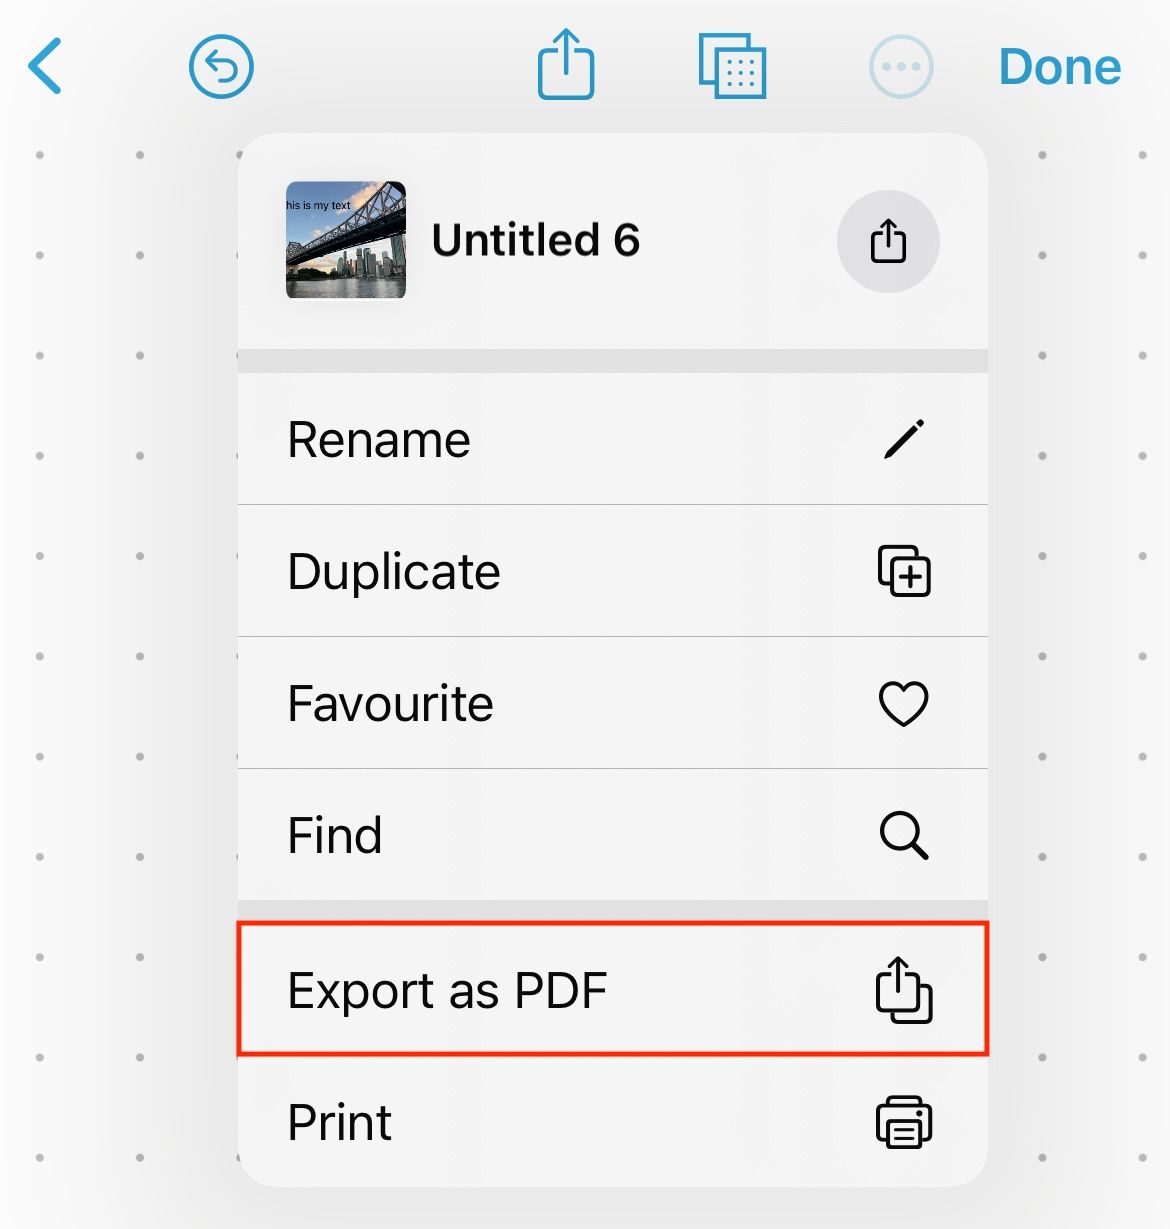
Then hit the ellipsis … button and choose Export followed by Images to export as an image.
Use the Save Image button to add the image to your Photos library.
Lastly, find the image and hit Edit and then crop out the white space.
you’re free to now share your image.
This means that you may come across restrictions like image export size, watermarks, and feature limitations.
On the plus side, these apps make it easy to add fancy text to an image.
Two examples you might want to try that offer decent free options arePhontoandAdd Text.
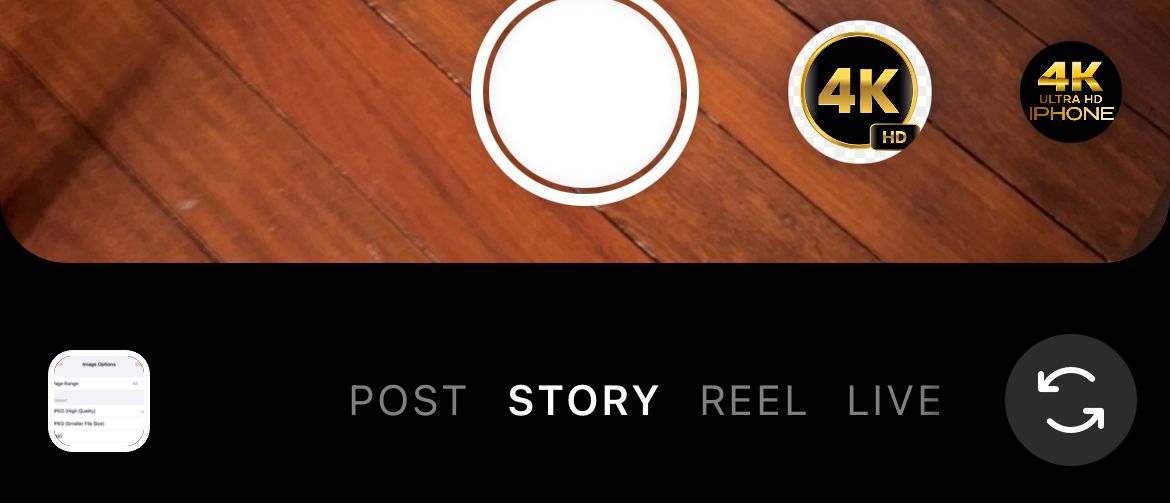
Another option is to use Instagrams Story composer for this, though it too is limited.
The resulting creations will be portrait and require cropping, plus the resolution isnt great.
Open Instagram and hit Compose at the bottom of the screen.
Select Story in the bottom-right corner.
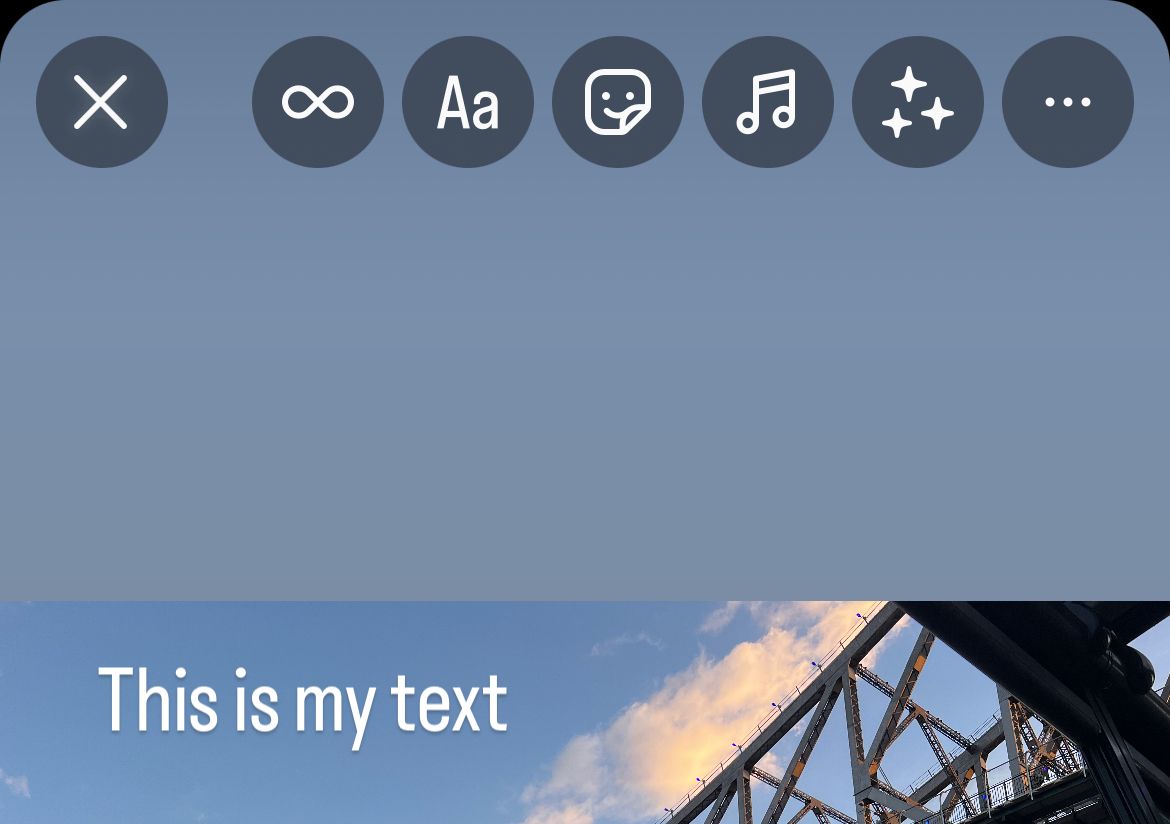
Hit Done and then add anything else you want to your image using the included tools.
Now open up Photos, find the image, tap Edit and crop the image to your liking.
you’re free to now share it as you would any other.
Add Text Using a Web App
Web apps also work for adding text to an image.
In my testing, Pixlr seemed like the most reliable option.
Pixlr may ask you to resize the image, hit Apply to get started.
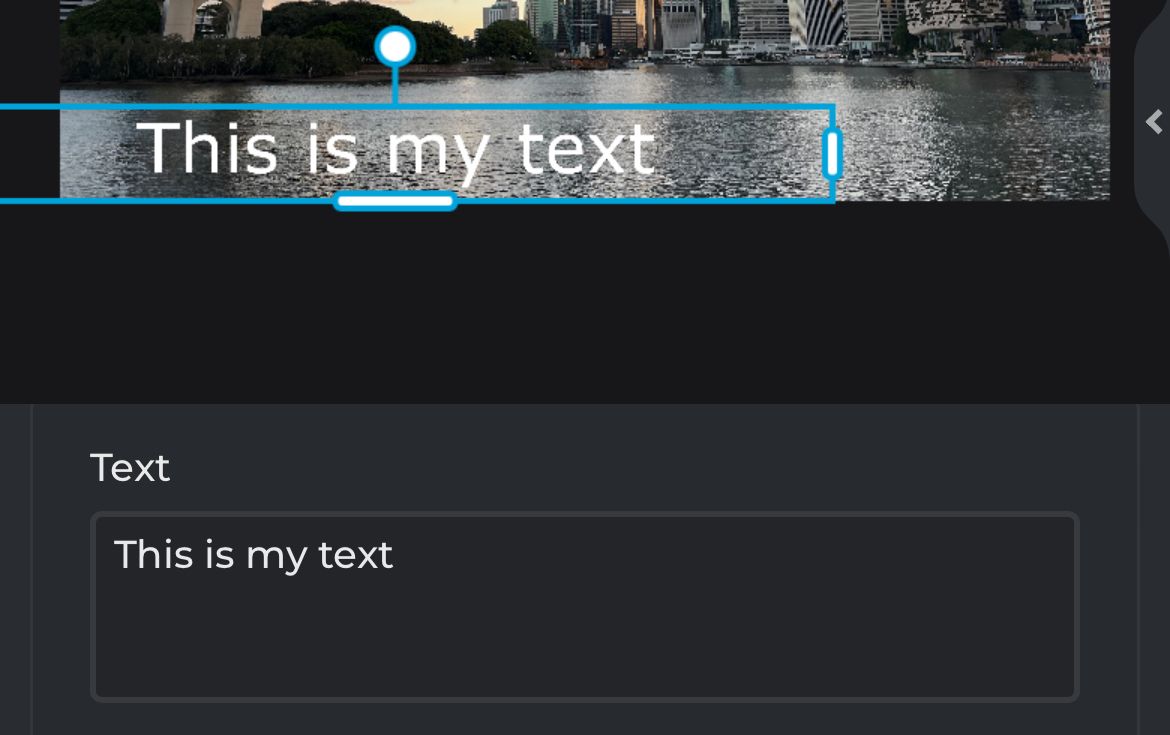
Scroll down and change the Text box to whatever you want to text to read.
you might now adjust other aspects like the size, color, and so on.
Drag the text into place until youre happy with it.
Adding text to an Instagram story.