Instead, you’ve got the option to use a simple keyboard shortcut to achieve the same outcome.
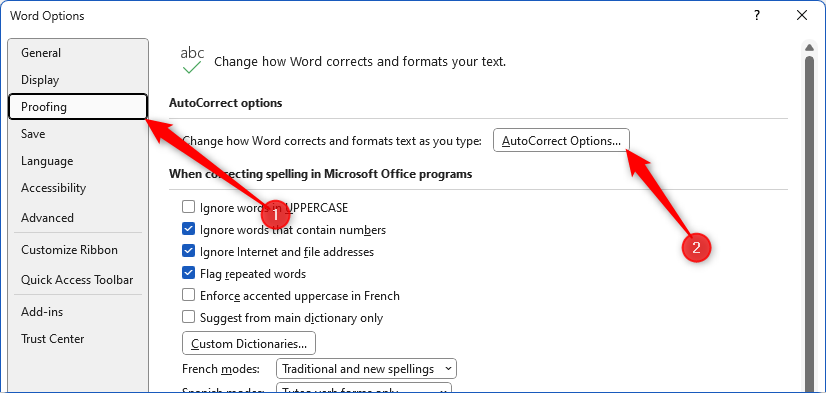
To do this, click File > Options, and select “Proofing” in the Word Options Window.
From there, click “AutoCorrect Options.”
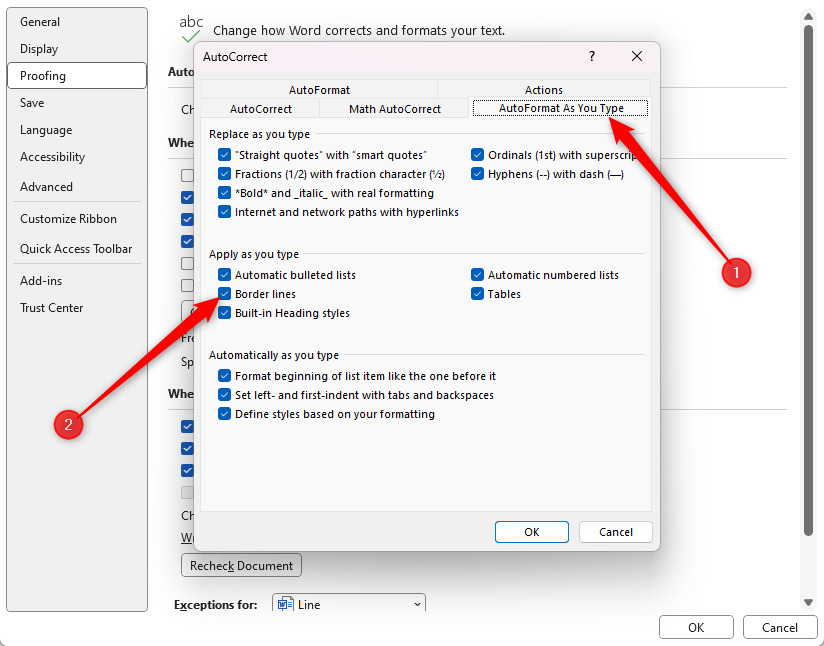
Then, click “OK” to end the dialog boxes, and you’re ready to go.
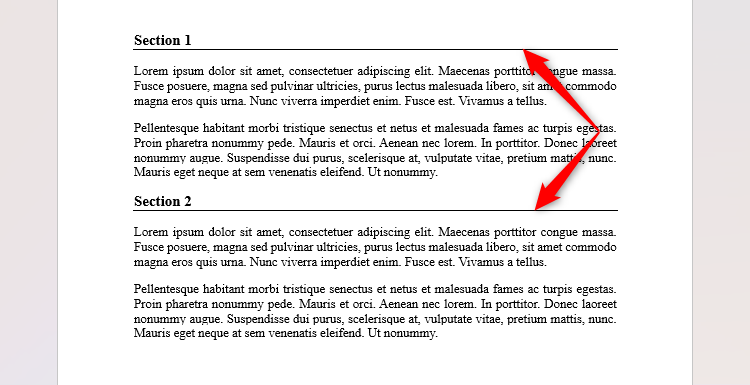
Border lines are linked to the text directly above them.
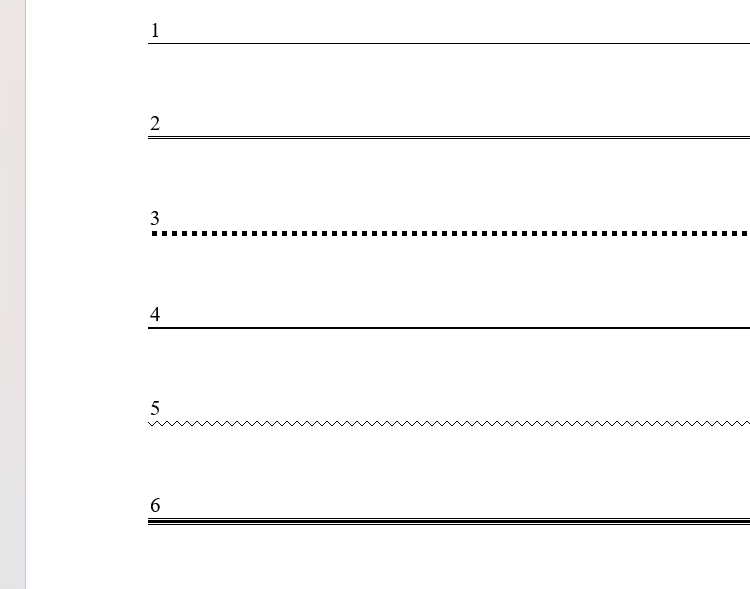
So, after typing your line of text, press Enter, and then use the following shortcuts.
Ensure you don’t add spaces between each character when using the following keyboard shortcuts.
When you’ve finished typing the shortcut, press Enter to see the line appear.
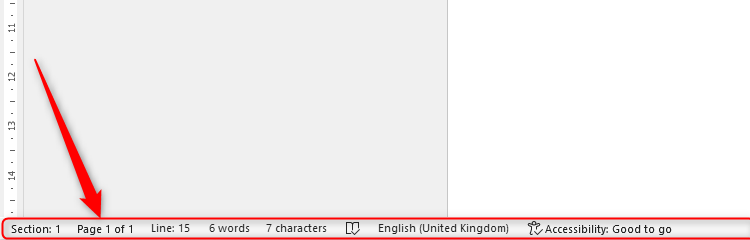
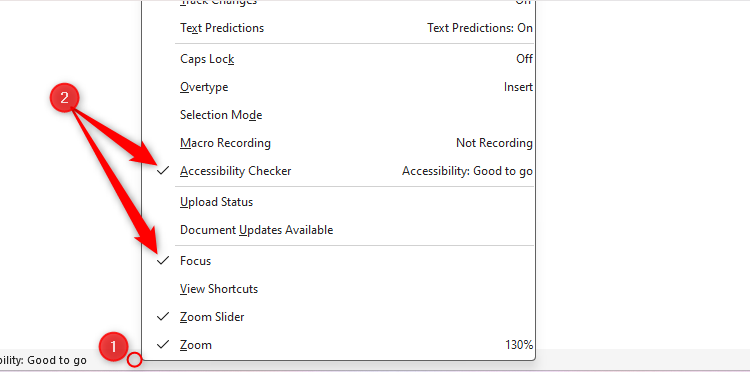
Customize the Status Bar
The Status Baris a somewhat undervalued part of the Microsoft Word user interface.
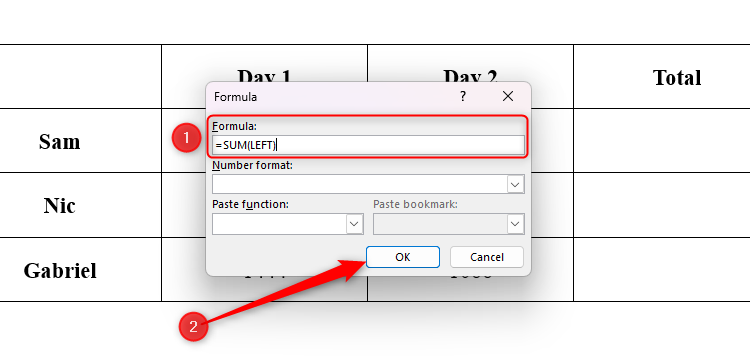
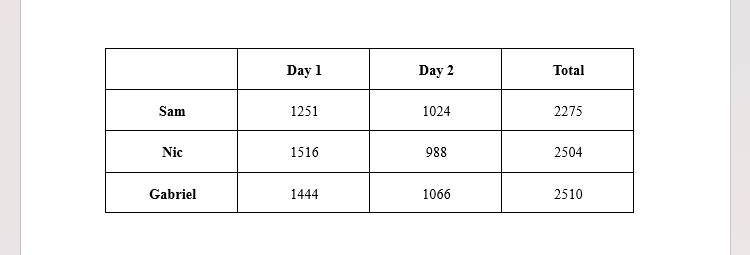
What they don’t know, however, is thatWord can perform calculationswithout any need for Excel.
First, throw in your figures into a Word table, leaving theTotalrows and columns blank.
To do this, pick the relevant cells, and press F9.

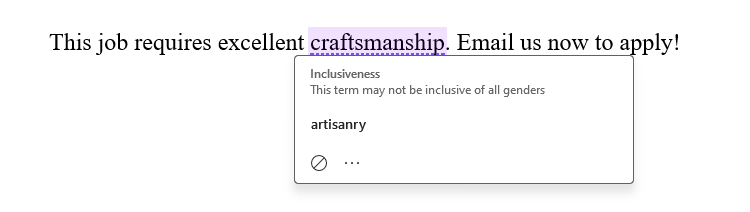
Check for Non-Inclusive Language
Would you have known “craftsmanship” is a non-inclusive term?
How about the phrases “elderly people” or “suffering from diabetes?”
But don’t worryMicrosoft Word has you covered.
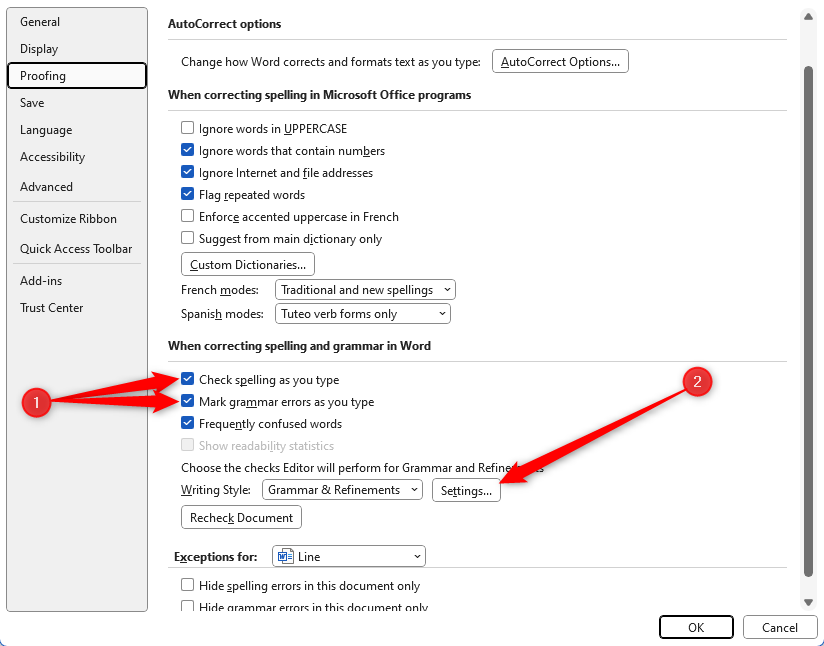
Click File > Options, and click “Proofing.”
Then, click “prefs” next to Writing Style.
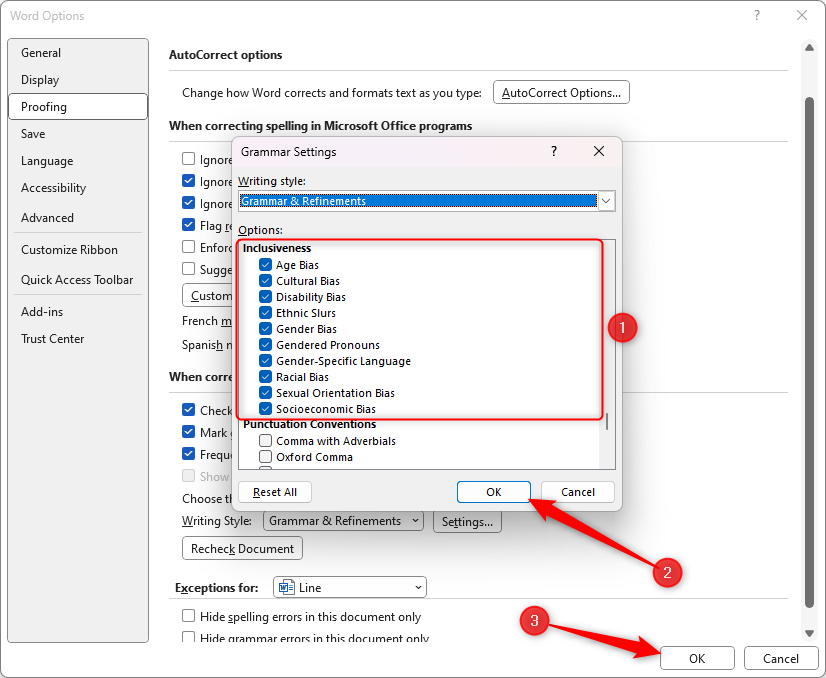
Here, you’ll see a long list of writing issues that Word can flag up if you wish.
Locate the Inclusiveness section, and check each throw in of non-inclusive language that you want Word to identify.
When you’re done, click “OK” to terminate the dialog boxes.
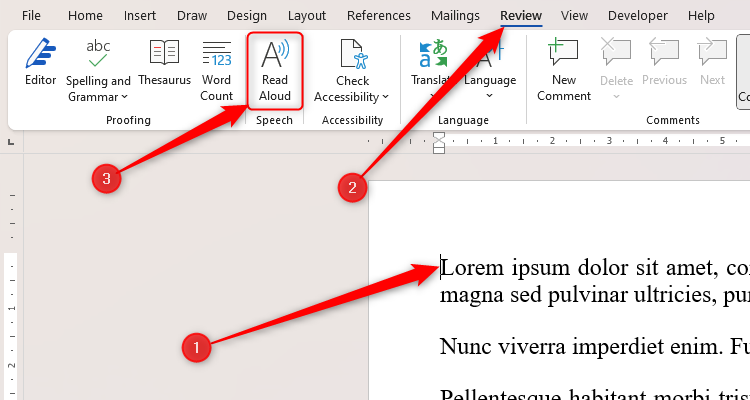
You’ve just finished your first draft, but it’s crucial that you proofread your work.
But your wrists ache, and your eyes hurt.
Actually, youdohave an option.
Word can read your work for you.
Word will start to read the work aloud straight away.
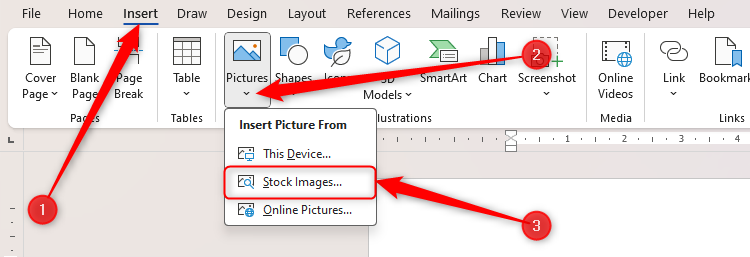
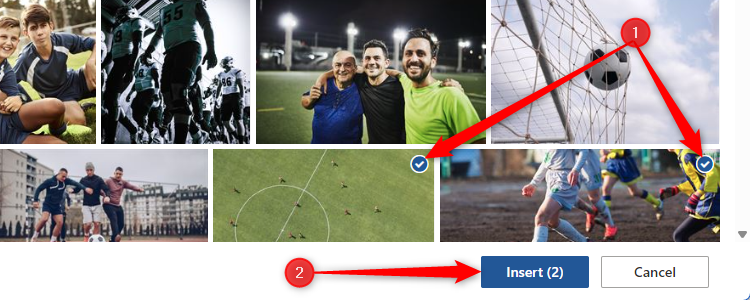
This is why you should opt for Microsoft’s high-quality stock images.
In the Insert tab on the ribbon, click “Pictures.”
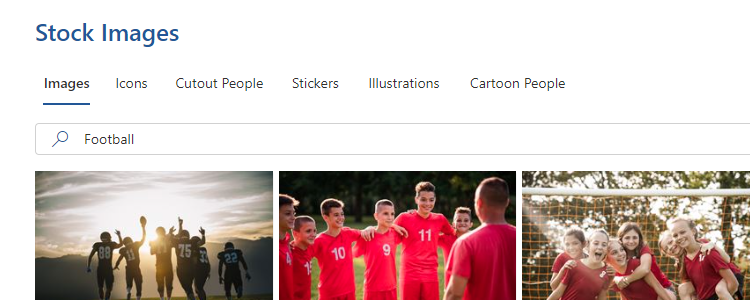
Then, click “Stock Images.”
Once you’ve selected your image or images, click “Insert.”
you’re free to then reformat,reposition, or even add a caption to your chosen images.