you might if you know what tools and features to use, which we’ll outline below.
Change Your View
To get started planning with Google Calendar, openthe websiteand sign into yourGoogle account.
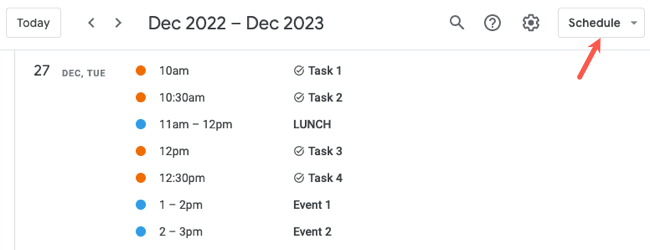
Then, use the view drop-down box at the top for your preferred view.

you could also customize your view options to see only what you want.
smack the gear icon on the top right and pick “parameters.”
Then, expand General on the left and choose “View Options.”
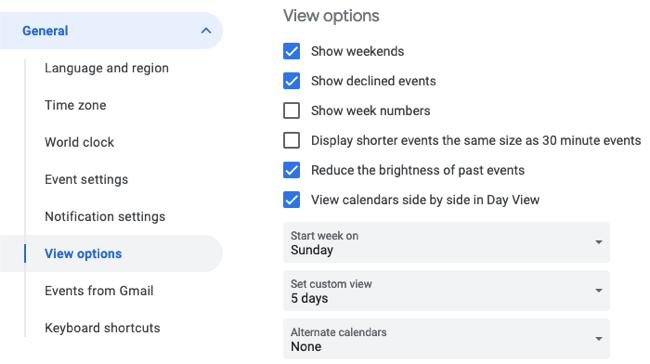
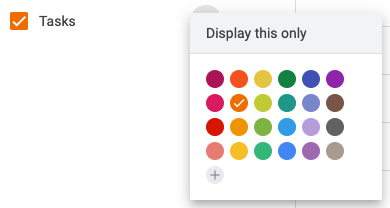
Check the box for Tasks to display these on your main calendar.
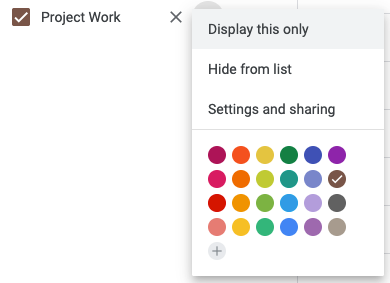
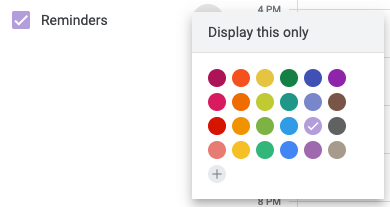
tap the three dots and choose the color.
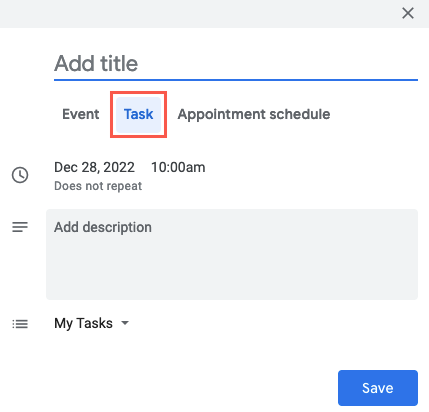
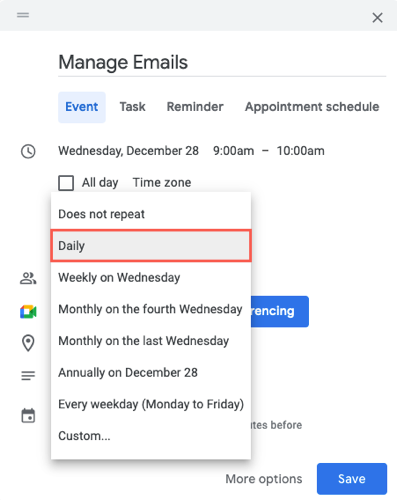
To create a task, click a date or time on the calendar.
Then, choose “Task” at the top of the event pop-up window.
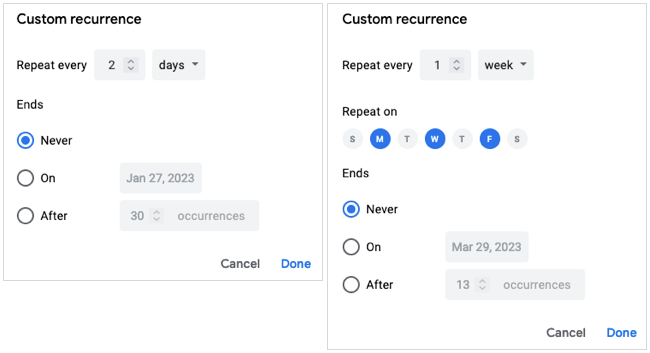
Optionally, you’re free to make it repeat and include a description.
Click “Save.”

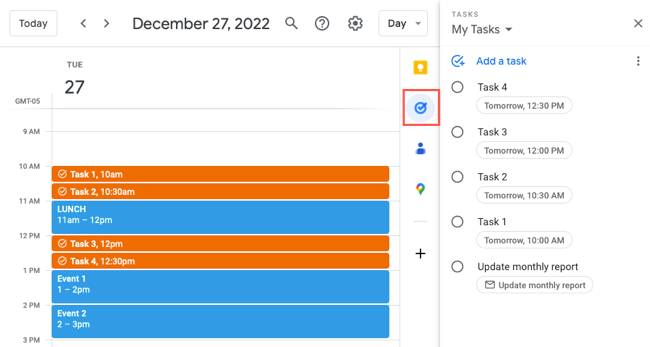
You’ll then see all scheduled tasks on your main Google Calendar.
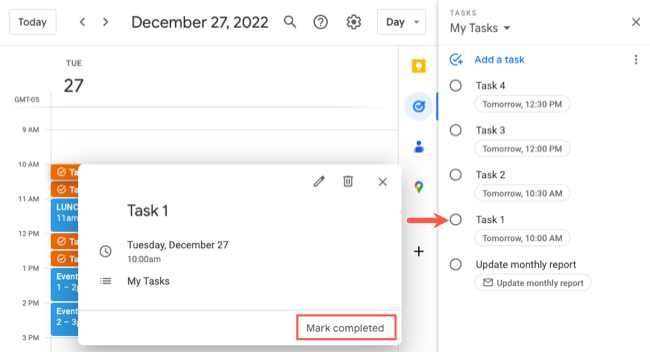
To mark a task complete, choose the event on your calendar and click “Mark Completed.”
Alternatively, open Tasks in the sidebar and mark the circle next to the task.
Use Reminders
Reminders work similar to tasks in Google Calendars.
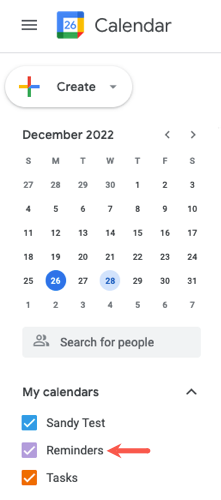
you might addthe Reminders calendarto your view and create reminders in the event pop-up window.
One difference between reminders and tasks is that reminders do not appear in the side panel.
Then, check the box for Reminders in the My Calendars section.
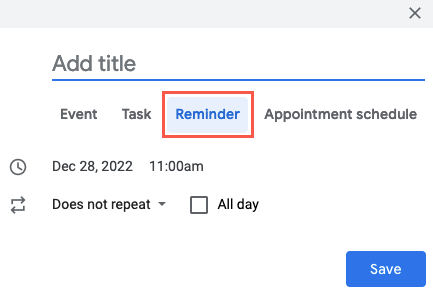
To create a reminder, select a date on your calendar.
Choose Reminder at the top of the event pop-up window and give it a name.
Optionally, it’s possible for you to make the reminder repeat.
Click “Save” when you finish.
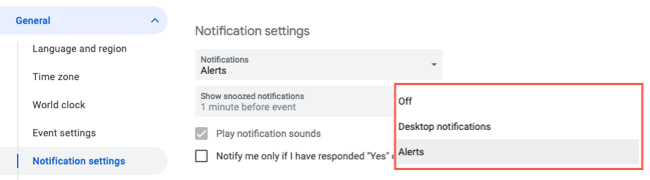
Expand General on the left and pick “Notification options.”
If you choose to receive Desktop Notifications, confirm that you havenotifications enabled on your machine.
This saves you from creating the same one over and over.
you could do this by setting up separate calendars.
For example, you maycreate calendarsfor meetings, admin tasks, and project work.
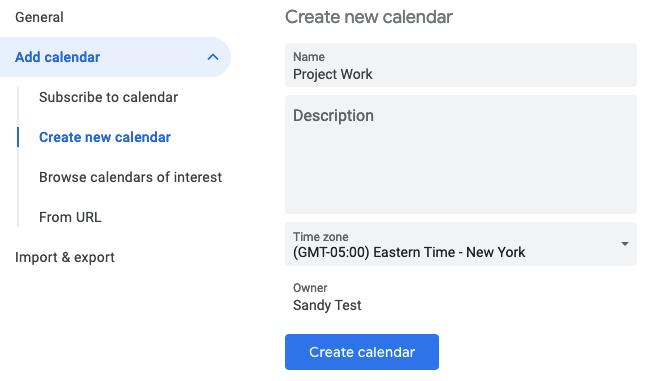
On the left, expand Add Calendar and choose “Create New Calendar.”
On the right, give the calendar a name and optionally a description.
you’re able to also adjust the time zone if needed.
Click “Create Calendar” to save it.
You’ll then see it appear in the configs for My Calendars section beneath.
When you return to the main calendar screen, you’ll see the calendar in the My Calendars section.
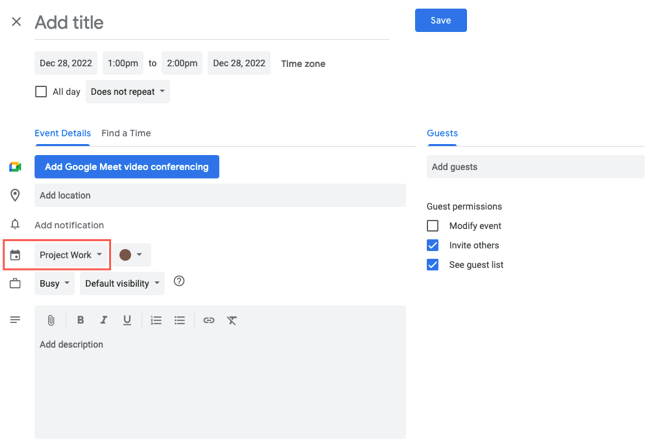
Complete the fields for the title, date, time, description, and other information as you like.
Then, to the right of the Calendar icon, use the drop-down box to go for the calendar.
Click “Save” at the top to save the event to the color-coded category calendar.
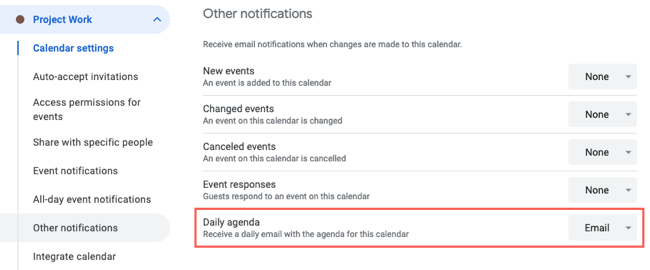
This is a great way to see what’s on your plate for the day.
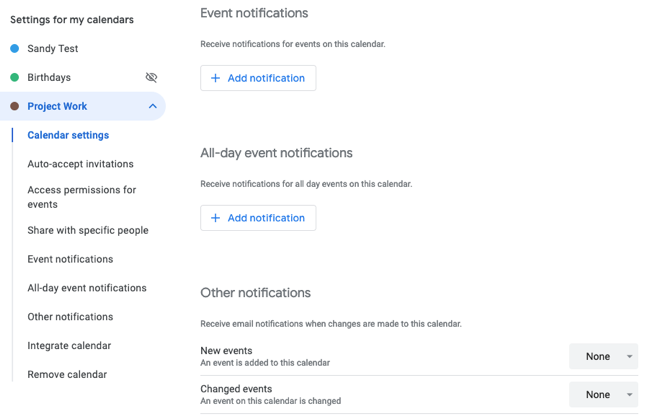
On the left below controls for My Calendars, choose a calendar and select “Other Notifications.”
On the right, use the drop-down box next to Daily Agenda to pick “Email.”