Actually, the speaker could have kept you much more engaged by adding some interactive features to their slideshow.
Let’s look into some of these options.
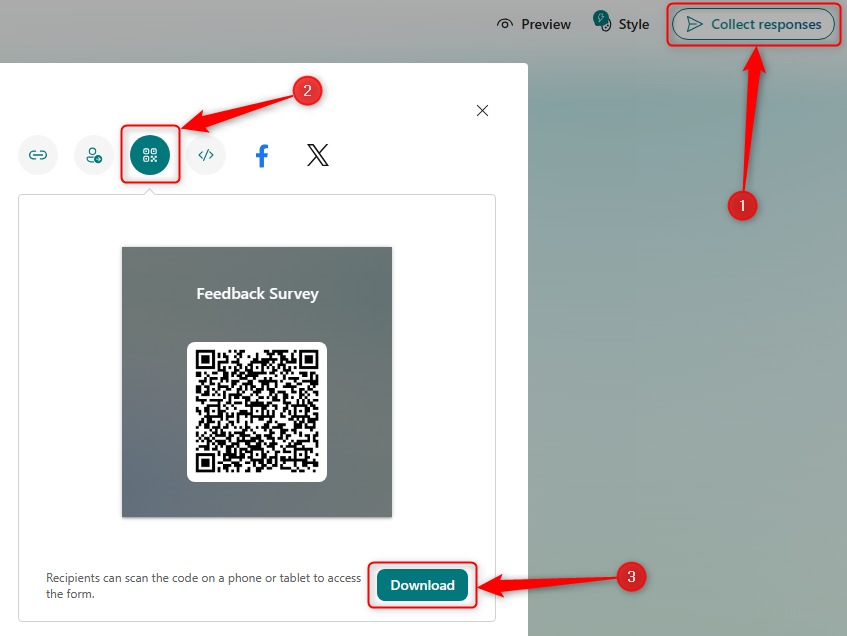
Some websites have in-built ways to create a QR code.
Lucas Gouveia / How-To Geek | Microsoft
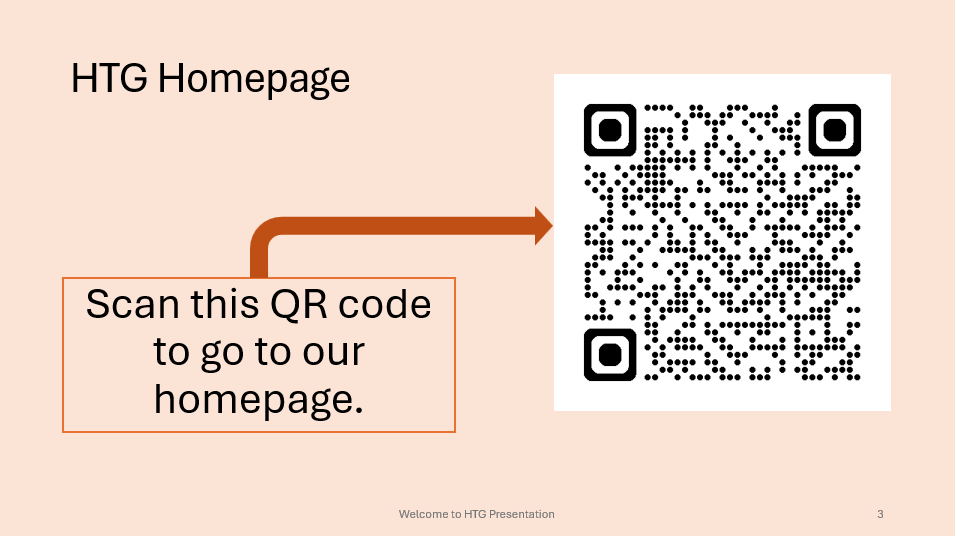
In fact, you might easily add a QR code to take your viewer to any website.
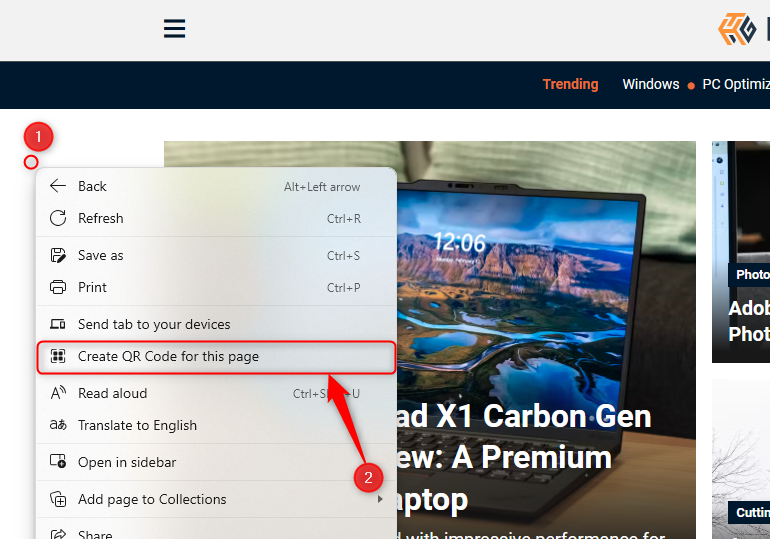
you might also create QR codes in other browsers, such as Chrome.
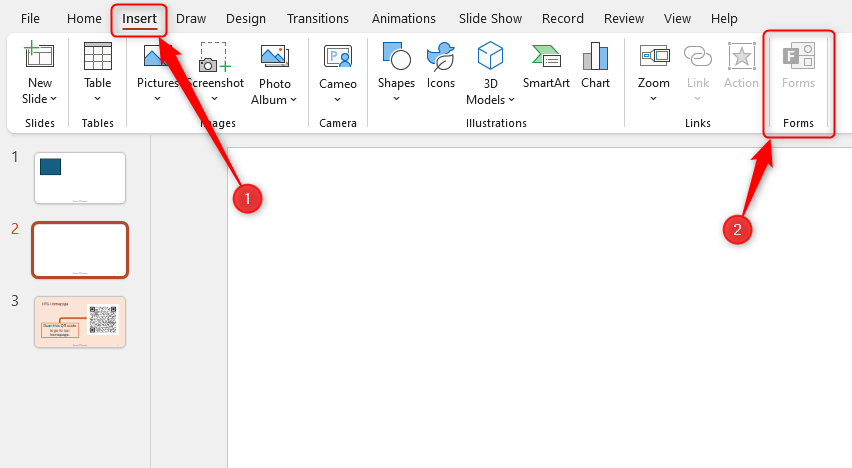
If you cannot see this option, you canadd new buttons to the ribbon.
As at April 2024, this feature is only available for those using their work or school account.
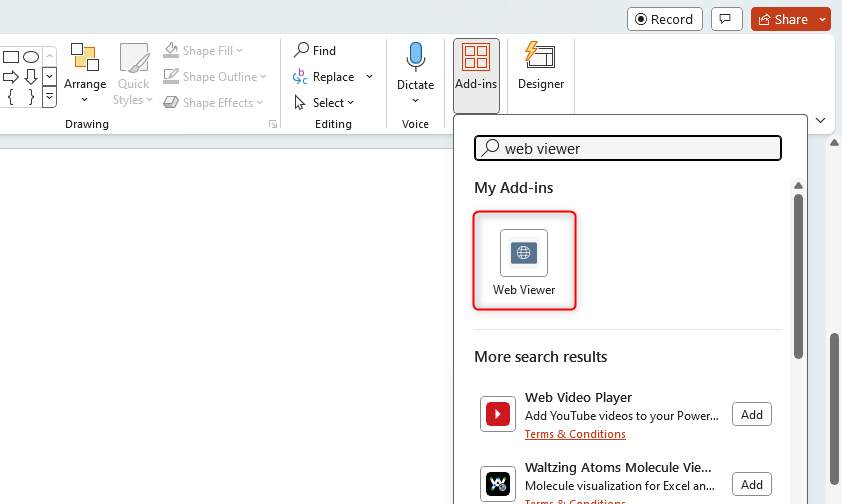
To do this, we will need toadd an add-in to our PPT account.
Add-ins are not always reliable or secure.
Go to the relevant slide and pop swing open the Web Viewer add-in.
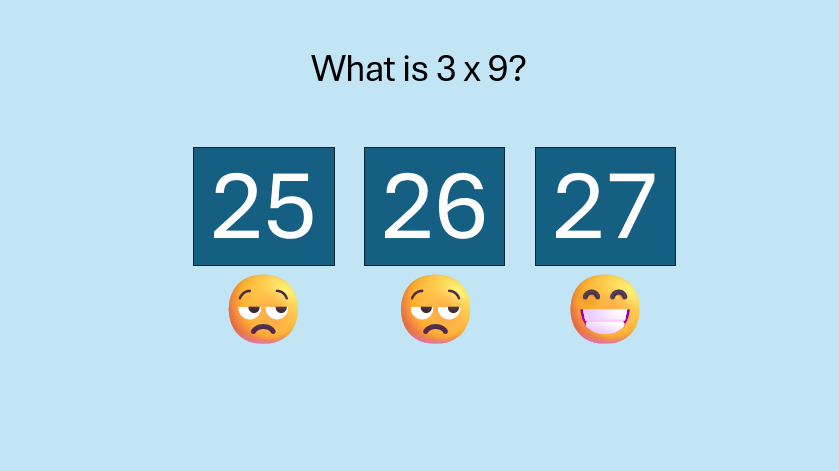
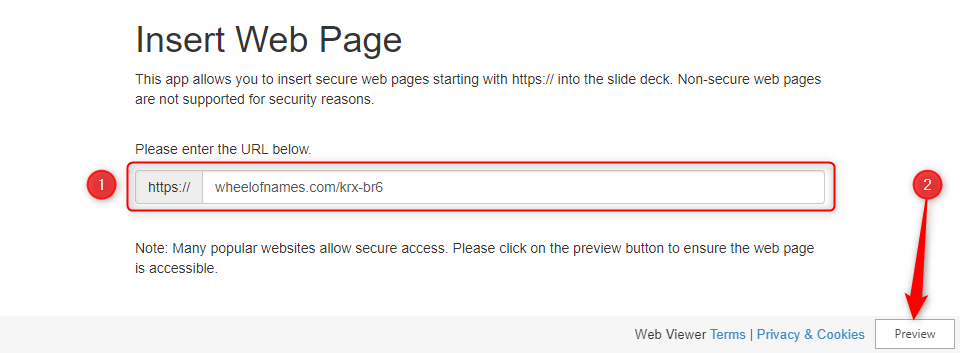
In our example, we will add a selector wheel to our slide.
Click “Preview” to see a sample of the web page’s appearance in your presentation.
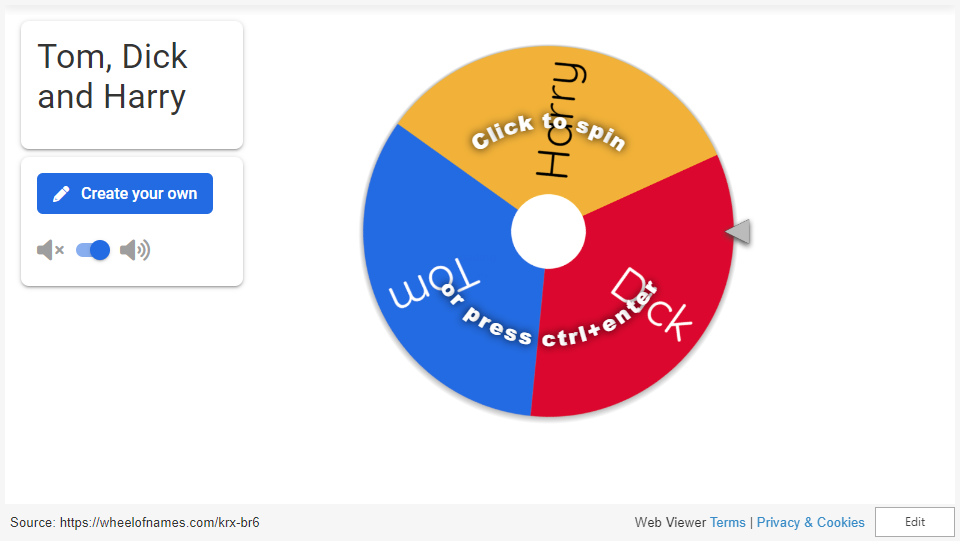
This is how ours will look.
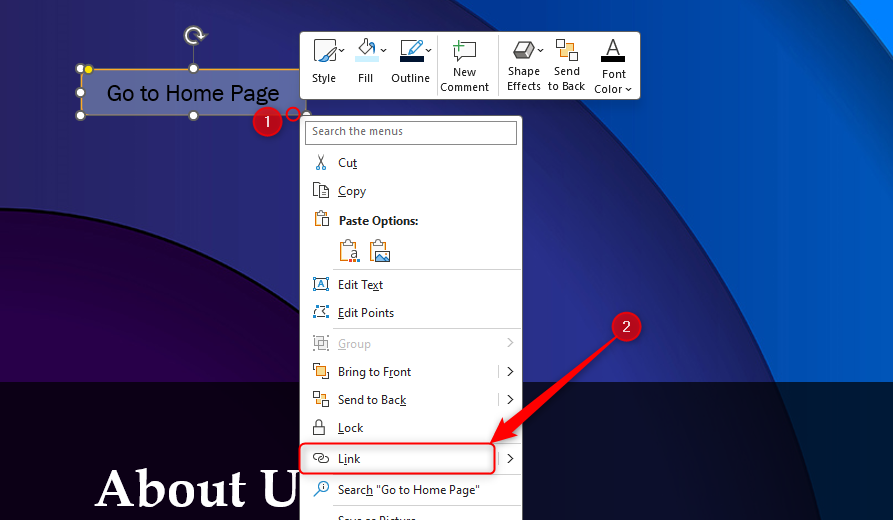
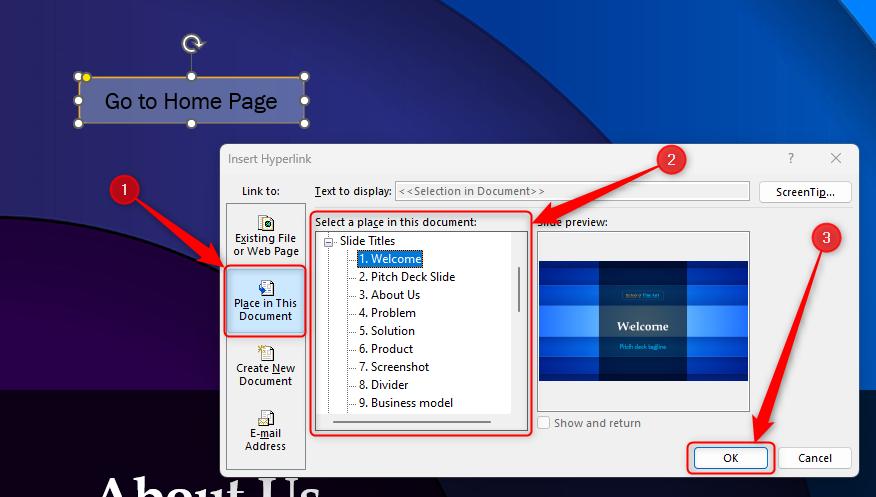
To create a link, right-hit the outline of the clickable object, and click “Link.”
Usefully, PPT will automatically prompt you to add a link to these shapes.
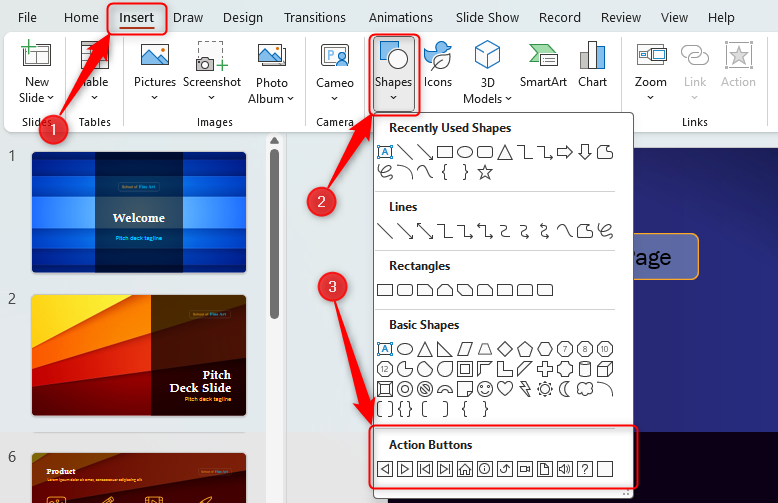
You might also want a menu that displays on every slide.
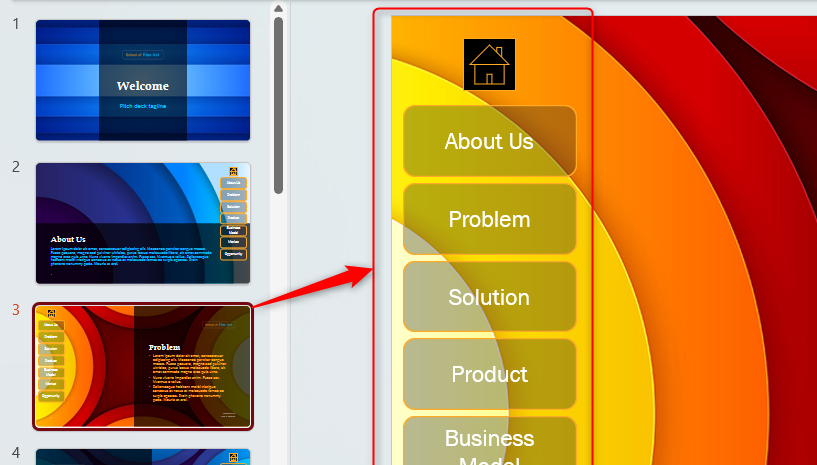
once you nail created the menu, add the links using the method outlined above.
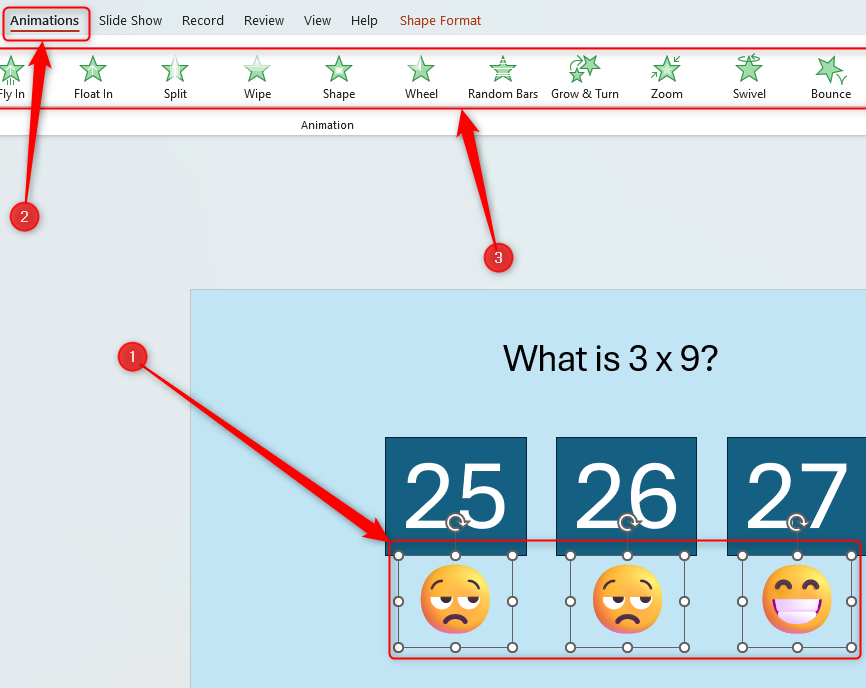
Then, select all the pop-ups together.
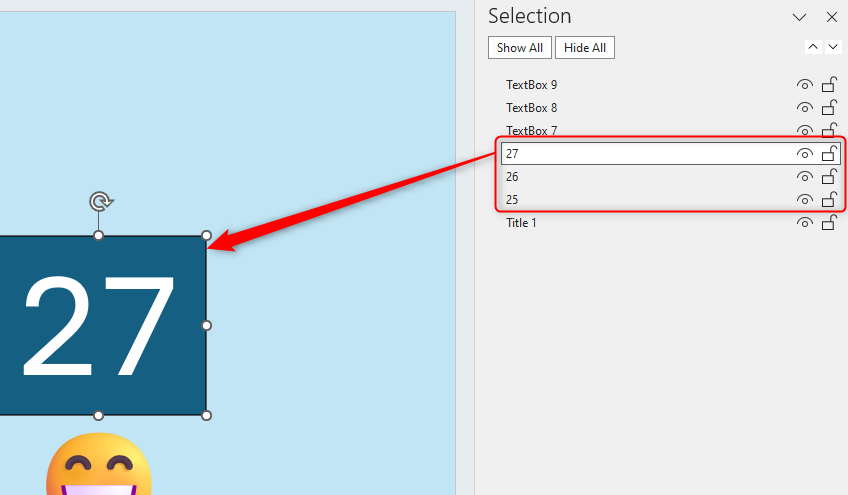
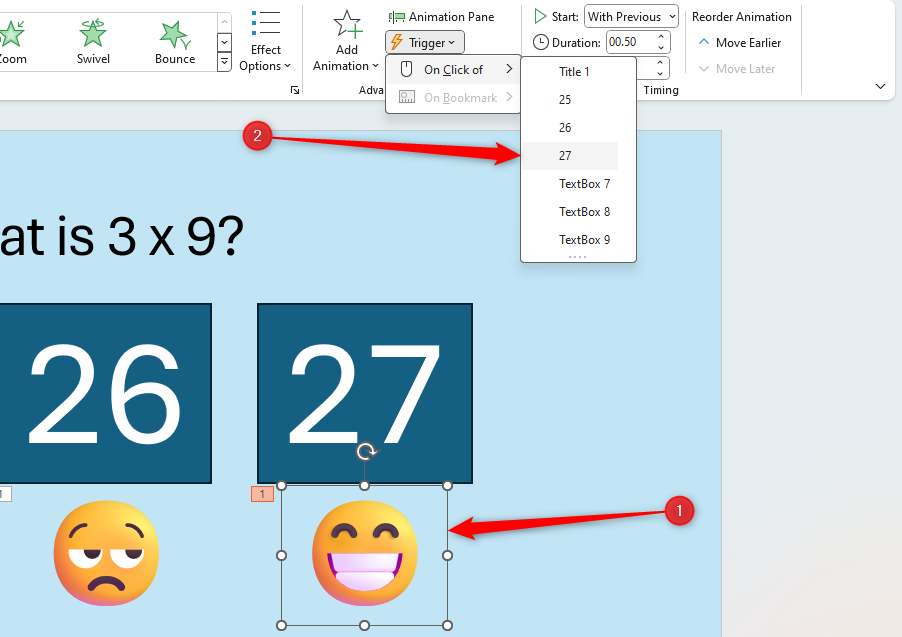
The next step is to rename the triggers in your presentation.
Finally, go back to the first pop-up.
Then, you might set the item to appear when a trigger is clicked in your presentation.
To do this, you should probably animate text boxes or shapes containing your countdown numbers.
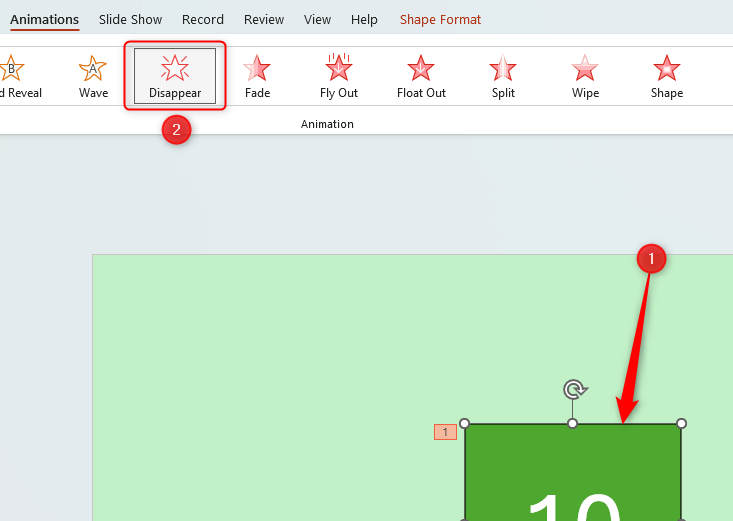
Choose and format a shape and pop in the highest number that your countdown clock will need.
In our case, we’re creating a 10-second timer.
Then, in the Exit menu, click “Disappear.”
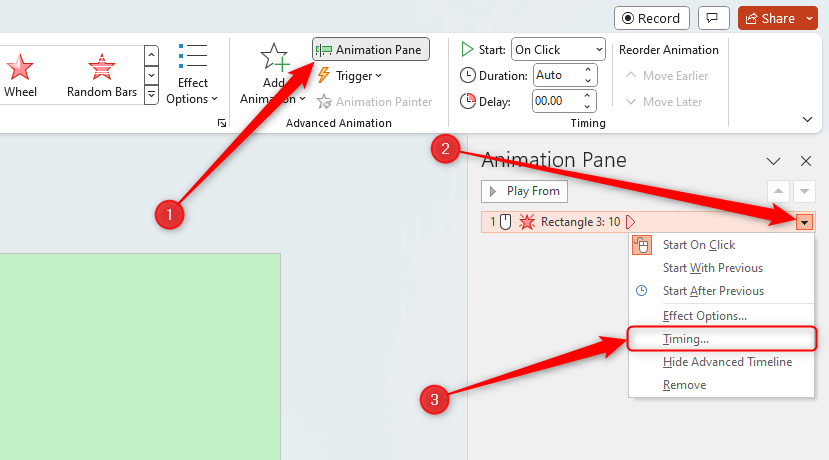
launch the Animation Pane, and tap the drop-down arrow next to the animation you’ve just added.
From there, choose “Timing.”
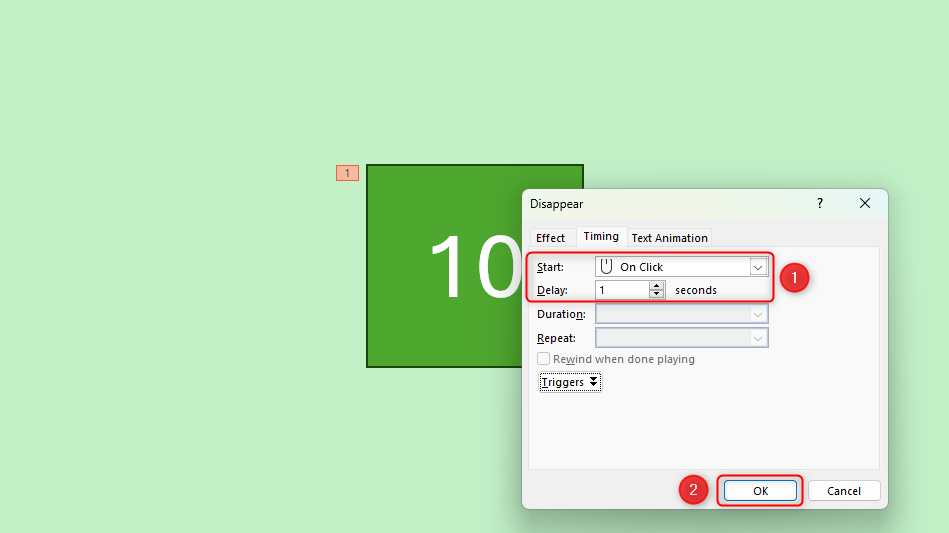
In the second box, type9.
Change the Start option to “After Previous,” and verify the Delay option is 1 second.
Next,remove the animationsfrom the “0” box, as you don’t want this to disappear.
To do this, snag the shape, and in the Animation Pane drop-down, click “Remove.”
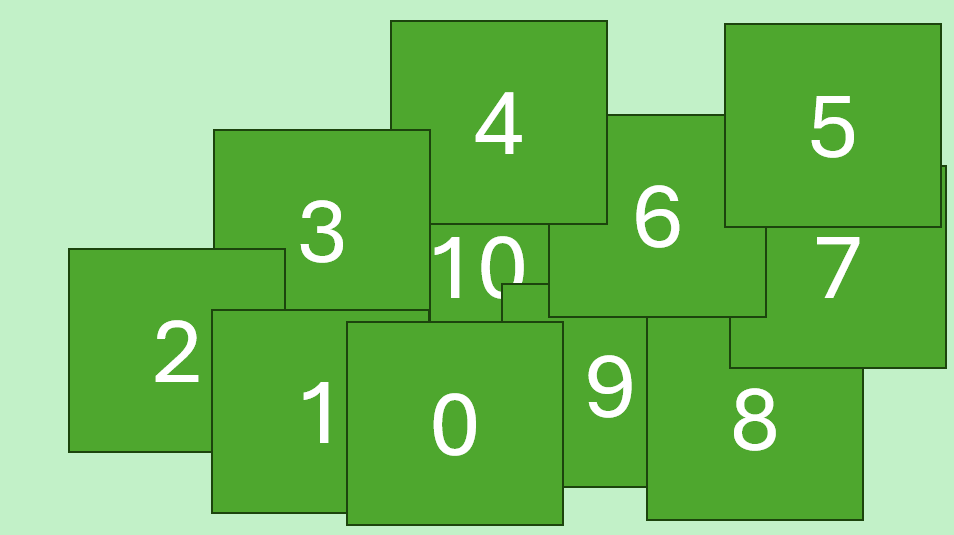
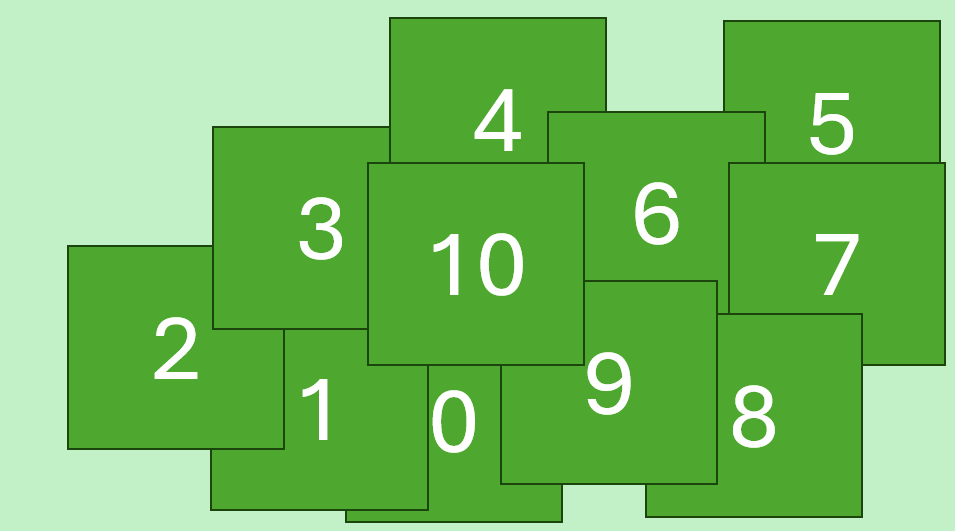
You now need to layer them in order.
Right-hit the box containing number 1, and click “Bring To Front.”
You will now see that box on the top.
Do the same with the other numbers in ascending order.
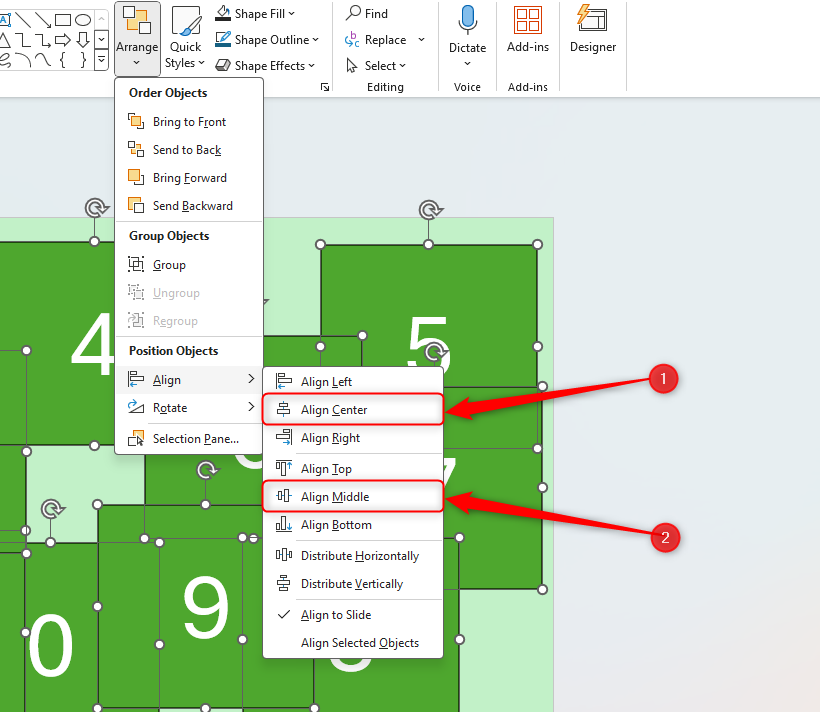
Finally, it’s crucial that you align the objects together.
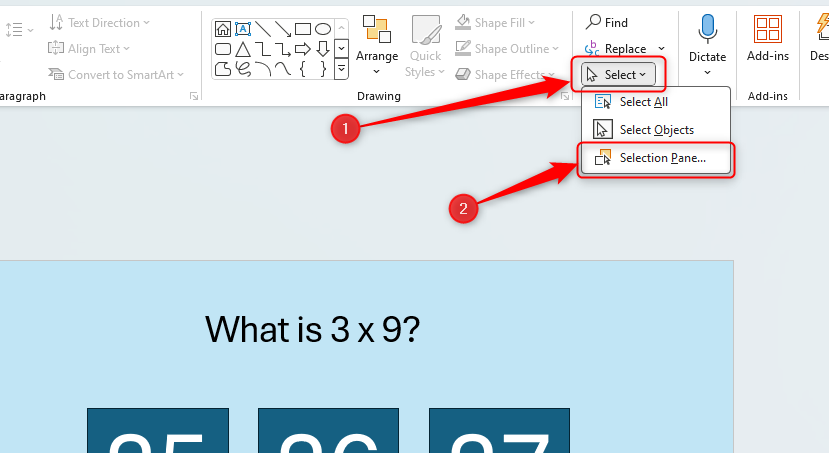
Click anywhere on your slide and press Ctrl+A.
Then, in the Home tab on the ribbon, click “Arrange.”