Quick Links
As with many Microsoft 365 programs, PowerPoint can take some getting used to.
it’s possible for you to use the Slide Master on a blank PowerPoint presentation or a Microsoft template.
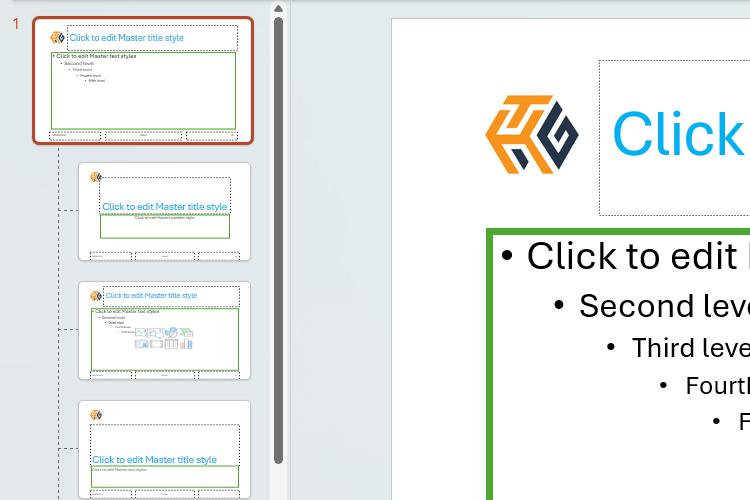
In the View tab on the ribbon, click “Slide Master.”

The top slide thumbnail is the master slide, and all related layouts are displayed underneath.
you’re free to also make changes to specific slide types.
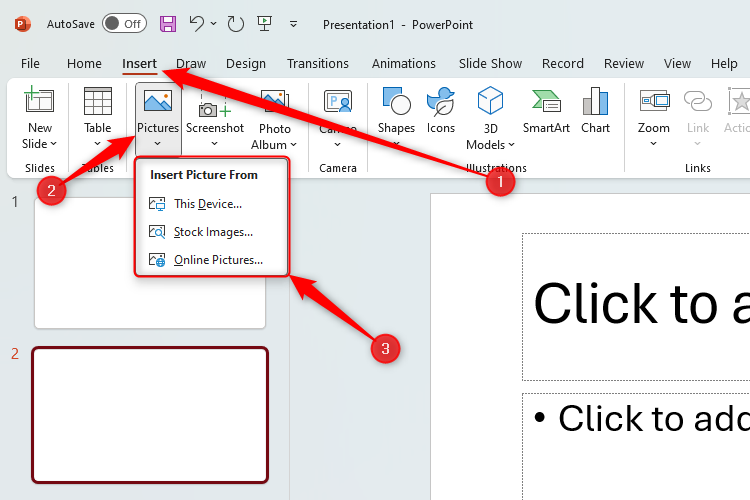
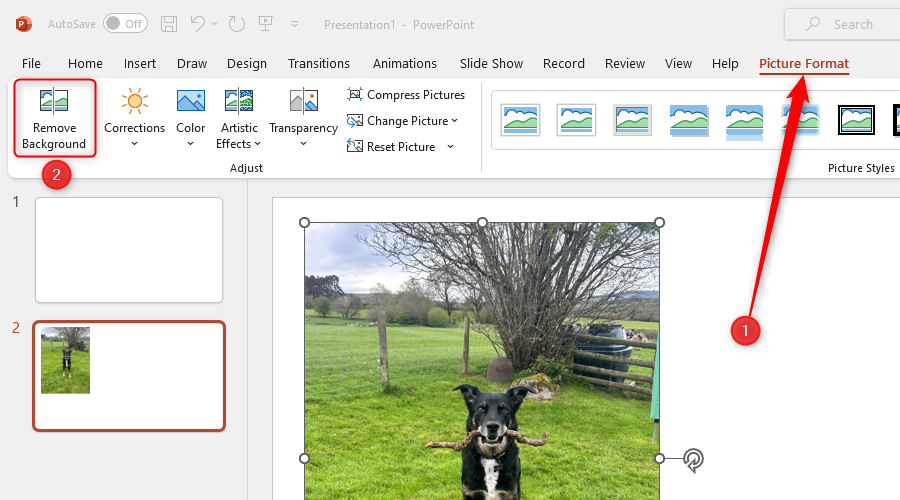
First, upload your image to PowerPoint.

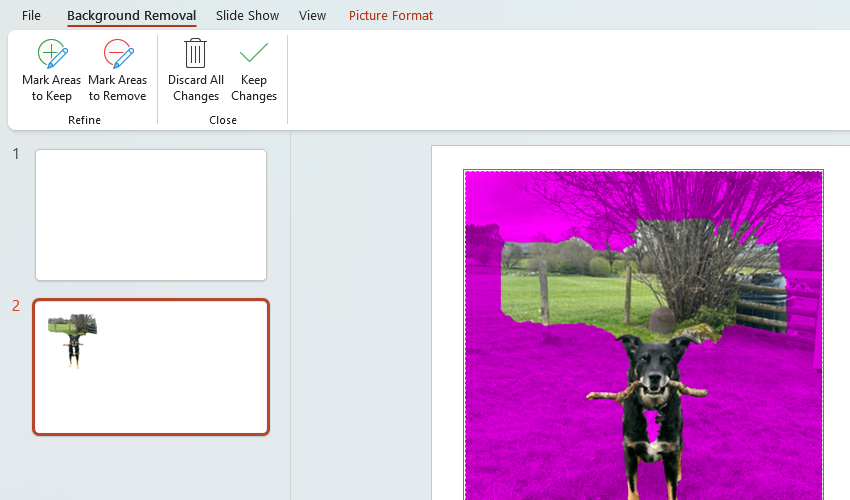
The part it intends to remove will be highlighted in purple.
However, sometimes, PowerPoint’s background recognition might not work perfectly well, as in my screenshot above.
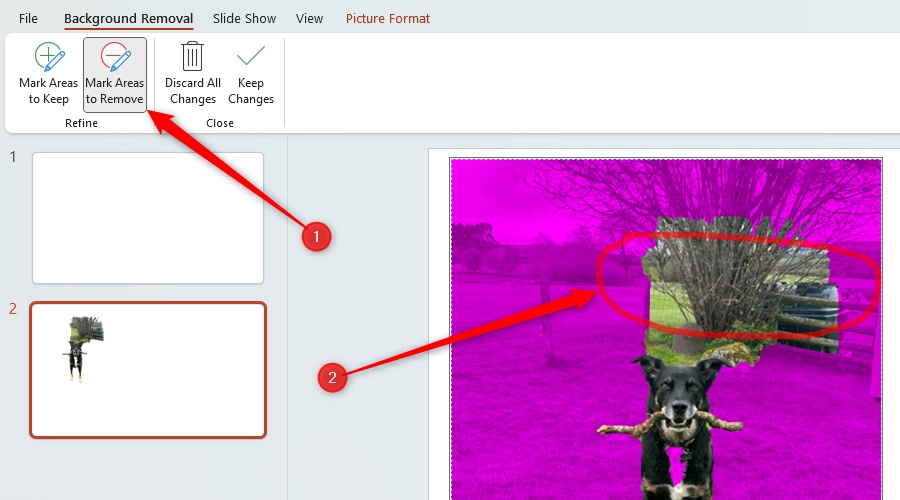
Each time I click and then unclick, the image will update accordingly.
When you’re done, click “Keep Changes.”
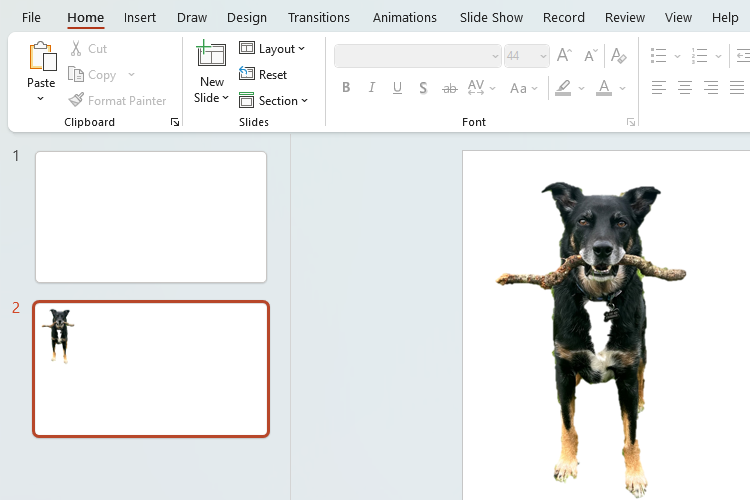
You will then see the new image with only the foreground retained.
Cropping Images Is Surprisingly Easy
Is your image too big?
Or do you just want to make the background smaller?
PowerPoint lets you do this in just a few clicks.
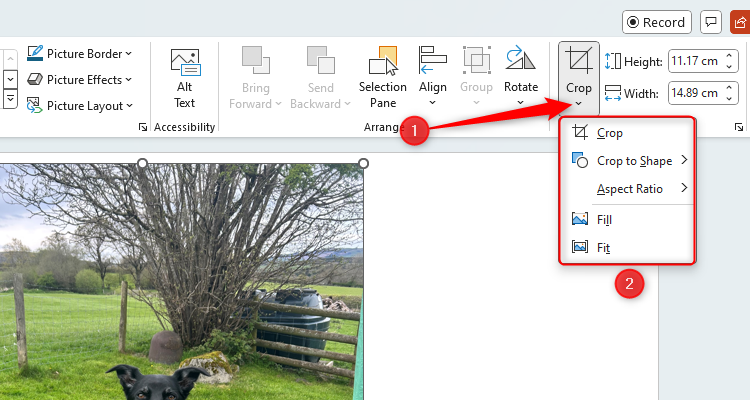
Select your uploaded image and, in the Picture Format tab, pick the “Crop” drop-down arrow.
You will then see five options.
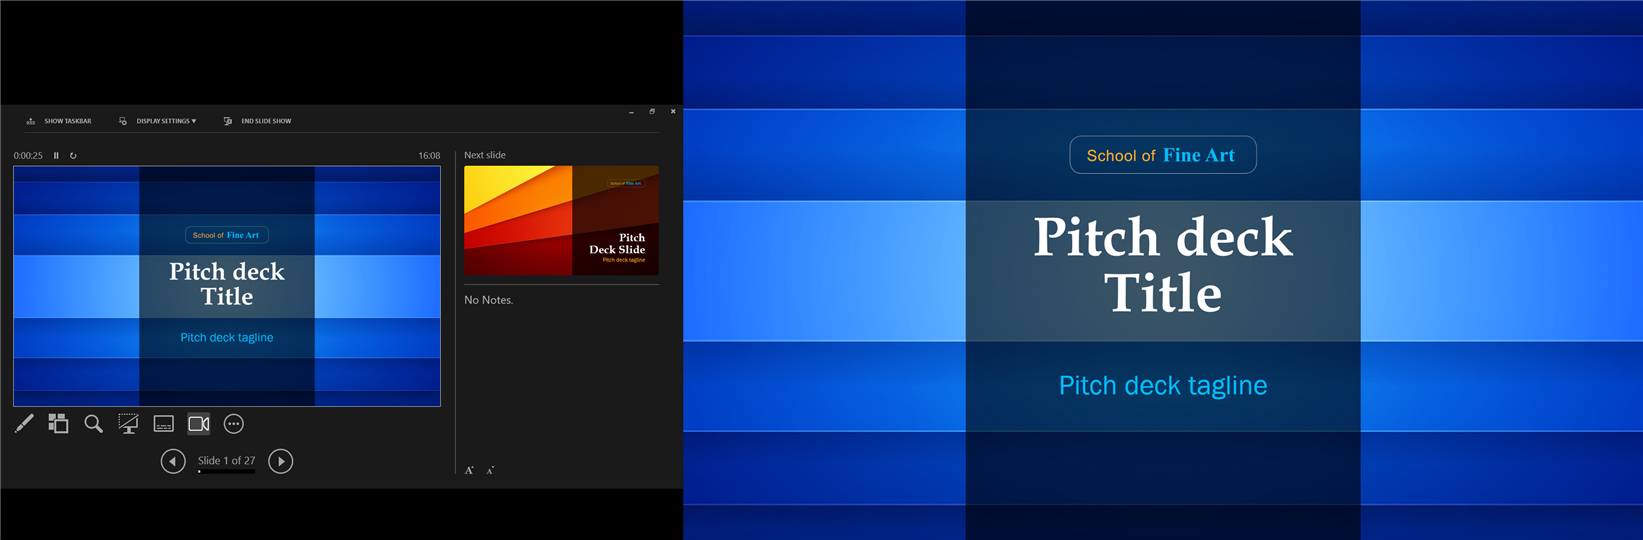
Then, when you press F5, you’ll see these notes in the Presenter View.
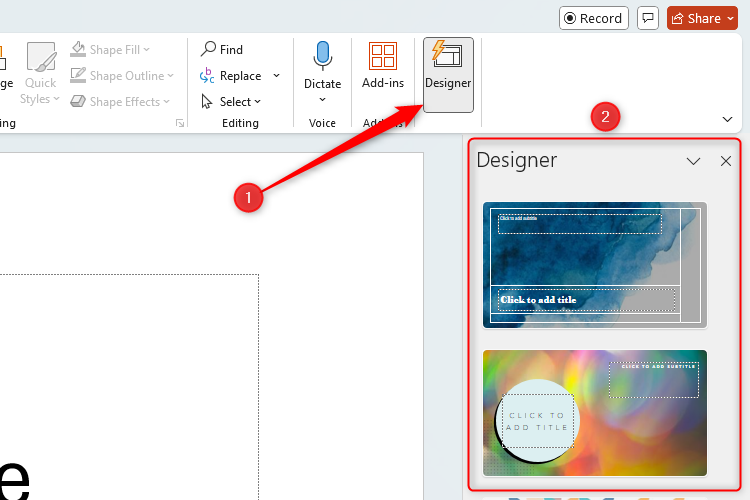
Open a blank PowerPoint presentation and head to your title slide.
Then, in the Home tab on the ribbon, click “Designer.”
Don’t jump straight into a design.
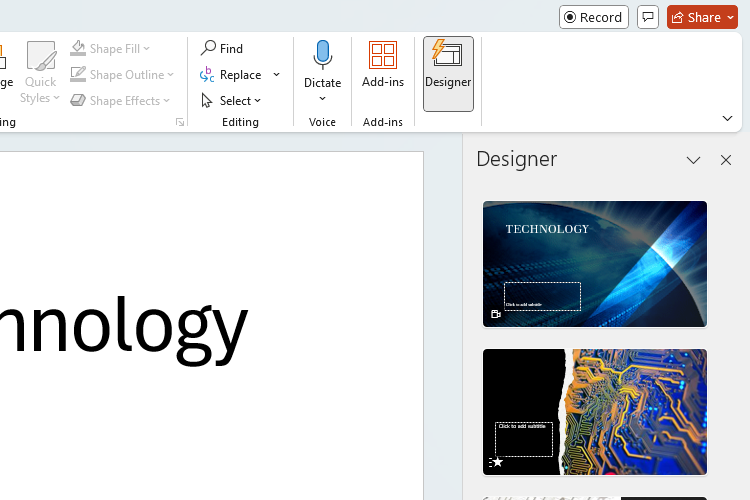
Add a sub-heading to your title slide, and see the design suggestions update again.
Once you see an appropriate design, simply click your choice.
When you create new slides, the rest of the presentation will be designed to match your title slide.
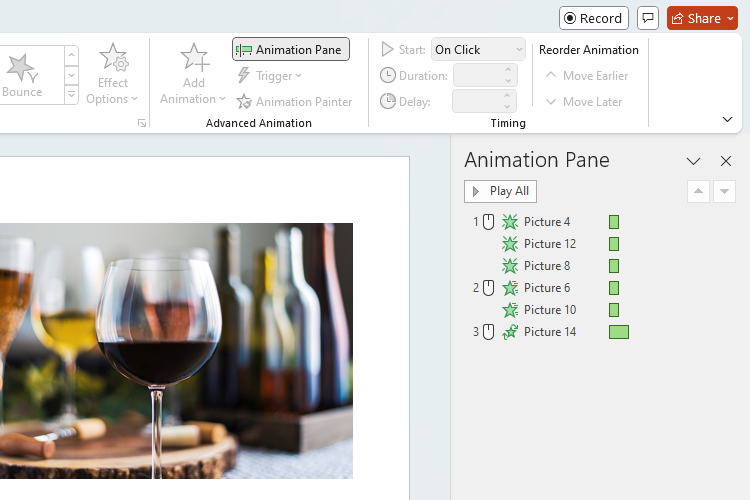
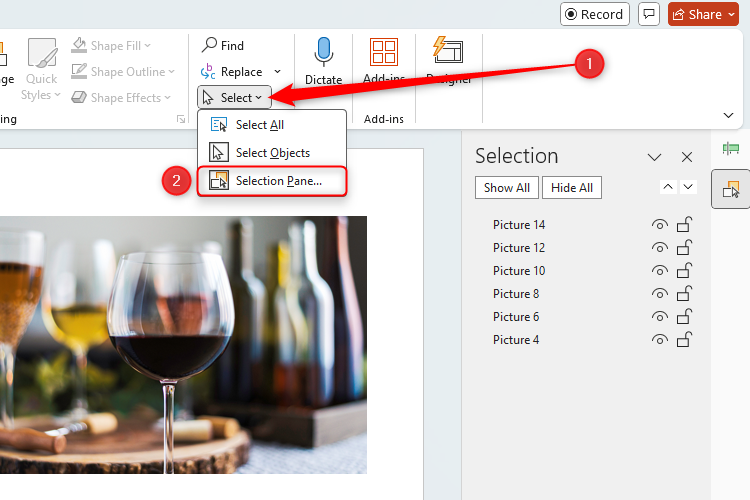
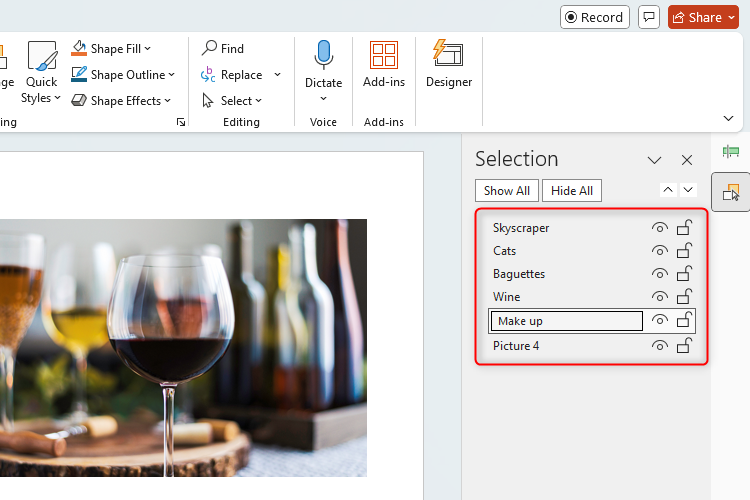
Instead, I find that naming the objects individually makes this process a lot clearer.
Useful Keyboard Shortcuts
Do you have only a few hours to create your PowerPoint presentation?