The steps in this guide refer to the Microsoft Word desktop app on Windows 11.
However, some of the tips will also work on Word for the web and other operating systems.
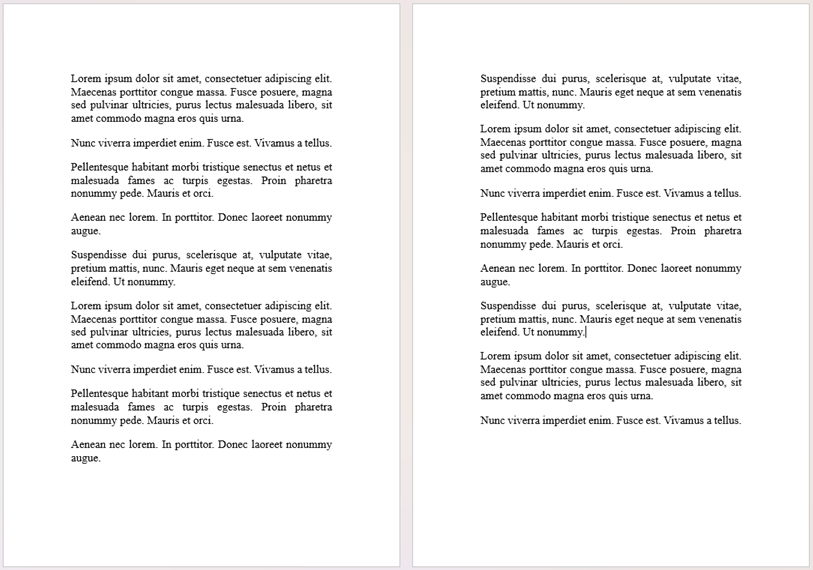
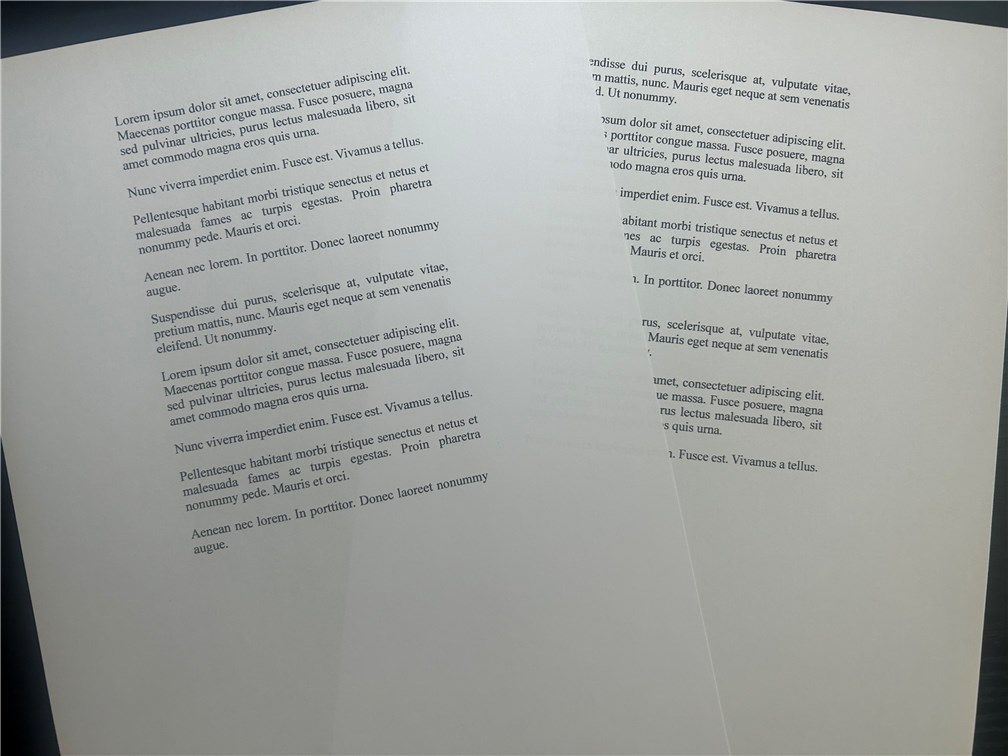
Let me show you an example.
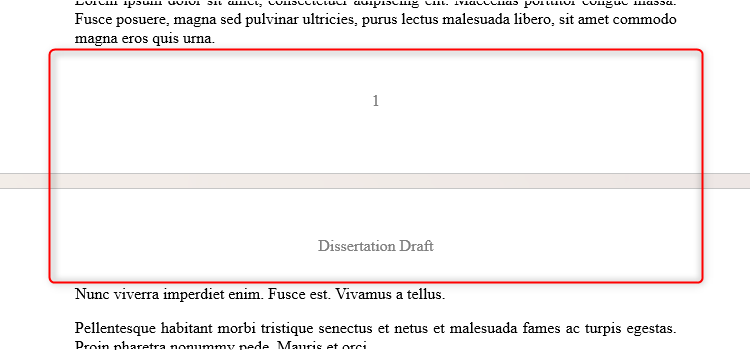
However, this is how it looked when I printed it.
Notice the extra-large margins around the edge, and the text cutting off at the bottom of the page.
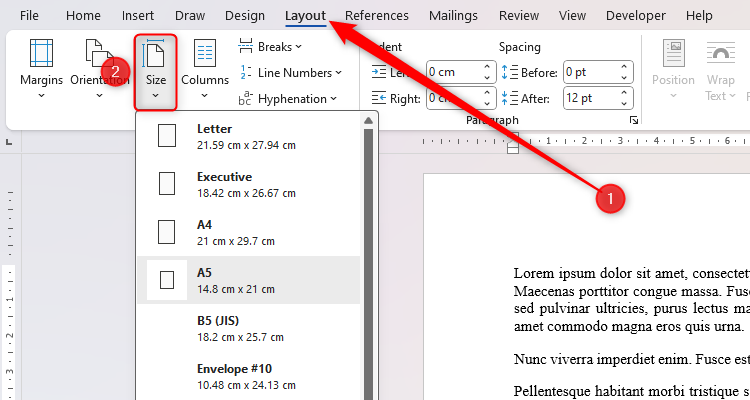
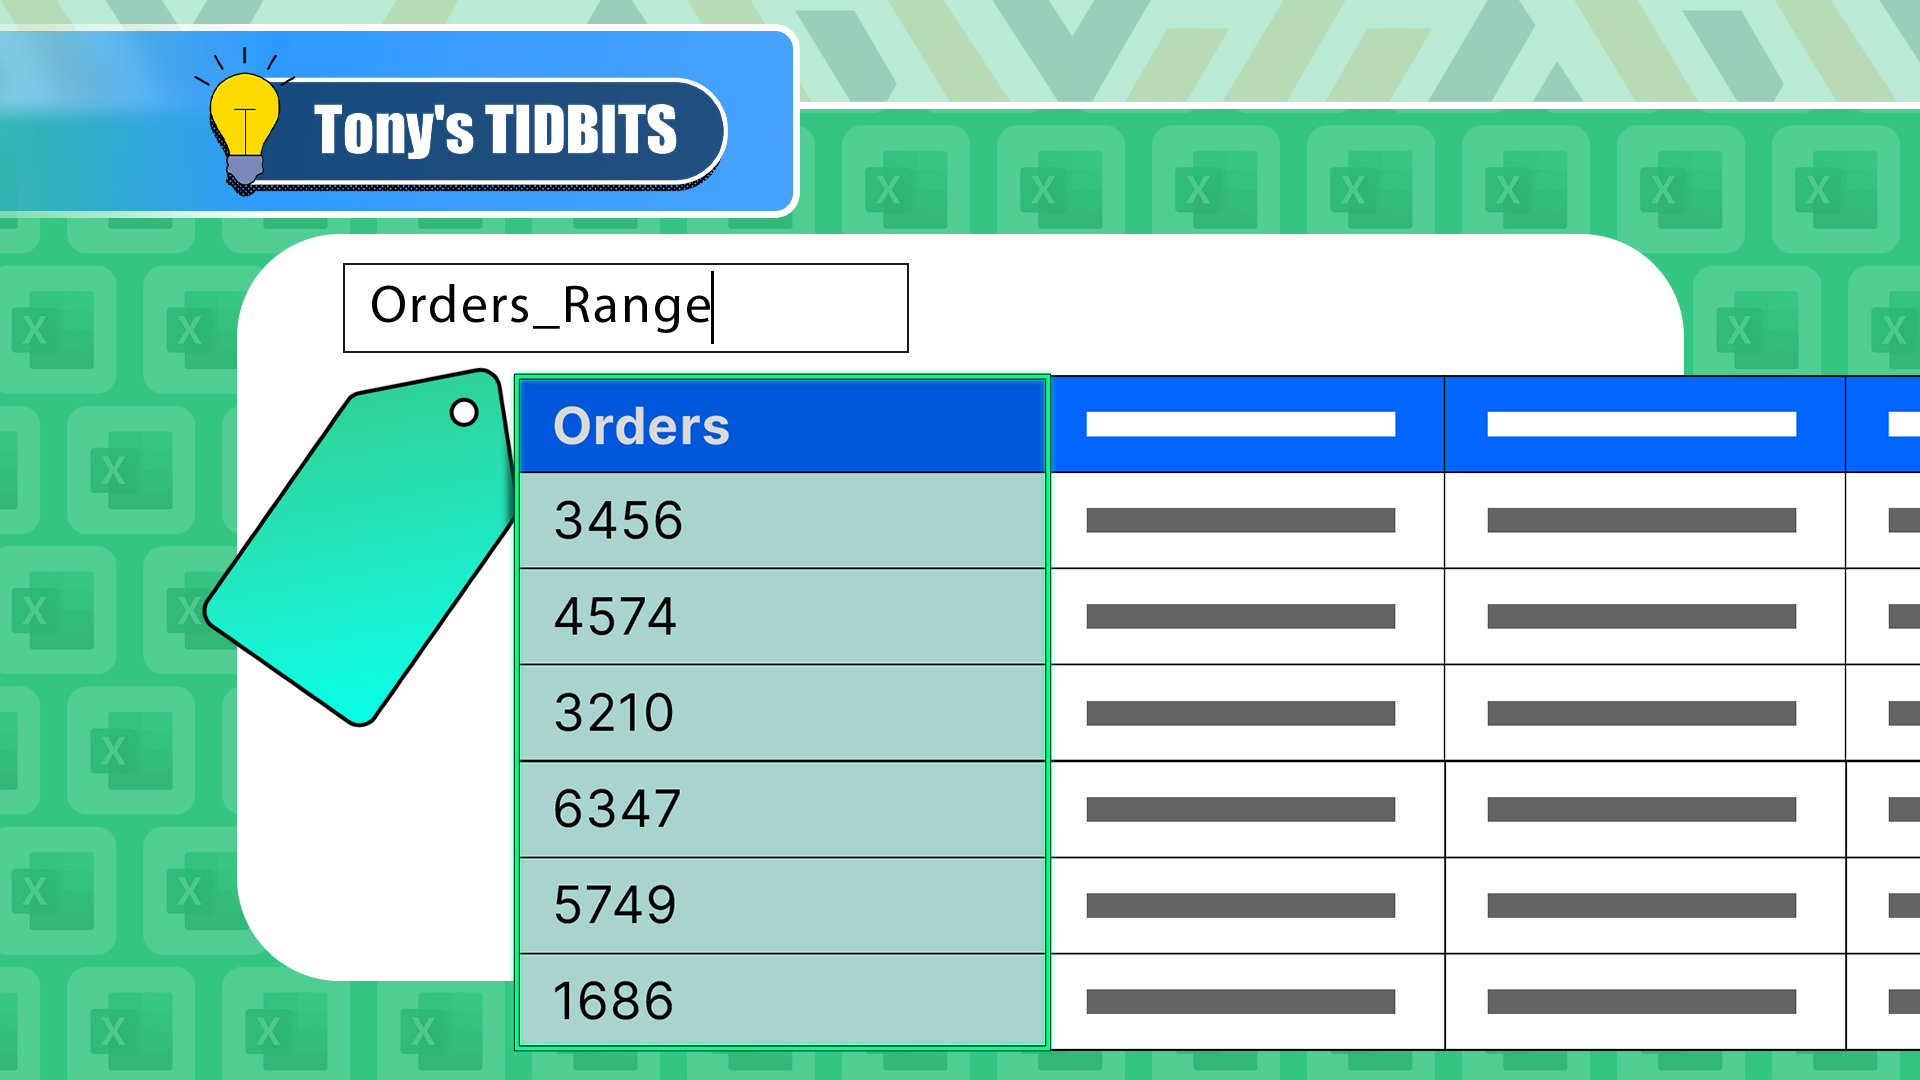
One way tocheck and change the paper sizeis by clicking Layout > Size in your Word document.
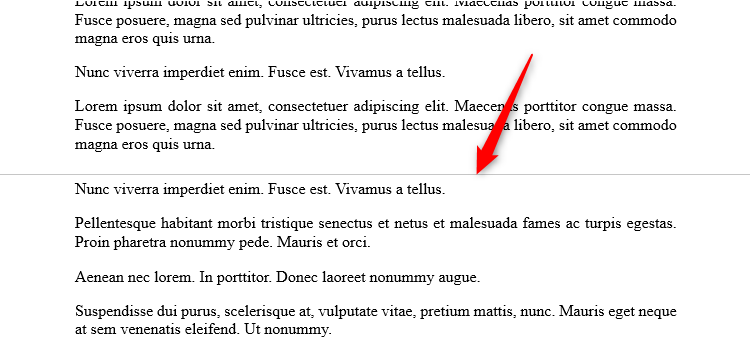
This is known as the “white space.”
In other words, the margins are still therethey’re just hidden.
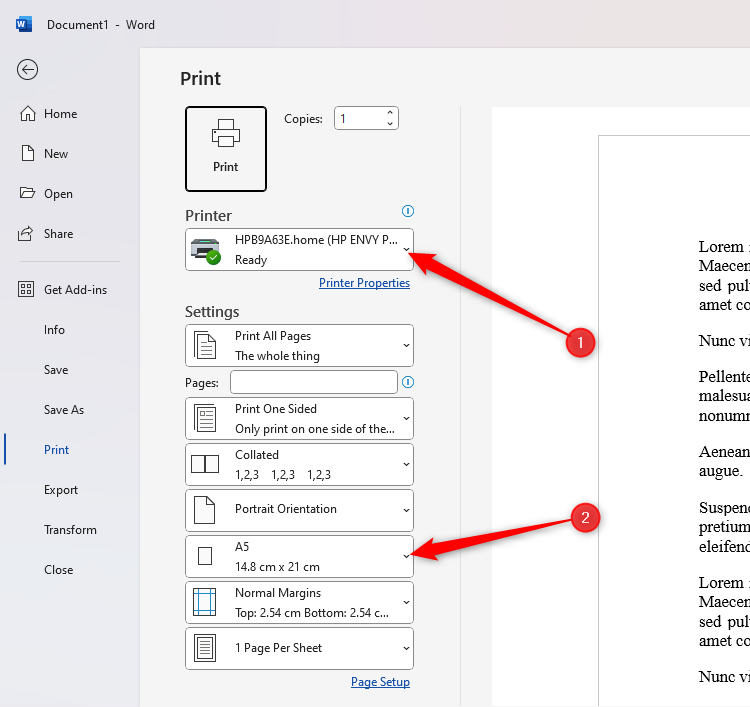
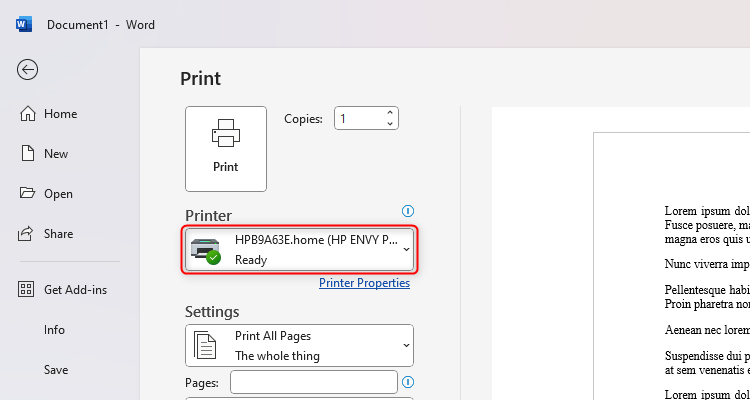
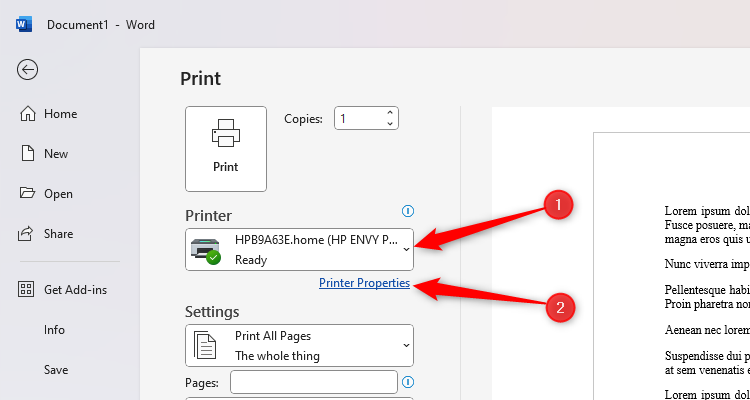
After pressing Ctrl+P, first confirm that you have selected the correct printer.
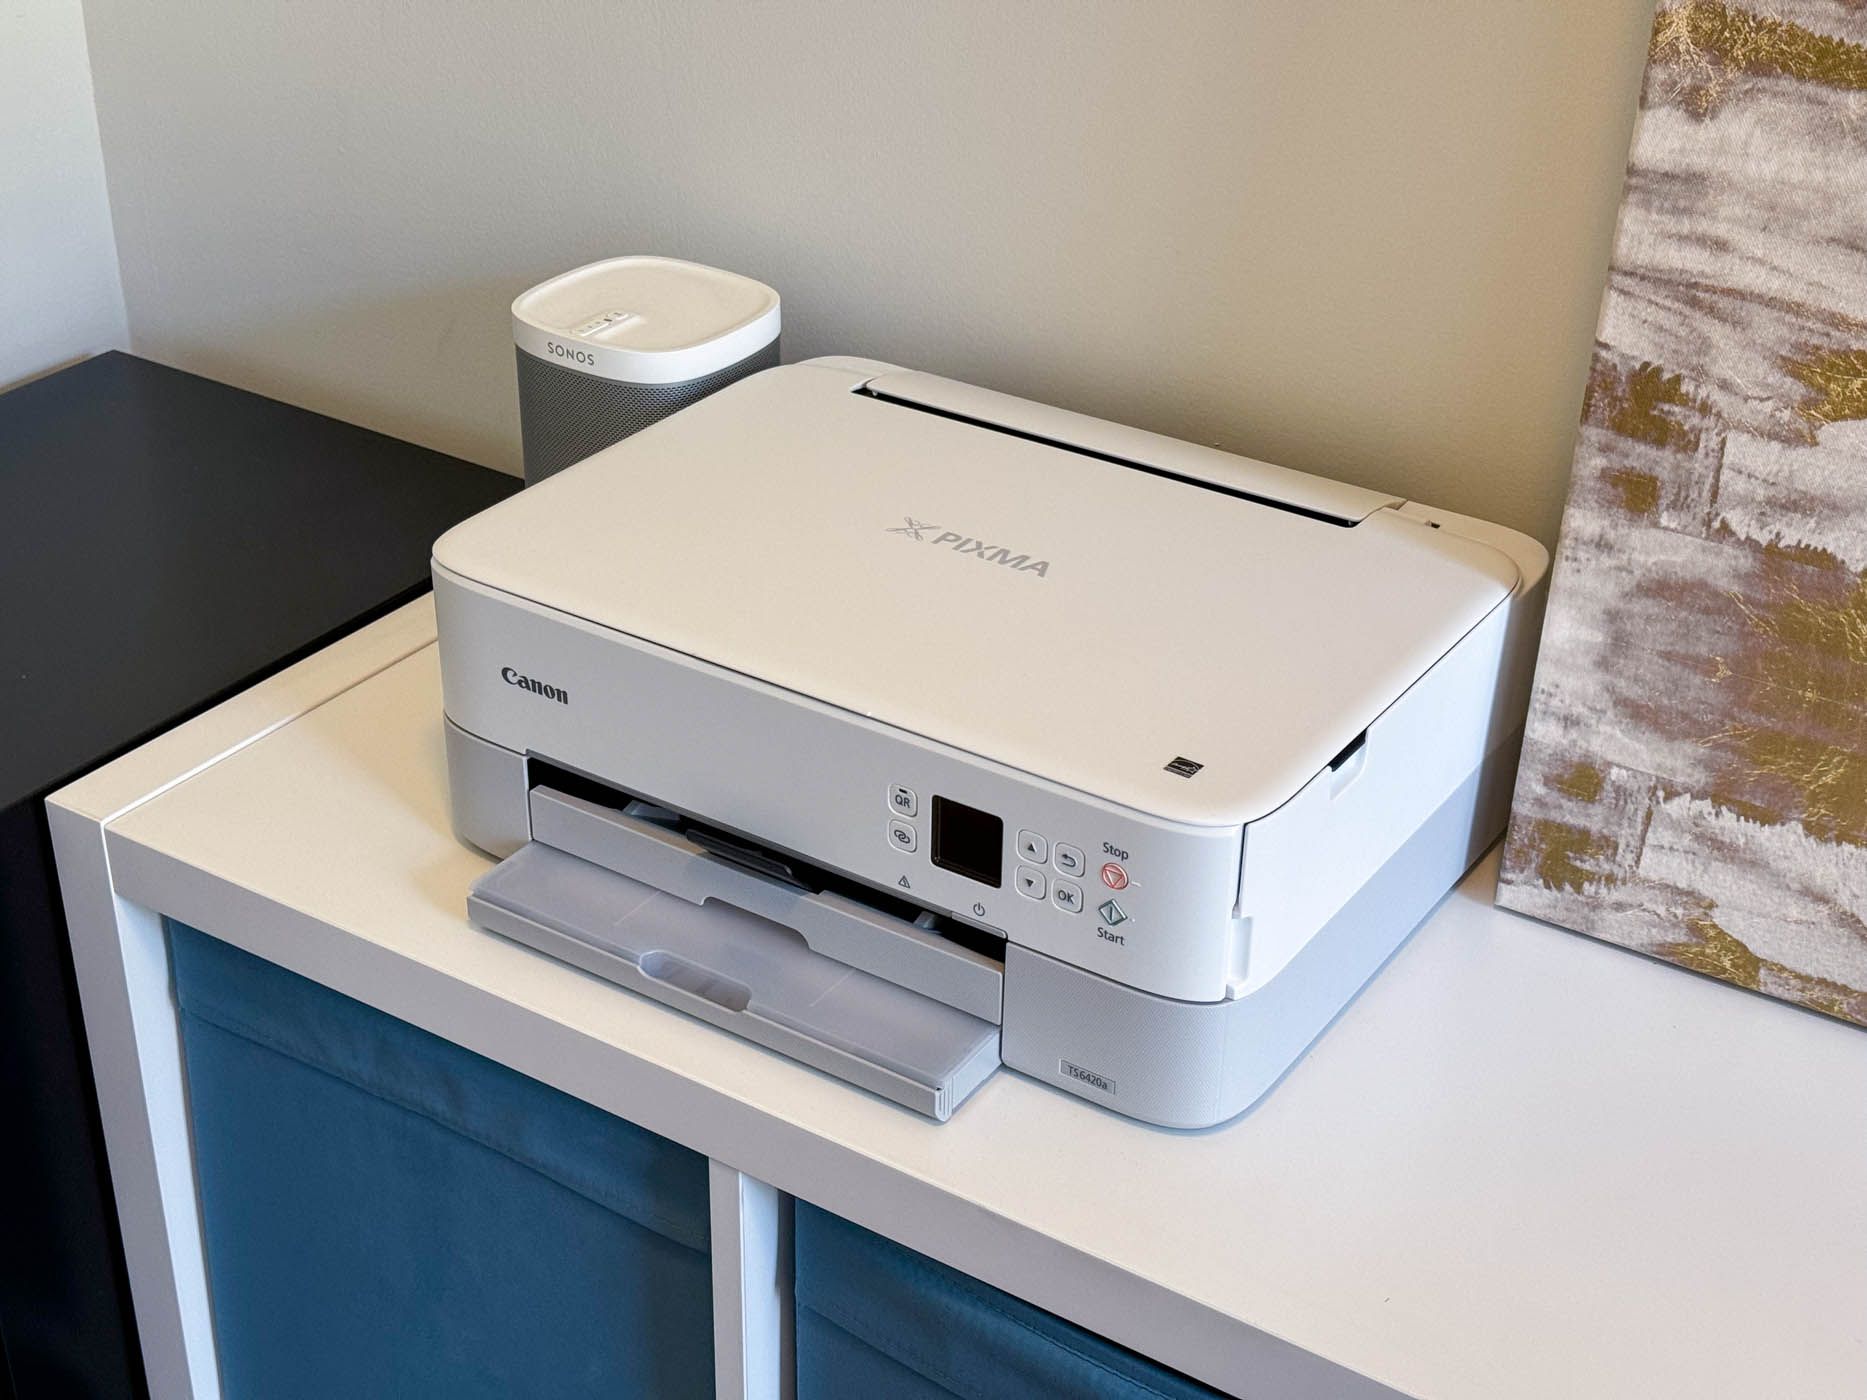
Andrew Martonik / How-To Geek
This will ensure that your print preview represents what that specific printer intends to print.
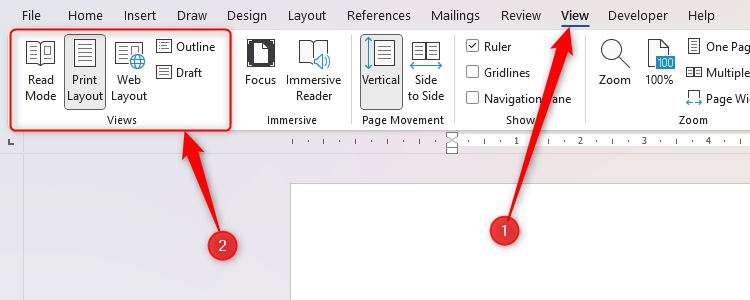
Microsoft Word offers different views, accessible through the View tab on the ribbon.
Each of these views has a specific purpose.
The layout of the dialog box that opens will vary depending on the printer you are using.
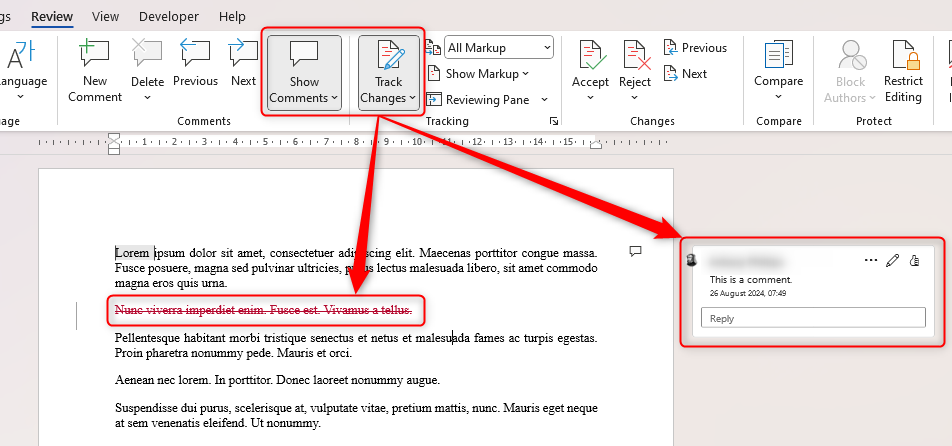
Both of these options are accessed through the Review tab on the ribbon.
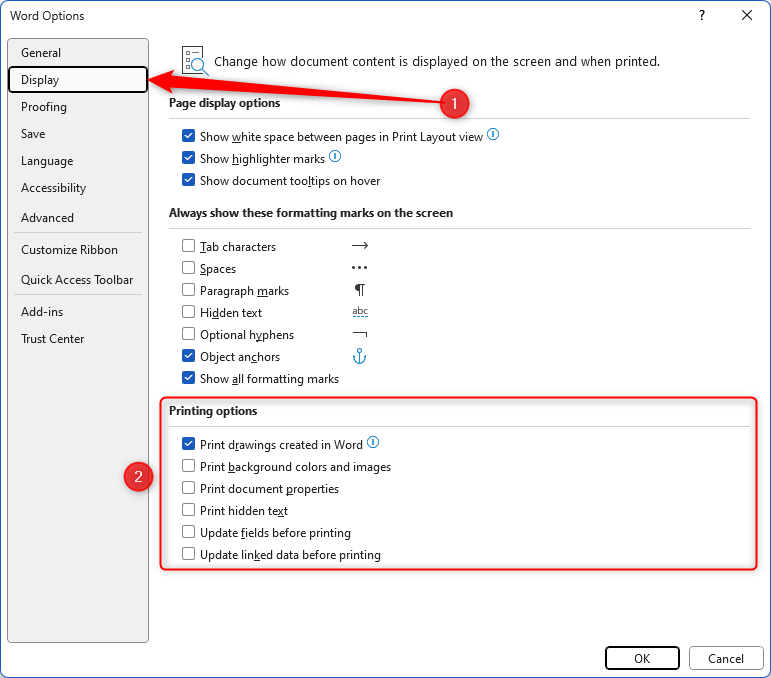
Click File > Options to kick off the Word Options dialog box, and click “Display.”
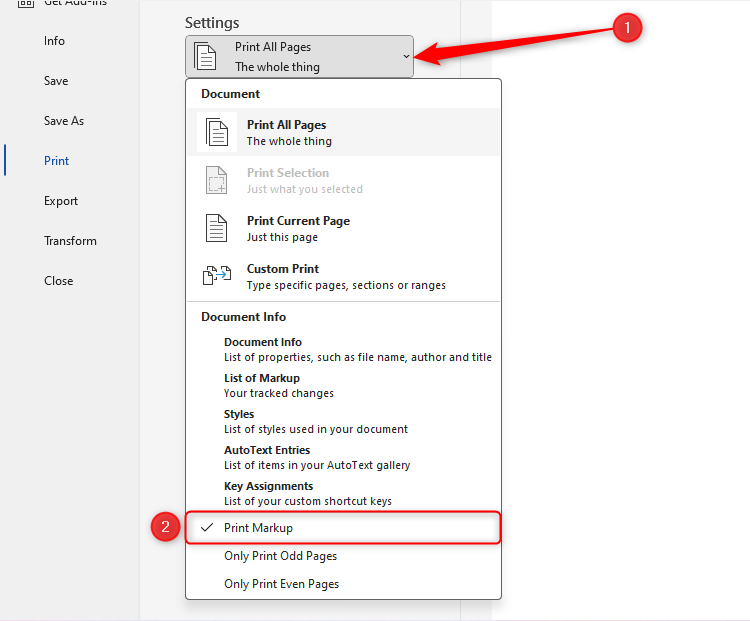
Then, review the choices in the Printing Options menu at the bottom.
Hopefully, your printout will now look exactly how it looks on screen.