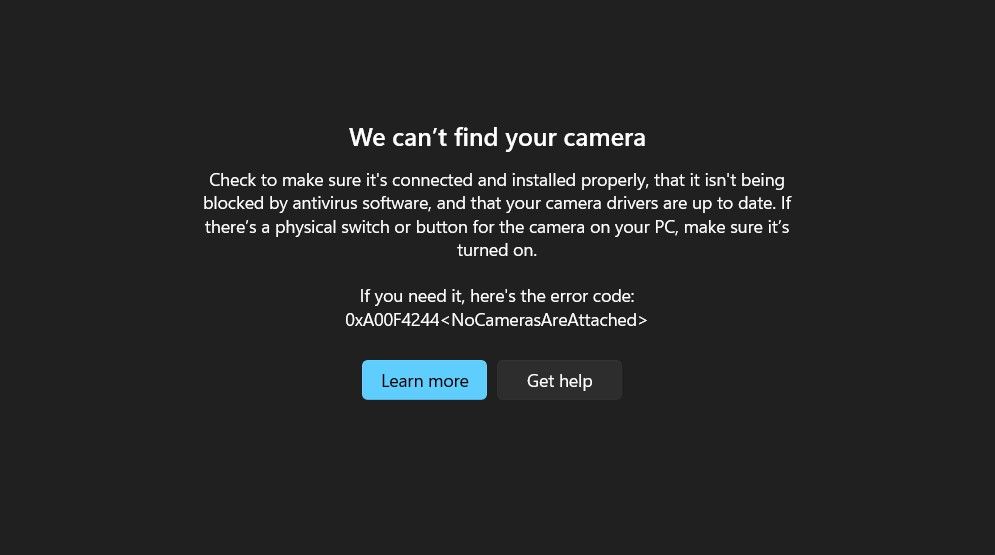
This error, accompanied by the 0xA00F4244 error code, can stem from various causes.
Fortunately, it’s a very common issue, and you could quickly fix it using the below solutions.
This is because a temporary glitch in the Windows Camera app can sometimes cause the issue notification.
Hannah Stryker / How-To Geek
If it does, continue with the next troubleshooting method.
If the camera starts working, it indicates an issue with the original port.
In this case, you should take your gadget to a technician for port repair.
Ensure the Camera Is Enabled In the gadget Manager
Windows allows you to enable or disable your camera manually.
In this case, verify that your camera is not disabled.
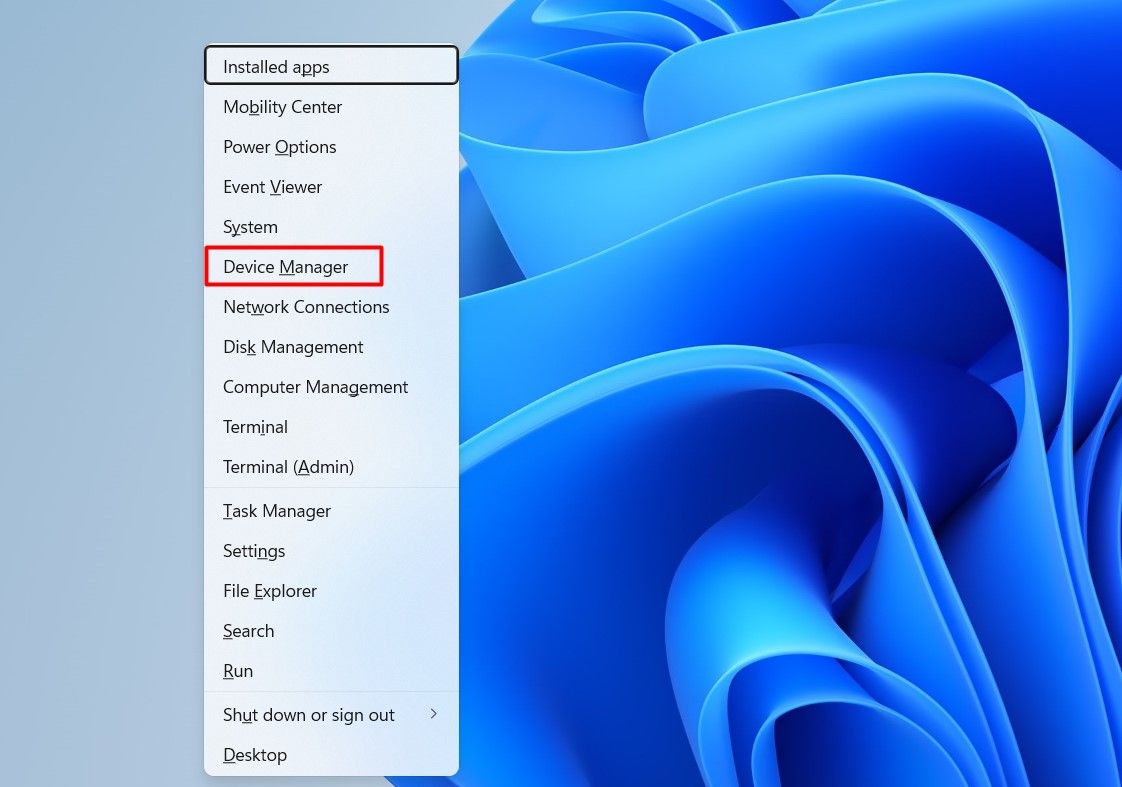
To check that, press the Windows+X keys together and select “gadget Manager” from the context menu.

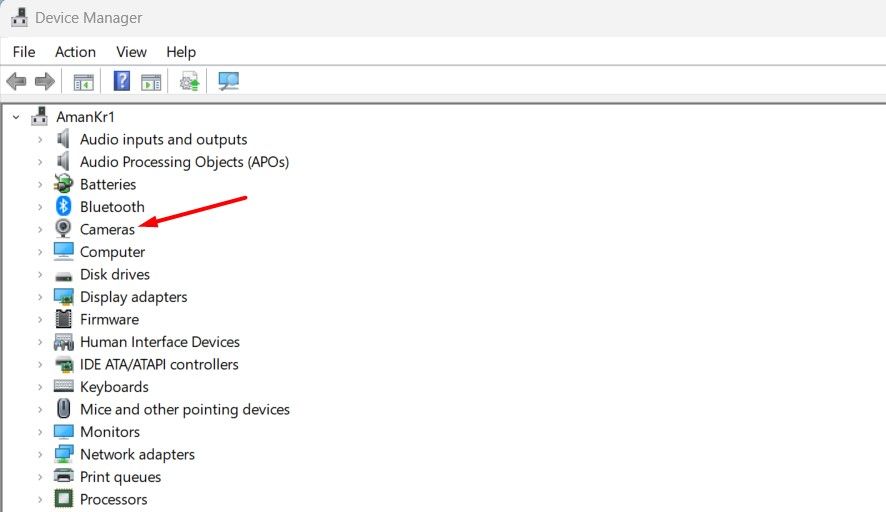
WithinDevice Manager, expand the “Cameras” category.
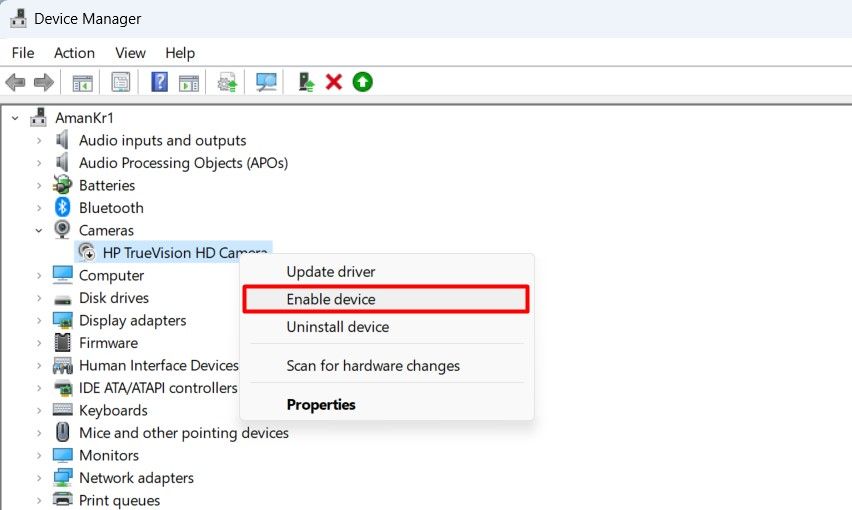
Next,right-clickon your camera and check the context menu that appears.
If the option to “Enable equipment” is available, it indicates that your camera is disabled.
To activate the camera, snag the “Enable machine” option.
Now, terminate the unit Manager and check for the issue.
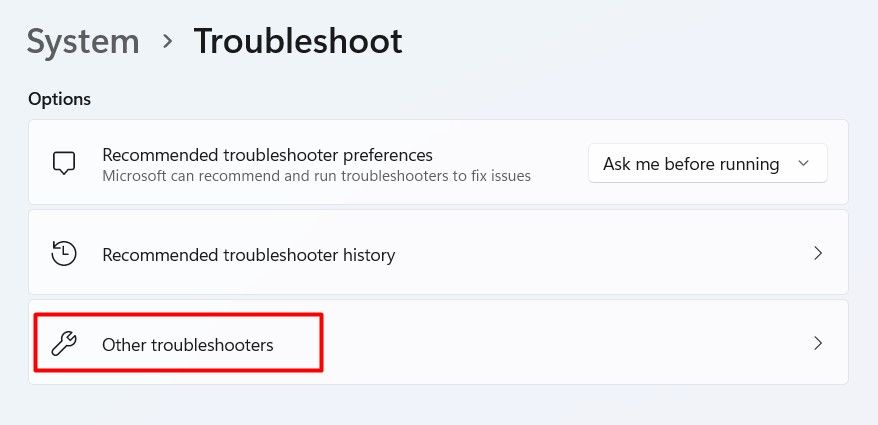
Click “Other Troubleshooters.”
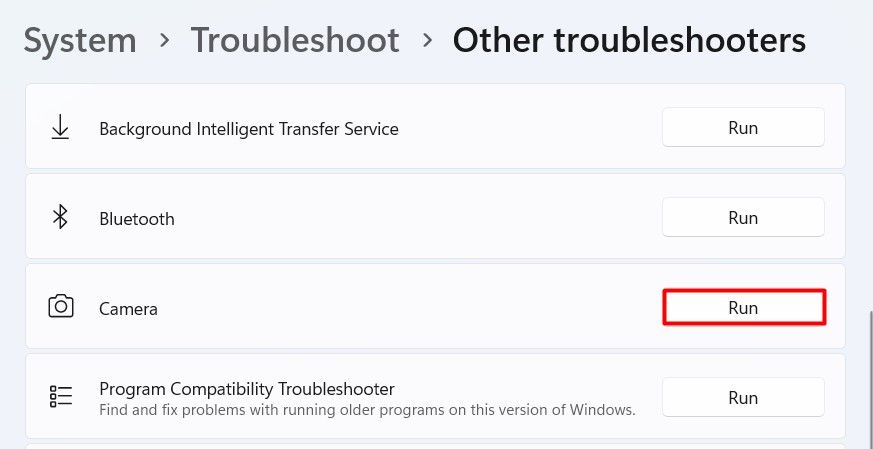
Click “Run” next to the Camera option.
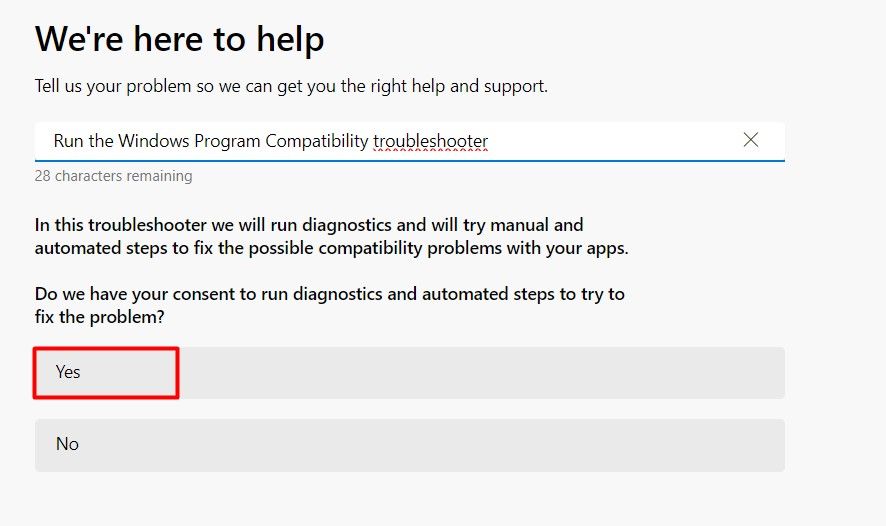
A Get Help window will appear.
Click “Yes” to grant permission for automated diagnostics to be run.
The Get Help window will proceed to perform necessary fixes.
Once completed, reset your gear and verify if the issue persists.
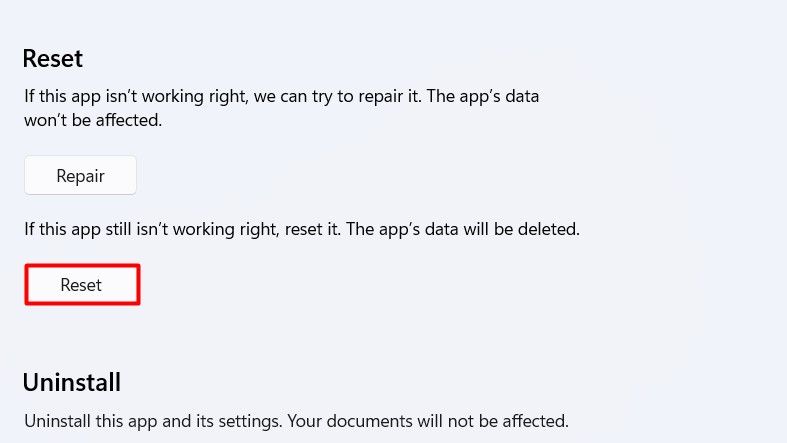
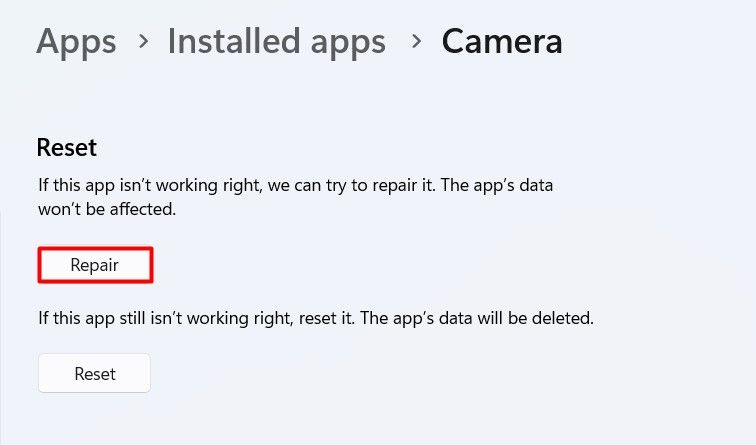
If it does, consider using the Windows built-in repair and reset feature.
smack the “Repair” button.
Windows will attempt to repair the app.
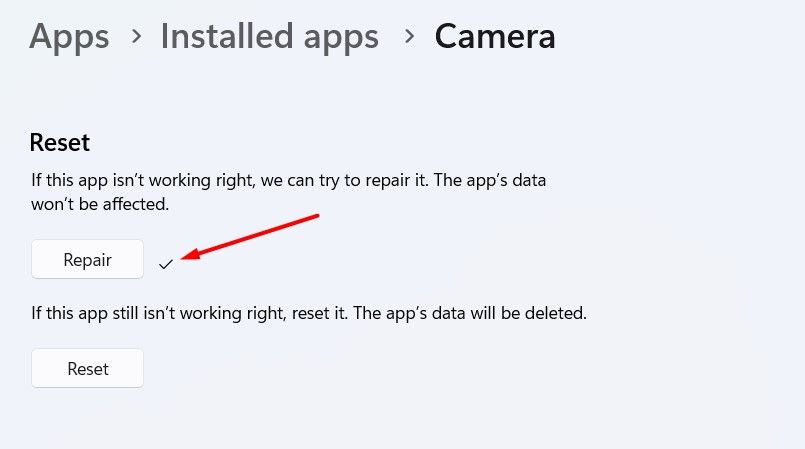
Once the repair process is complete, a checkmark will appear next to the Repair button.
Subsequently, launch the Camera app and verify if it’s functioning correctly.
If you’re still encountering the fault signal, you’ll need to reset the Camera app.
To reset the Camera app, poke the “Reset” option.
Windows will reset the Camera app.
Once the reset process is complete, another checkmark will appear next to the Reset button.
After that, launch the Camera app, and the issue should be resolved.
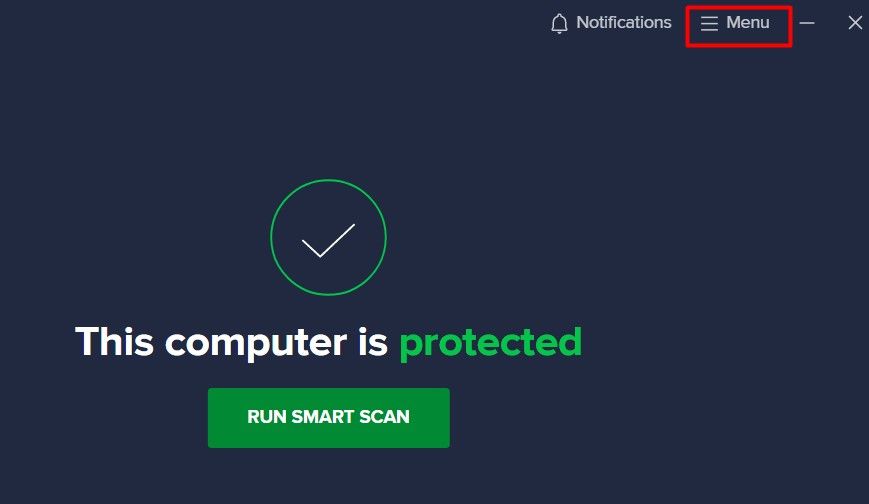
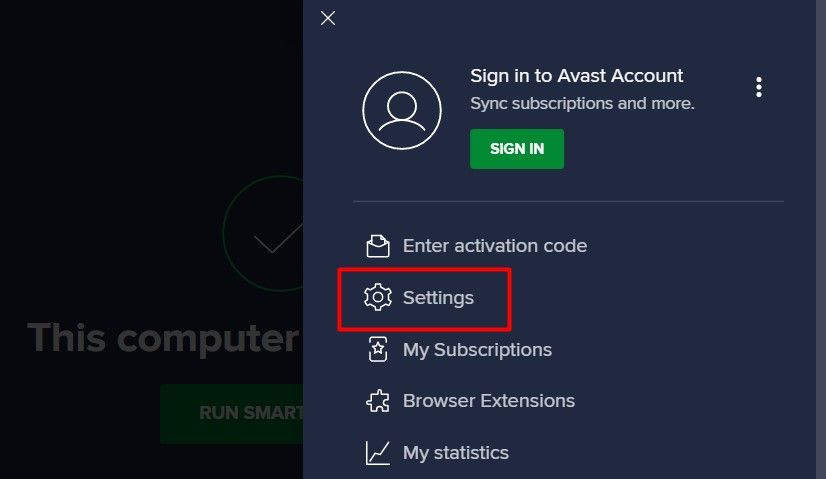
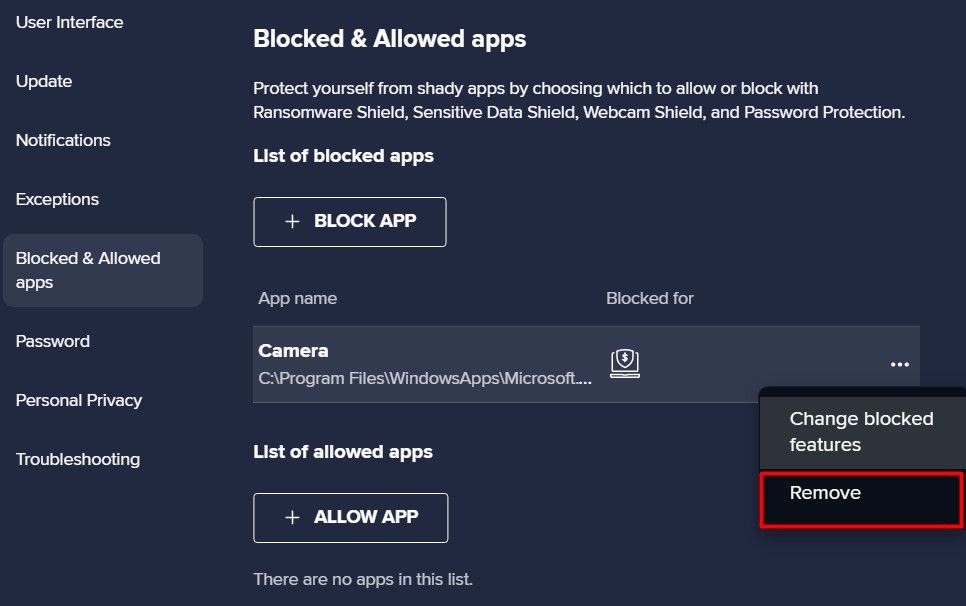
The steps to check the blocked apps list vary depending on the antivirus program.
Then, choose “configs” from the menu that appears.
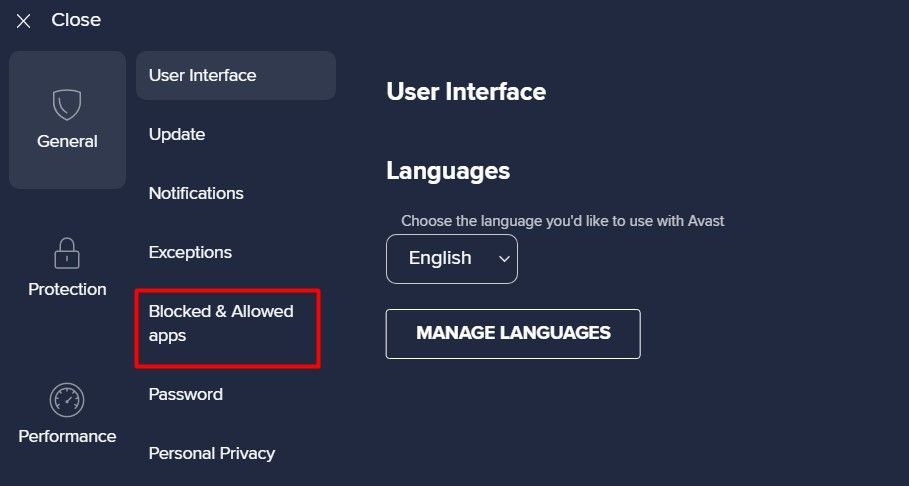
nudge the “Blocked & Allowed Apps” option in the left sidebar.
test whether the Windows Camera app is in the blocked app list.
If it is, tap the three dots next to the app and choose the “Remove” option.
After that, shut the antivirus program.
You should now be able to use the Camera app.
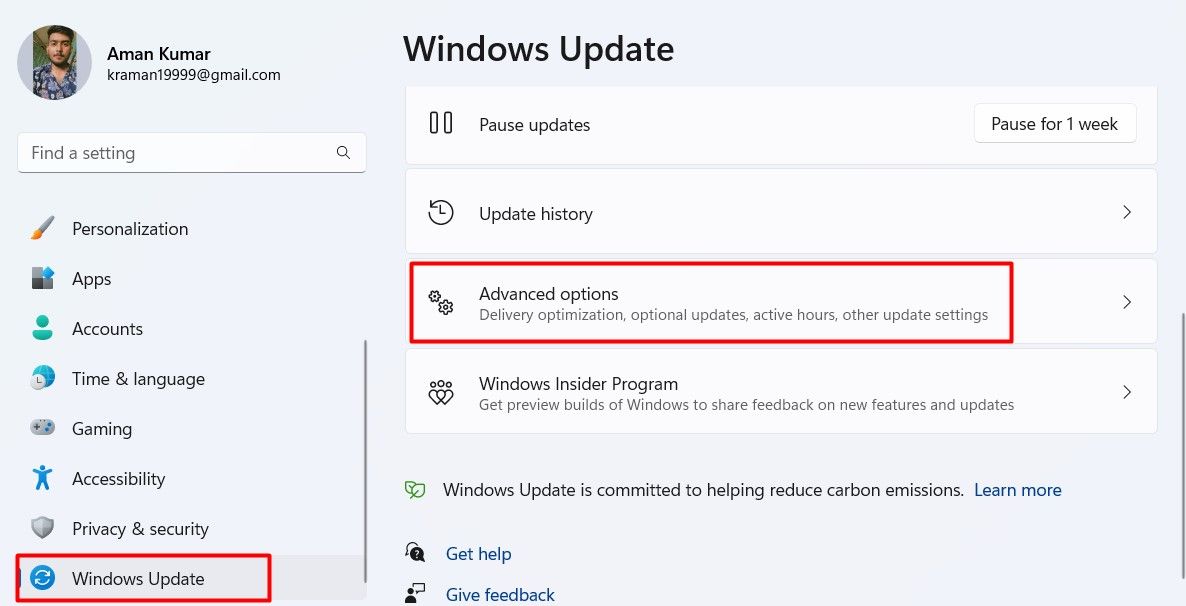
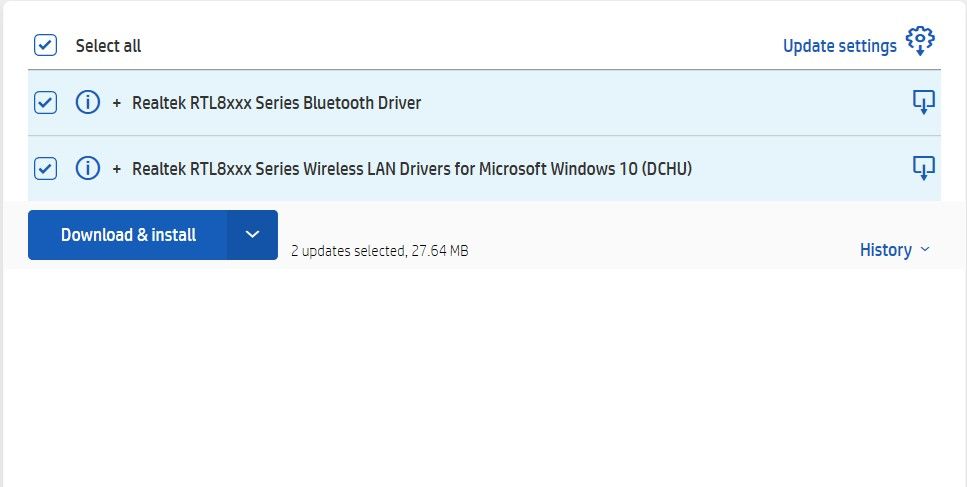
Camera issues often arise from outdated drivers.
In such cases, updating the camera driver to its latest version is the most effective solution.
Under “Additional Options,” tap on “Optional Updates.”
Expand the “Driver Updates” section and check for any available updates for your camera.
The camera update will have the name of the camera installed on your rig.
If it didn’t, you should try your camera on another PC.
It may be broken, and if it is, you’ll likely have to replace it.