Luckily, there are manydefault settingsyou can change once and never touch again (unless you want to).
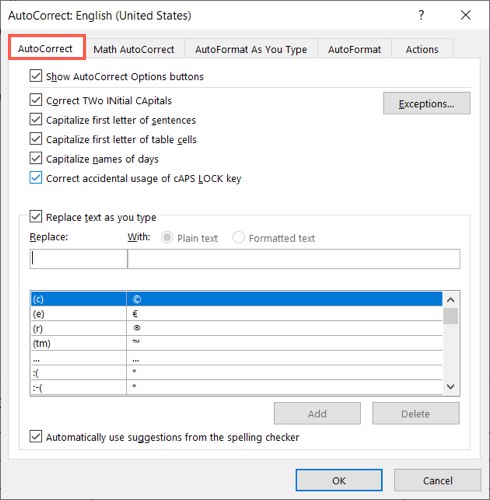
Plus, you’re free to change the AutoCorrect parameters to fit your specific needs.
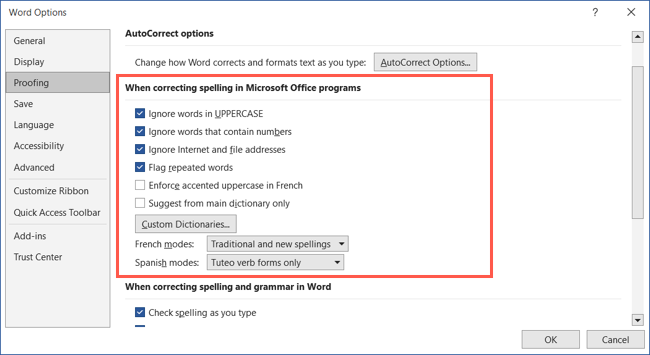
Go to File > Options.

Select “Proofing” and click “AutoCorrect Options” on the right.
Related:How to Improve Microsoft Word’s Grammar Checker
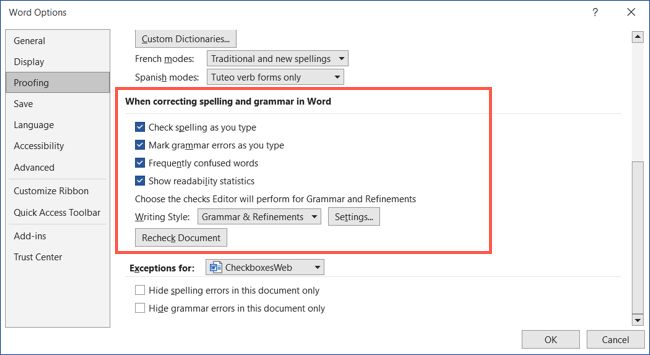
Go to File > Options.
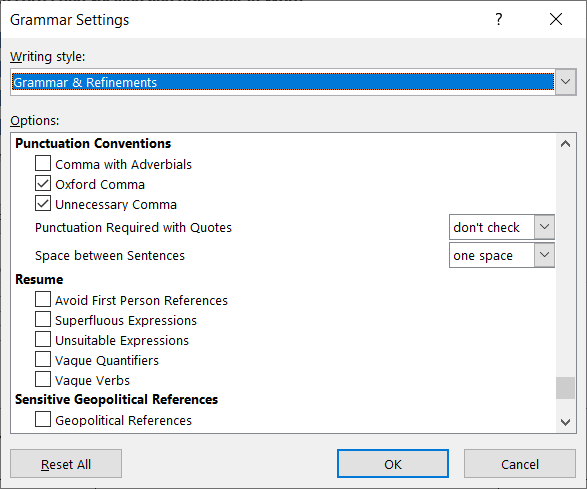
Select “Proofing” and go to the When Correcting Spelling and Grammar in Word section on the right.
To drill down into the additional grammar options, select “tweaks” to the right of Writing Style.
Click “OK” when you finish.
Just note that these changes affect all Office programs, not just Word.
Display Options
Do you find yourself consistently closing the white space between pages?
Want to see specific formatting marks such as those for paragraphs?
you’ve got the option to easily make changes to how your documents are displayed.
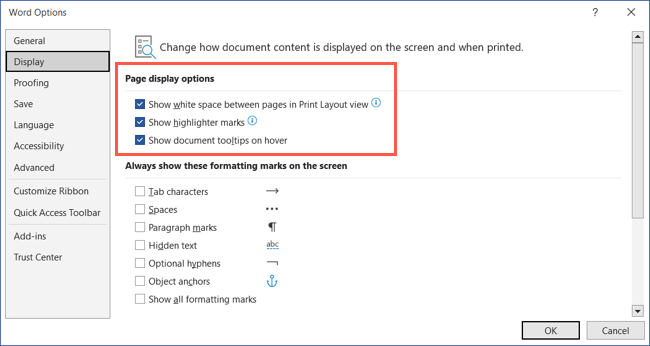
Go to File > Options.
Select “Display” and go to Page Display Options on the right.
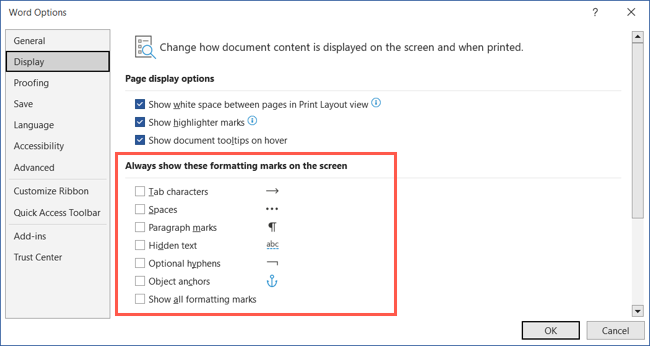
In the section beneath, mark the boxes for the formatting marks you want to see.
These include tab characters, object anchors, spaces, and more.
Click “OK” to stash your changes.
On Mac, go to Word > Preferences from the menu bar and choose “View.”
Not all of the same parameters above are available for Word on macOS.
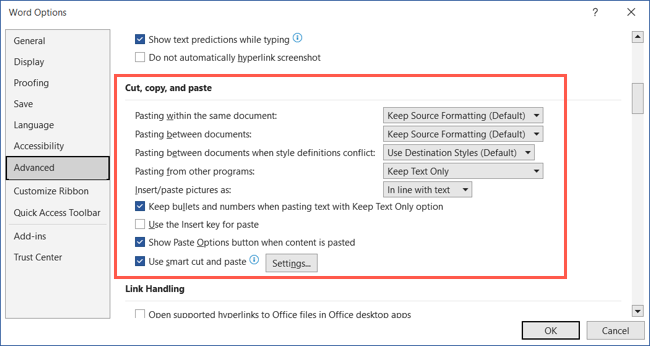
Related:How to Change the Default Paste Setting in Microsoft Word
Go to File > Options.
Select “Advanced” and go to the Cut, Copy, and Paste section on the right.
For example, may want to always paste images in line with your text.
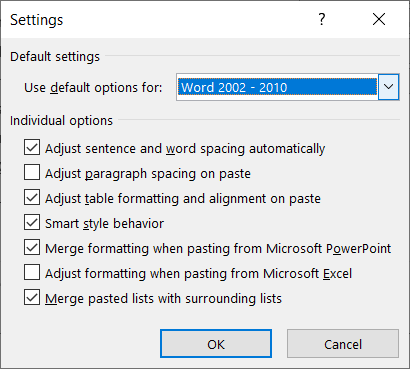
For additional options, click “configs.”
Click “OK” when you finish.
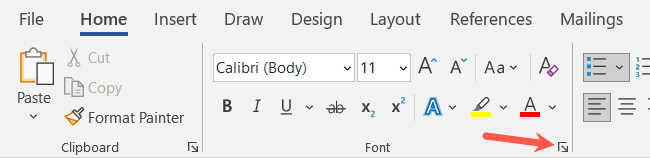
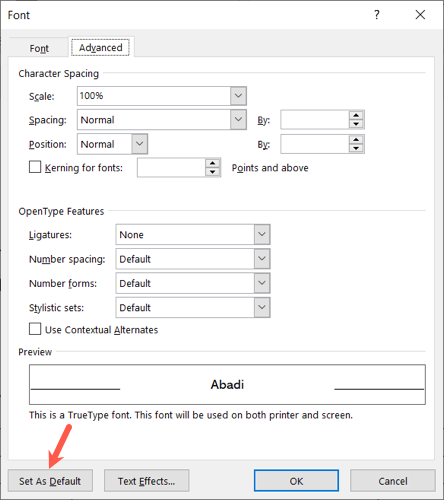
Font and Character Spacing
Do you constantly change the text font or the spacing between characters?
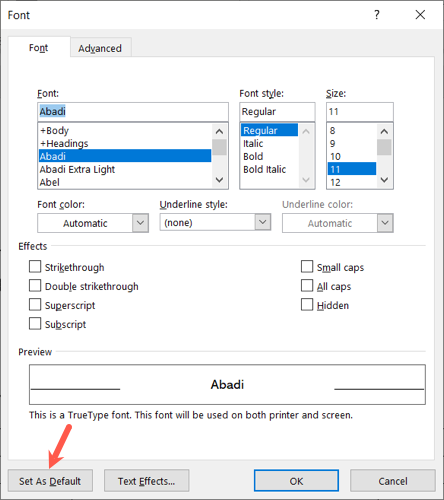
you could easilyset a default fontand default spacing for your documents.
Click “Set as Default” when you finish.
kick off the Advanced tab to change the character and number spacing,kerning, and ligatures.
Click “Set as Default” when you finish on this tab.
Then, click “OK” at the bottom of the window to save all changes.
On Mac, go to Format > Font in the menu bar to change these options.
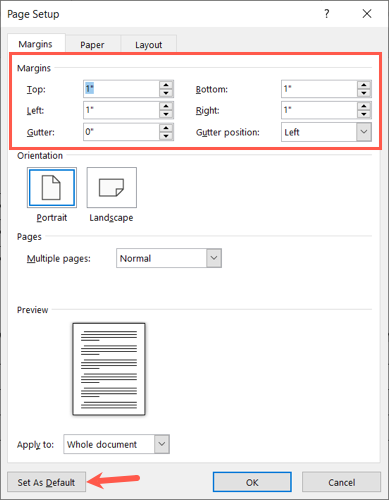
bring up the Margins tab and use the top section to set your margins.
Either enter the measurements in the boxes or use the arrows to increase or decrease them in small increments.
Click “Set as Default” when you finish and “OK” to back up your changes.
Track Changes controls
Do you and your coworkerscollaborate on documentsoften and keep track of your changes?
you could adjust the options for the Track Changes feature in Word to match your preferences.
In the next box, select “Advanced Options.”
Select “OK” when you finish and “OK” in the Track Changes Options box.
On Mac, go to Word > Preferences in the menu bar and choose “Track Changes.”
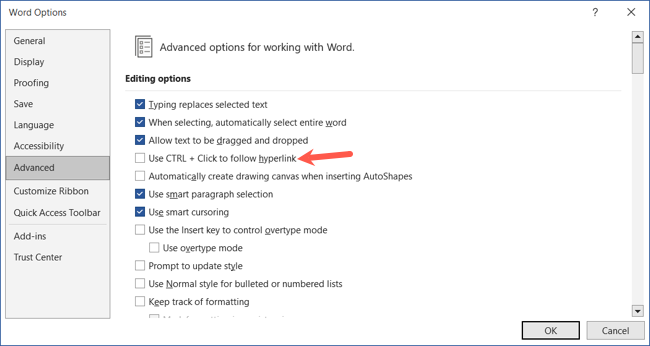
you’re able to make that happen in just a few steps.
On Mac, you simply click a hyperlink to follow it by default.
![]()
![]()
![]()