But which of these features should you use to create professional looking documents?
Here are several helpful tips.
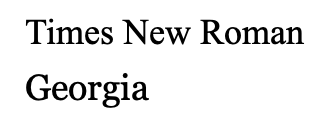
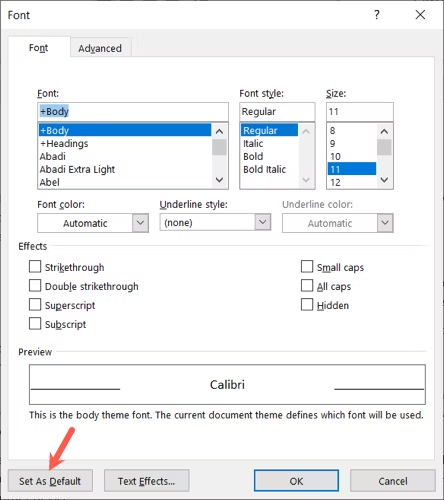
These appear nicely on printed pieces.
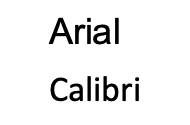
For digital documents, go for a sans serif font instead like Arial or Calibri.
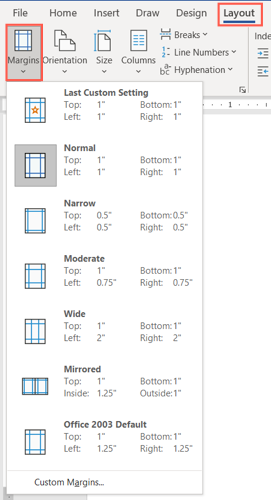
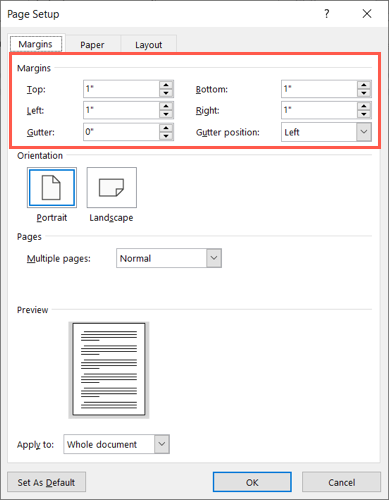
If not, the standard is one inch for all four sides.
In this case, you’re able to go with the narrowmargin settingsat one-half inch on each side.
For margins at exact sizes, choose Custom Margins at the bottom of the list.
Note that you have additional options for Custom Margins in Word.
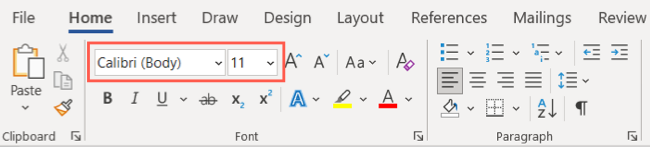
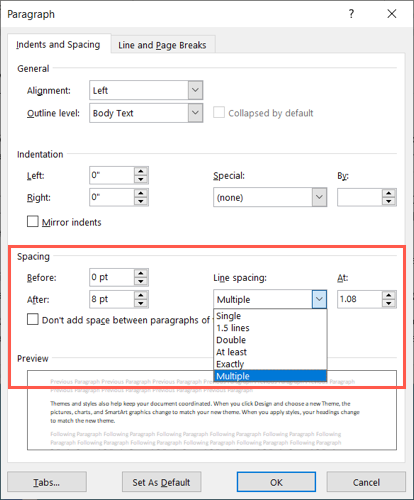
you’ve got the option to adjust the spacing from the Paragraph section on the Home tab.
Select all text in your document or particular text if you prefer.
Then, fire up the Line and Paragraph Spacing drop-down menu to make your selection.
To customize your spacing, pick “Line Spacing Options” in the list.
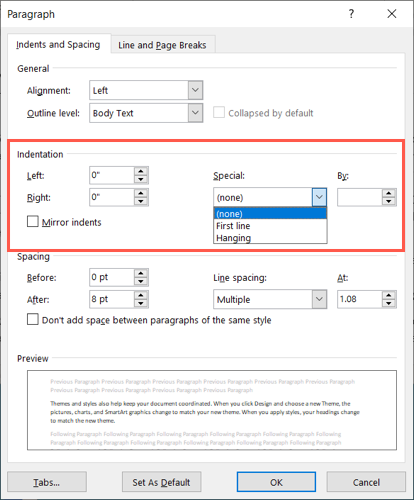
Use the Spacing section on the Indents and Spacing tab to change the points before and after paragraphs.
As you make your changes, you might see a preview at the bottom.
When you’re happy with your choices, select “OK” to apply them.
you might also use the Set as Default button to keep these options for all future documents.
But many documents these days use left-aligned text.
To break up the paragraphs, simply insert an extra line between them.
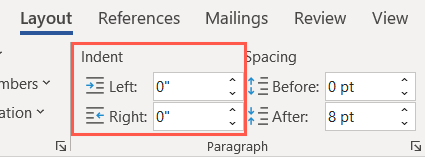
Go to the Layout tab and use the Indent tweaks in the Paragraph section to change your current indents.
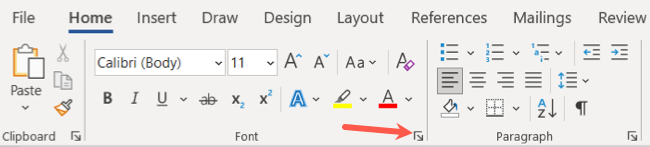
Alternatively, kick off the Paragraph launcher using the small arrow in the bottom right corner.
you’re free to then make your adjustments in the Indentation section of the Indents and Spacing tab.
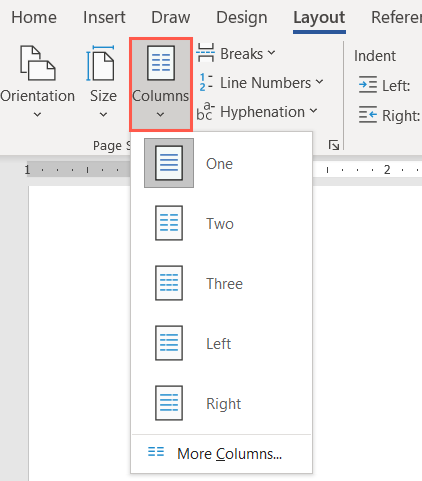
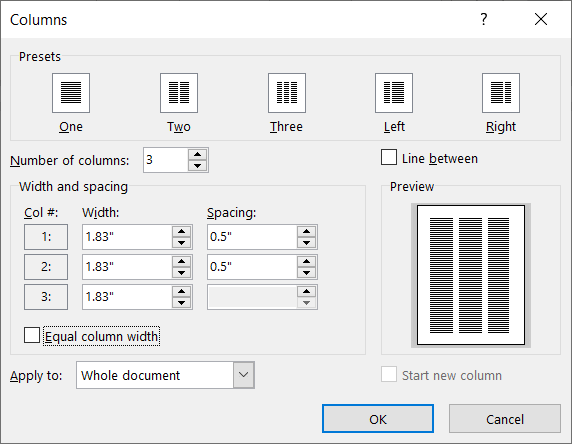
For additional options, select “More Columns” at the bottom.
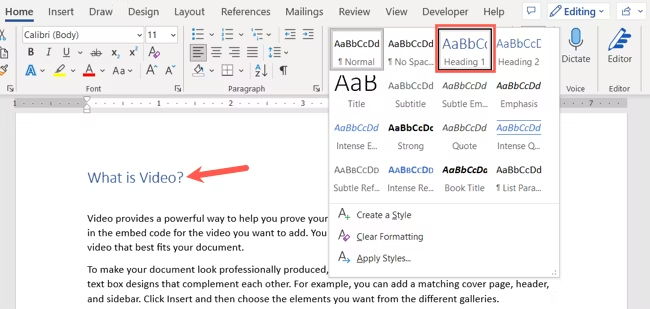
Toapply a heading, opt for text and go to the Home tab.
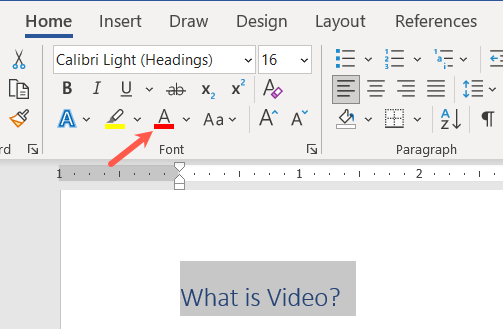
you could also change the color of the heading.

For instance, it may display in blue and you want black.
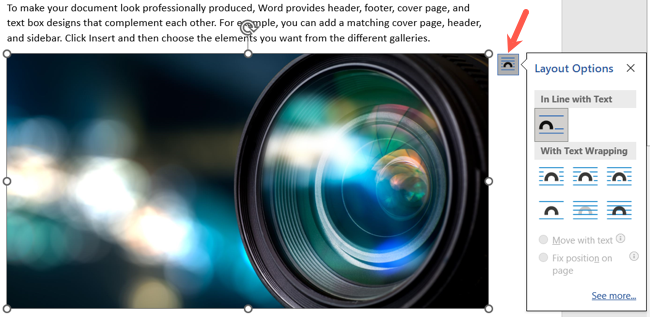
Position Images Between Text and Paragraphs
Maybe you’re adding images to your document.
Or maybe you have a large explanatory image that should stand on its own between paragraphs.
grab the image and grab the Layout Options button that appears on the top right (Windows only).
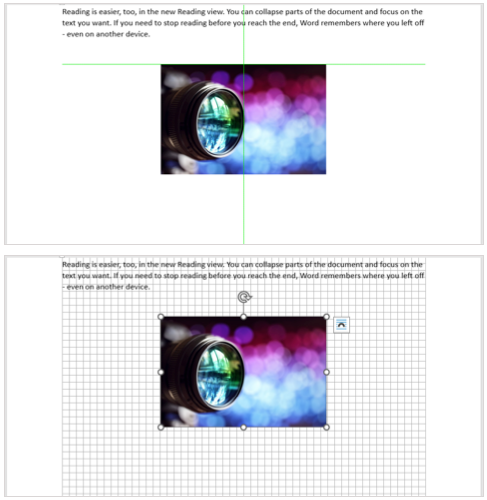
For help moving your pictures, look at our how-to forfreely moving images in Word.
Note that you might’t use both at the same time.
Hopefully these suggestions have you on your way to a professional-looking Word document.
Related:7 Awesome Microsoft Word Features You Should Be Using