So it can become an inconvenience if either is wrong.
Luckily, there are a few things you’re able to have a go at fix it.
Then press “Date & Time” and toggle the “Set date and time automatically” option.
If it is already enabled, disable and re-enable it.
Your Mac will frequently check in with a time serverApple’s, by defaultand adjust its internal clock accordingly.
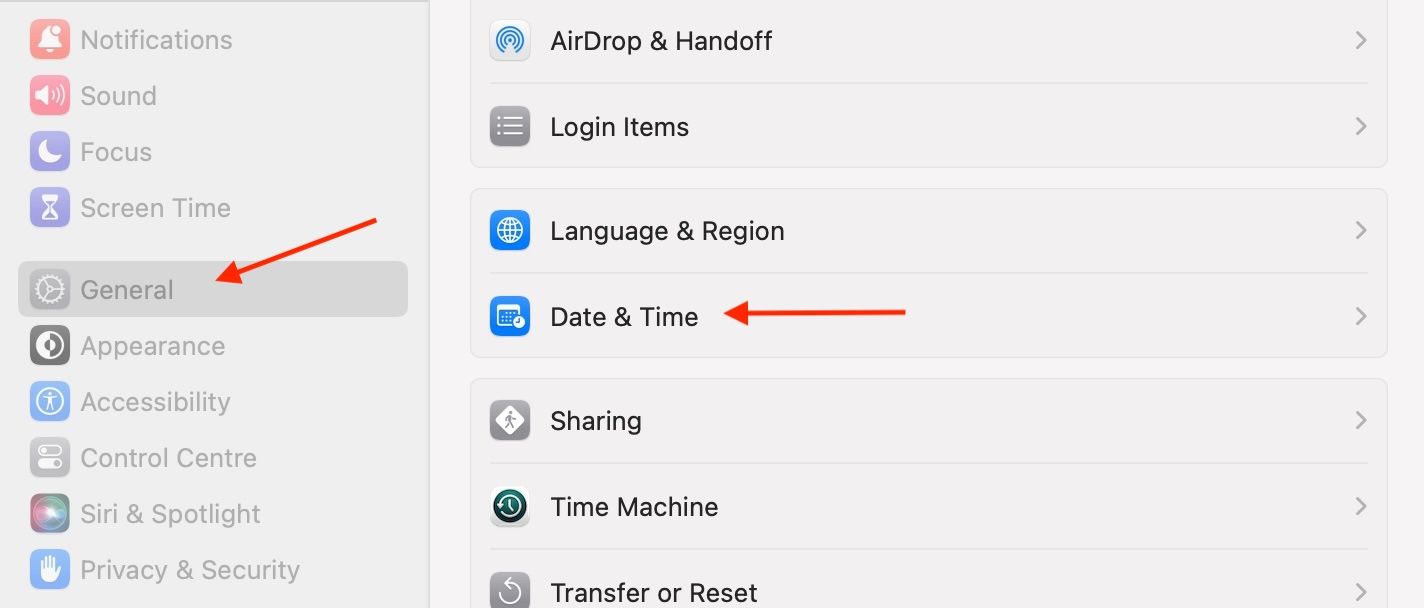
To do this, go to System options > General > Date & Time.
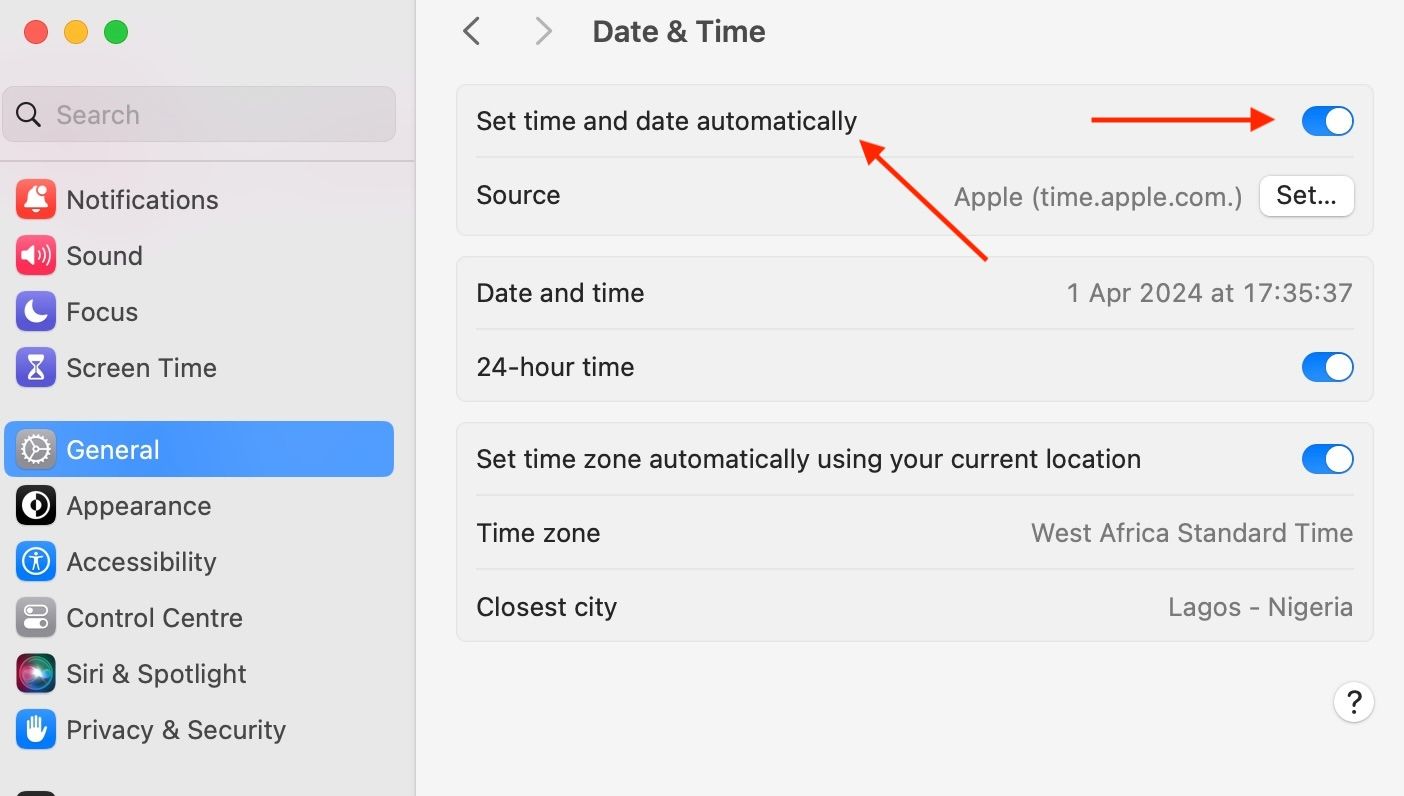
check that the “Set date and time automatically” option is enabled, as we showed above.
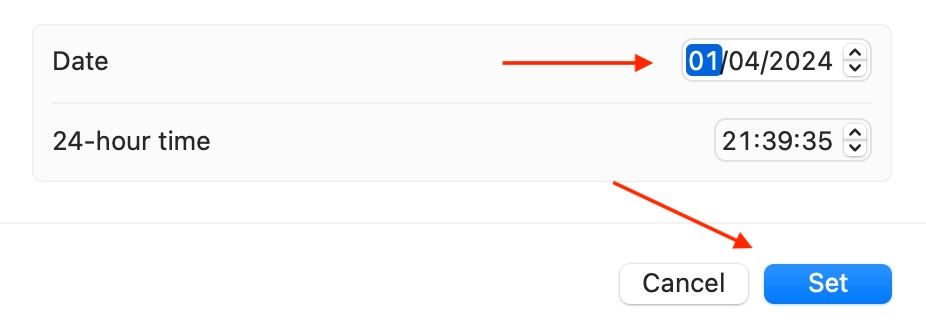
Navigate to Source and tap on the “Set” icon beside it.
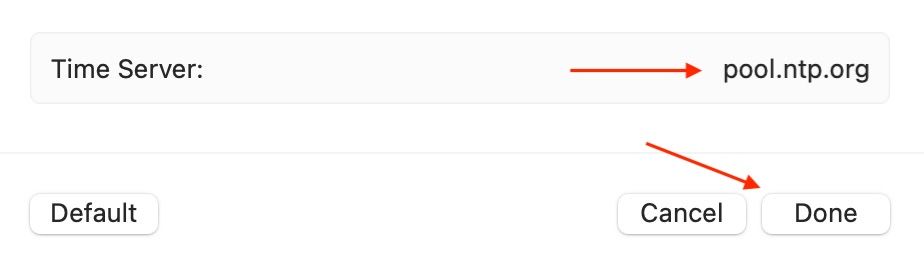
You will be asked to enter the admin password or use Touch ID to unlock the controls.

Delete the existing server address and input a new one.
Finally, click “Done.”
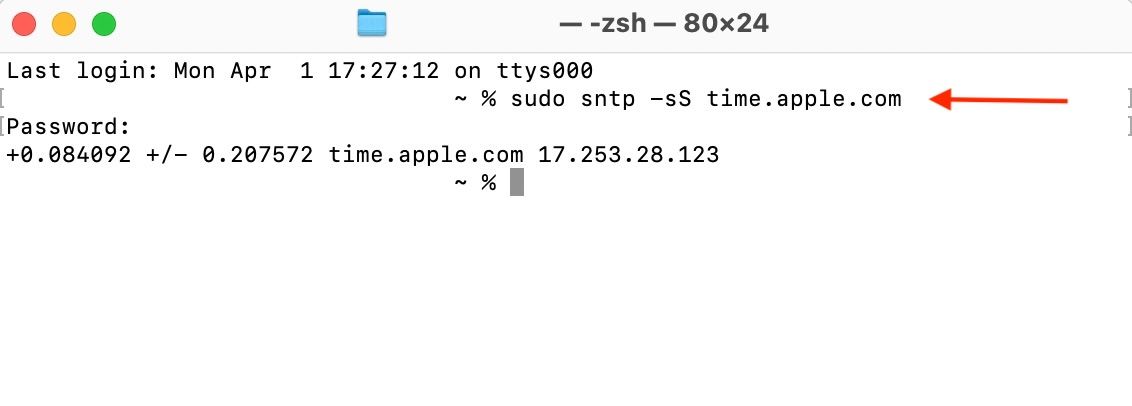
Although using Terminal might seem intimidating and complicated, following these steps will make it a breeze.
Open Terminal from the Launchpad, Applications, or Spotlight.
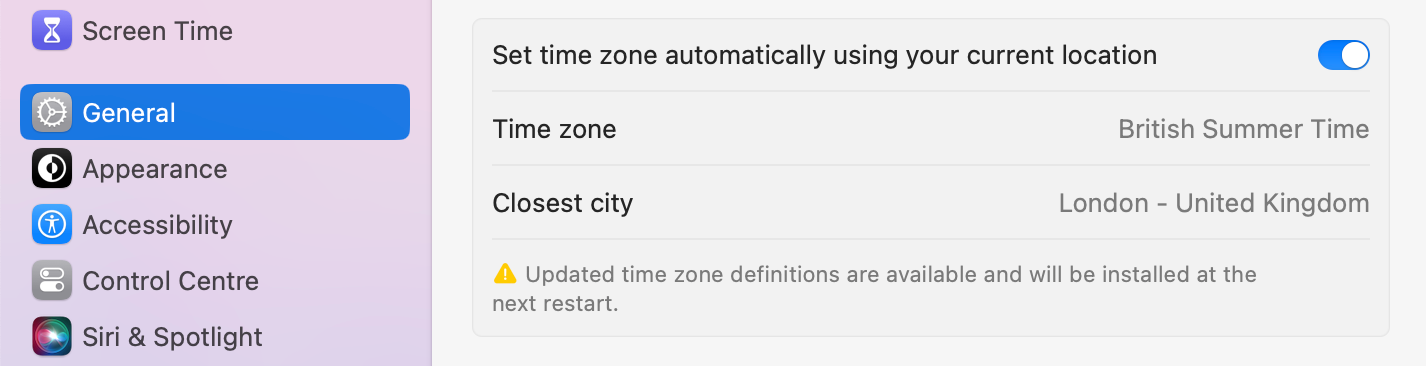
To verify your time-zone prefs, go to System prefs > General > Date & Time.
Then, navigate to “Set time zone automatically using your current location” and enable it.
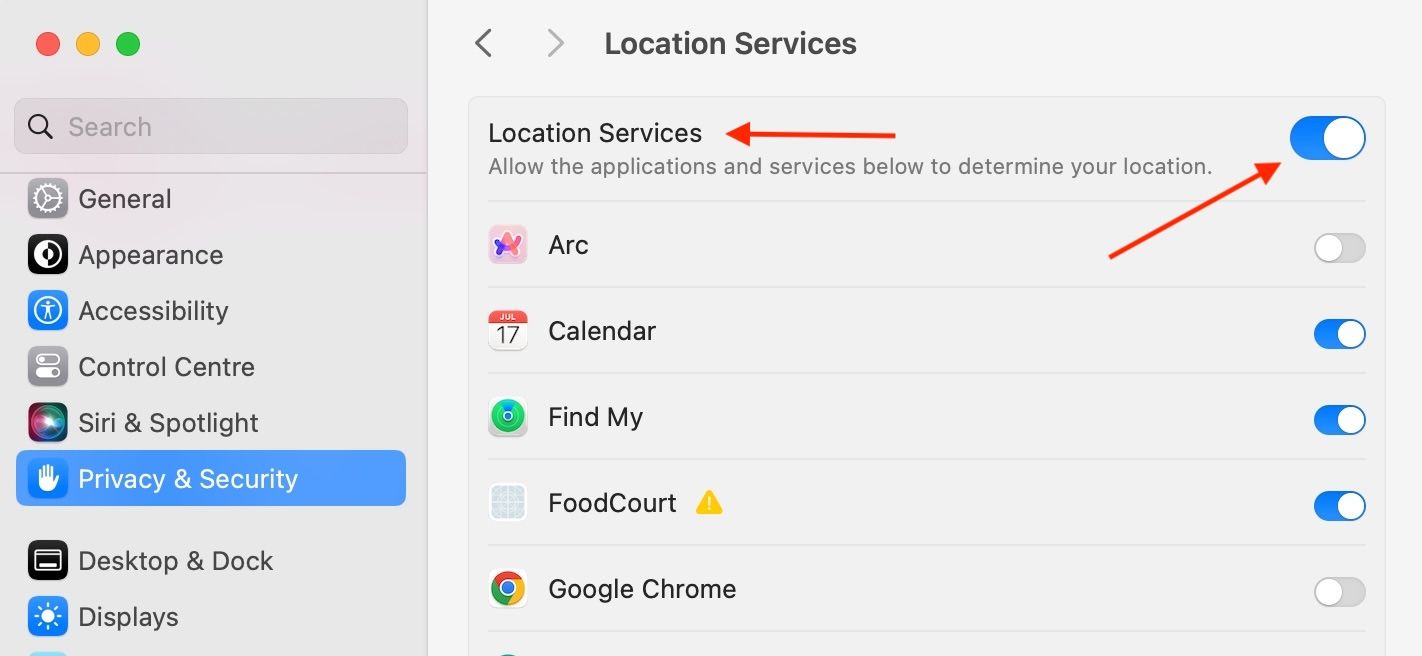
Enable Location Services
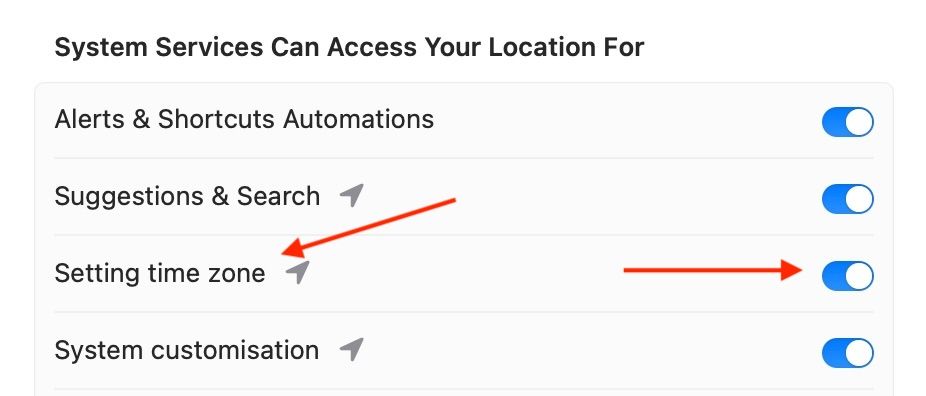
Your Mac uses Location Services to sync the time and date to your region.
Scroll down to System Services and click “Details” beside it.
Then locate “Setting Time Zone” and toggle the option.
But that’s an easy fix.
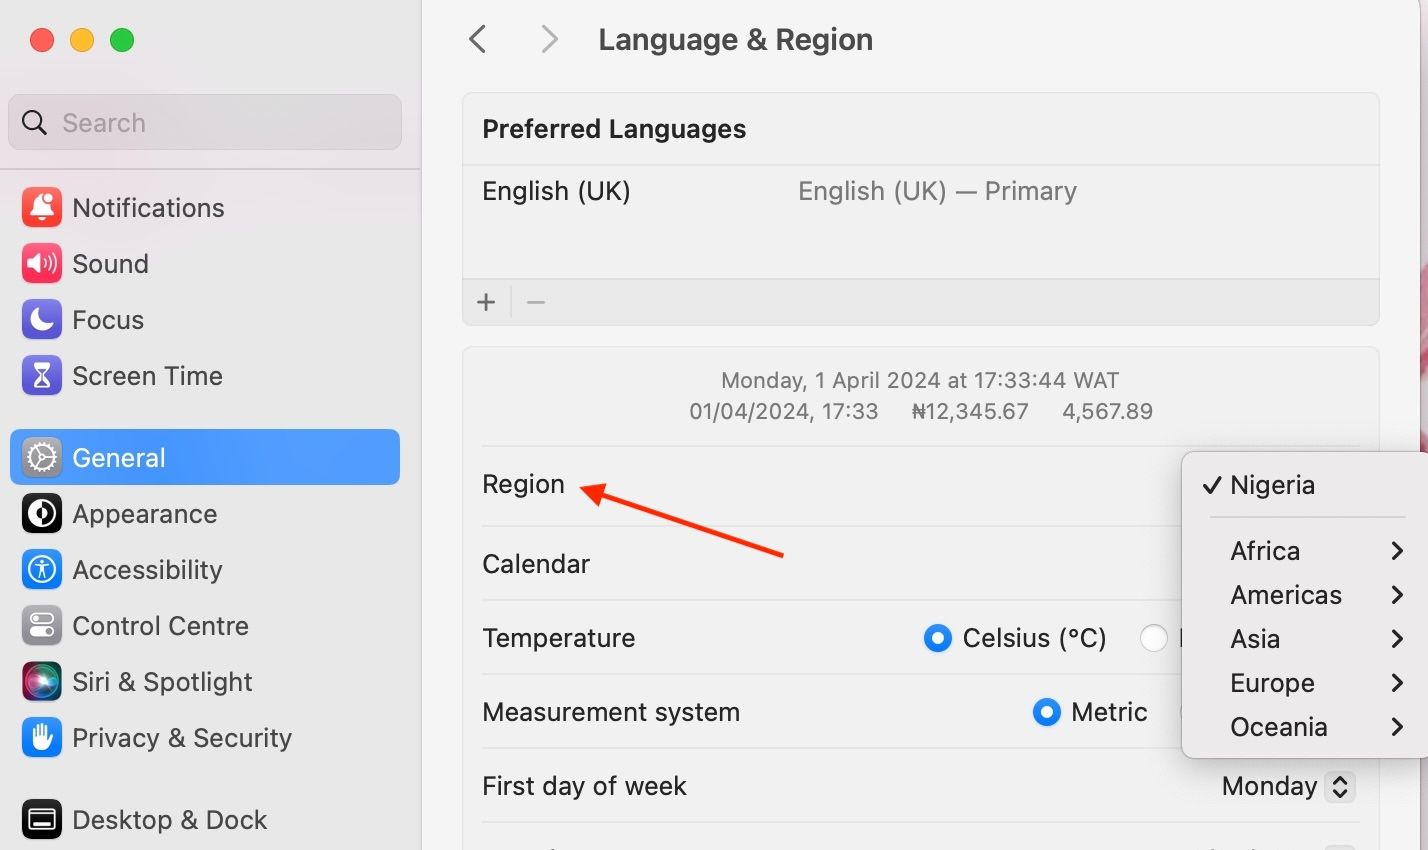
Open System configs and select “General.”
Then hit “Language & Region” and select “Region.”
From the drop-down menu, choose the region and country that corresponds with your current location.
Once you’ve done that, start your Mac, so the adjustments take effect.
It is also important to ensure your Mac operates seamlessly and can access system and system software updates.