Here is a quick tutorial on how to add a new user to your home server.
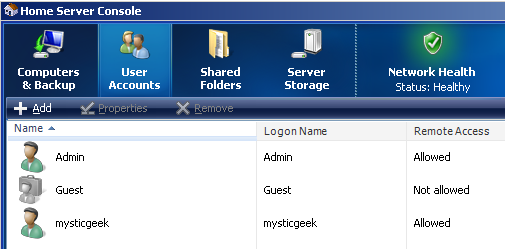
The Windows Home Server Console is where you will do most of your server management.
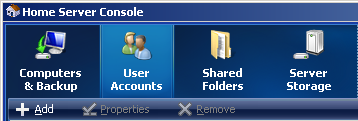
Here you will want to press User Accounts then select +Add.
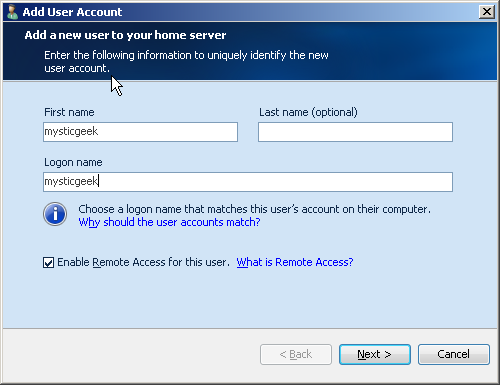
In the Add User Account screen enter in your users name and logon name.
you’re able to determine here if you will allow them Remote Access to the server.
Next you get to play Administrator and choose what rights your new user will have to the shared folders.
Read/Write means the user can view and make changes to the files.
Read Only means the user can view the files and not make changes.
No Access of course means files in this share will not be available.
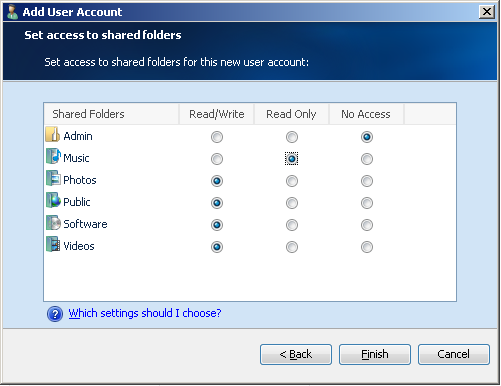
When you are done configuring the user controls click Finish.
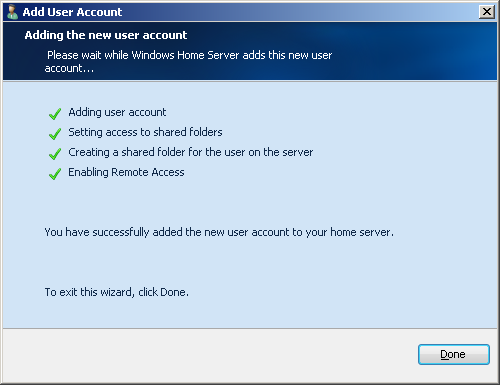
Windows Home Server will now add the user and the rights you have configured for them.
Now you will see your user as an icon in the Home Server Console.
you could go back anytime and make appropriate changes.