Wanting an unobtrusive way to keep sticky notes on your desktop?
Then A Note just might be the program that you have been looking for.
Startup
Installation for A Note is quick and straightforward.
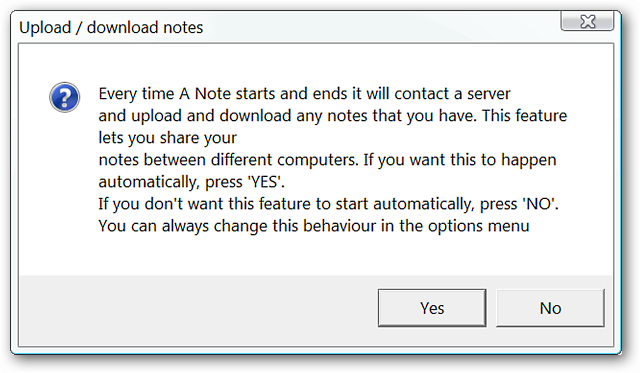
when you land finished the installation you will be presented with the following message window.
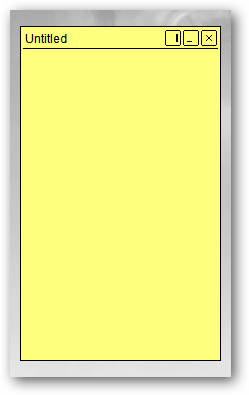
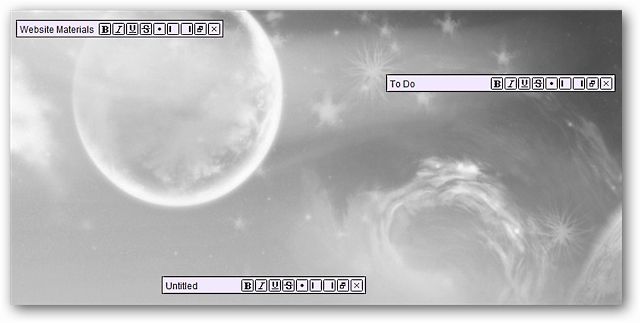
After you have made your choice concerning server synchronization you will see your first blank note.
Note: Images can not be added to these notes.
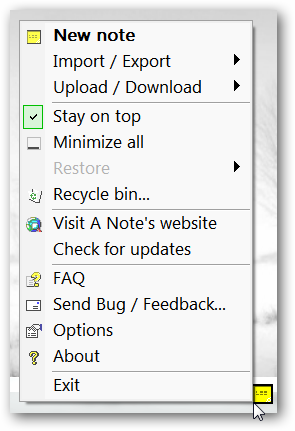
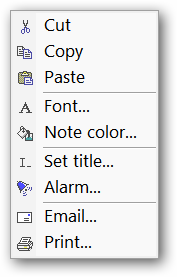
This is the Right Click Menu for the notes.
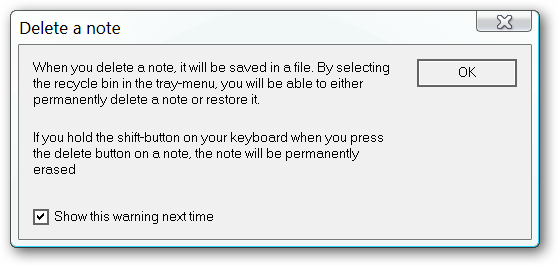
This is the warning message that you will see whenever you delete a note.
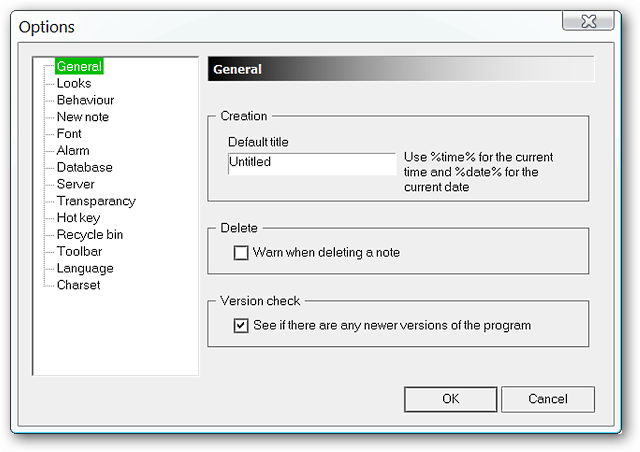
Set default titles, enable/disable deletion warnings, and activate/deactivate version checking in the General Area.
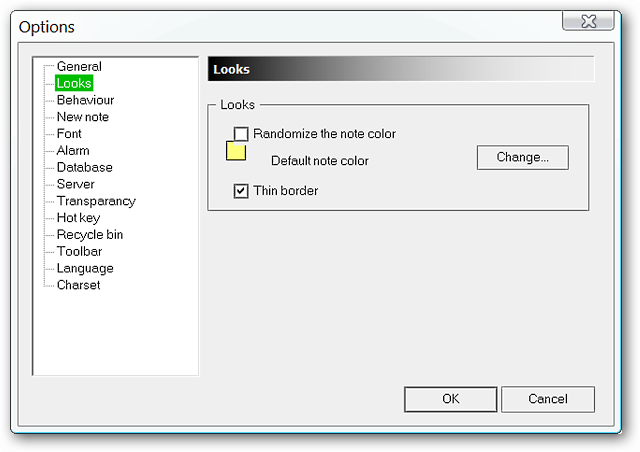
Go with a randomized or specified note color scheme with or without borders in the Looks Area.
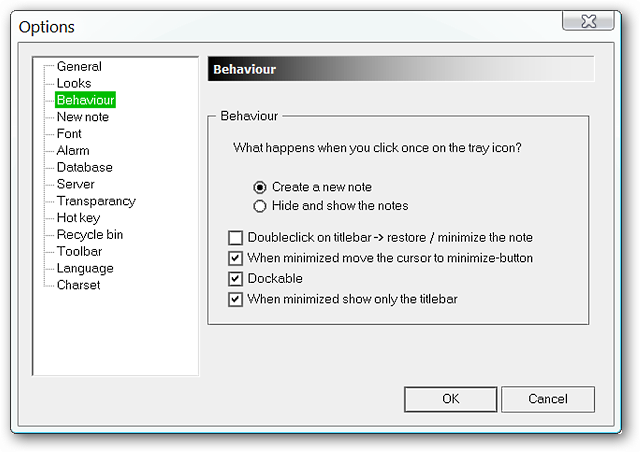
Choose desired behavior for your notes in the Behaviour Area.
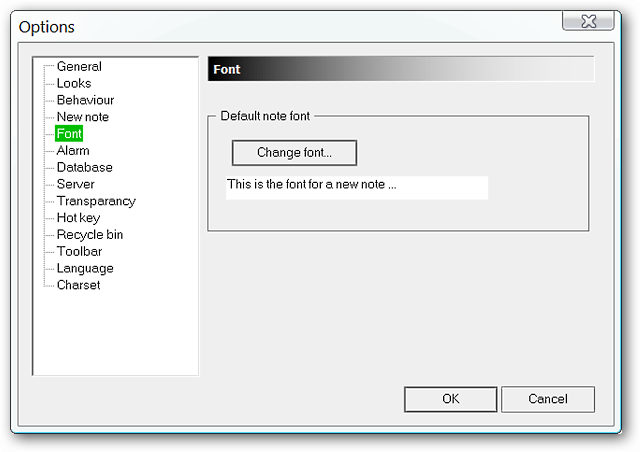
Specify the font and size/style that you want to use in your notes in the Font Area.
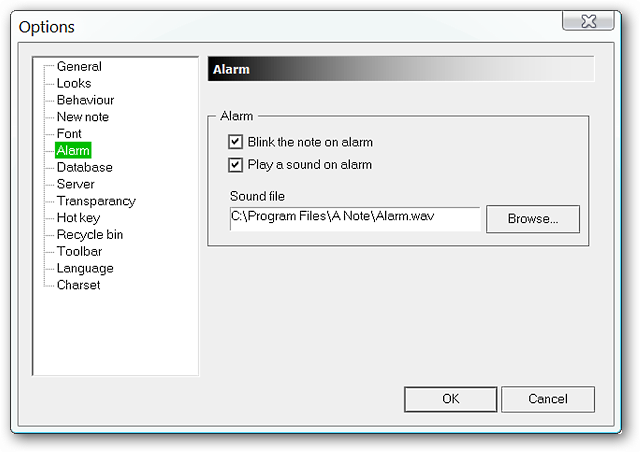
Activate/deactivate the alarm tweaks and choose the alarm sound file for notes in the Alarm Area.
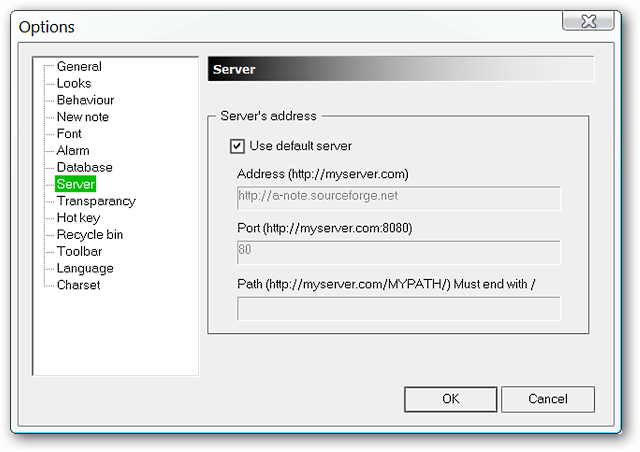
Set up your database and server prefs (if desired) in the Database and Server Areas.
Set the level of transparency that you would like to use in the Transparency Area.
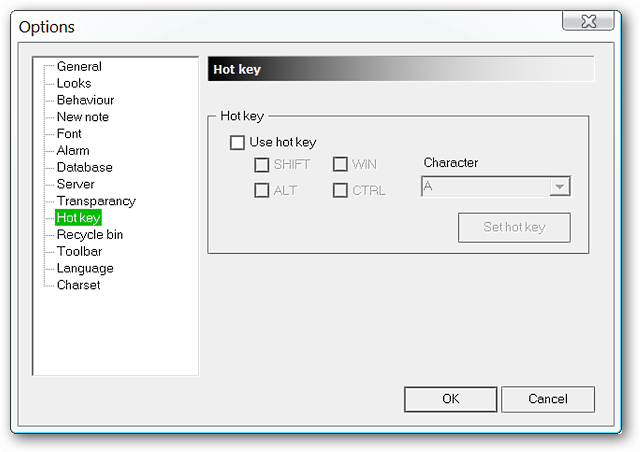
Set up basic hotkey commands in the Hot Key Area.
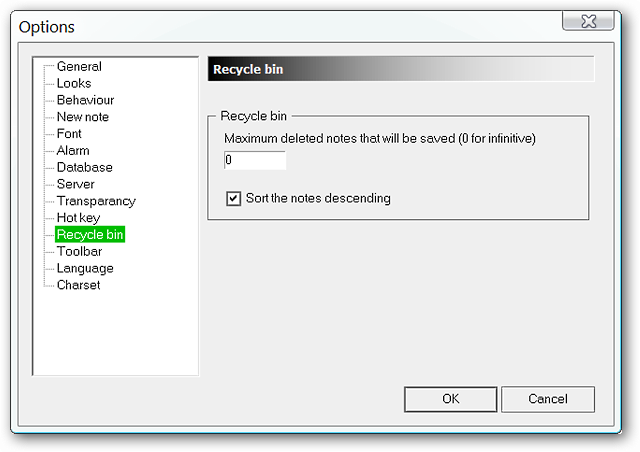
Specify the amount of deleted notes to be retained in the Recycle Bin Area.
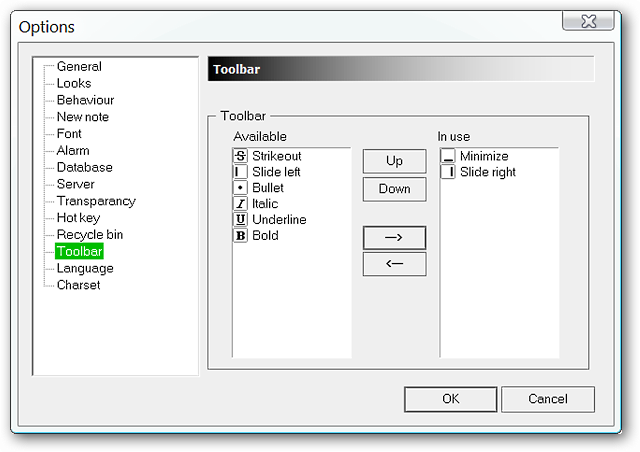
Add or delete commands from the Notes Toolbar on your notes in the Toolbar Area.
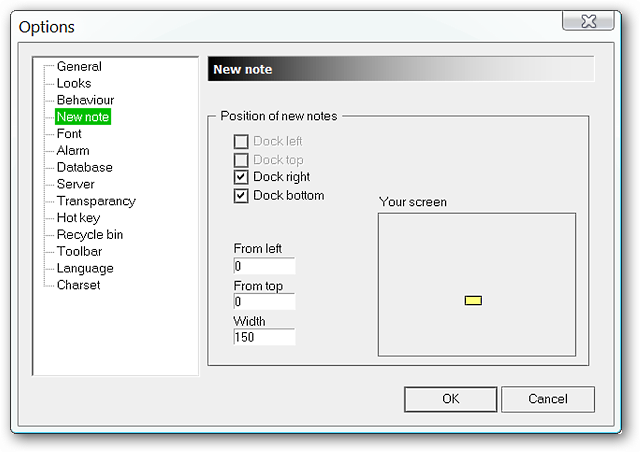
Note: Bottom to Top = Left to Right
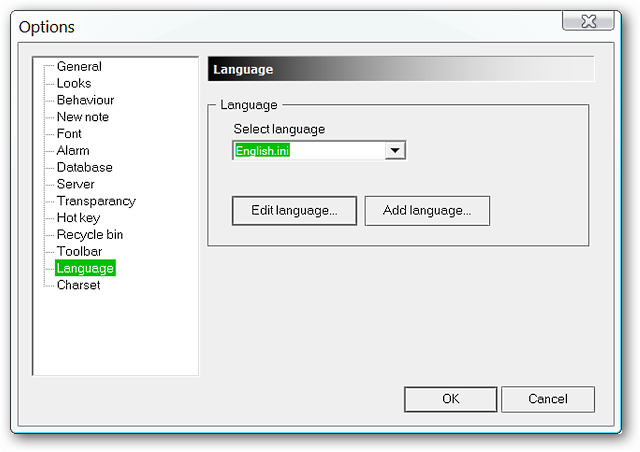
Set the default language in the Language Area.
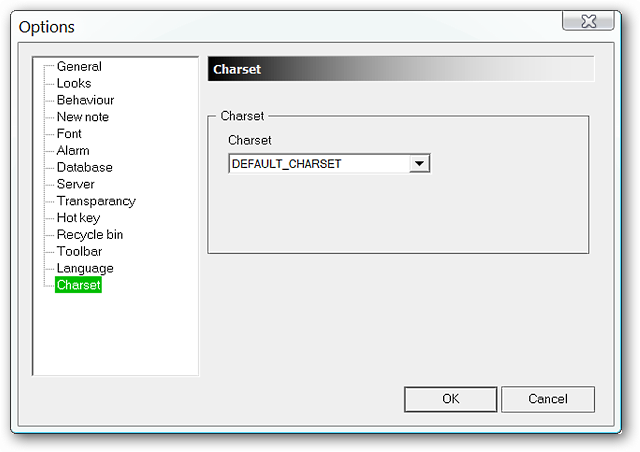
Choose the particular Charset that you need in the Charset Area.
Do not use it anymore!
It will do more bad than good.
Your notes may just disappear.