Here’s how to use it.
We suspect this update might arrive later in 2022 with the22H2 updateor maybe even sooner.
Currently, Nearby Sharing only supports transfers of individual files, not folders.
But as a workaround, you couldZIP the folderbefore sharing, then decompress it on the receiving machine.
Related:What Is Bluetooth?
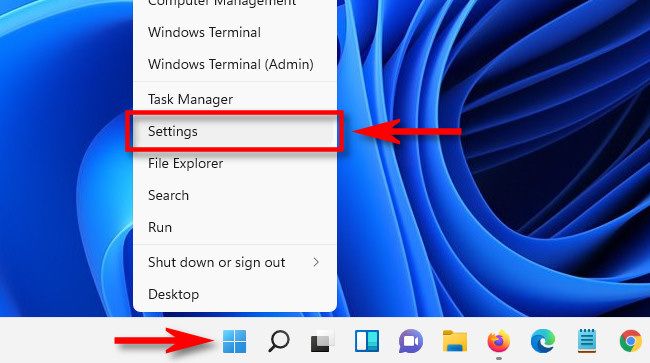
To do so, press Windows+i to fire up the parameters app.
Or you’re free to right-tap the Start menu and select “configs.”
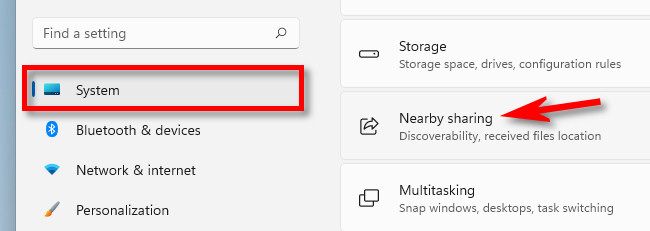
In parameters, select “System,” then click “Nearby Sharing.”
In Nearby Sharing tweaks, locate the “Nearby Sharing” section and expand it if necessary.
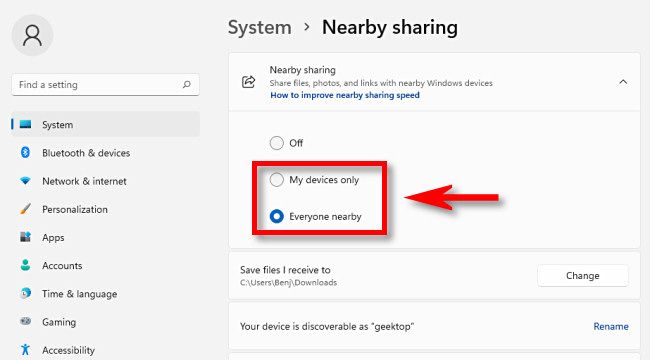
Then click a radio button beside either “My Devices Only” or “Everyone Nearby.”
“Everyone Nearby” means any nearby Windows computer.
The prefs app will remind you if you don’t have Bluetooth enabled with a small notification message.
If that’s the case, follow the link toenable Bluetooth, then return to System > Nearby Sharing.
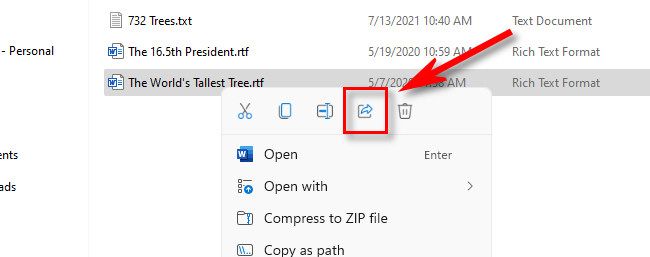
First, locate the file in File Explorer or on your desktop.
A special sharing window will open, and you’ll see a “Nearby Sharing” section.
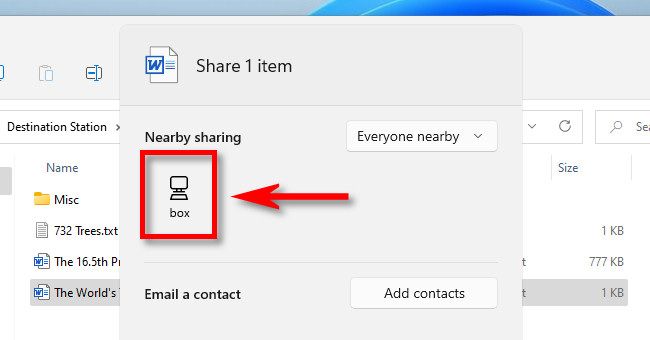
tap the name of the PC you want to share the file with.
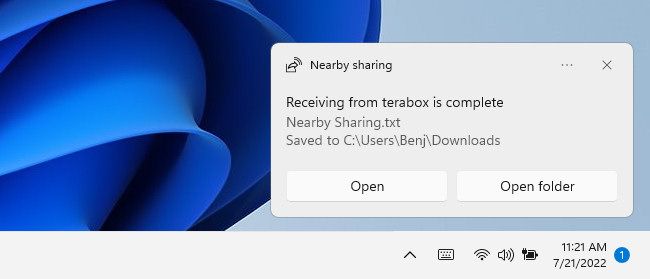
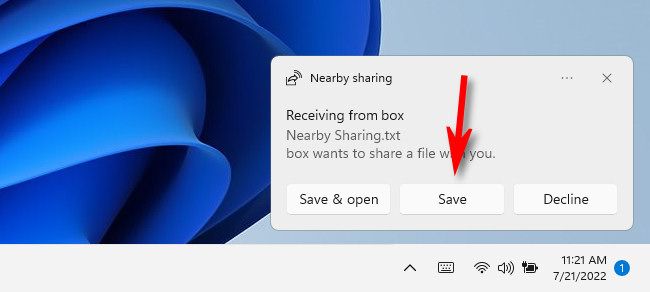
On the receiving PC, you’ll see a pop-up as well.
Select “Save.”
(See the section above for more information.)
And that’s it!
Related:How to Use Nearby Sharing on Windows 10