Using Windows Home Server to backup computers on your local internet is a great tool for your backup strategy.
But what about backing up the data on the server itself?
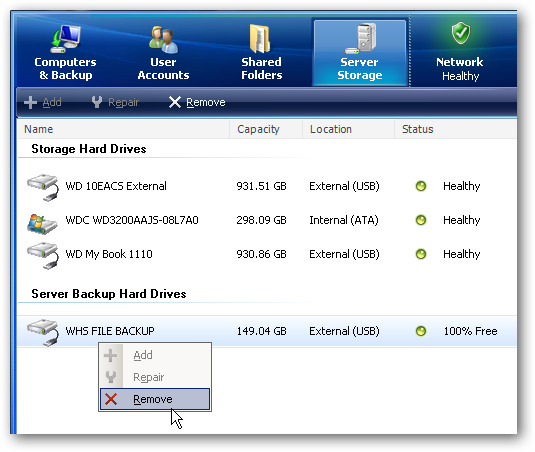
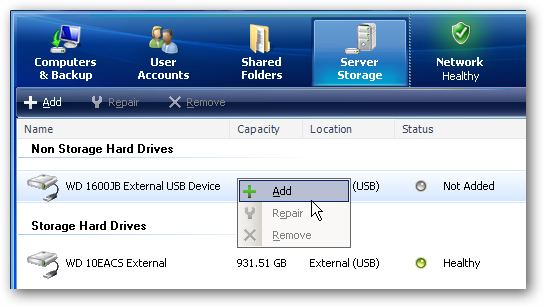
Right-click and select Add from the menu.
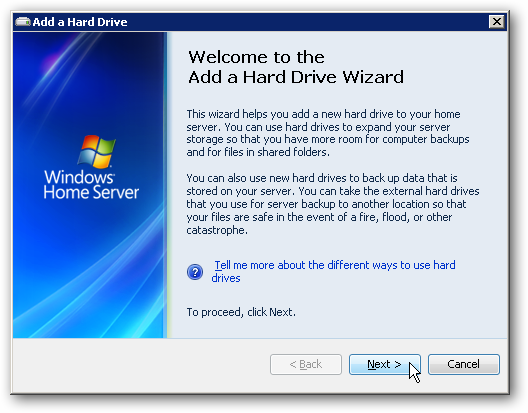
The Add a Hard Drive Wizard kicks off…
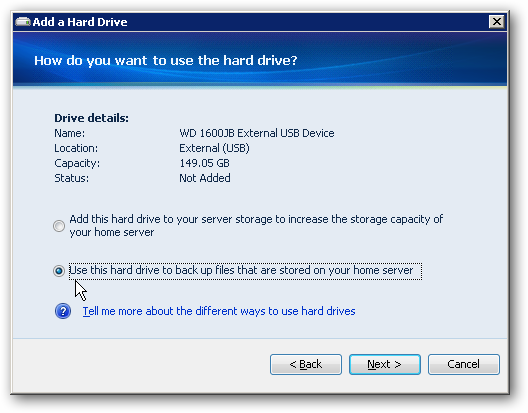
Otherwise WHS will add it as additional storage for your data which is not what we want.
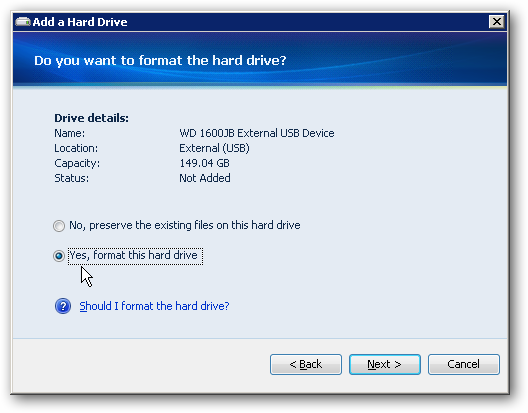
If you’re not sure select this option anyway as formatting it again won’t hurt anything.
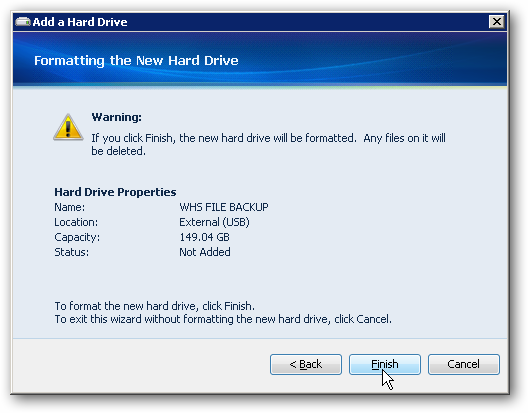
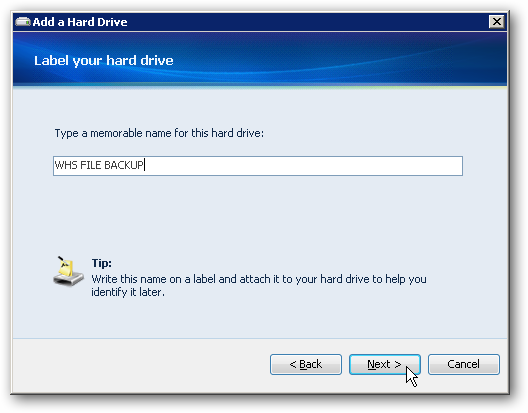
Create a name for the hard drive…
At the warning screen go ahead and click finish.
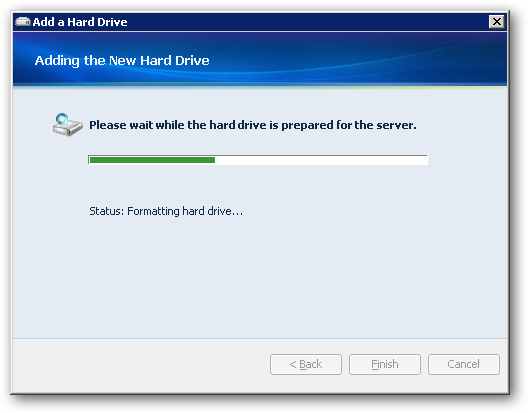
Now wait while the drive is formatted and added to the server.
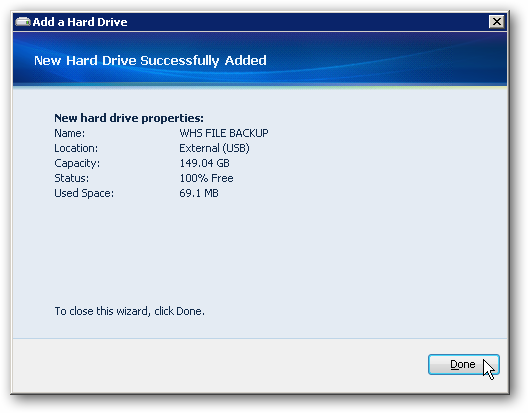
The drive has been successfully added and you’re free to click Done.
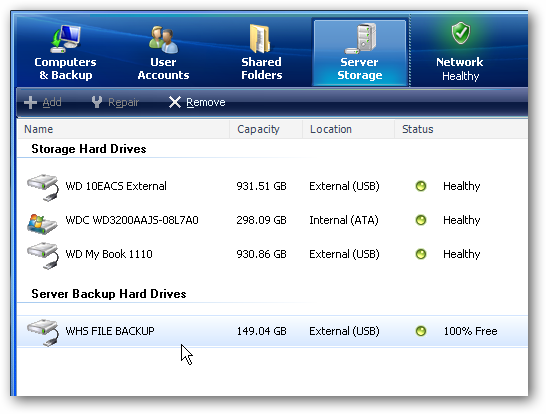
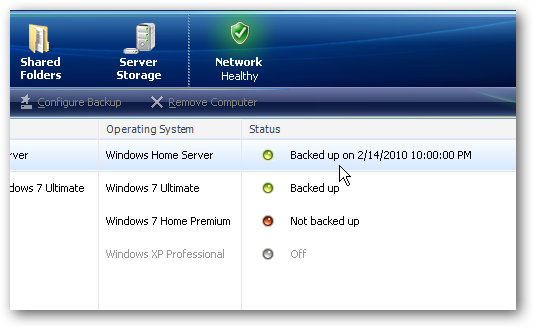
Now when you go into WHS console you’ll see the drive added under Server Backup Hard Drives.
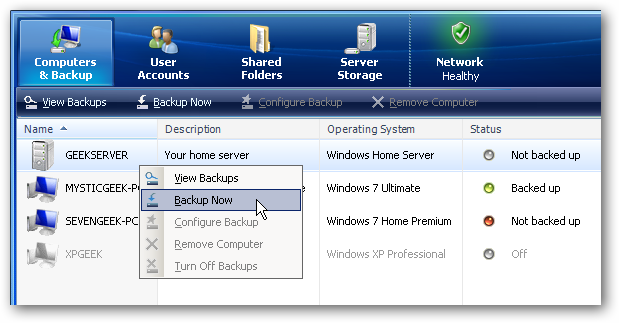
Right-press the server and select Backup Now.
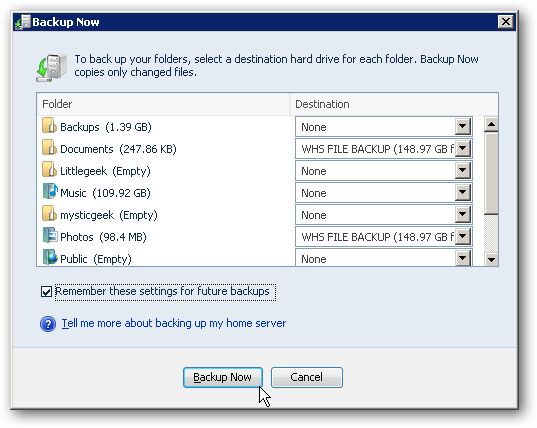
Check the box next to Remember these setting for future backups then click Backup Now.
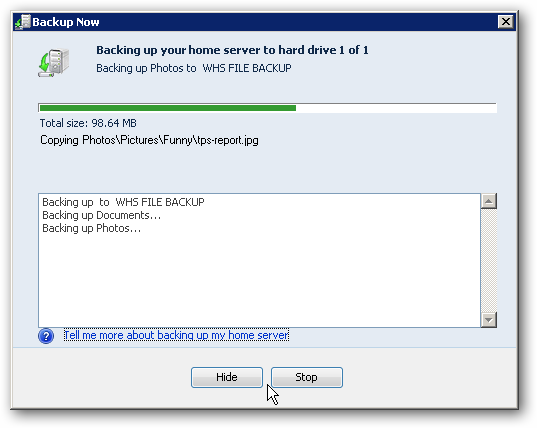
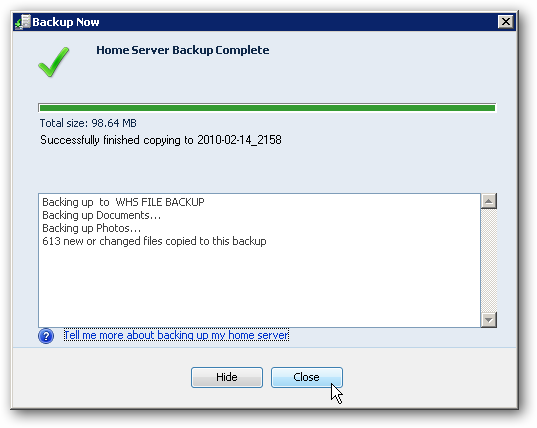
The amount of time it takes to backup will vary depending on the amount of data being backup.
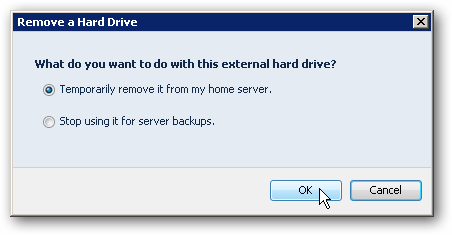
Remove DriveYou might want to remove the drive and store it in a safe place.
Then you’re presented with the the choice to temporarily remove it or stop using it for backups.
If you plan to use it again select to temporarily remove it.
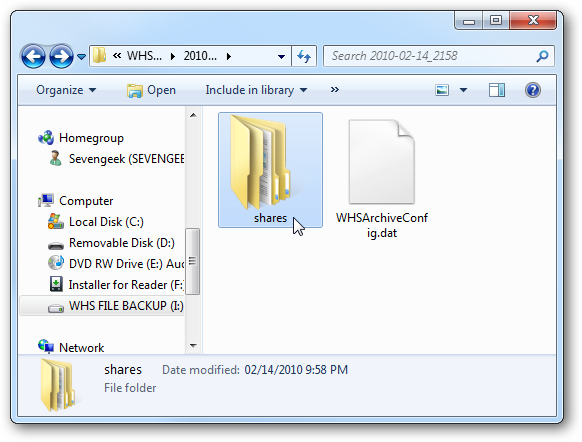
you’re free to plug it into any computer.