Would you like to use your Ubuntu computer in another language?
Here’s how you’re able to easily change your interface language in Ubuntu.
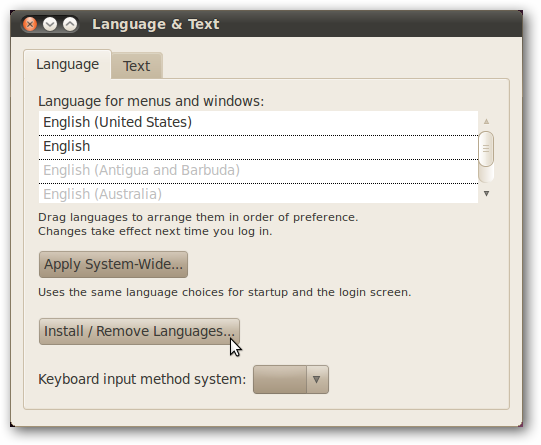
To get started, pop launch the System menu, select Administration, and then click Language Support.

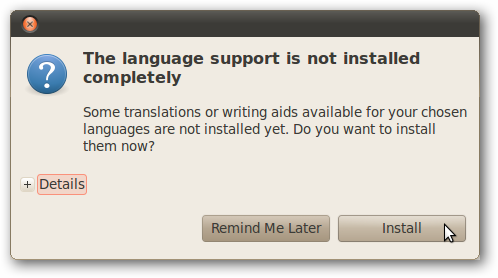
Now we’re ready to find and add an interface language to Ubuntu.
Click Install / Remove Languages to add the language you want.
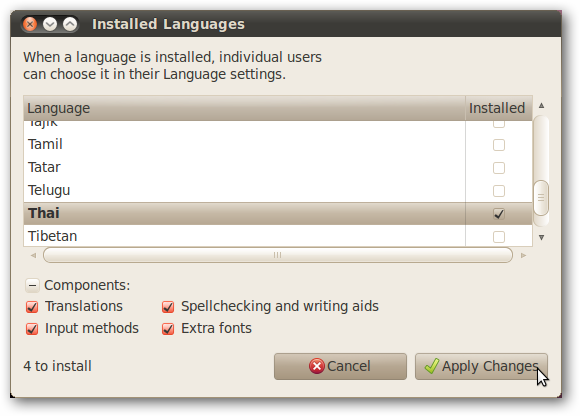
Find the language you want in the list, and choose the check box to install it.
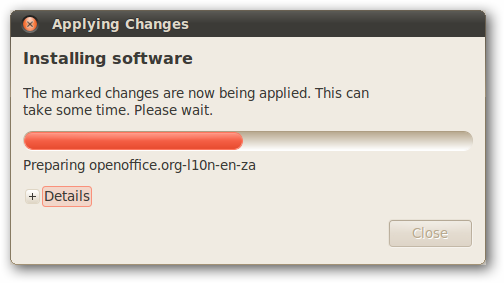
Once you’ve made your selection, click Apply Changes to install your new language.
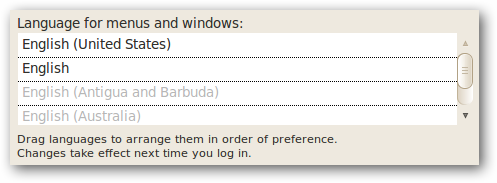
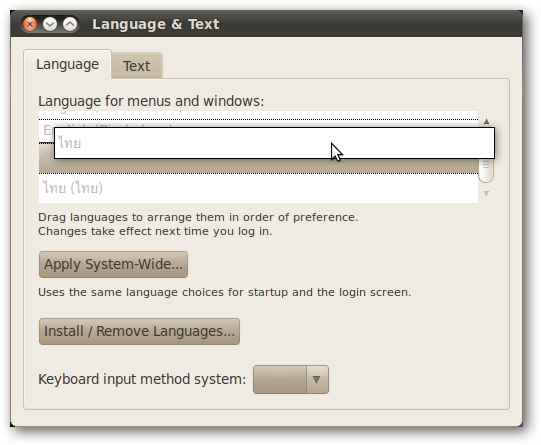
Notice that Thai is the first language listed, and English is the second.
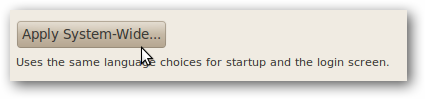
This will make Thai the default language for menus and windows in this account.
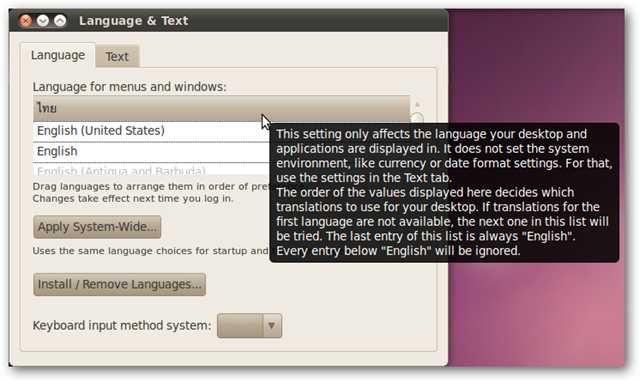
The tooltip reminds us that this setting does not effect system prefs like currency or date formats.
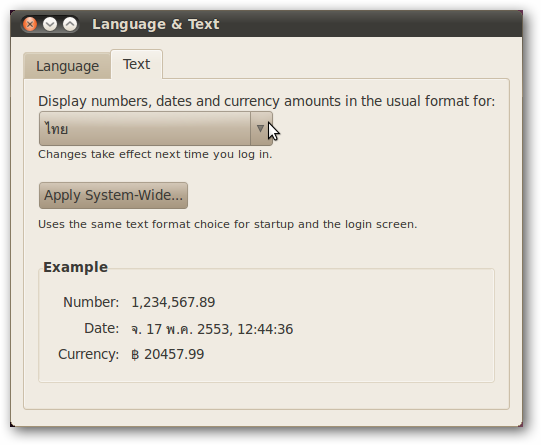
To change these, choose the Text Tab and pick your new language from the drop-down menu.
you’re able to preview the changes in the bottom Example box.
For example, here Ubuntu is asking if we want to change our folders to their Thai equivalents.
If you wish to do so, click Update or its equivalents in your language.
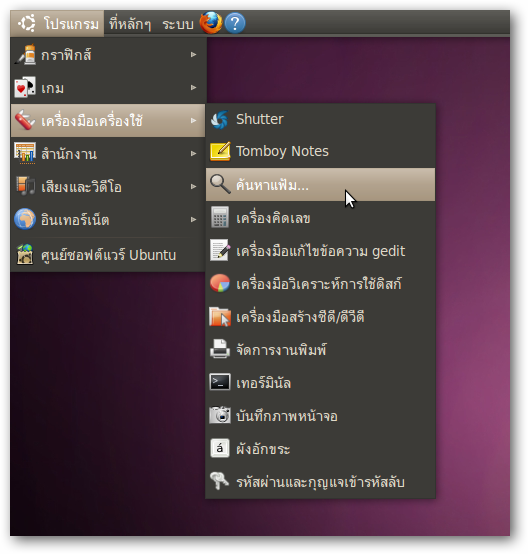
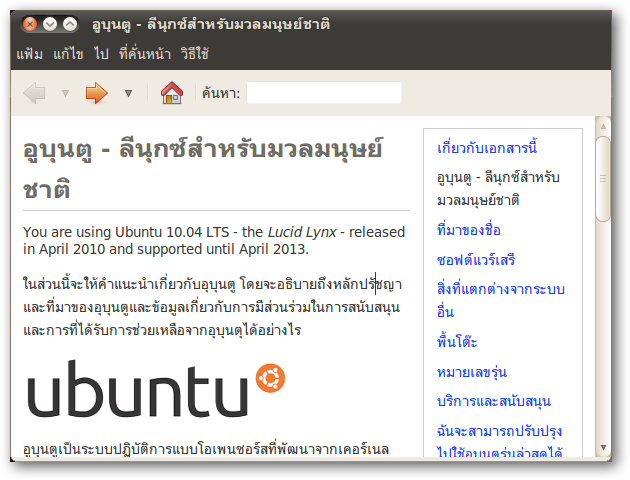
Now your interface will be almost completely translated into your new language.
Once again, you may notice some things that are still in English, but almost everything is translated.
Check out our article onadding languages to your keyboardto get this setup.
ConclusionUbuntu has a large number of supported interface languages to make it user-friendly to people around the globe.

![sshot-2010-05-17-[23-06-34]](https://static1.howtogeekimages.com/wordpress/wp-content/uploads/2010/05/sshot20100517230634.png)