Here’s a free app that can help you do this quickly and easily.
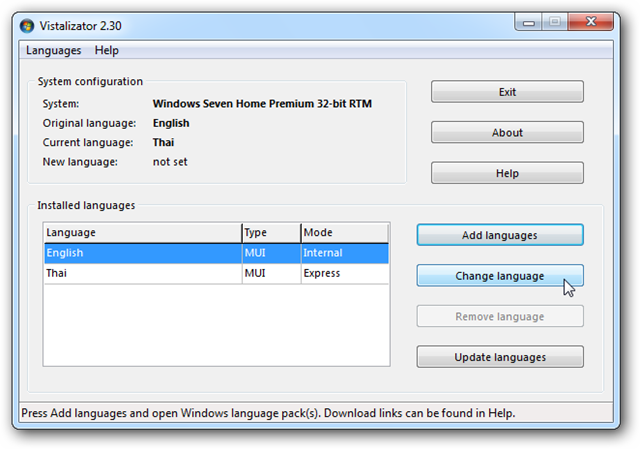
Windows 7 and Vista Ultimate include the ability to install multiple user interface languages and switch between them.
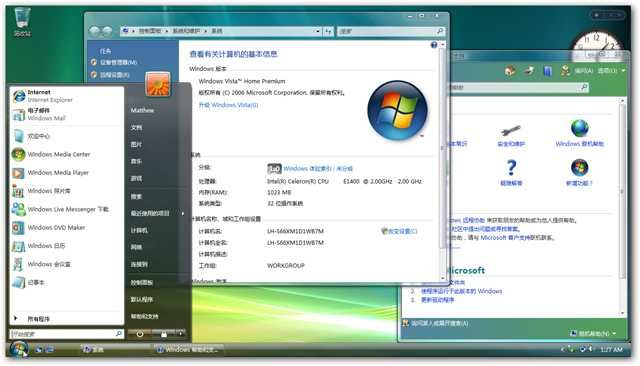
However, all other editions are stuck with the language they shipped with.
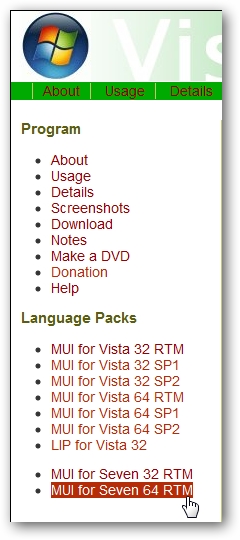
Then, from the same page, download the language pack of your choice.
Once the downloads are finished, launch the Vistalizator program.
You do not need to install it; simply run it and you’re ready to go.
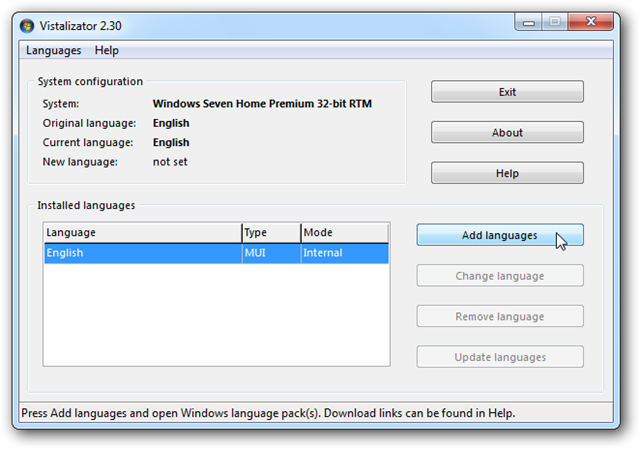
choose the Add languages button to add a language to Windows.
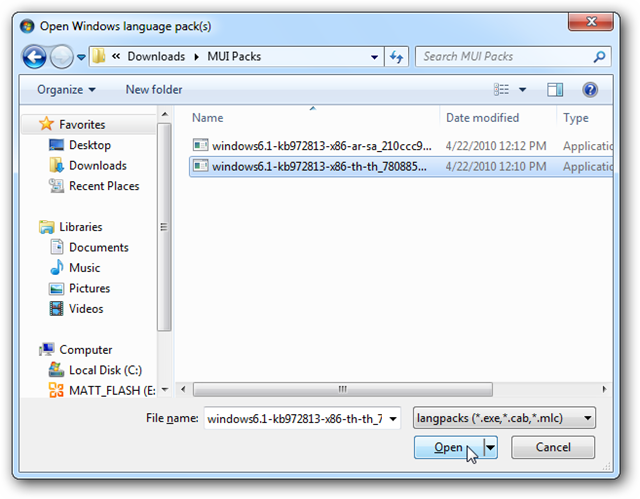
pick the user interface language pack you downloaded, and click Open.
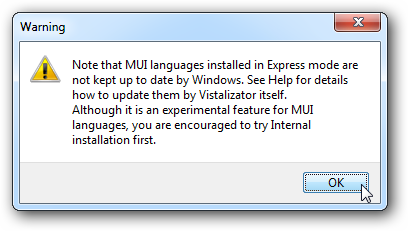
Click Ok to continue.
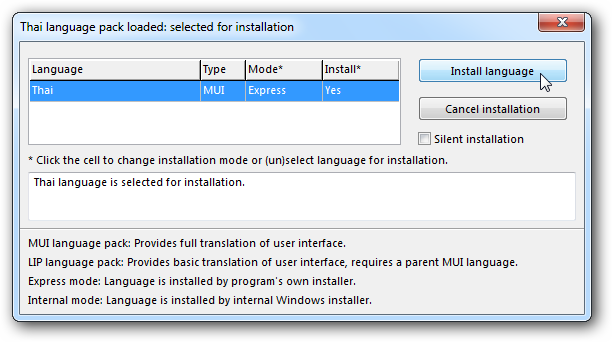
double-check you’ve selected the correct language, and click Install language.
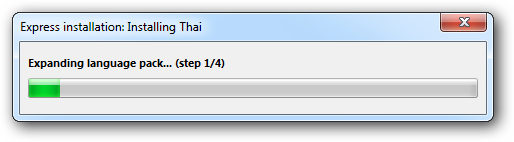
Vistalizator will extract and load the language pack.
This took around 5 to 10 minutes in our test.
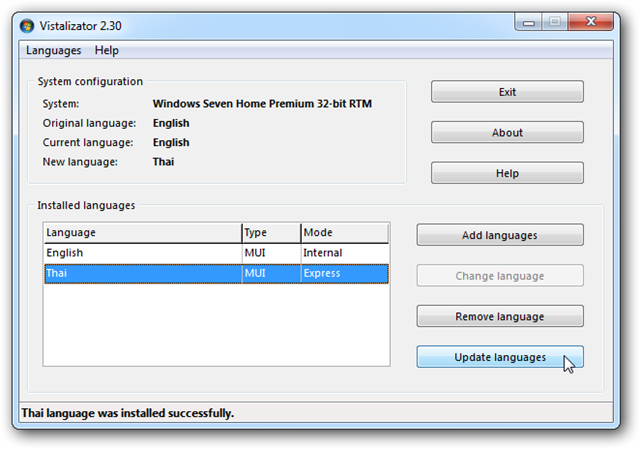
Once the language pack is installed, click Yes to make it the default display language.
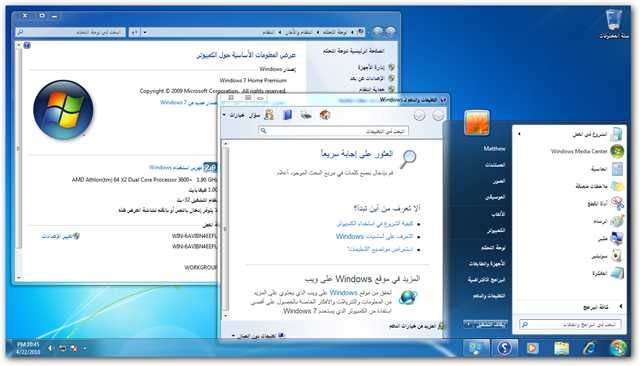
Now, you have two languages installed in Windows.
When finished, exit Vistalizator to finish switching the language.
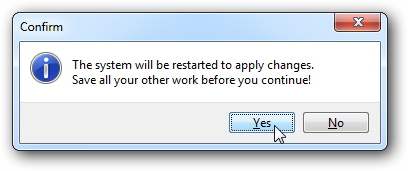
Click Yes to automatically reboot and apply the changes.
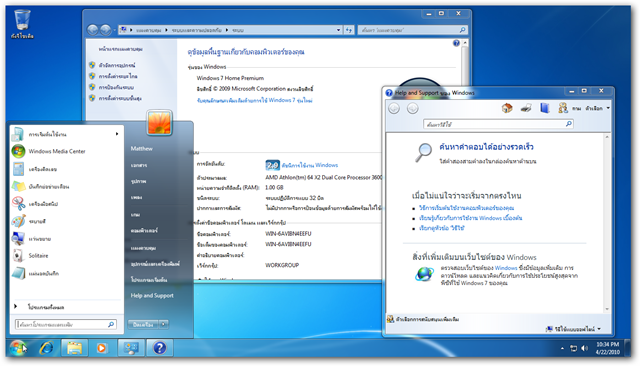
When you computer reboots, it will show your new language, which in our test is Thai.
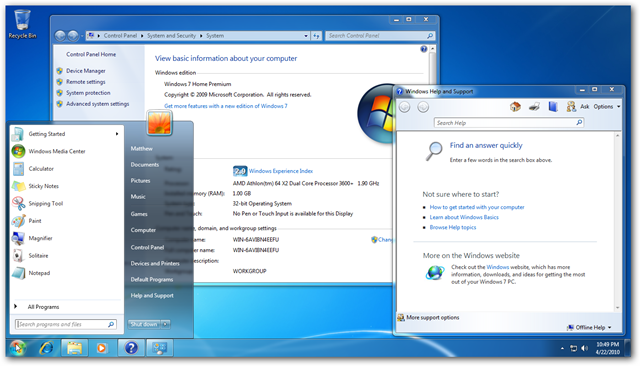
Here’s our Windows 7 Home Premium machine with the Thai language pack installed and running.
Simply repeat the steps to add another language pack.
Vistalizator was originally designed for Windows Vista, and works great with Windows 7 too.
The language packs for Vista are larger downloads than their Windows 7 counterparts.

snag the language you wish to use, and click Change language.
When you close Vistalizator, you will again be asked to reboot.
Once you’ve rebooted, you’ll see your new (or original) language ready to use.
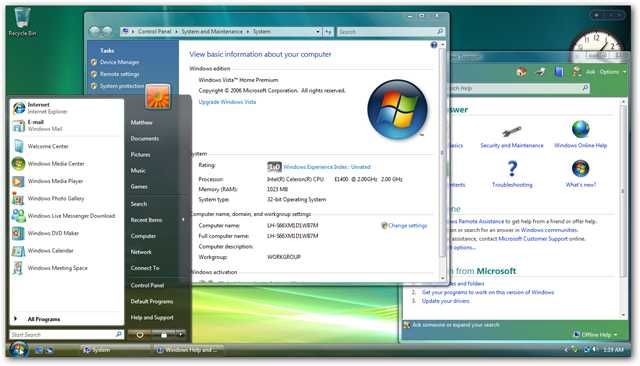
Here’s our Windows 7 Home Premium desktop, back in it’s original English interface.