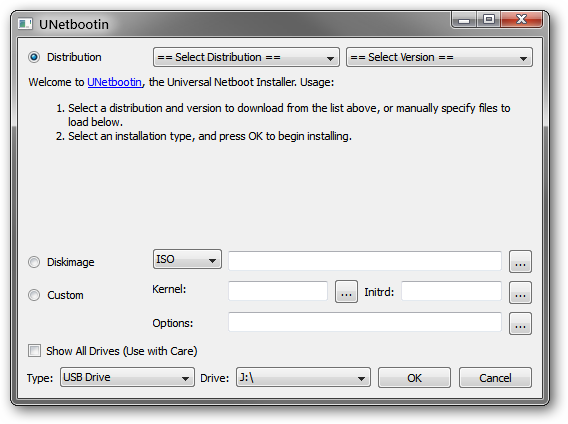
Creating a bootable USB flash drive is surprisingly easy with a small self-contained utility called UNetbootin.
It will even download Ubuntu for you!
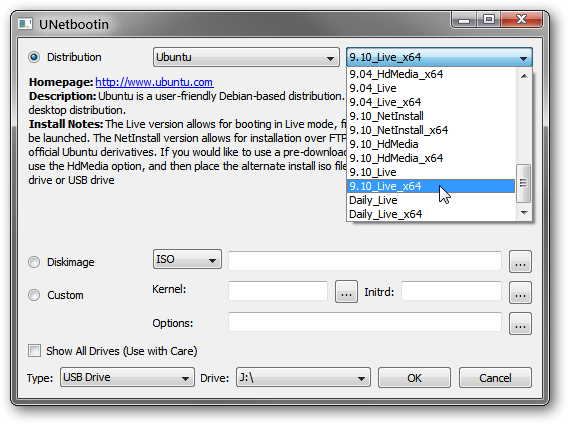
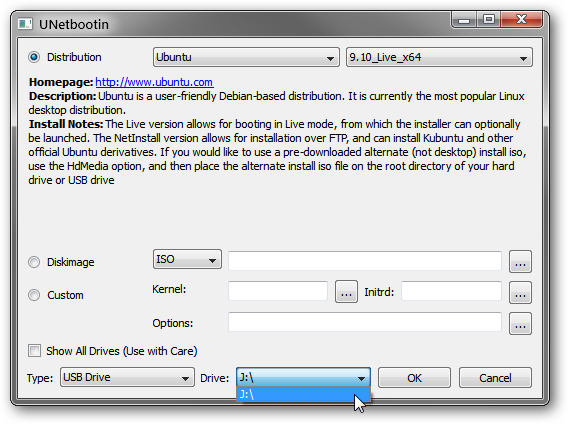
Select Ubuntu from the Distribution drop-down box, then 9.10_Live from the Version drop-down box.
![]()
If you have a 64-bit machine, then select 9.10_Live_x64 for the Version.
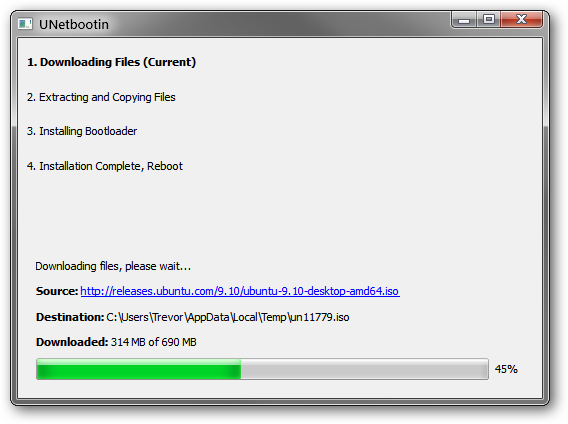
Click OK and UNetbootin will start doing its thing.
First it will download the Ubuntu Live CD.
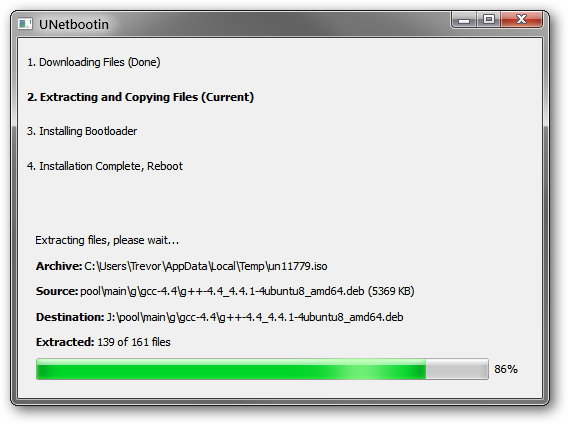
Then, it will copy the files from the Ubuntu Live CD to your flash drive.
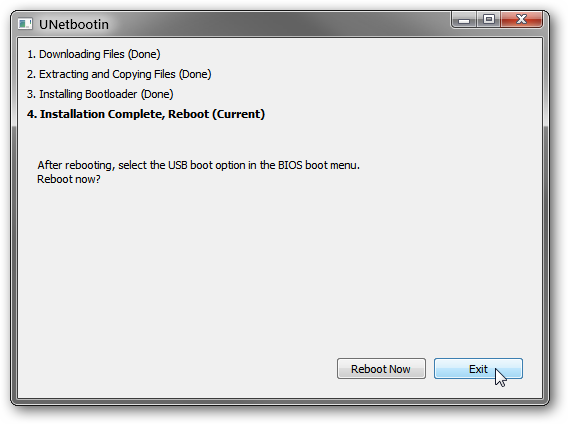
Youre not planning on installing Ubuntu right now, so theres no need to reboot.
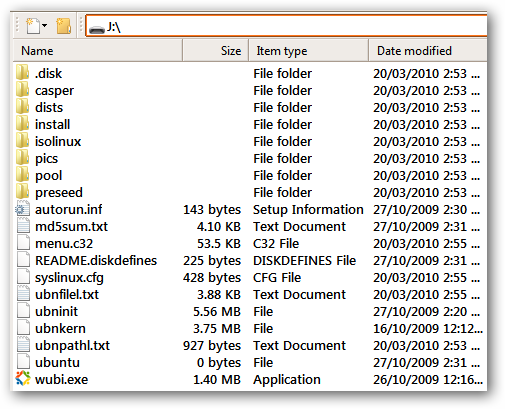
If you look at the USB drive now, you should see a bunch of new files and folders.
If you had files on the drive before, they should still be present.
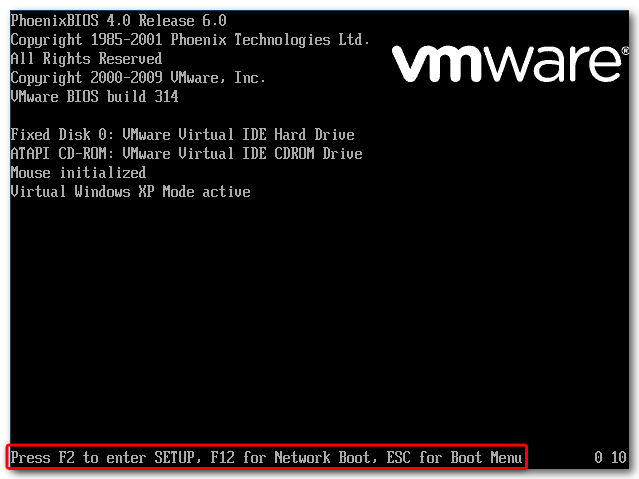
The steps to do this will vary depending on your BIOS which varies depending on your motherboard.
Typically, these will show up at the bottom of the screen.
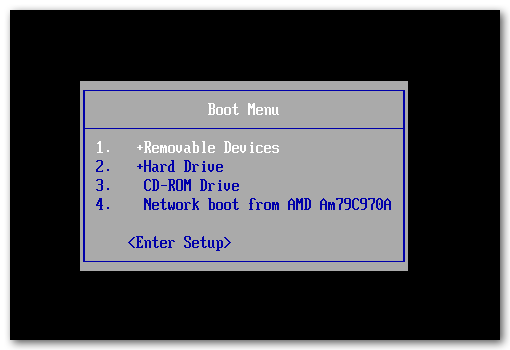
If your BIOS has a Boot Menu, then read on.
In our case, this is ESC.
Try the options that start with USB until you find one that works.
Dont worry if it doesnt work it’s possible for you to just restart and loop back and try.
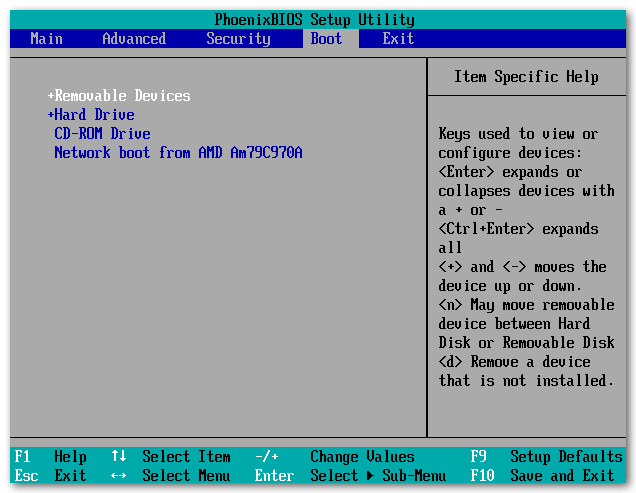
Note: There are some options in BIOS Setup that can affect the stability of your machine.
Take care to only change the boot order options.
Press the button associated with Setup.
In our case, this is F2.
If your BIOS does not have a boot tab, boot order is commonly found in Advanced CMOS Options.
Note that this changes the boot order permanently until you change it back.
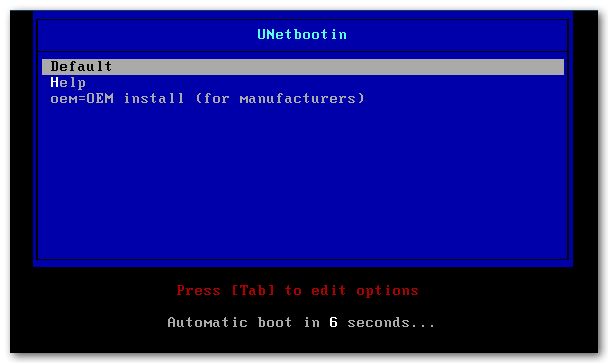
Press enter to start Ubuntu with the default options, or wait 10 seconds for this to happen automatically.
Ubuntu will start loading.
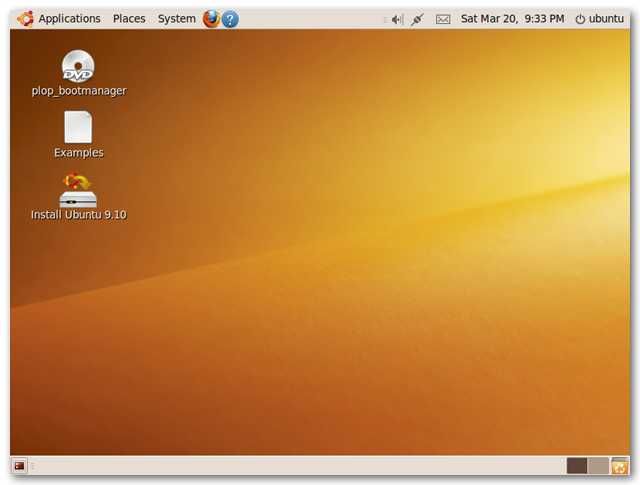
It should go straight to the desktop with no need for a username or password.