Microsoft Access is used within many businesses to store and access information.
you might also create a simple report easily using the Report Wizard.
Open your Access Database and hit Reports located under the Objects field on the left hand side.
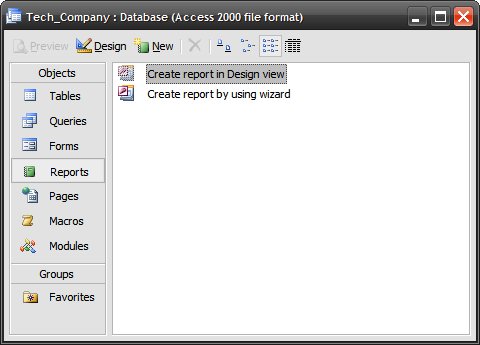
On the top toolbar tap on the New button to start a new report.
In this instance I want to create a report about Tech_Company’s Customers.
After you have the correct data selected click OK.
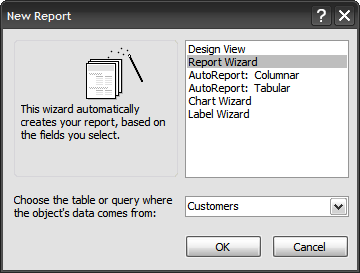
This is great when you only want to create a report based on specific data within a table.
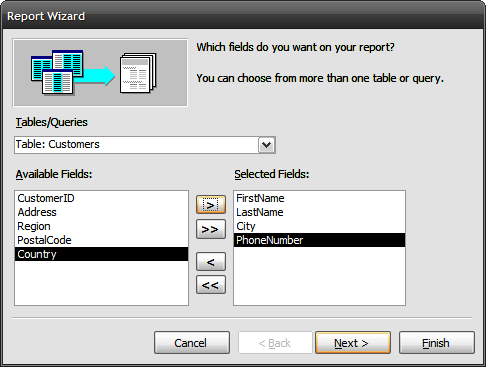
Highlight the information in the Available Fields and press the arrow button to move it into the Selected Fields.
Here I selected the customers First Name, Last Name, City, and Phone Number.
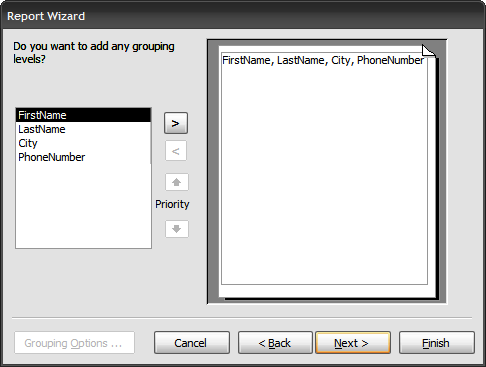
In this window you’re free to select to add grouping to various parts of your data.
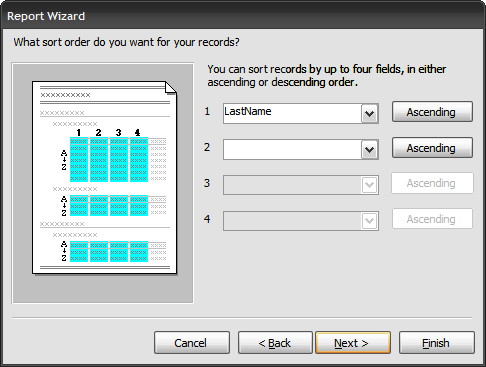
Here you choose what order the data will appear in the report.
This is a customization you will need to decide on based upon how you wish to present the data.
Here I choose to sort the Last Name of each customer in Ascending order.
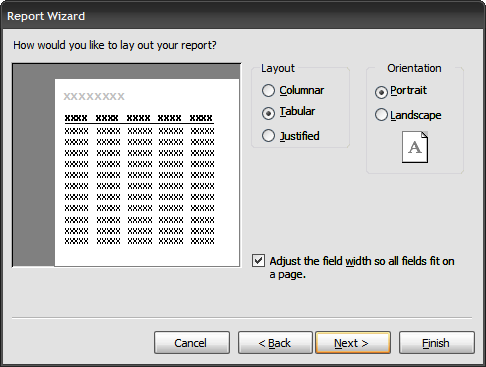
This is where you will choose the layout of the report.
Once again depending upon how you wish to present the data will determine the layout.
This ensures all the relevant data is on each page and not scattered on multiple pages.
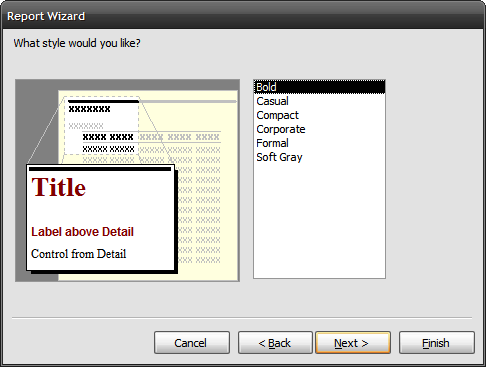
Next you will choose the style or appearance of the report.
Once again use your best creative judgement.
For this report I am choosing Bold.
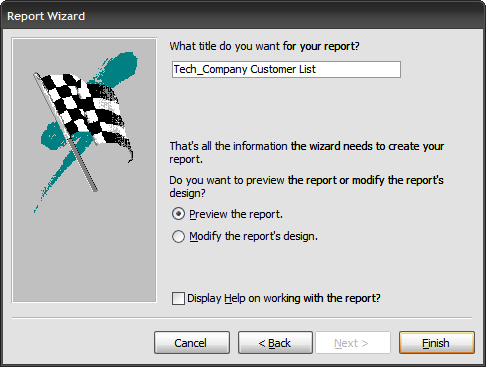
You are almost done!
Choose a name for your report.
After you have named your report click Finish.
You will now see the results of the report you created.