One of the cool features in Windows 7 is XP Mode.
It is a free download, but requires registration.
You may see some prompts about installing drivers; simply approve them.

We didn’t see them on our latest test, but have in the past.
When you are finished installing VMware Player, you will have to reset your machine.
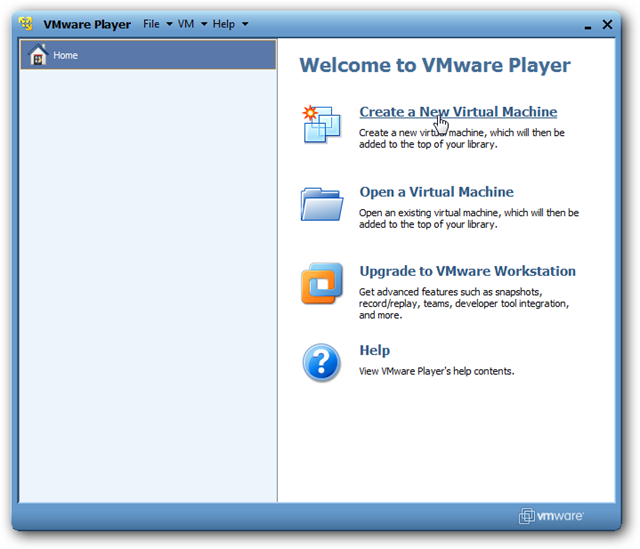
In VMware Player, pick the link at the top that says “Create a New Virtual Machine.”
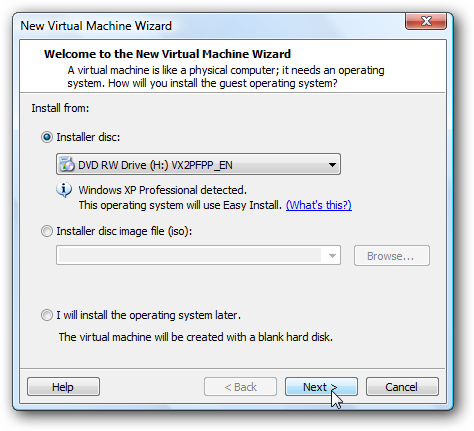
VMware automatically detects your Windows XP CD, and says it will install it with Easy install.
This will let you install XP with only 5 clicks!
Click Next to continue.
Now drop your XP product key, and name and password of your choice.
We named it XP Mode to make it obvious what this virtual machine is for!
Here VMware will automatically key in your operating system’s name and the default location to save the files.
![sshot-2010-02-16-[19-14-34]](https://static1.howtogeekimages.com/wordpress/wp-content/uploads/2010/02/sshot20100216191434.png)
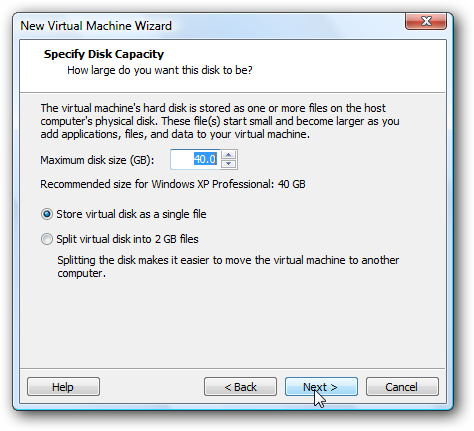
Simply press next to accept the defaults, or change them if you wish.
kindly note that the entire 40Gb will not be taken up on your hard drive.
Our clean install only took up 1.4Gb on the computer.
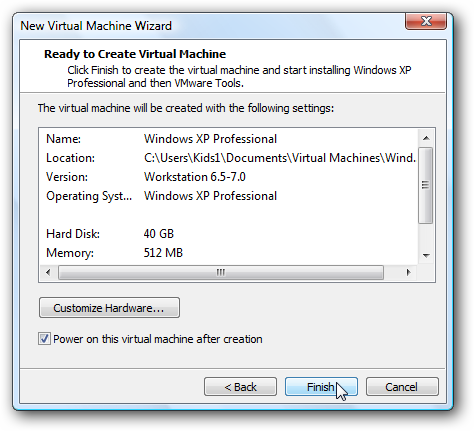
That’s all the configs.
you’re free to review and make changes here, or simply press Finish to start installing XP.
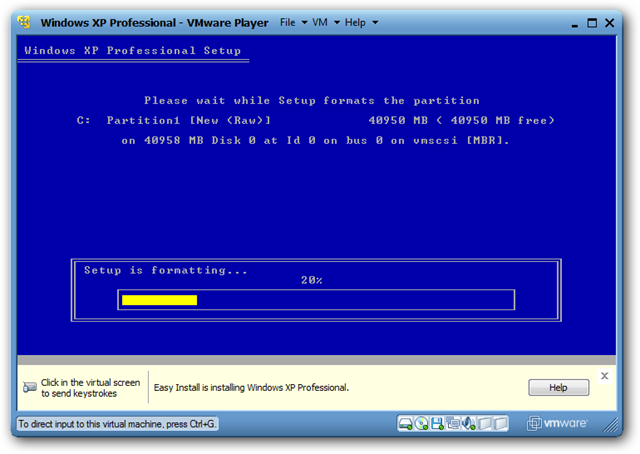
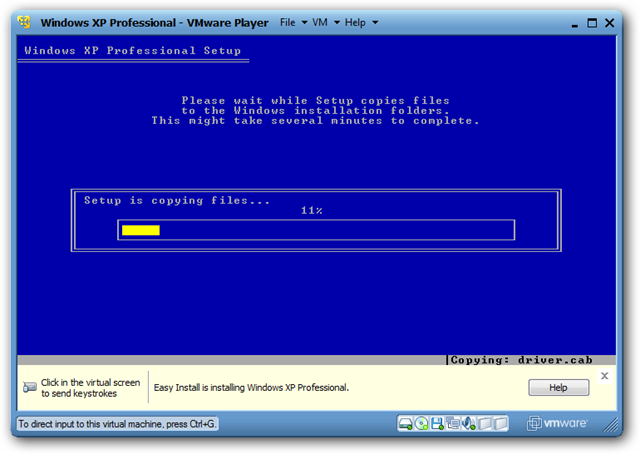
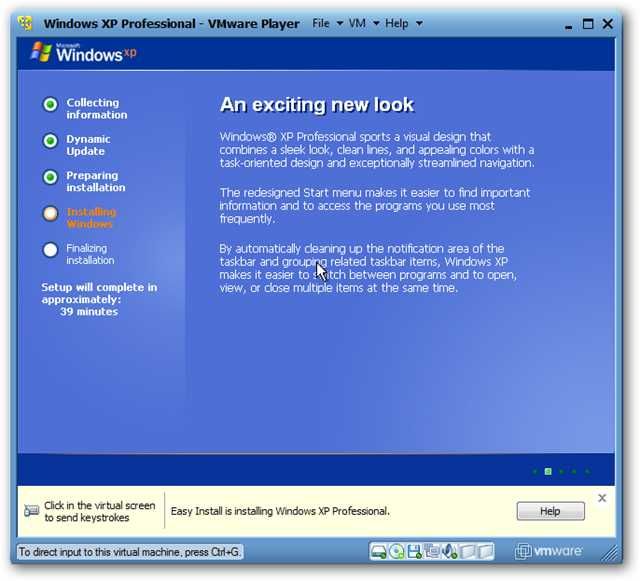
From here on, VMware will take over.
You do not need to click anything else until XP is fully installed!
Everything will work automatically, so you’re free to literally leave it unattended while it’s installing.
In our tests it took about 20 minutes to install.

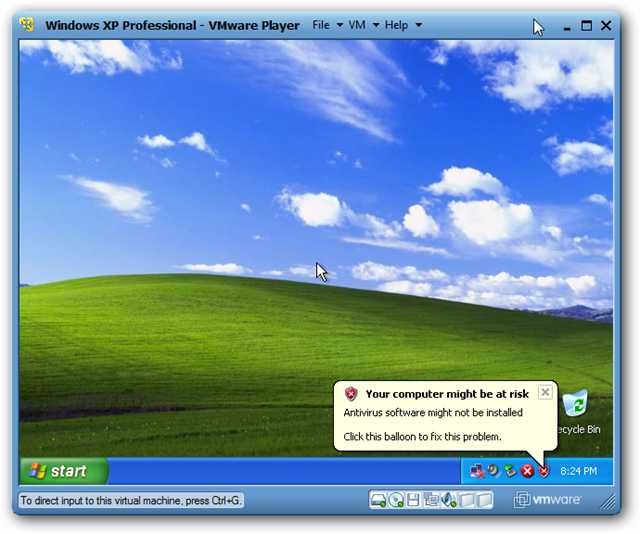
When it’s done, you’ll be presented with the Windows XP desktop ready for use!
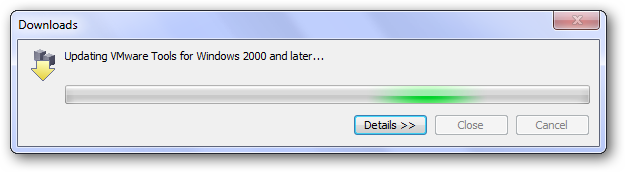
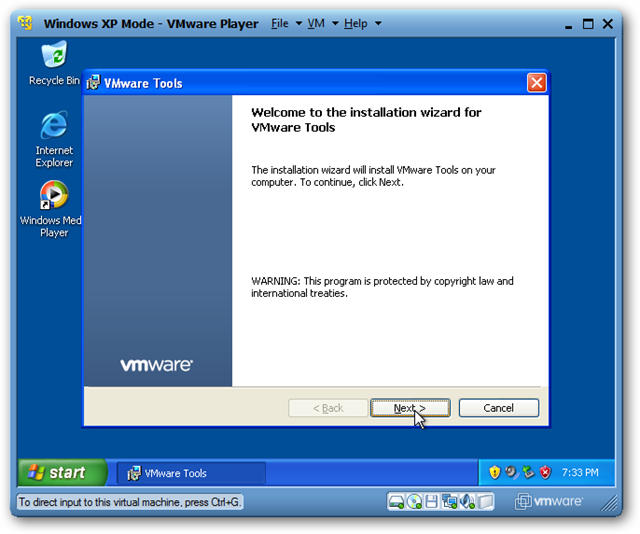
VMware Player will automatically launch the VMware Tools installer to integrate your virtual XP with your gear.
The tools will automatically download and install, though you may have to approve an UAC prompt.

Once the tools are downloaded or updated, they should automatically run in XP.
Let’s set this up in VMware.
Copy and paste from Windows 7 or Vista to XP in VMware is activated by default.
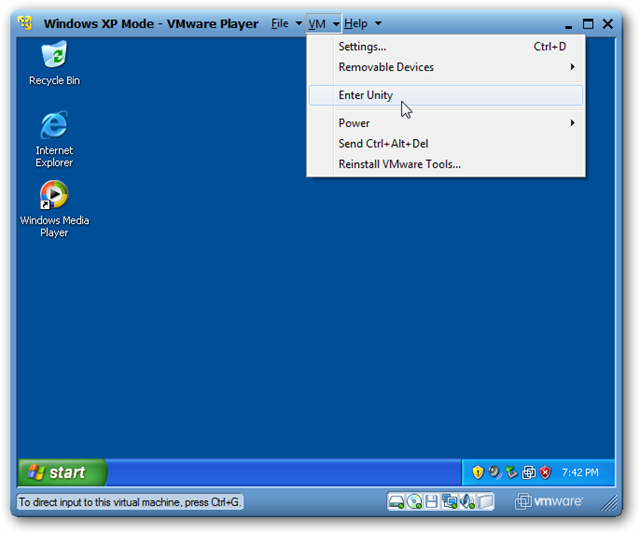
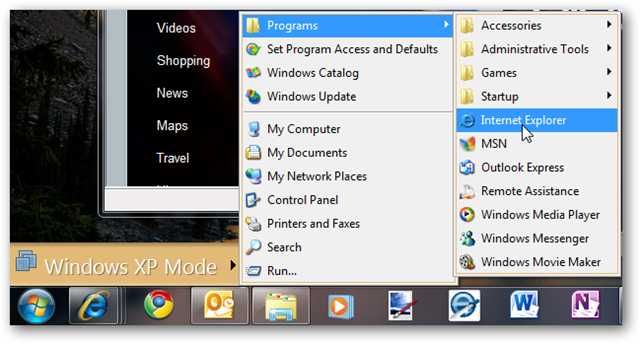
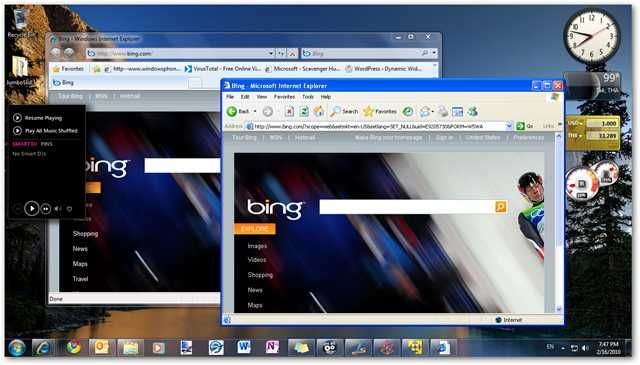
Click there to access a full start menu from XP Mode right in Windows 7.
And it works the exact same in Windows Vista.
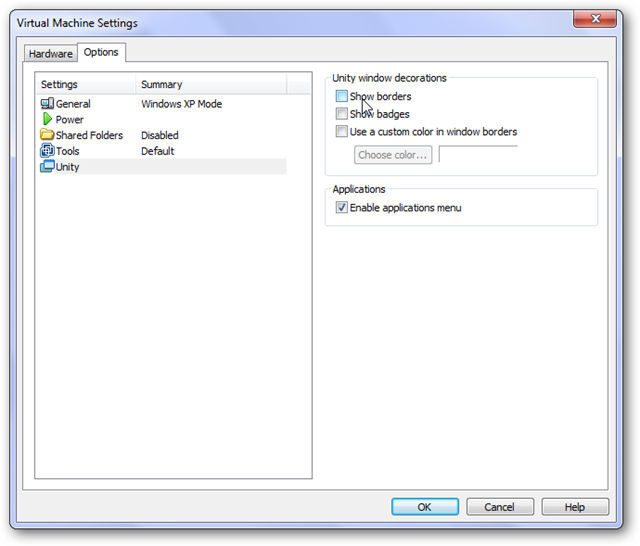
By default, the virtualized windows will have a border and the VMware logo on their edge.
To remove this logo, click VM in the VMware player window, then options.
press the Options tab, and choose Unity on the left.
Now uncheck the boxes that say “Show borders” and “Show badges.”
Without having the VMWare borders and badges give everything a more authentic XP Mode look and feel.
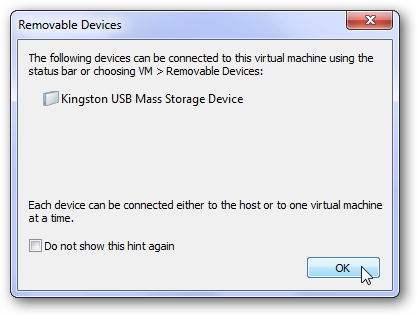
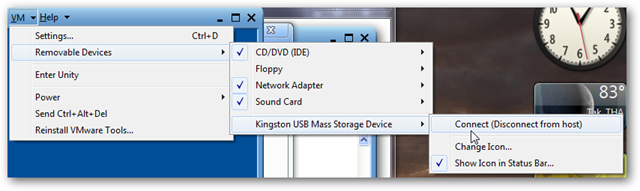
you could even use removable devices, such as flash drives, in XP in VMware Player.
Simply click VM, then Removable Devices.
Select your gear name, and click Connect.
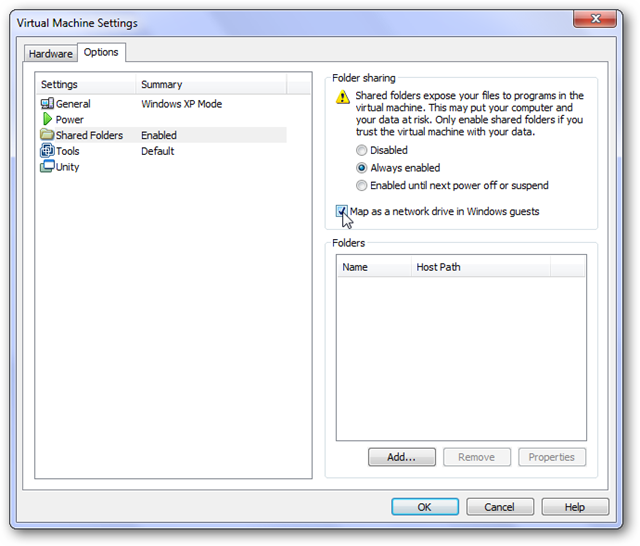
Click VM, then prefs.
nudge the Options tab, and then choose Shared Folders on the left.
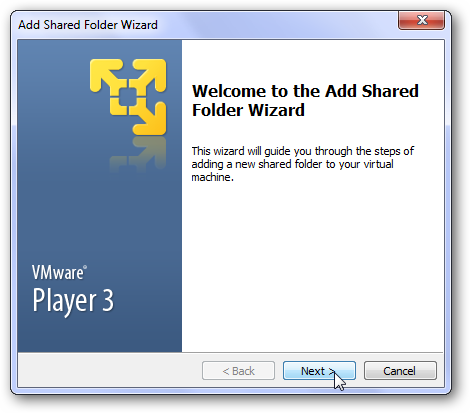
Now click Add at the bottom of that window.
This will let us add a shared folder.
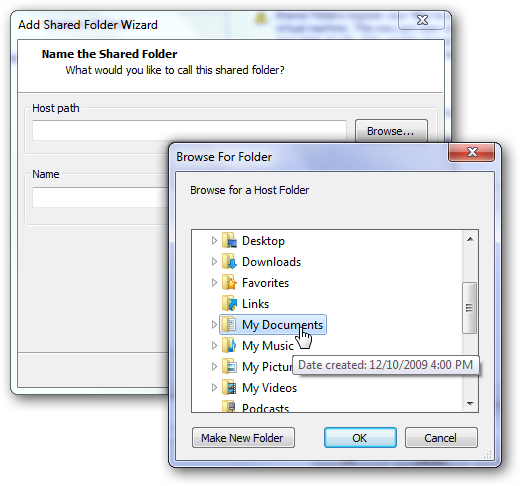
Let’s add the My Documents folder from Windows 7 (or the Documents folder in Vista).
Click Browse, and then select your My Documents folder.
Click Ok, and then click Next.
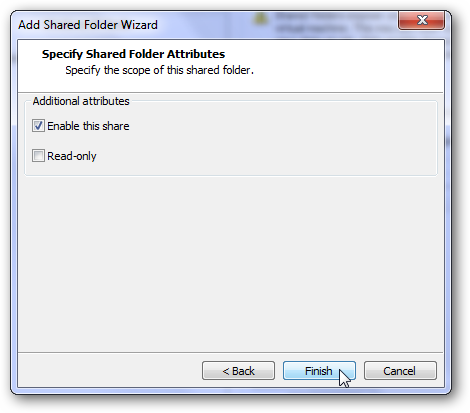
ensure the box is checked that says “Enable this share” and then click Finish.

it’s possible for you to now end the parameters window as well.
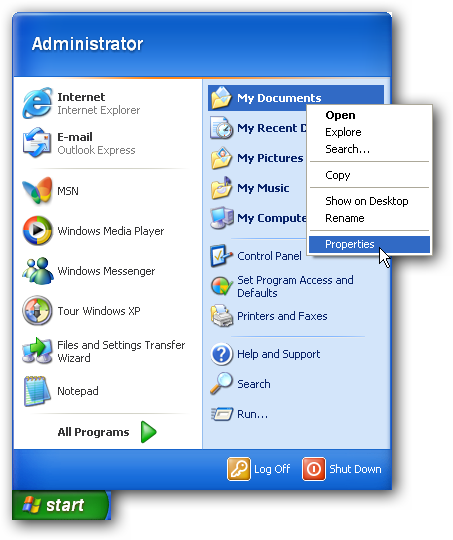
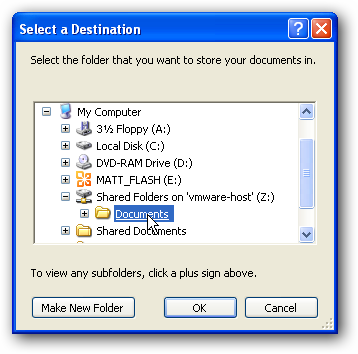
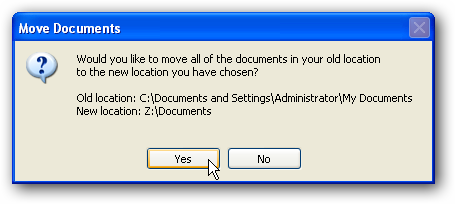
Back in XP, click Start, then right hit My Documents, and select Properties.
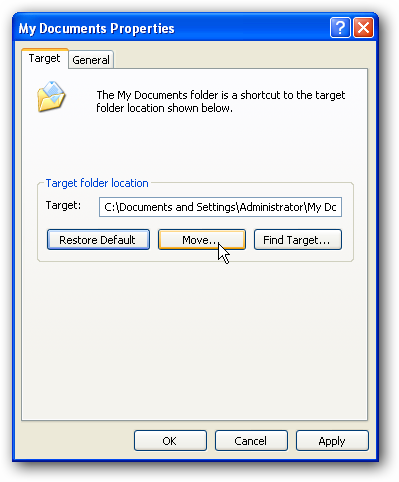
Click Move to find the new My Documents folder.
Now grab the folder we shared, Documents, and click Ok.
Click Ok in the main properties window.
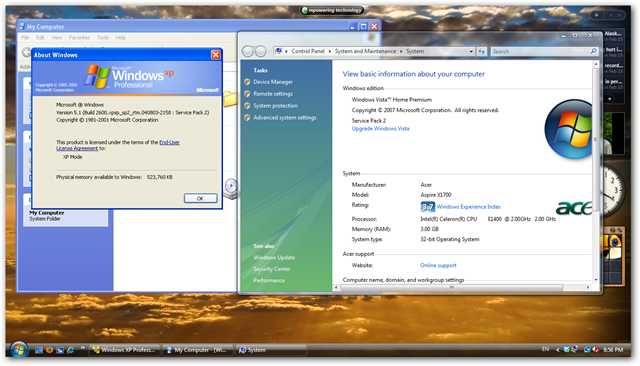
You now have a fully functioning copy of XP running right inside your 7 or Vista computer.
Almost everything works the same as XP Mode in 7 Professional or Ultimate.
![sshot-2010-02-16-[20-02-36]](https://static1.howtogeekimages.com/wordpress/wp-content/uploads/2010/02/sshot20100216200236.png)
However, we’ve found VMware’s solution easier to use and much faster to setup.

![sshot-2010-02-16-[20-21-39]](https://static1.howtogeekimages.com/wordpress/wp-content/uploads/2010/02/sshot20100216202139.png)
![sshot-2010-02-16-[20-23-15]](https://static1.howtogeekimages.com/wordpress/wp-content/uploads/2010/02/sshot20100216202315.png)