Would you like a great way to post stuff quickly online and communicate with your readers?
But WordPress can also be a great platform for microblogging, similar to Twitter or group discussion boards.
Check out our article formore info on Setting up a Free WordPress.com Blog.

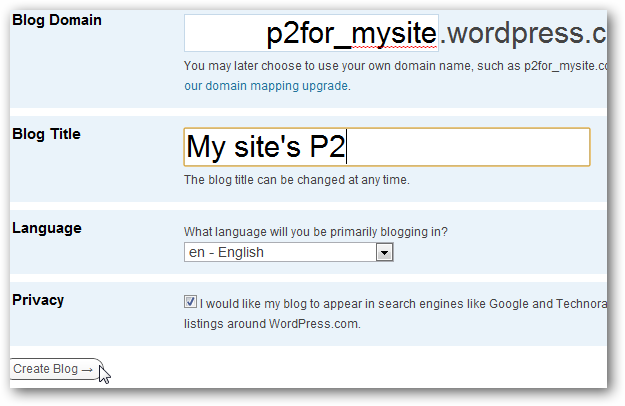
This will give you a brand new blog it’s possible for you to use with P2 for free.
Enter a name and title for your new blog, and click Create Blog.
Setup P2 On Your BlogOnce you’ve got a blog to use, it’s time to setup P2.
![sshot-2010-07-06-[11-52-46]](https://static1.howtogeekimages.com/wordpress/wp-content/uploads/2010/07/sshot20100706115246.png)
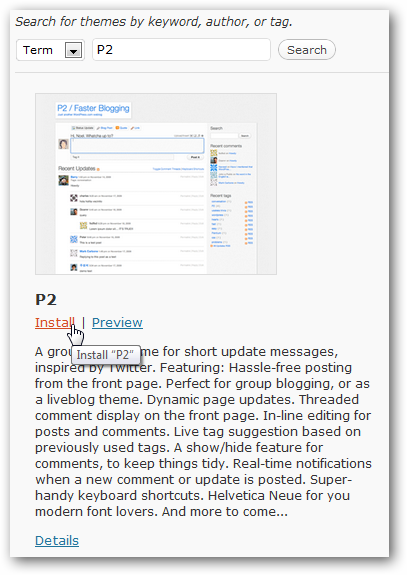
Enter P2 in the search box, and click Search to find the theme on WordPress.com.
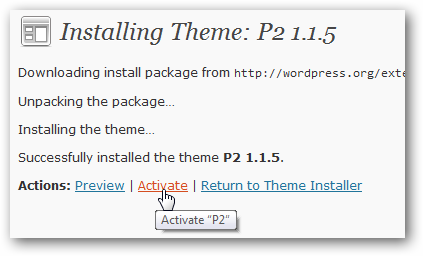
Click Activate under the P2 header to immediately start using P2 on your blog.
That’s all there is to it; it’s extremely easy to start using P2 on WordPress.com blogs.
Self-hosted WordPressInstalling P2 on a self-hosted WordPress blog is a bit more difficult.
pick the Install Themes tab on the Themes page.
The easiest way to install P2 is to simply search for it in the search box.
When the results load, click Install under the P2 preview image to install it directly on your blog.
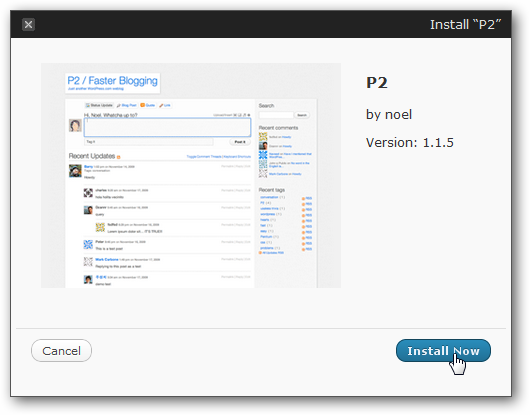
Click Install Now in the popup box to confirm you want to install P2.
Once its installed, click Activate under the installation info to begin using P2.
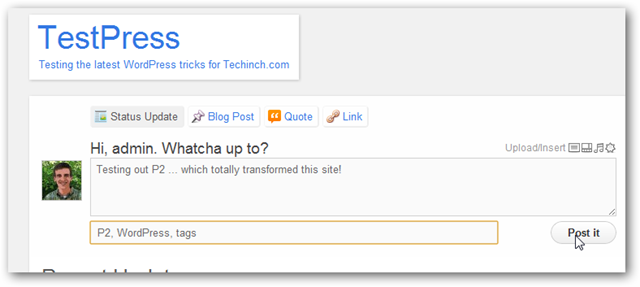
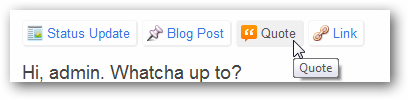
There are separate post options for status updates, blog posts, quotes, and links.
you could also upload and insert pictures, videos, and more directly into P2 posts.
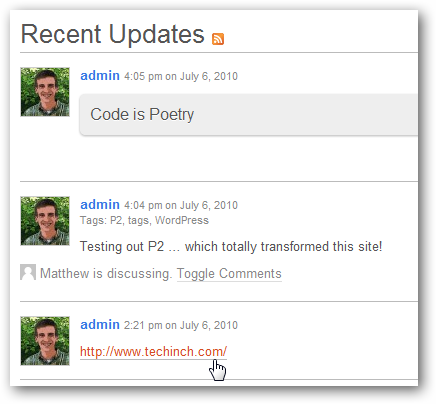
Here’s how some of the different post styles look.

Not your typical WordPress blog, eh?
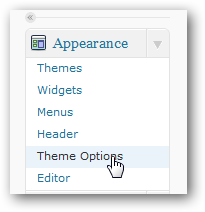
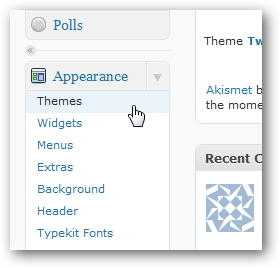
To enable this, opt for Theme Options under the Appearance menu.
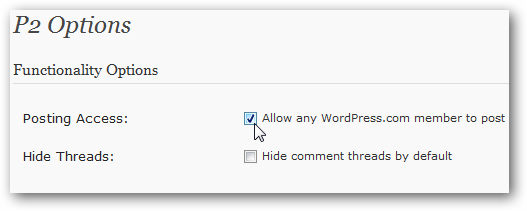
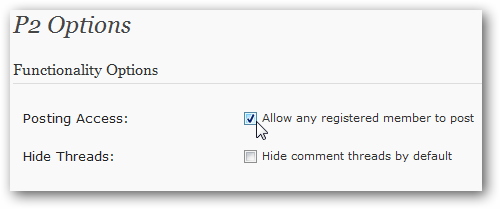
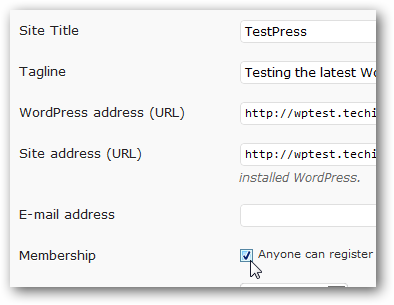
On Self-hosted sites, P2 lets you allow any registered member to post.

So, you might want to consider making your site private.
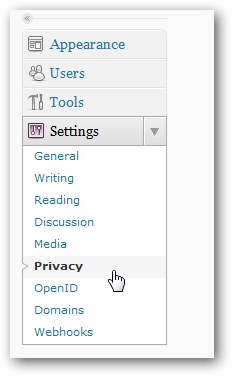
bring up the Privacy page from the tweaks menu on the left.
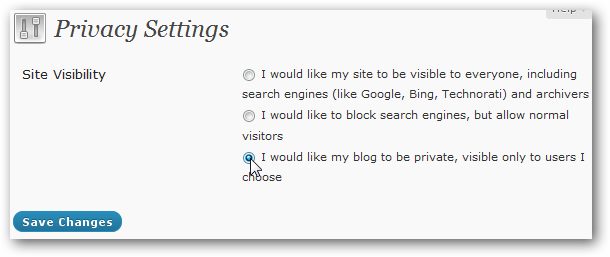
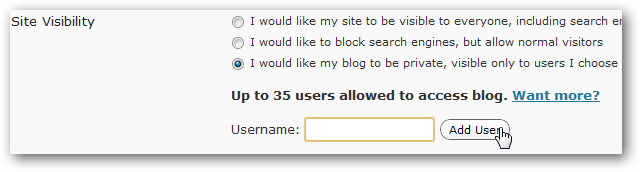
Now, opt for last bullet to make your blog private, and click Save Changes.
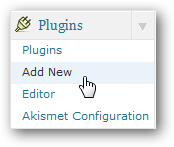
Head over to the Plugins section on the left menu, and select Add New.
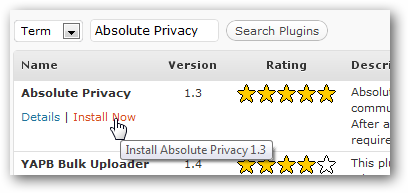
Enter Absolute Privacy in the search box, and then click Install Now on the Absolute Privacy plugin description.
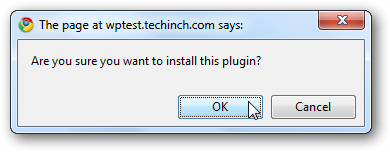
Confirm that you wish to install this plugin.

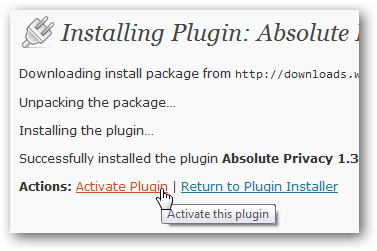
Finally, click Activate Plugin after it has installed.
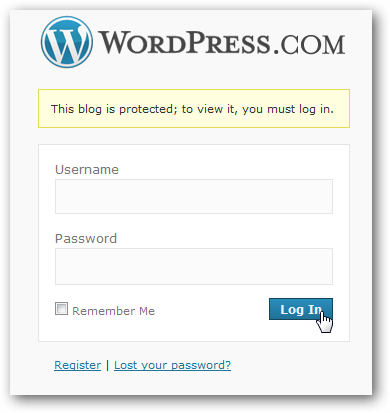
Now, when someone visits your site, they’ll be redirected to the WordPress login page.