Now we’ll give DreamScene a personal touch with Windows Live Movie Maker.InstallationDownload and install Windows Live Movies Maker.
The software itself comes bundled as part of Windows Live Essentials.
However, you don’t have to install any of the programs you may not want.
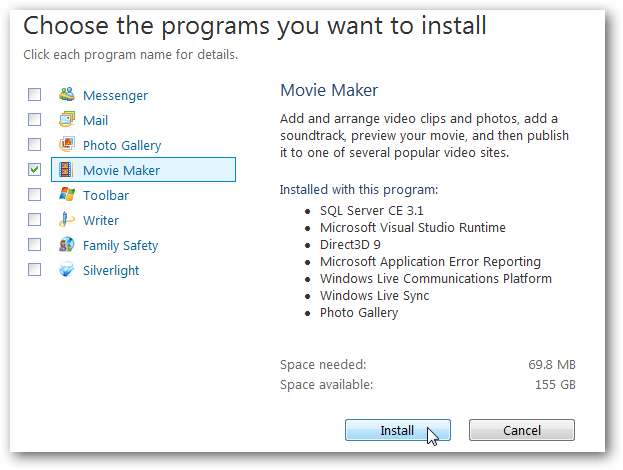
You’ll find the download link below.
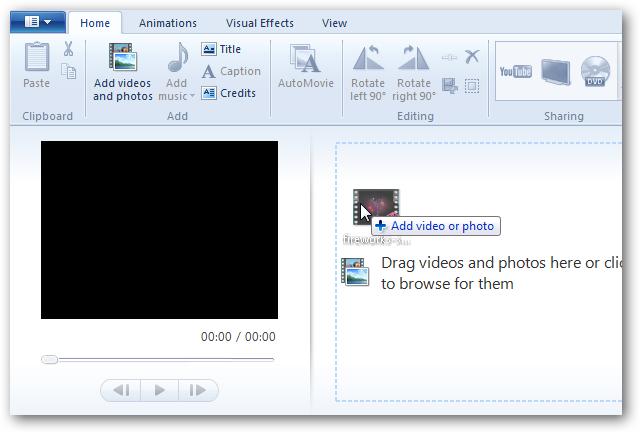
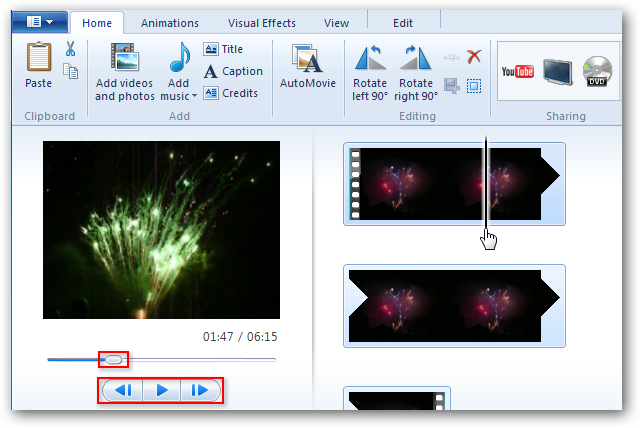
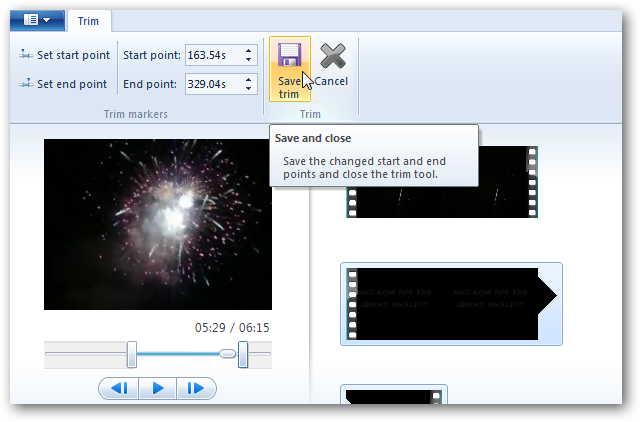
First thing we will do is edit our video by clipping out unwanted sections.
you’re able to remove unwanted portions two ways.
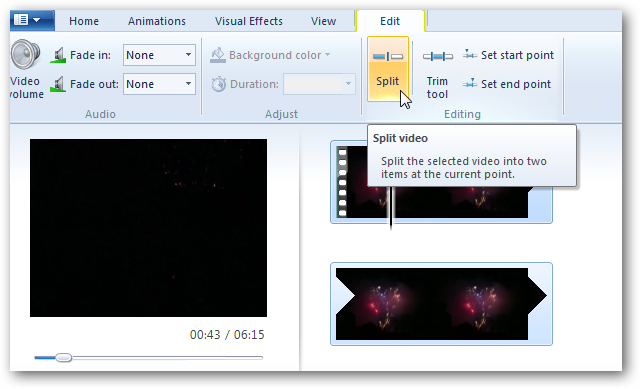
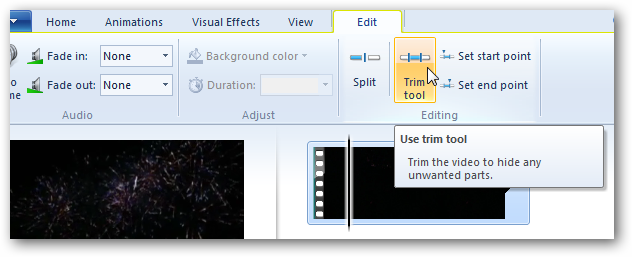
Split the video and delete sections, or Trim the video and keep the area within the trim.
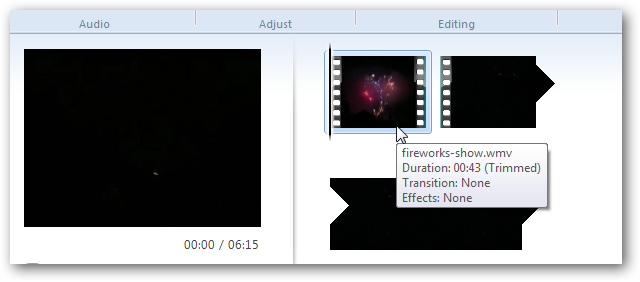
Select that unwanted section and click Delete.
Drag the sliders below the preview windows to opt for are you wish to keep.
The area outside the sliders is removed from the movie.
The area inside is the section that is kept in the movie.
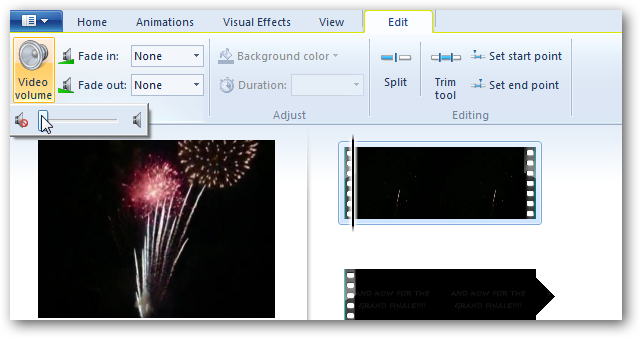
Move the slider all the way to the left to mute all sounds.
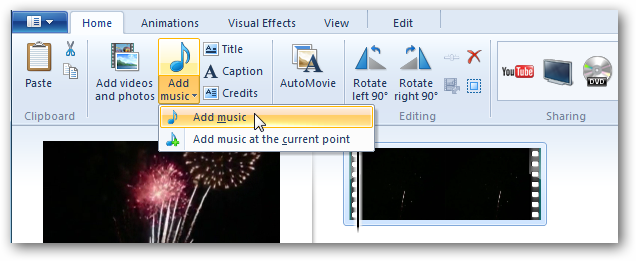
it’s possible for you to add music to the clip if you’d like.
smack the Add music button on the Home tab and select Add music.
You’ll see the music track added to your project on the storyboard.
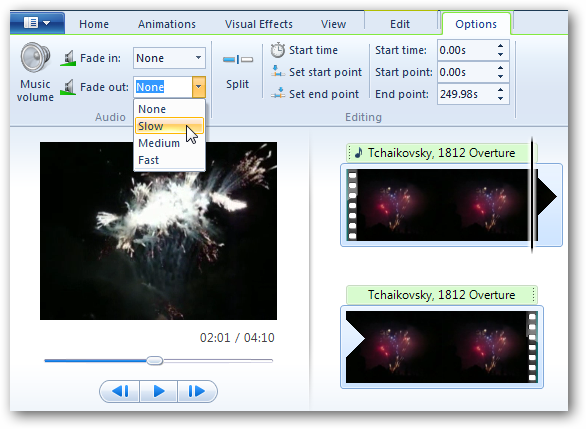
you might fade the music in and out by selecting the options on the ribbon.
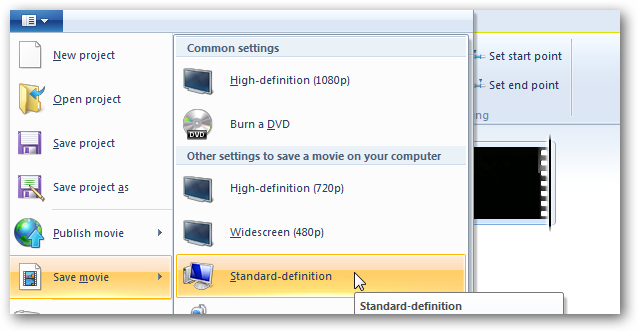
When you are finished, you’re ready to output you video.
snag the icon at the top left, then select Save movie and click one of the options.
All video are exported as WMV files and thus will work as DreamScenes.
Enable DreamSceneNow, we are ready to set our video as wallpaper.
First need to install a little program called DreamScene Activator.
This free portable utility enables DreamScene in both 32 & 64 bit versions of Windows 7.
Download and extract the Windows 7 DreamScene Activator.
You’ll find the download link below.
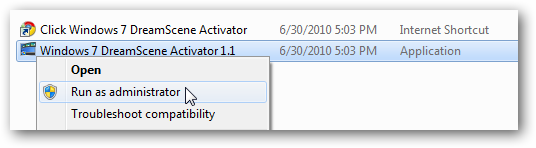
Once extracted, you’ll need to trigger the program as administrator.
To do so, right-choose the .exe and select Run as administrator.
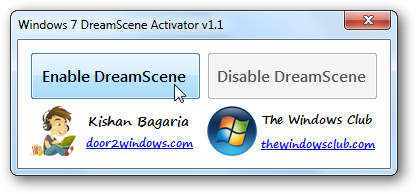
nudge the Enable DreamScene button.
This will restart Windows Explorer.
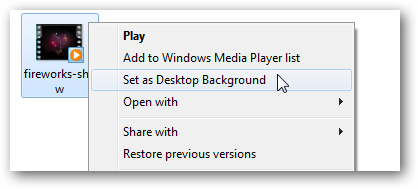
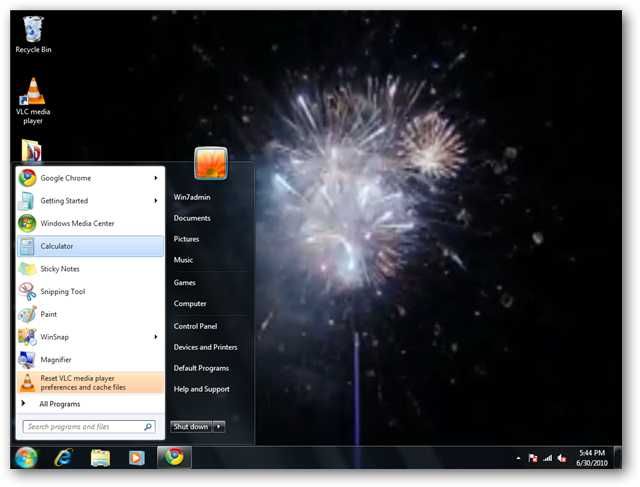
After DreamScene is enabled, right-hit your WMV file and select Set as Desktop Background.
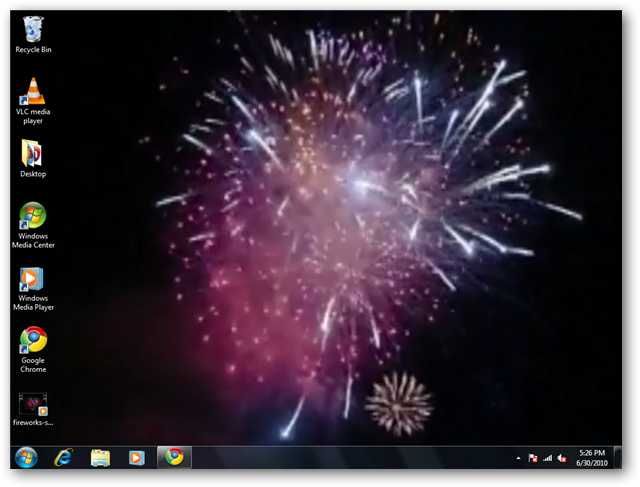
And enjoy your Windows DreamScene.
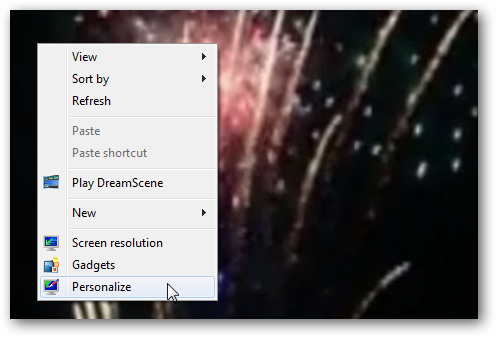
If the text under your icons is is darkened out, right tap on the desktop and select Personalize.
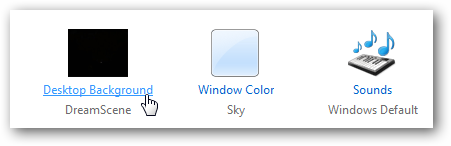
Then select Desktop Background.
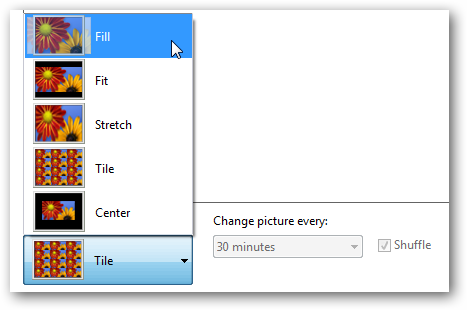
Select Fill as your Picture position and Save before exiting.
You’ll need to reset your DreamScene after these changes.
Now you’ll be able to read your icons and enjoy the show.
When you’ve had your fill of your DreamScene, simply switch back to your old wallpaper.