Do you ever wish you could change the WMC start menu?
Today we look at how to do it using Media Center Studio.
Download and install Media Center Studio.
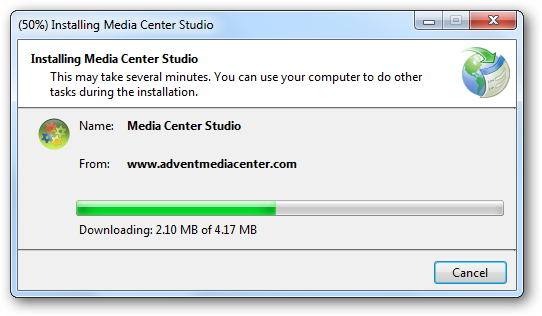
Many of the actions cannot be performed with Media Center open.
Once installed, you’re free to open Media Center Studio from the Windows Start Menu.
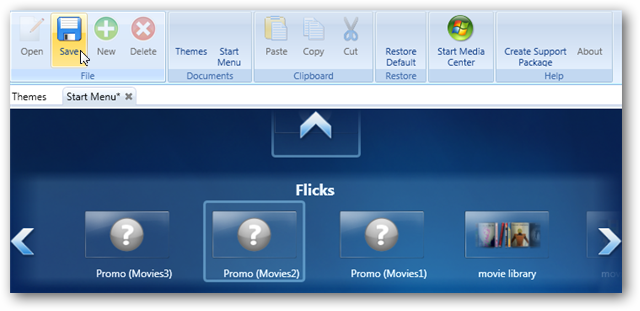
When you first open Media Center Studio you’ll be on the Themes tab.
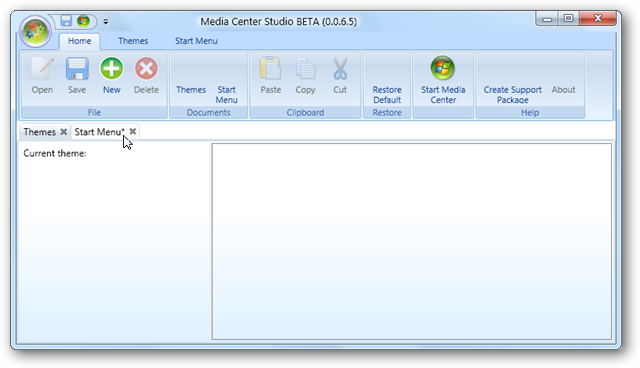
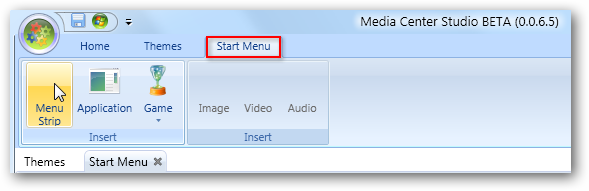
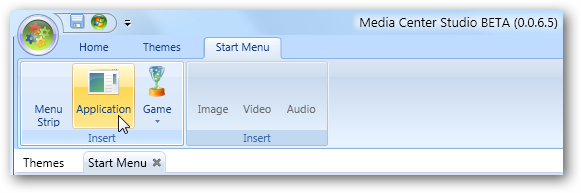
punch the Start Menu tab.
Opening Windows Media Center from the Windows Start Menu is preferred.
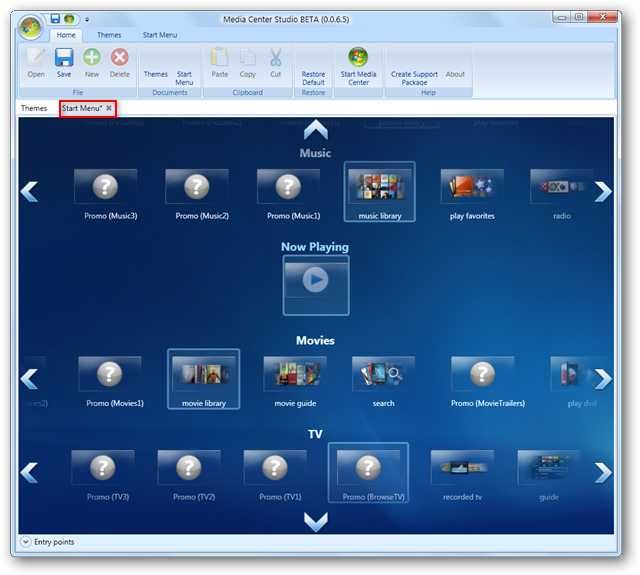
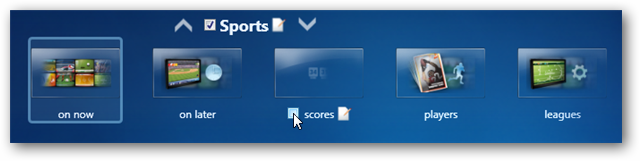
When you’re on the Start Menu tab you will see the Windows Media Center menu strips and tiles.
Hiding and Removing Tiles and Menu Strips.
This applies to many of the “Promo” tiles.
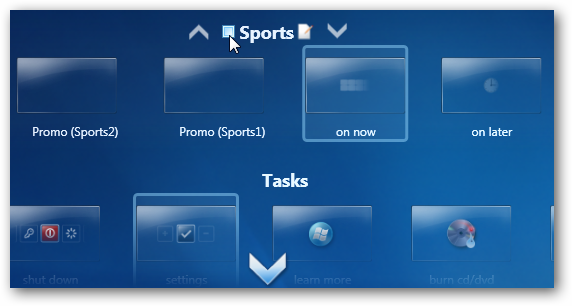
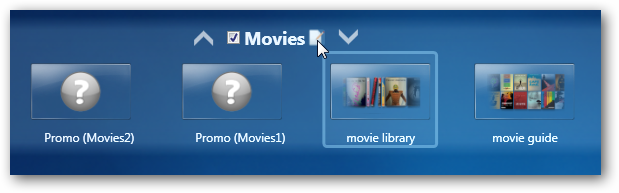
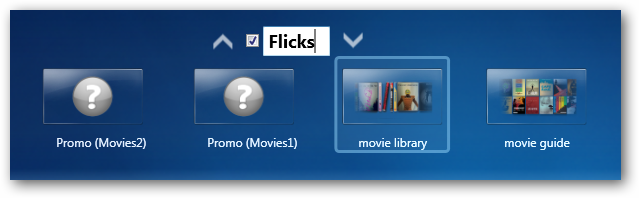
The title will turn into a text input box so that you’re able to edit the name.
Click away from the text box when finished.
Here we will change the title of the default Movie strip to “Flicks.”
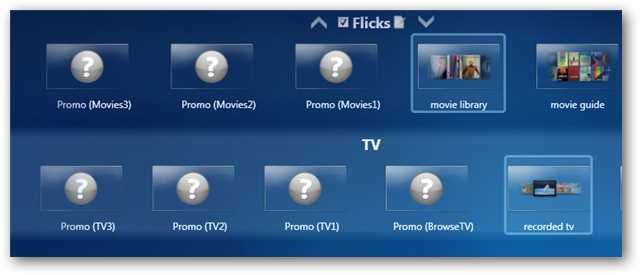
In our example, I’m going to make our newly renamed “Flicks” strip the default.
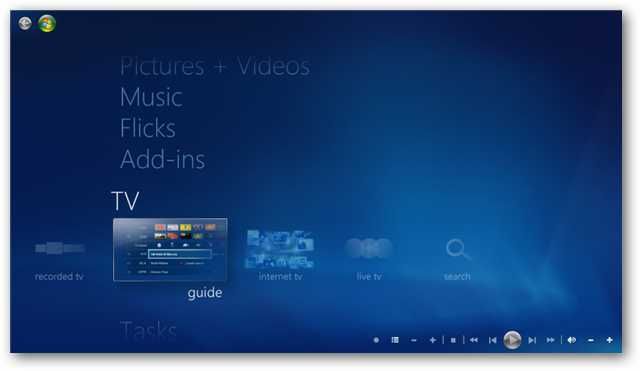
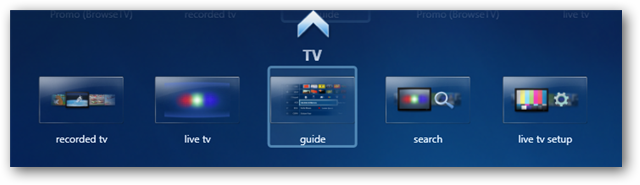
Each menu strip has a default tile.
This is the tile that is active, or on focus, when you opt for menu strip.
To change the default tile on a strip, click once on the tile.
You will see it outlined in light blue.
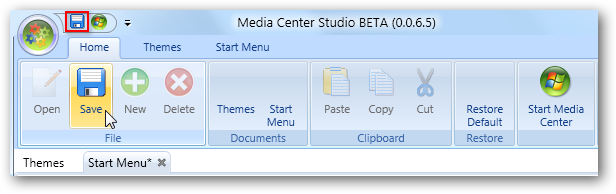
Now just simply stash your changes.
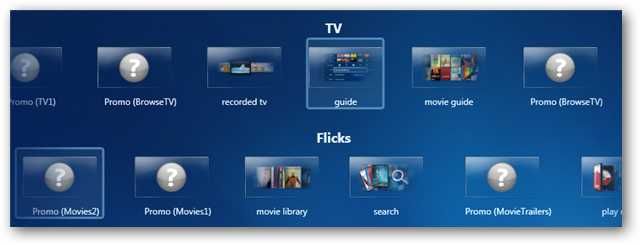
In our example below, we’ve changed the default tile on the TV strip to “guide.”
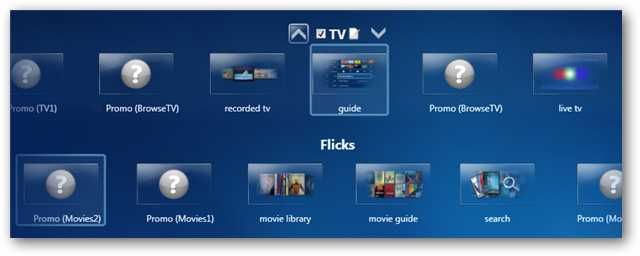
hit the arrows to move the strip up or down.
You will see the menu strip appear in it’s new position.
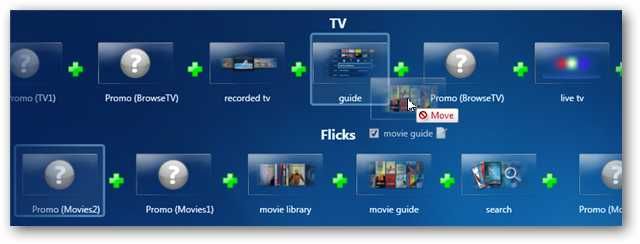
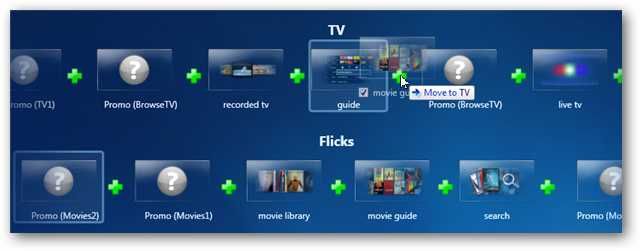
Drag and drop the tile onto to any of these green plus signs to move it to that location.
Now you’re free to drop the tile into position.
You’ll see the tile located in it’s new position.
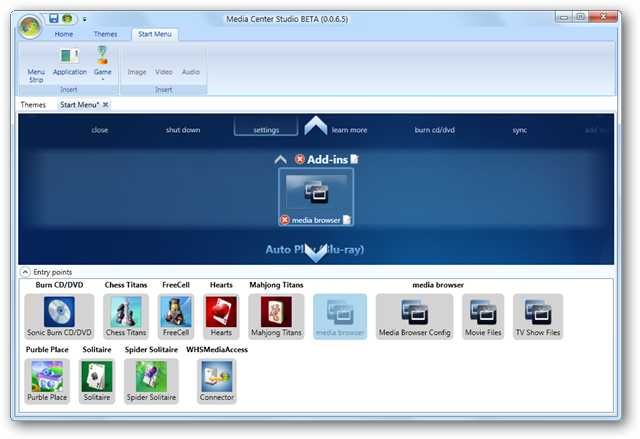
Adding a New Custom Menu Strip
snag the Start Menu tab and then snag the Menu Strip button.
you could change the name by clicking on the notepad icon just as we did earlier.
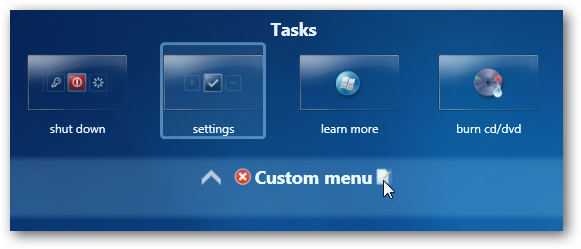
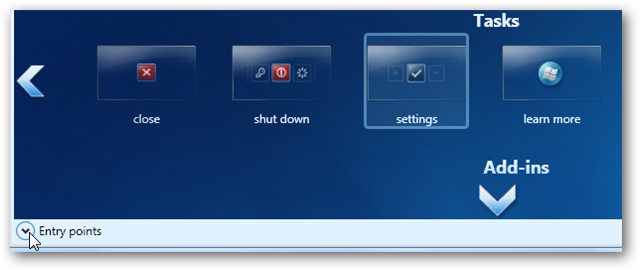
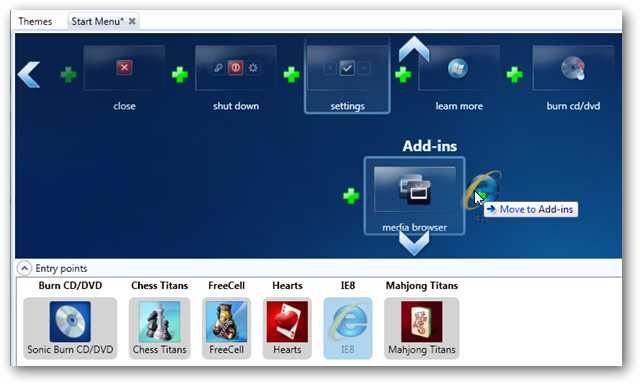
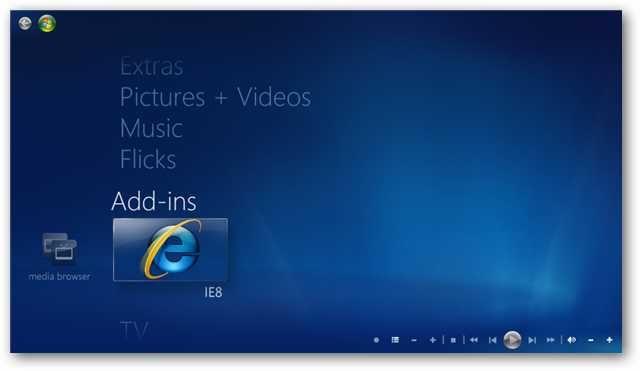
For our example, we’ll change the name of the new strip to Add-ins.
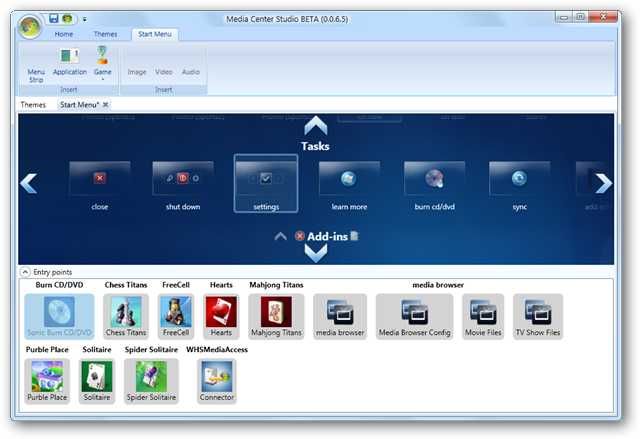
To add a new tile, press Entry Points at the lower left of the app window.
This will reveal all of your available Entry Points that can be added to the Media Center Menu.
You should see the built-in Media Center Games and any Media Center Plug-ins you have added to your system.
Below we’ve added Media net online gate to our custom Add-ins menu strip.
you’ve got the option to also add additional applications to launch directly from Media Center.
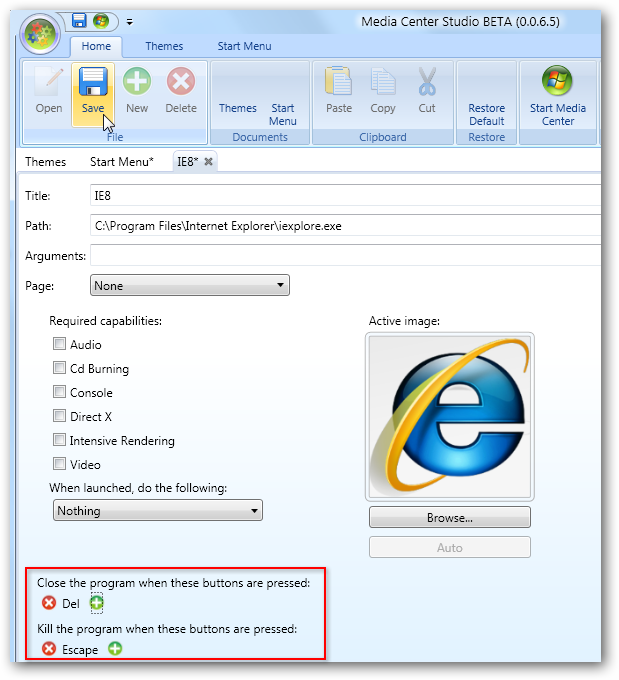
snag the tool button on the Start Menu tab.
Note: Many applications may not work with your remote, but with keyboard and mouse only.

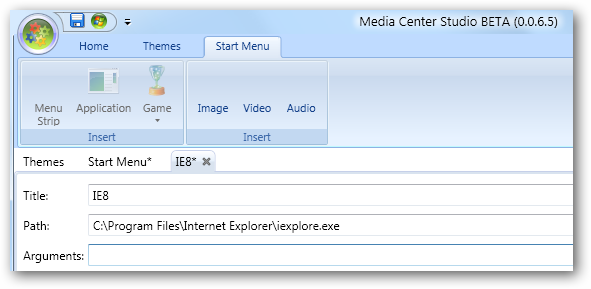
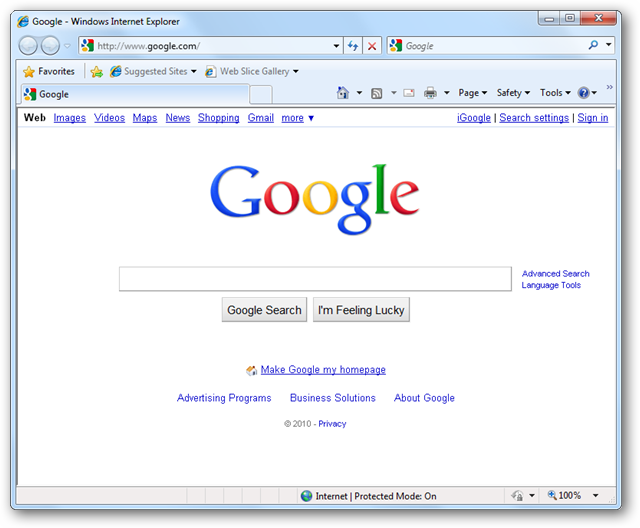
In our example, we will add Internet Explorer 8.
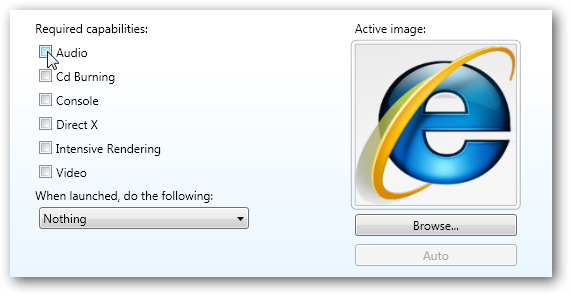
Click any of the check boxes to select any options under Required Capabilities.
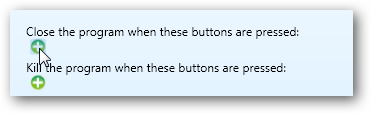
smack the green plus (+) button.
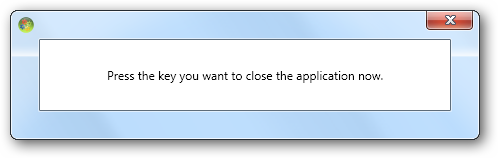
When prompted, press a key you’ll use to exit the program.
Repeat the process if you’d also like to select a keystroke to kill the program.
You’ll see your button programs listed below.
When you’re finished, stash your work and close out of Media Center Studio.
Now your new program entry point will appear in the Entry Points section.
Drag the icon to the desired position on the Start Menu and save again before exiting Media Center Studio.
When you open Media Center you will see your new system on the start menu.
hit the tile to initiate the system just as you would any other tile.
The app will open and minimize Media Center.
Conclusion
Media Center Studio is a Beta program which the developer freely admits still has some bugs.
Looking for more ways to customize your Media Center experience?
Download Media Center Studio[via Softpedia]