Quick Links
Most of us have done it—deployed temporary VMs to Azure.
This can lead to unwanted costs upwards to thousands of dollars if you’re not careful.
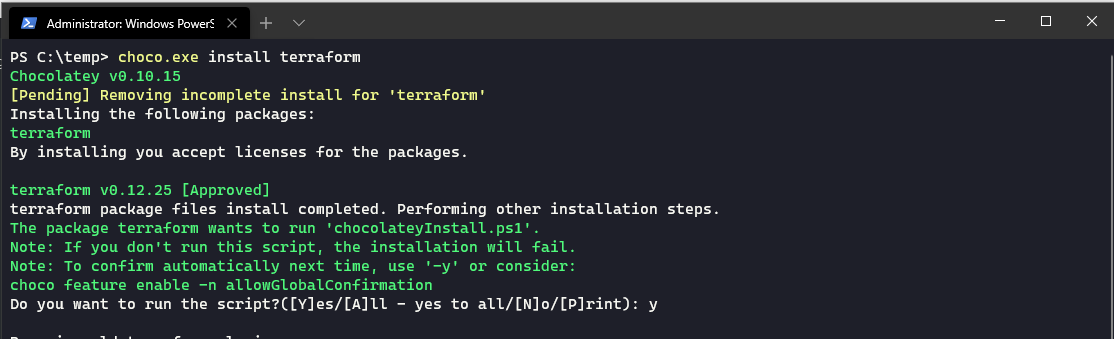
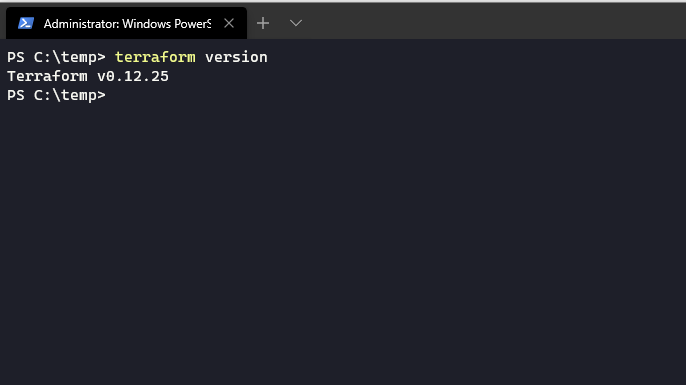
Installing Terraform
Terraform can be installed in a a few different ways.
(This is the subscription that terraform will use later as well.)
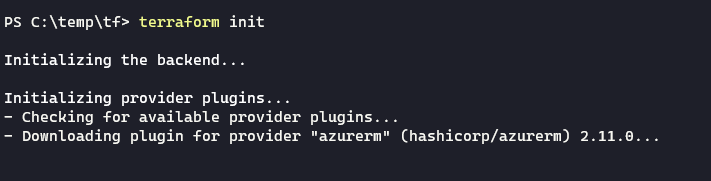
It is now time to create the terraform template that we will use to deploy our VM.
Creating the Terraform Template
The Terraform template is a simple text file with the file ending .tf.
It has a JSON-like syntax, and can be read and generated easily.
We start out by creating a file calledvm.tfin an empty dir.
Terraform will need an empty dir so that it can write the state of the configuration later on.
It is important to specify the version number because the functionality between different versions may vary heavily.
After you have written that into the text file, it’s time to add our Azure resource group.
It also adds a tag with the project name on it.
To run a VM successfully, we also need a connection.
It also uses a variable in the name parameter.
We do the same for the location, resource group name, and tags as well.
It will have an admin with the username “demoadmin” that has the password “$om3s3cretPassWord”.
Now, all that is left is to save the .tf-file by deploying this template to Azure using TerraForm!
The state and all the resources it has created are stored in the .terraform folder of your current directory.
So, don’t remove that folder if you want to remove the resources cleanly later on!
Conclusion
Using TerraForm only for minor tasks like this is incredibly neat.
It also brings down the cost by removing unused resources in Azure.
Hopefully, this has proven to be of use to you, and even started your journey towards IaC!
