Windows Live Writer is our favorite tool to create and edit blog posts.
How Do You Install Live Writer Plugins?
Once you’ve installed Live Writer, it’s very easy to add plugins.
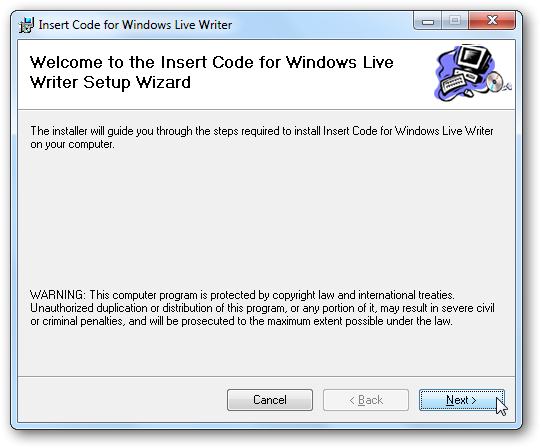
Just download the plugin installer, and install it like any other Windows app.
Next time you restart Live Writer, you’ll see your new feature integrated.
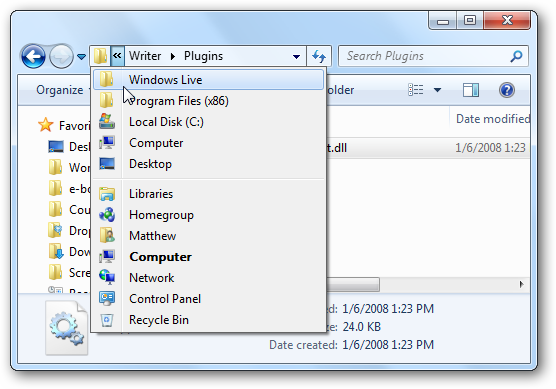
Some plugins have to be installed manually.
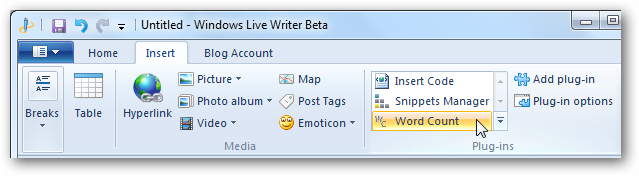
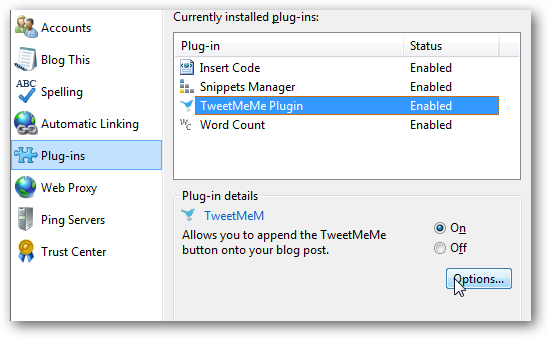
Where Are My Plugins?
You’ll see them in a list under the Plug-ins section of that tab.
Just pick the plugin name to use it.
Now that you know how to use plugins in Live Writer, it’s time to start adding some.
This works great for a quick and easy screenshot.
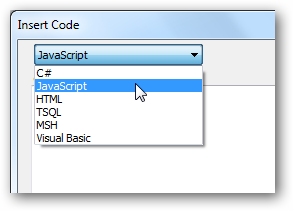
All the parts of your code will be automatically highlighted like they would be in most IDEs.
![sshot-2010-09-29-[23-17-56]](https://static1.howtogeekimages.com/wordpress/wp-content/uploads/2010/09/sshot20100929231756_thumb.png)
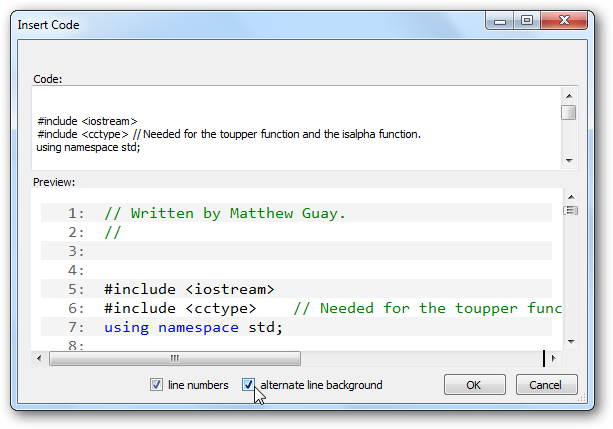
you could then choose to add line numbers and alternate line backgrounds to your code if you wish.
Once the code looks like you want, click Ok to add it to your post.
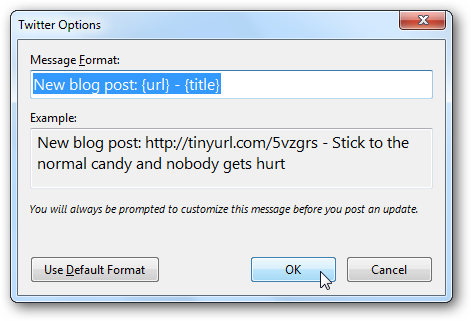
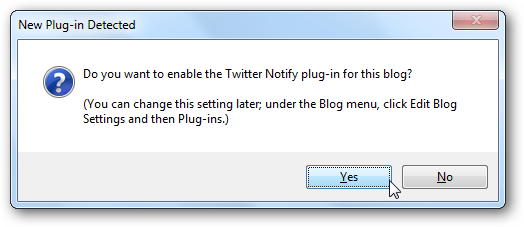
Click Yes, and your new post will be tweeted and published at the same time.
Select Yes, and the new button will be added to your post automatically.
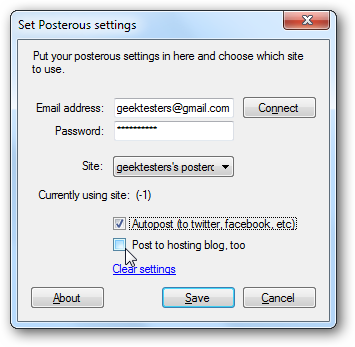
Normal self-hosted WordPress blogs will be fine.
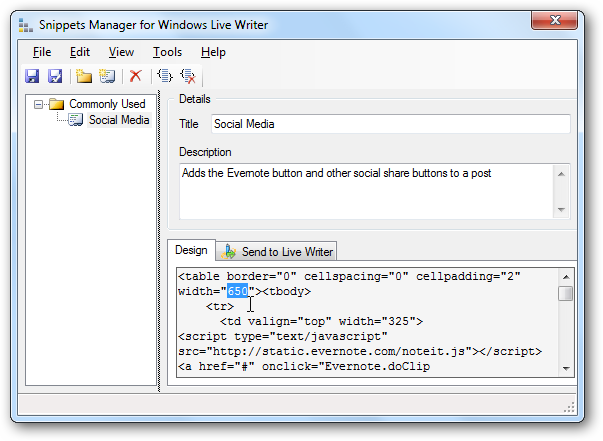
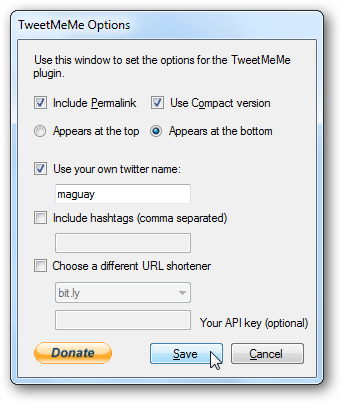
Then, in the Options pane, add your site’s info.


![sshot-2010-09-29-[11]](https://static1.howtogeekimages.com/wordpress/wp-content/uploads/2010/09/sshot2010092911_thumb.png)