With UTM, you could easily test out a variety of Linux distros for free!
What Is UTM?
UTM(Universal Turing Machine) is apowerful virtualization tool for Mac.
It can run various operating systemsincluding Windows 11 on ARM, macOS, and Linux.
And there you have it!
If you shut down or restart, you’ll lose any unsaved progress.

Let’s go through some of the more important things you should know about.
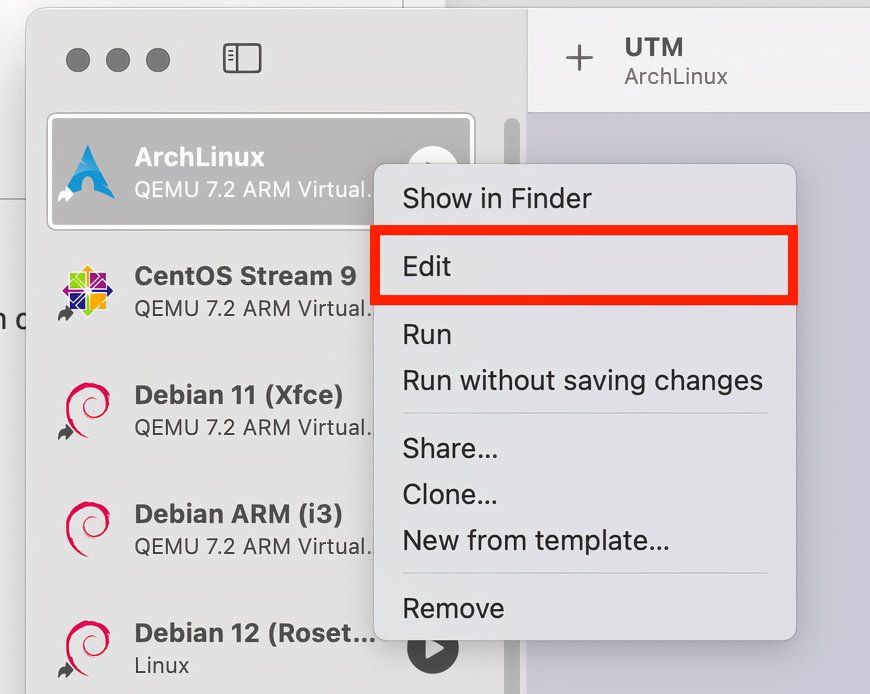
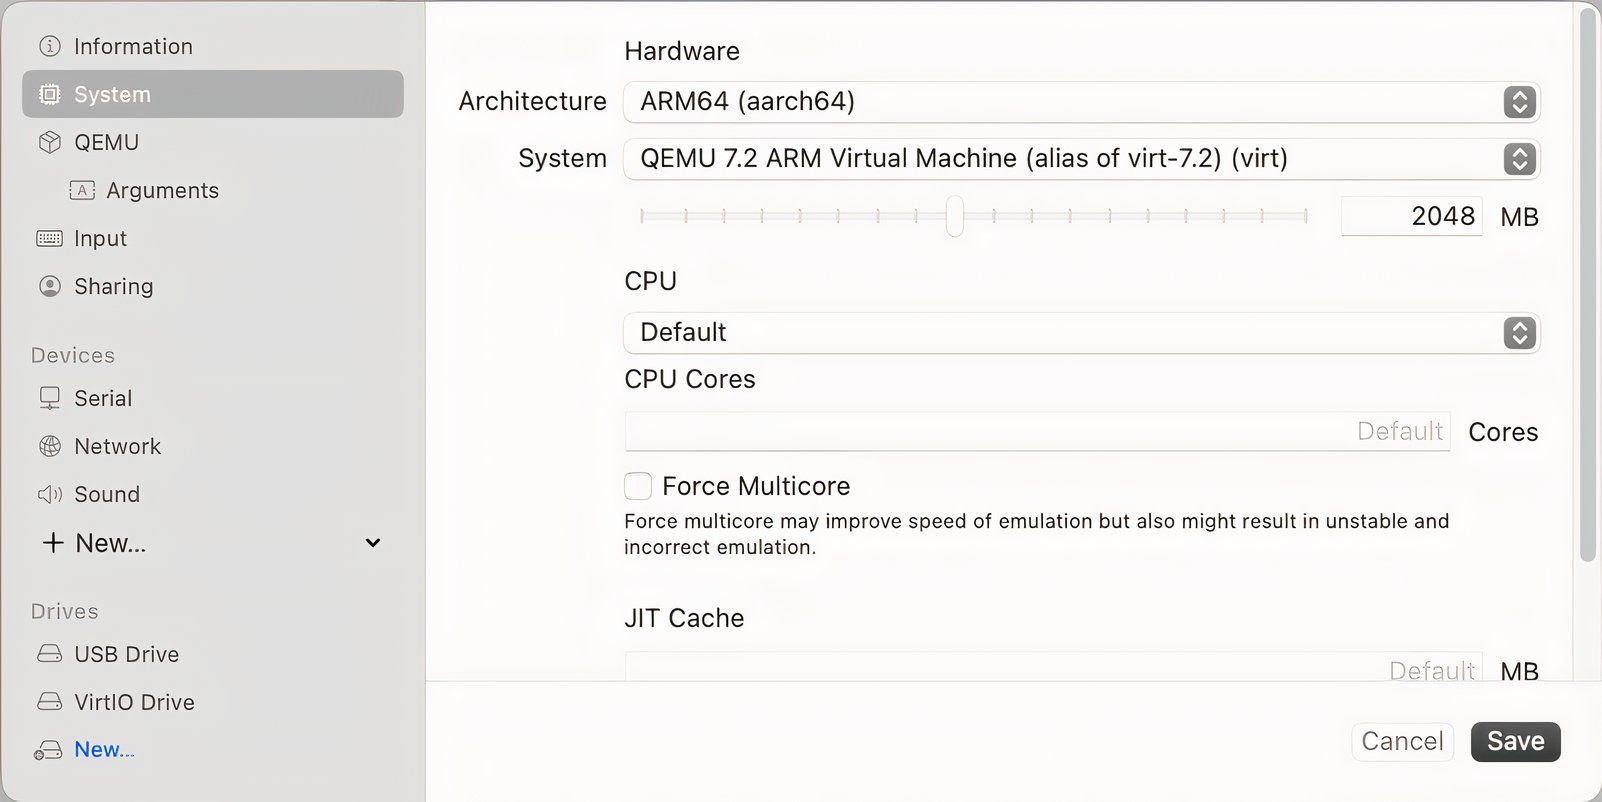
On the UTM main screen, right-select any VM, then select Edit.
In this case, you want to add a Serial gadget.
gg3po, Iwan Gabovitch/ GNOME /Apple
Otherwise, your VM will just continue to boot into the installer.
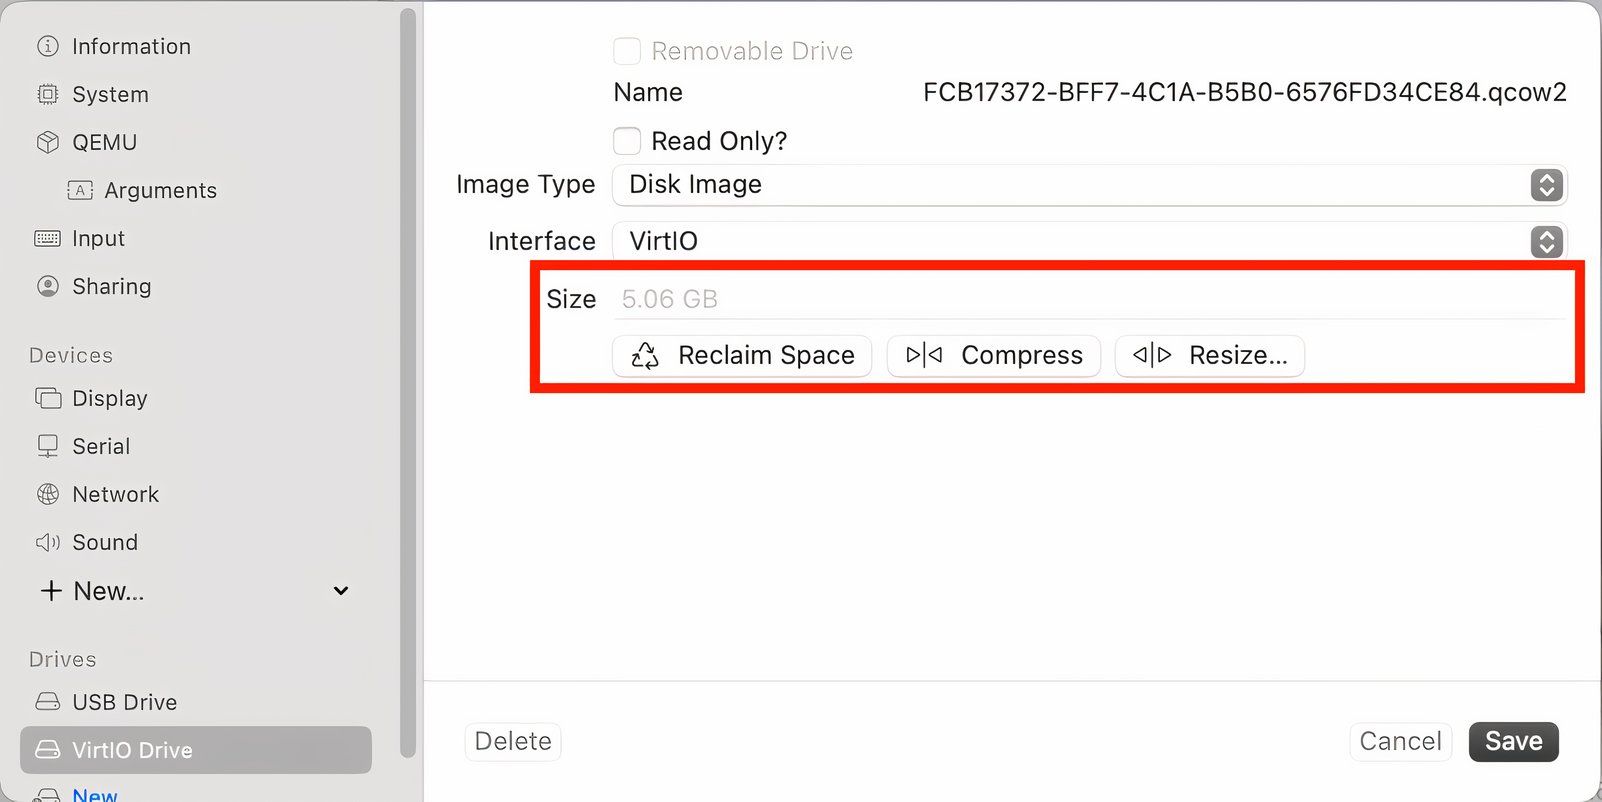
If you forget, it’s possible for you to erase the path in the USB Drive options.
Another space-saving solution is to use another storage machine.
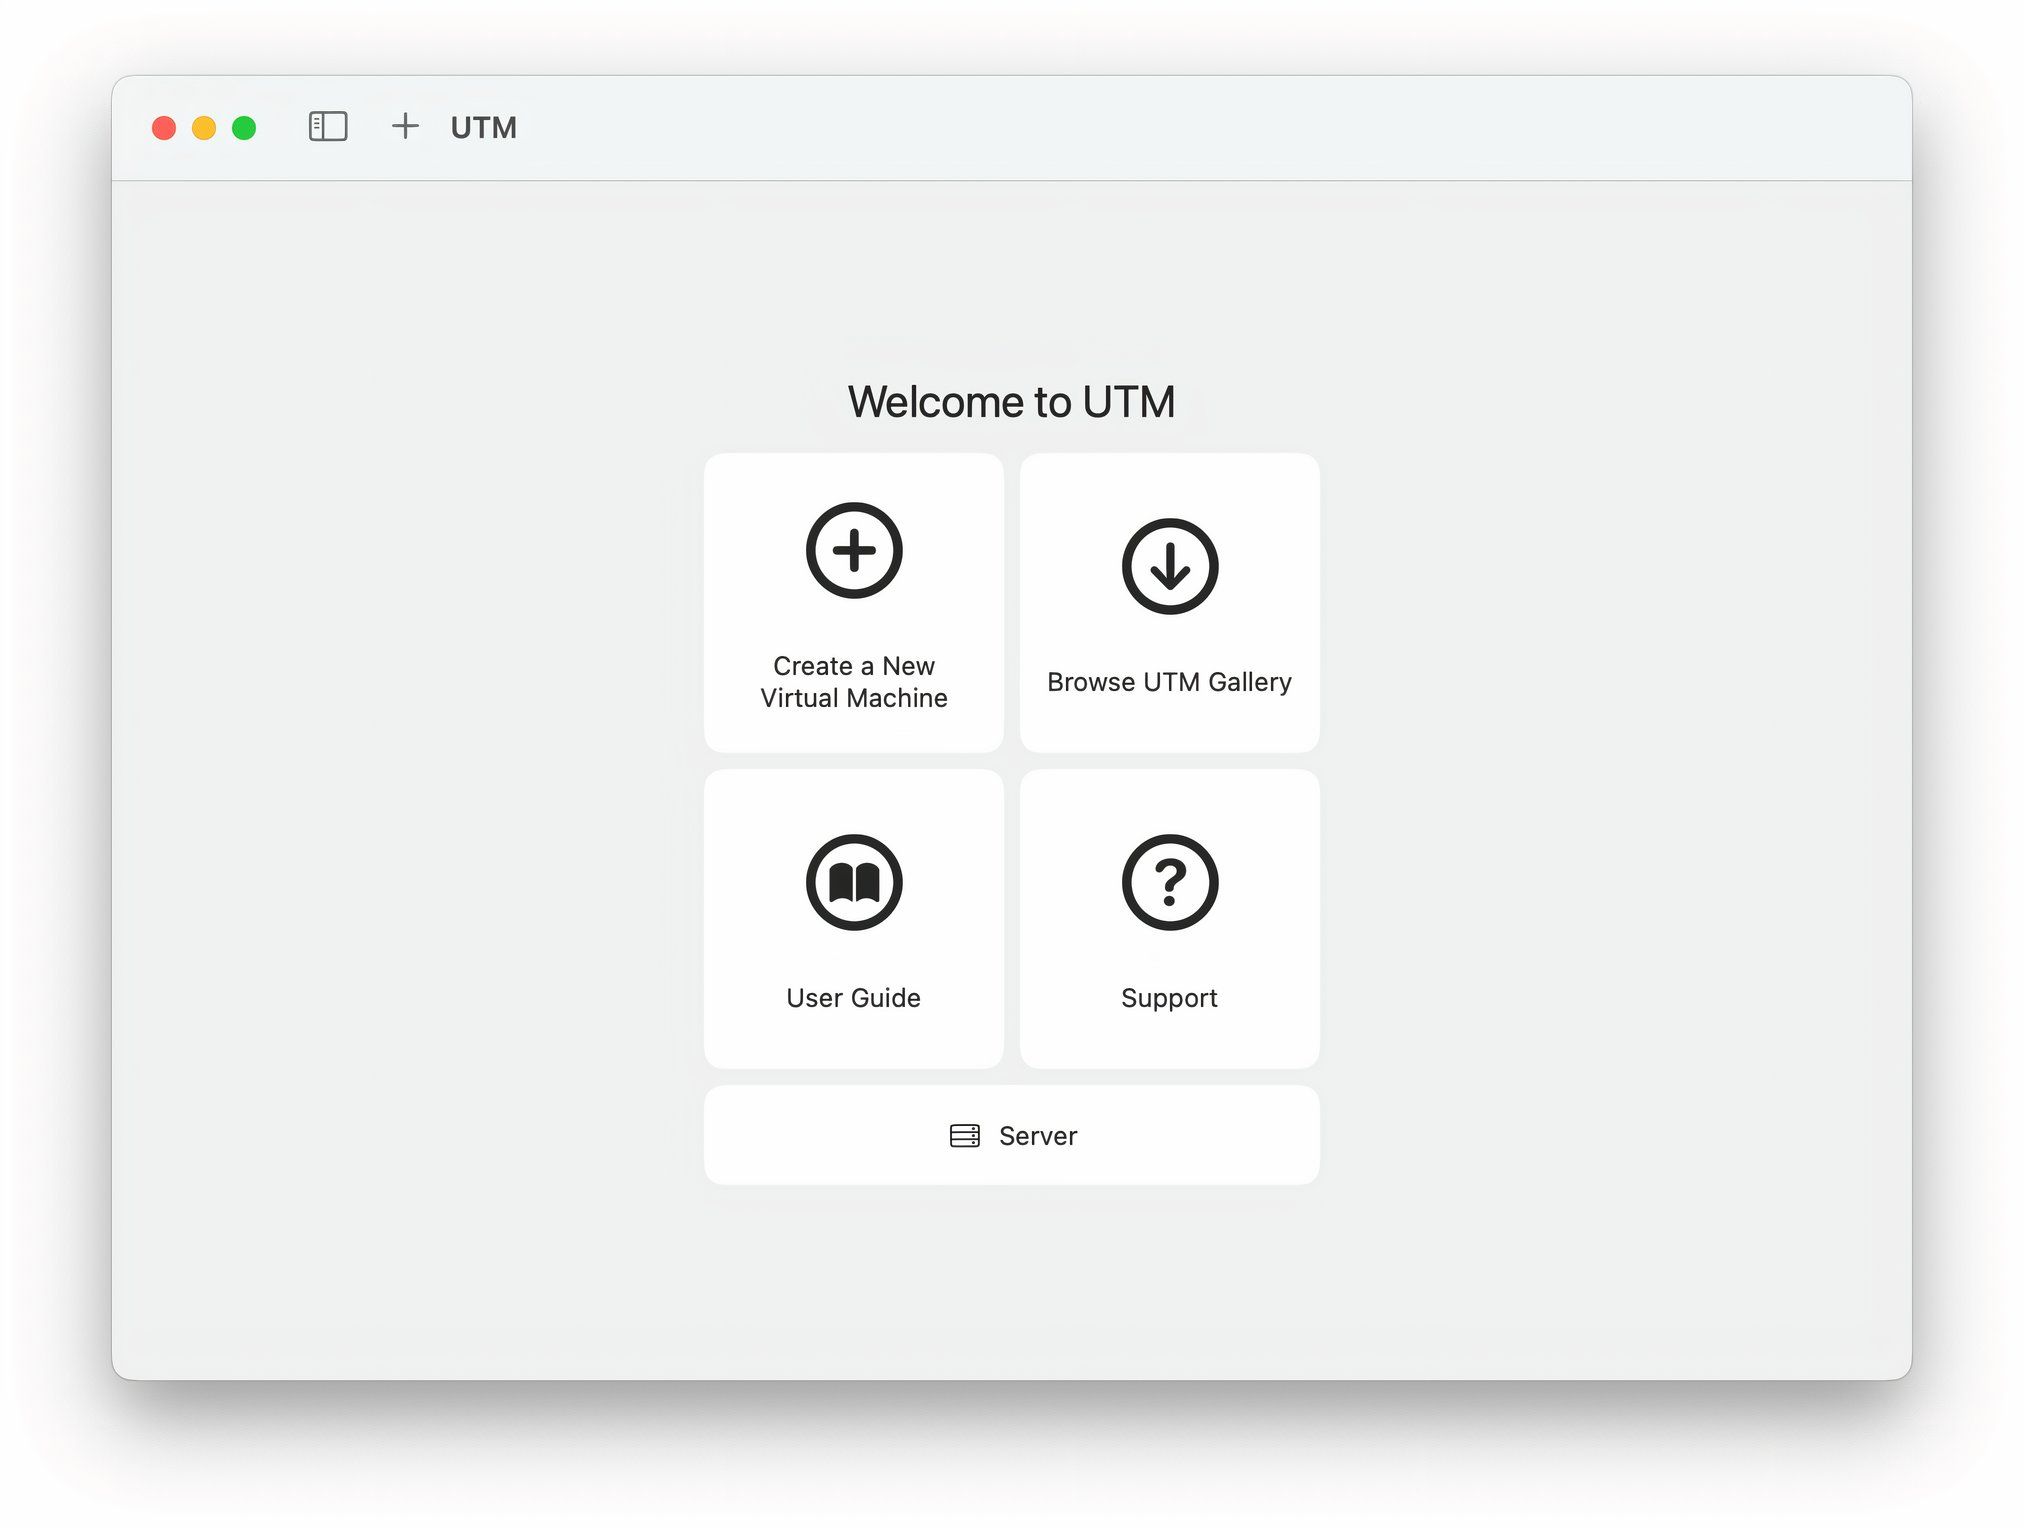
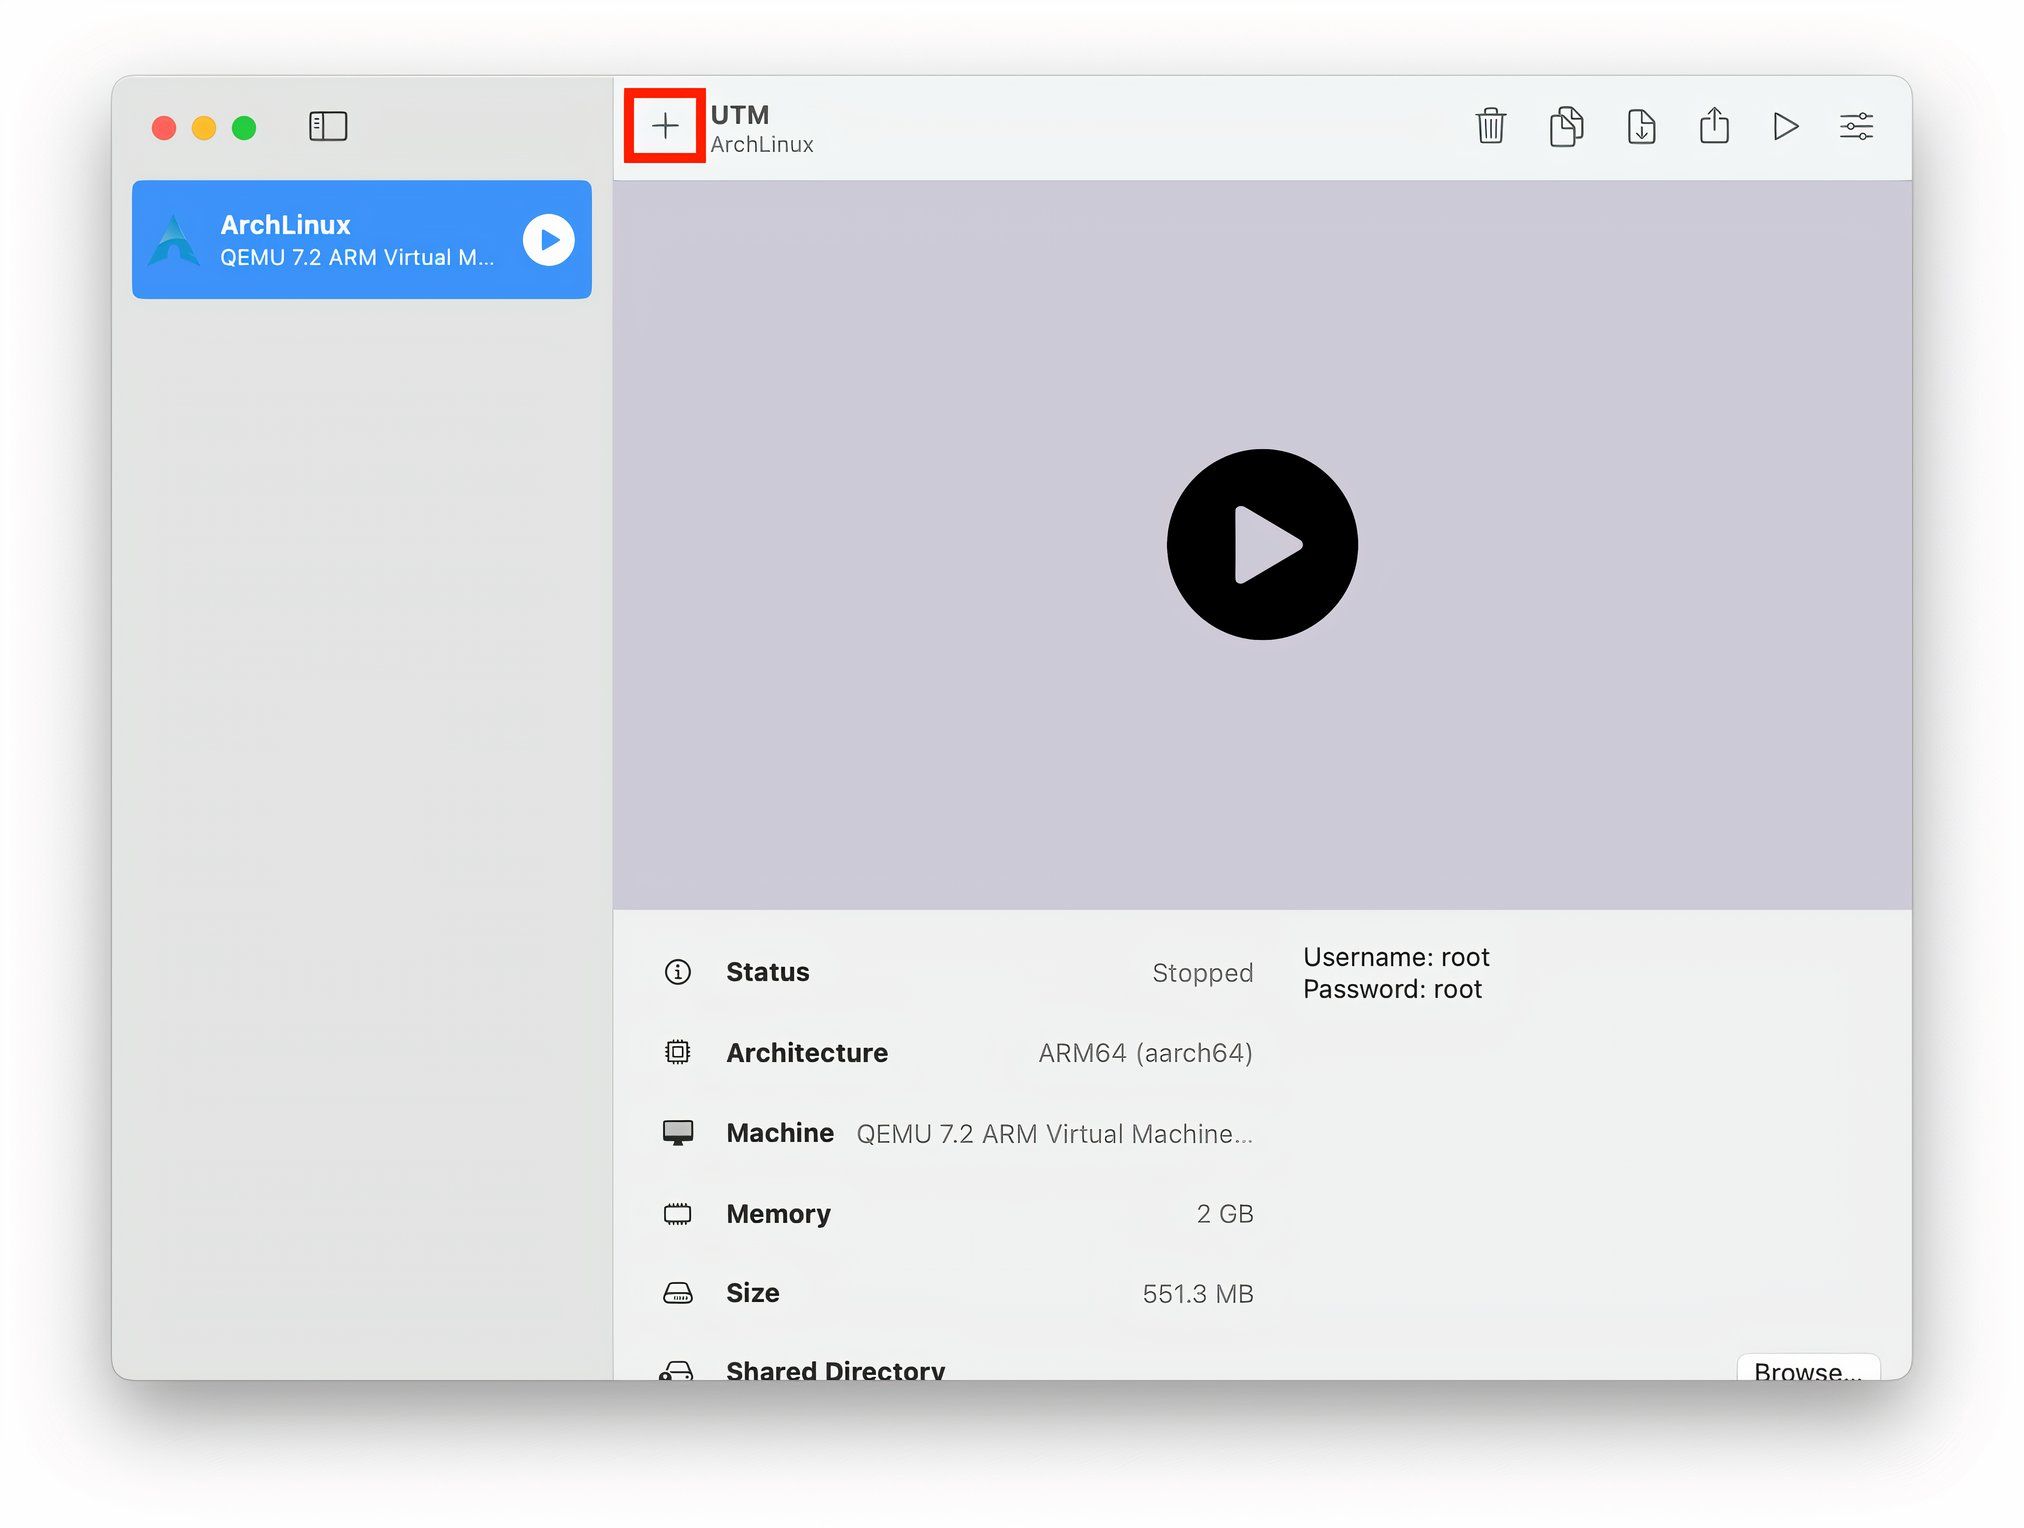
To get started, snag the + button on the UTM main window.
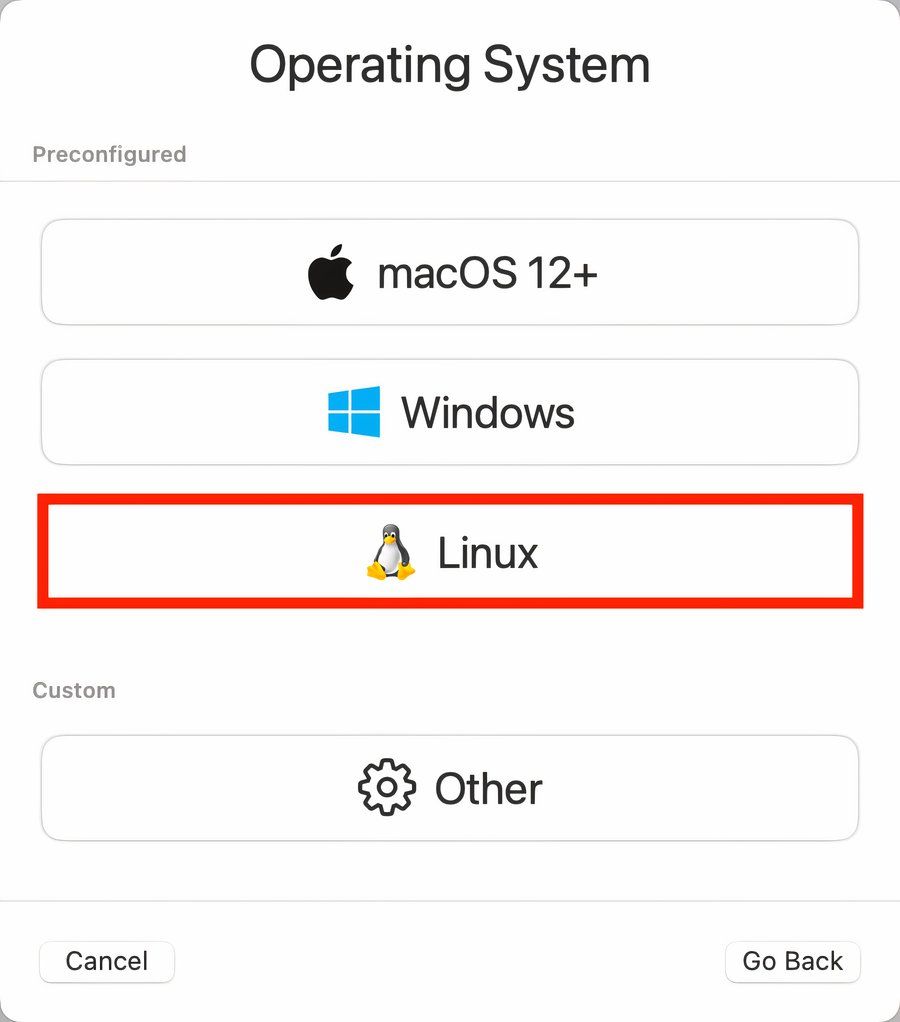
The two primary choices here are virtualization or emulation.
If your ISO is ARM-based, then select Virtualize.

If it is anything else (typically x86 though), select Emulate.
You’ll next need to select how much memory you need and CPUs to allocate to your VM.
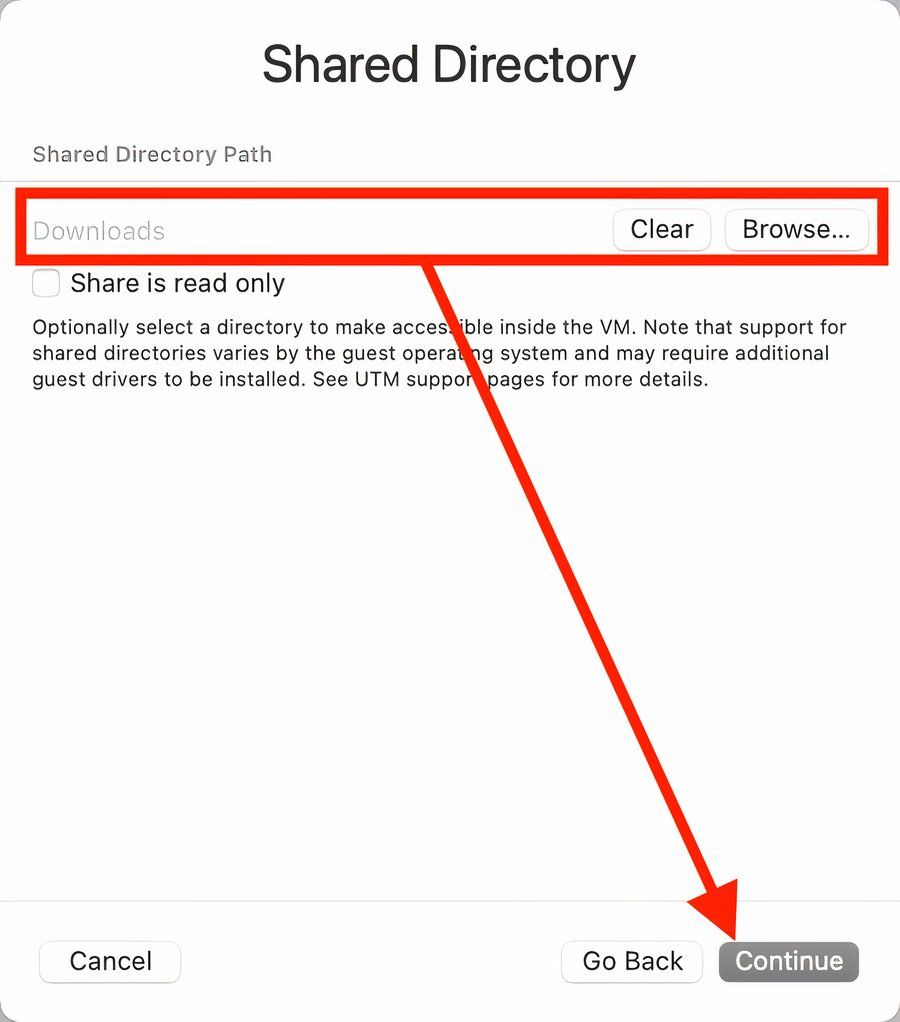
With it, you’re able to access a location on your Mac in the VM.

This is useful for adding files such as documents, configuration files, and software.
it’s possible for you to also select “Open VM configs” to make any last-minute adjustments.
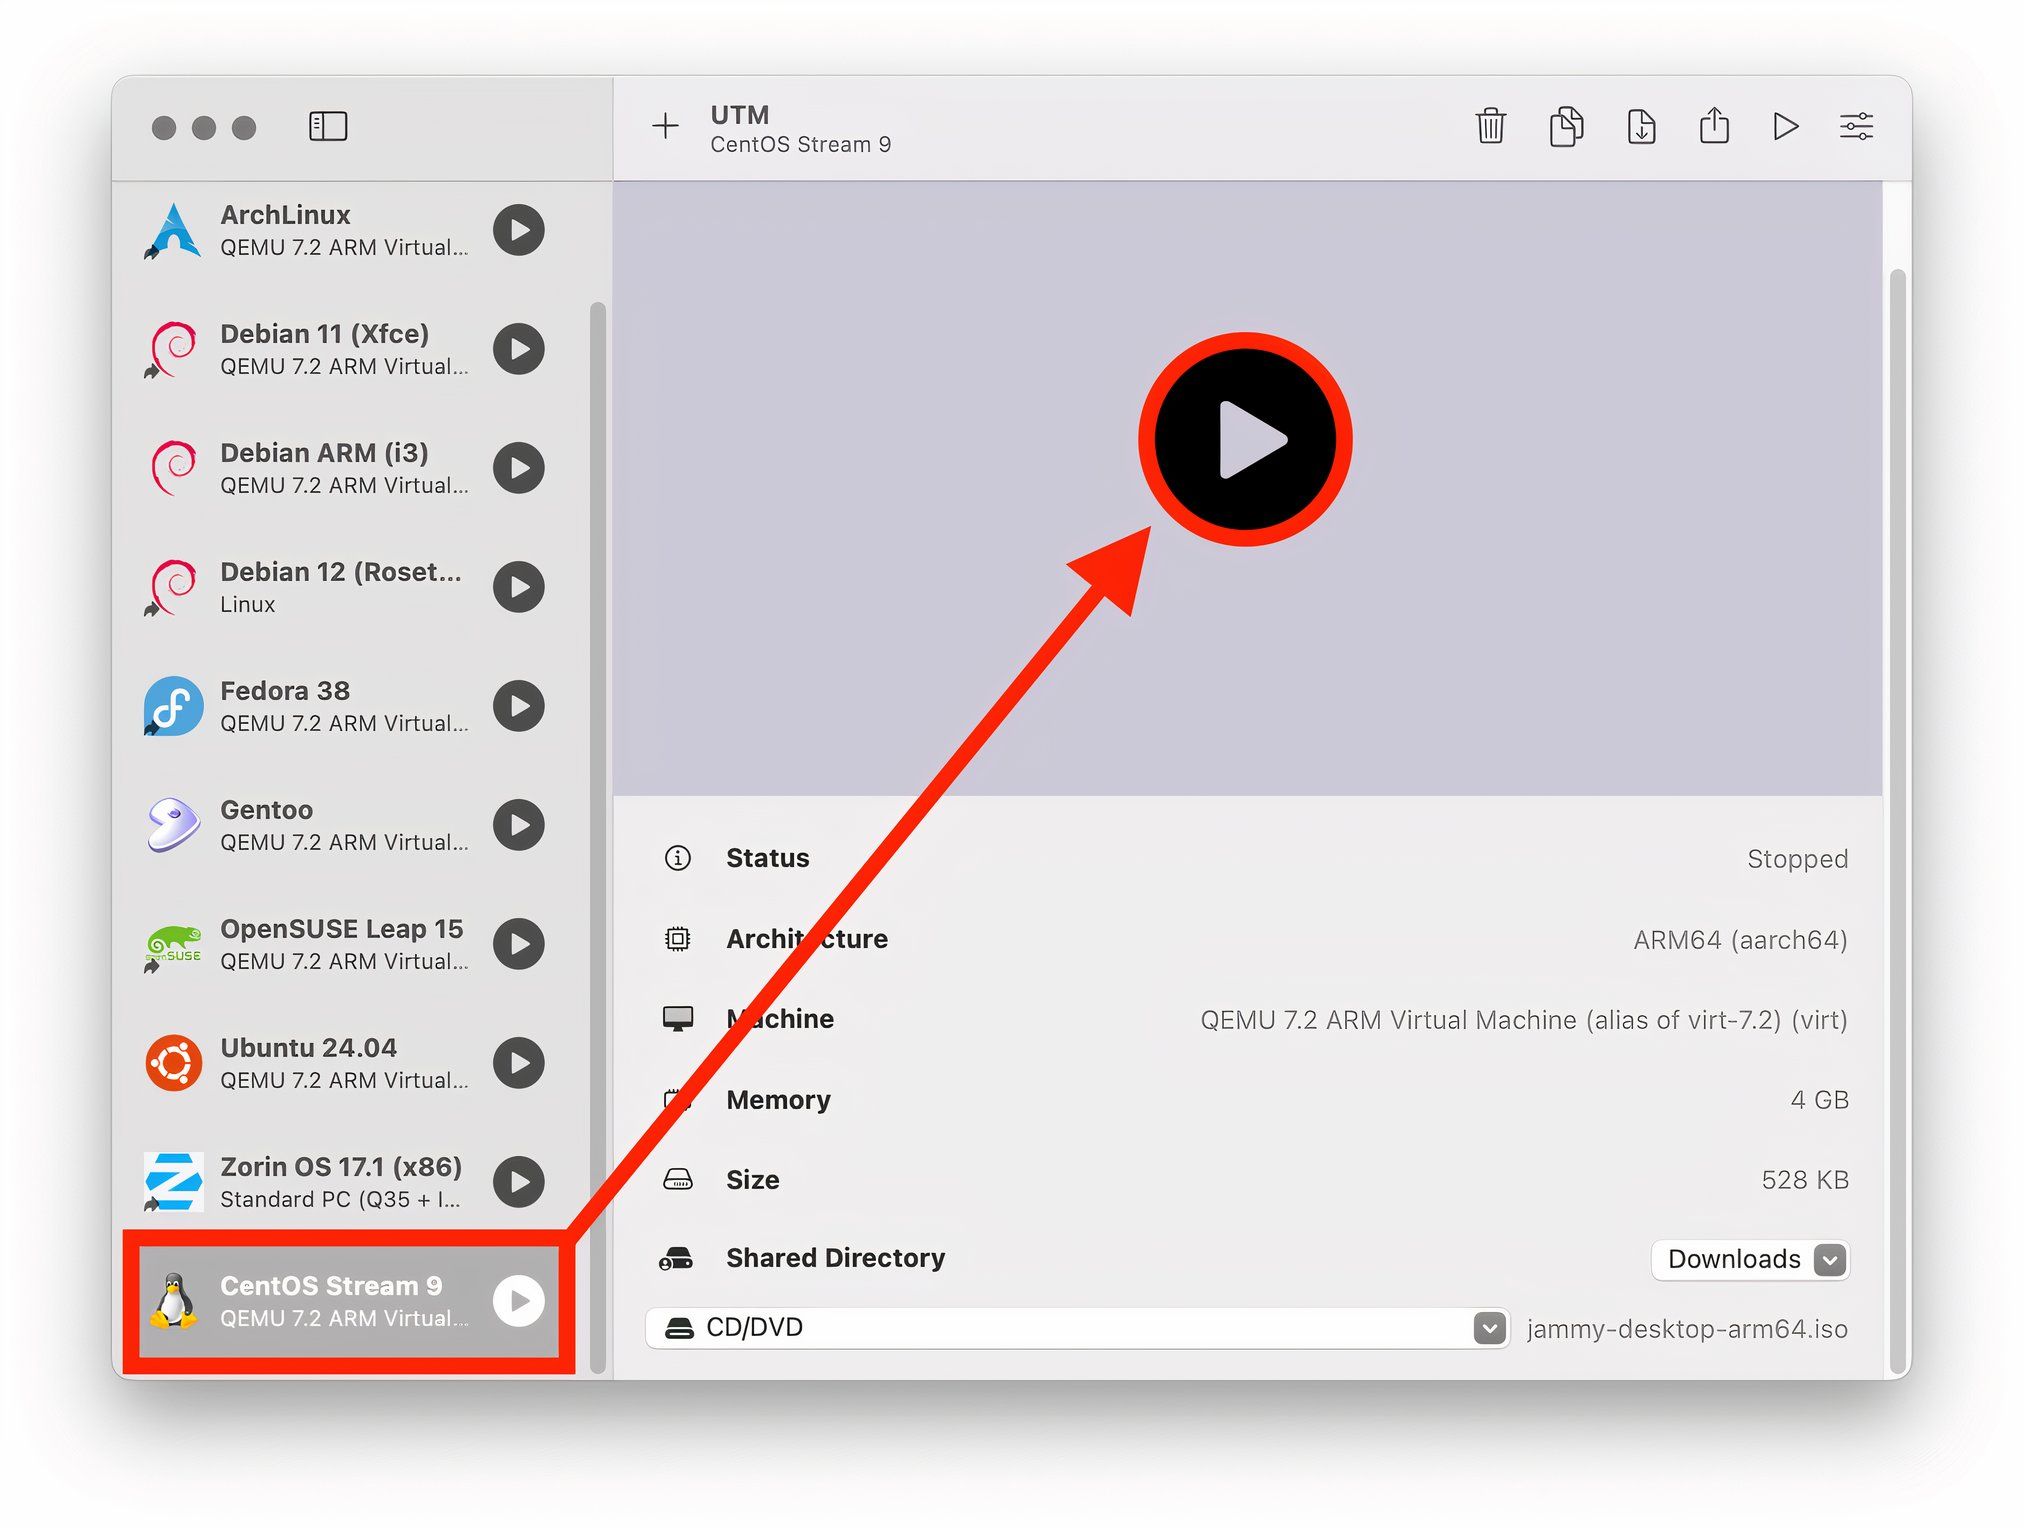
Once you select Save, the newly-created VM will show in the main window.

grab the play button to start it, and you’ll go through the distribution’s installation.
Once you succeed in creating your first (or 50th) VM, it can feel very rewarding!
As controls go, there’s not a lot to dig into and they are pretty self-explanatory.
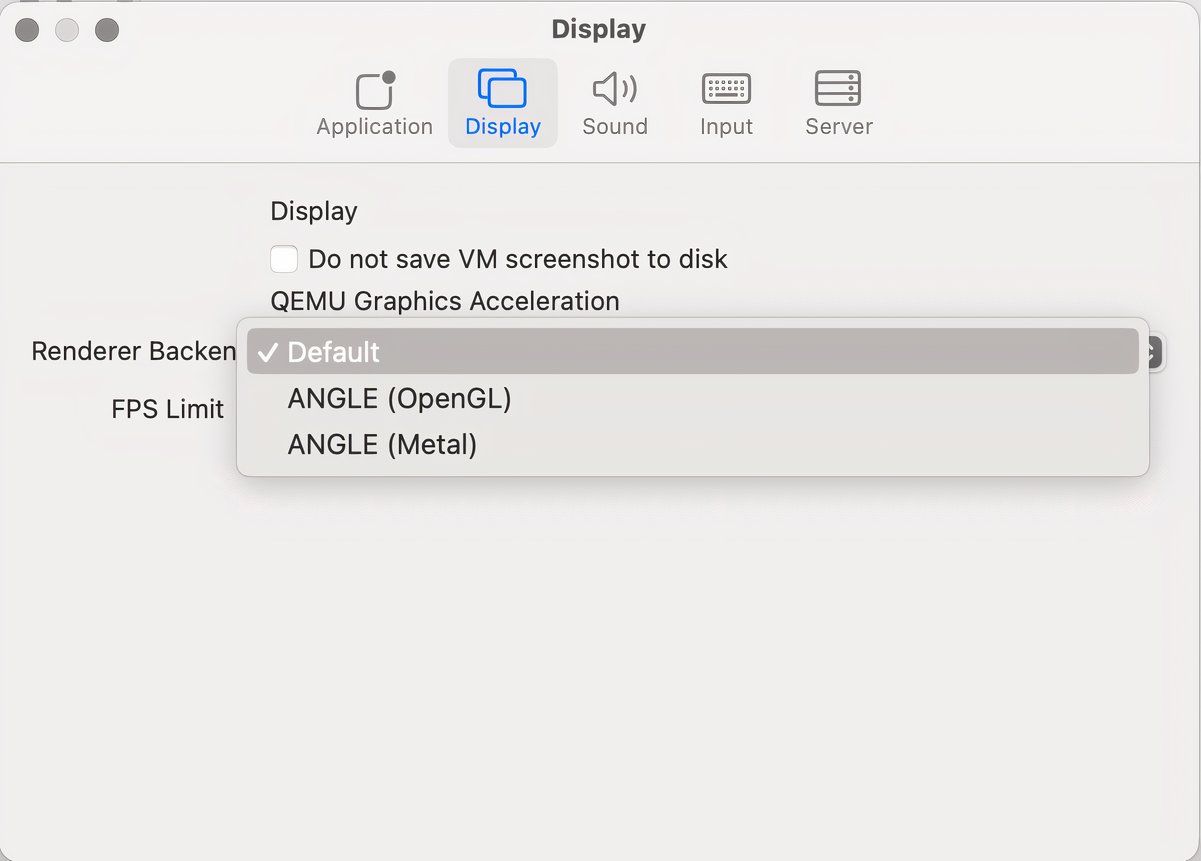
You probably won’t need to touch this unless you experience some serious problems.
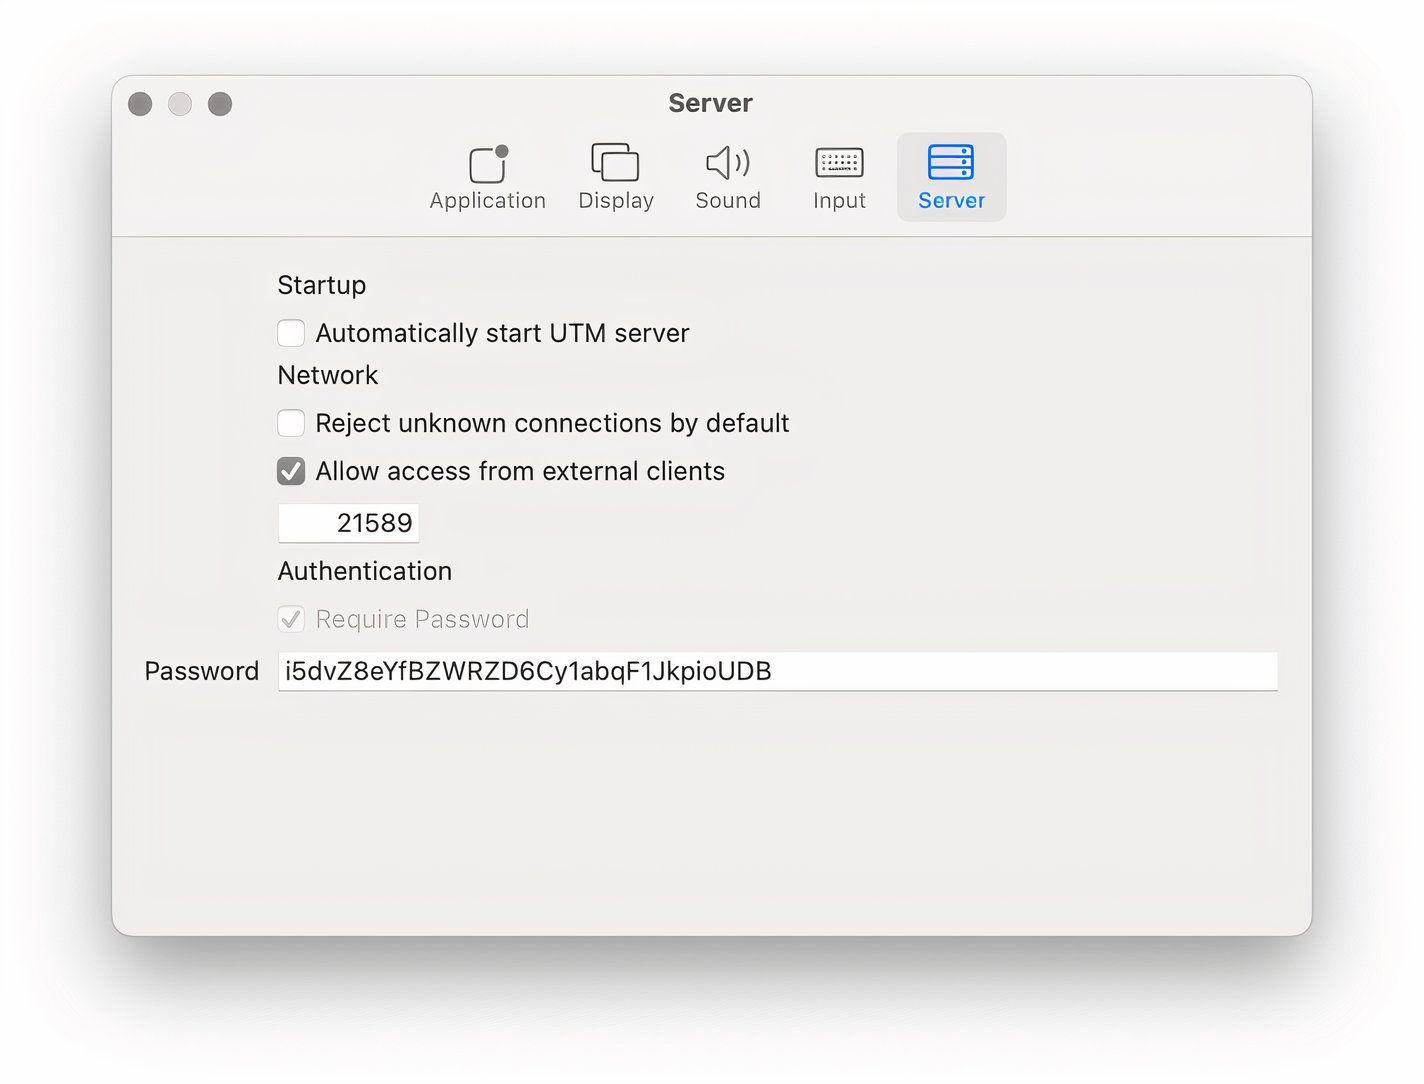
For sound, use CoreAudio for local VMs or Spice with GStreamer for remote VMs.
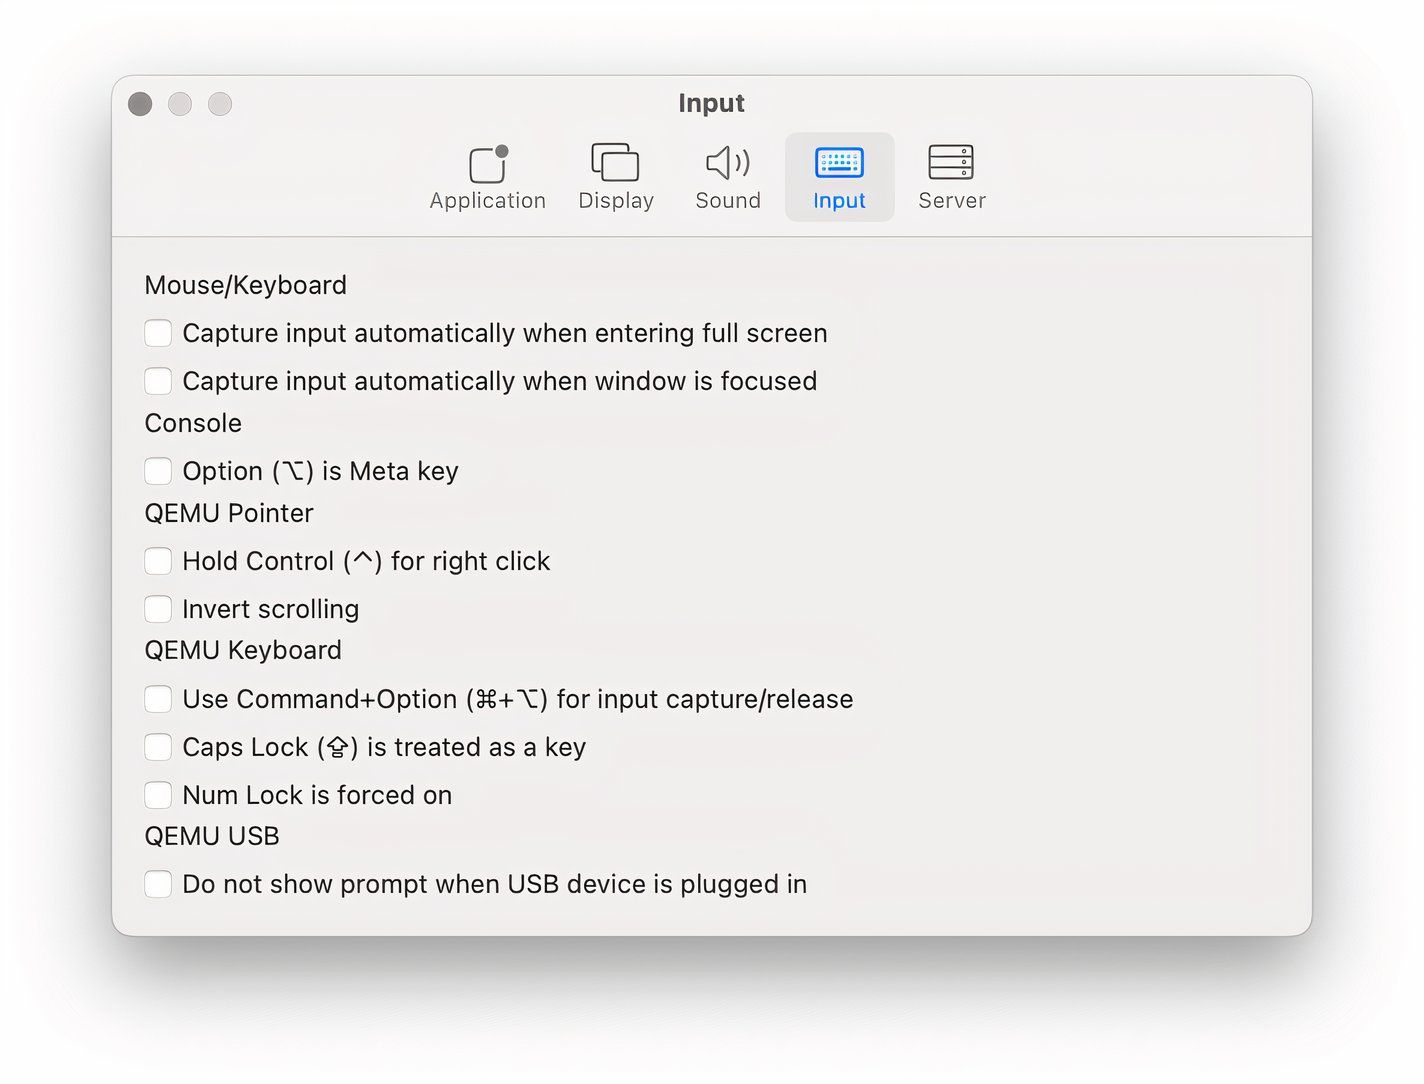
Check the input options to manage how devices are captured and by the VM and behave within it.
You are now ready to explore the world of virtual machines with UTM!