Additionally, it is possible to manage Azure Cosmos DB and Azure Data Lake Storage entities.
In this article, we explore how to use the Azure Storage Explorer!
Azure Storage Explorer Installation
Download the installation file from the Microsoft download site and initiate the installer.

After accepting the license agreement, destination location, and start menu location you will be able to launch.
This makes it a very quick and easy to install.
In this example, we are using an Azure Account and the default Azure environment.
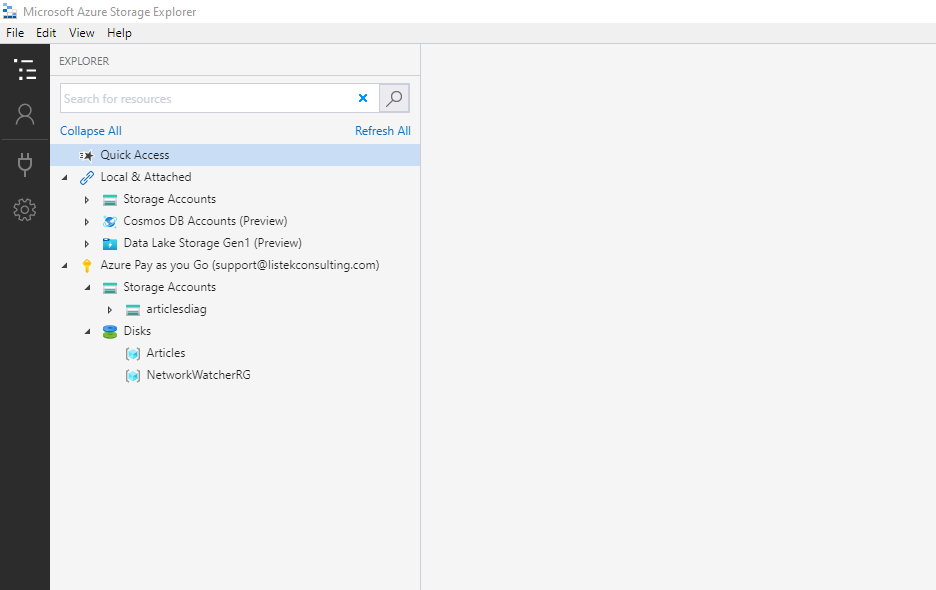
In this example, there are two available resources, Storage Accounts, and Disks.
Storage Accounts are the generic containers for blogs and files.
The Disks are the underlying volumes that are attached to running virtual machines.
Within the explorer, you are able to interact with both types very easily.
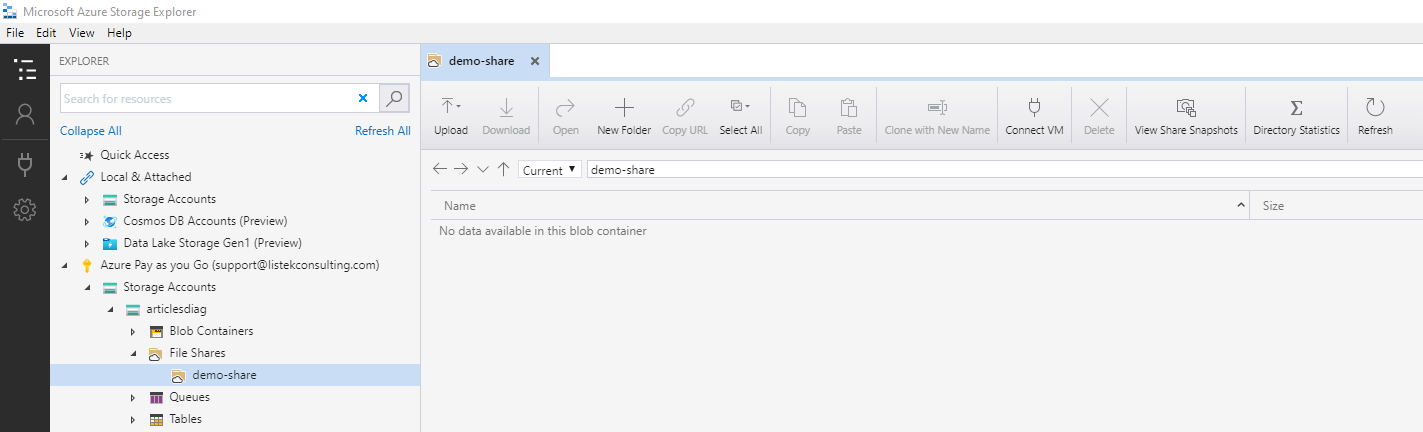
You will be prompted to give a name and then it will be created immediately.
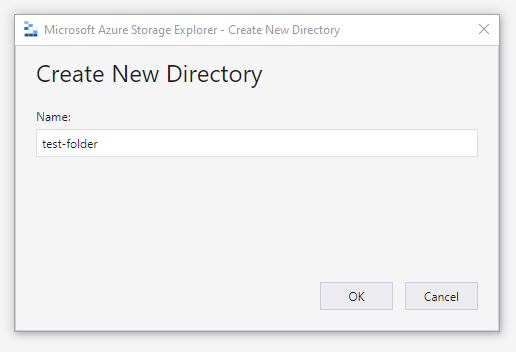
Let’s create a new directory, by using the New Folder command.
Once clicked, you will be prompted to give the folder a name.
After creating the directory, double-punch the newly created directory to navigate within.
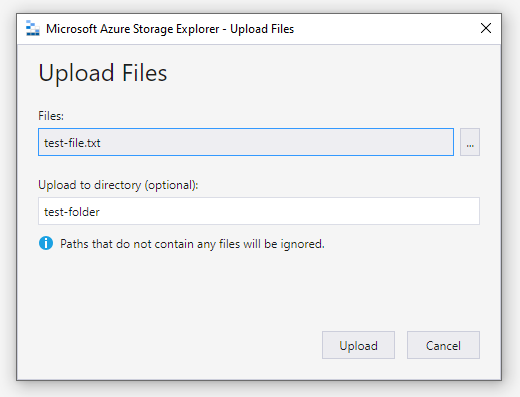
Locate a file to upload from your local disk and tap on Upload Files.
nudge the
icon to locate the file to upload and your new directory will be pre-populated.
press Upload to add the file to the directory.
Retrieve Shared Access Signature
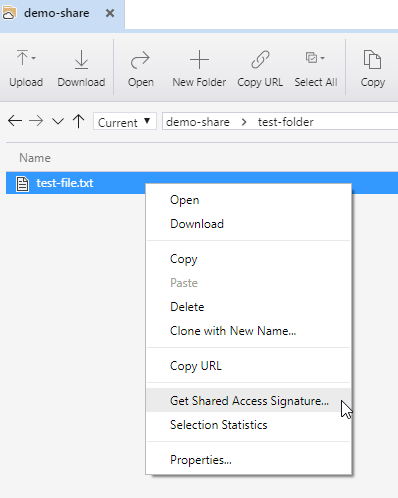
A common task is creating a Shared Access Signature (SAS) link.
Using the Azure Storage Explorer, creating these links is very easy.
On the newly uploaded file, right-click and choose Get Shared Access Signature.
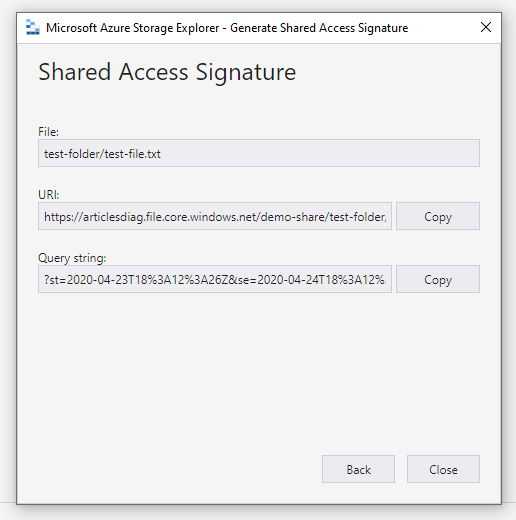
After clicking on Create, you will be given the URI and Query String.
Copying the URI will give you both the URI and Query String together.
An example of this key in of link is shown below.
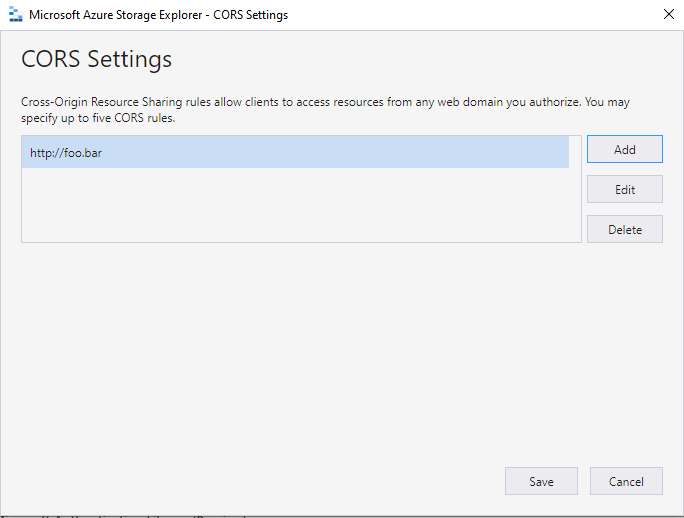
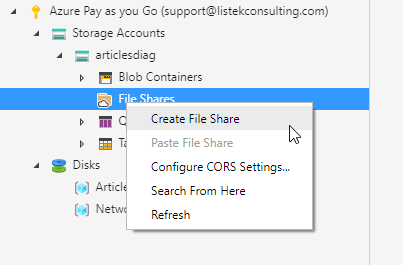
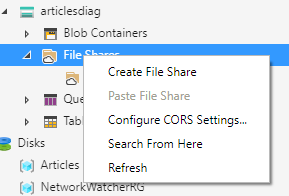
To do so, right-press File Shares (for example) and choose Configure CORS configs.

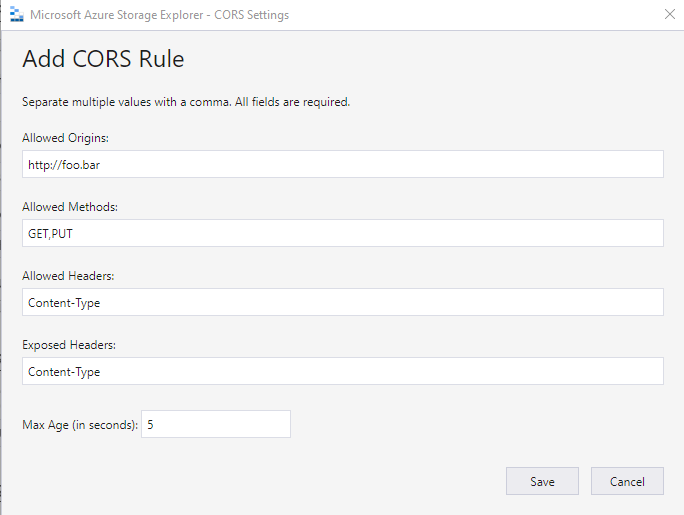
You will be presented with a dialog box that allows entering up to five (5) CORS rules.
An example of adding a CORS rule is below.
As you’ve got the option to see the CORS rules are specific to the allowed origins.
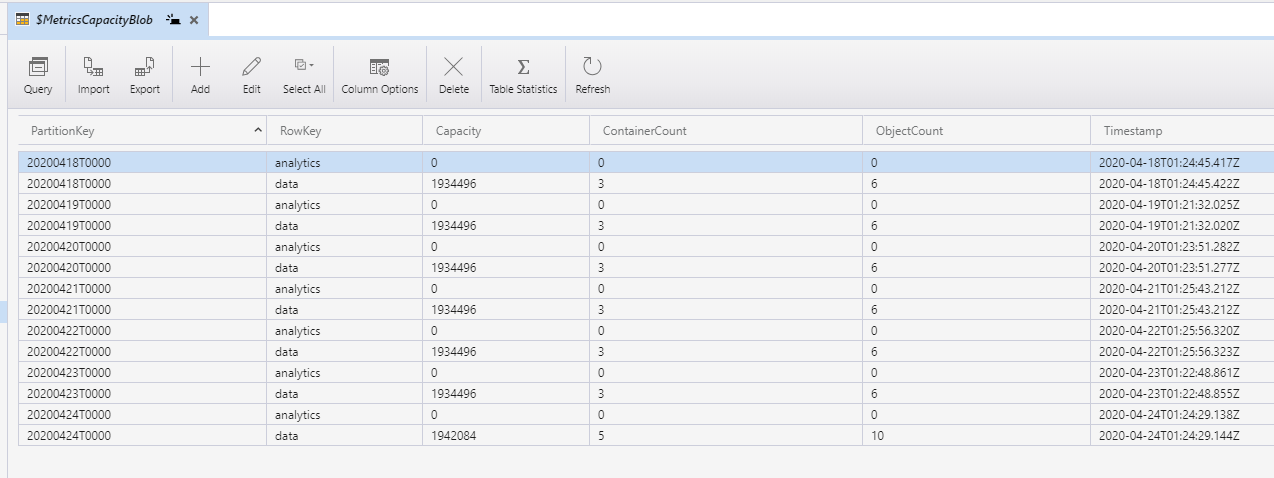
Navigate to a Storage Account and the Tables section.
Locate a Table or create a new one.
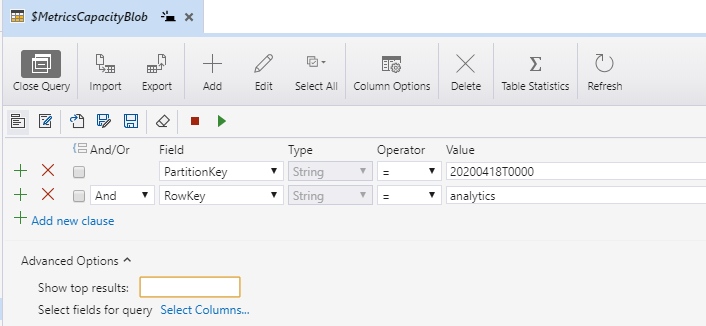
Within a table, you have a number of options to manipulate the table with.
controls
Finally, there are a few controls that are useful to be aware of.
Though not all are touched upon here, there is a handful that will help with connecting to Azure.
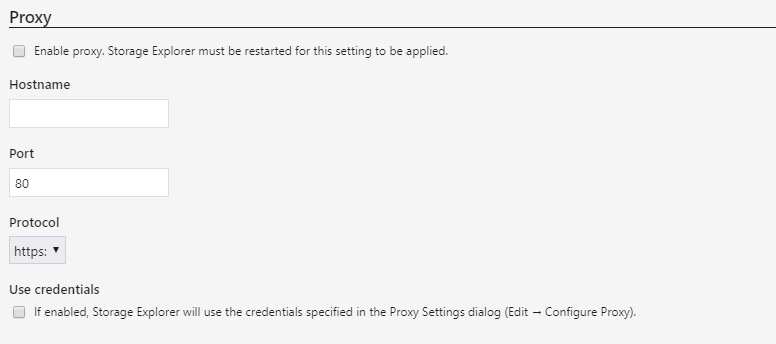
Proxy
Contained on the program options page is the proxy options.
This is useful if you oughta route your traffic through a corporate proxy.
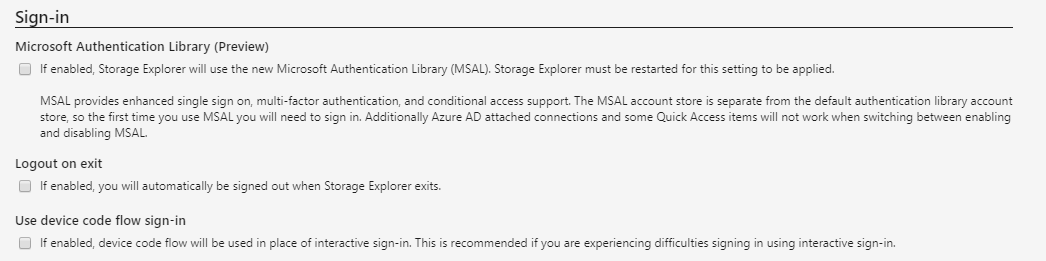
Sign-In
Also on the app configs page is the sign-in options.
AzCopy
Finally on the Transfers screen, are the AzCopy options.
These options control defaults used by the AzCopy command.
Conclusion
Using the Azure Storage Explorer allows easy access to Azure storage resources.