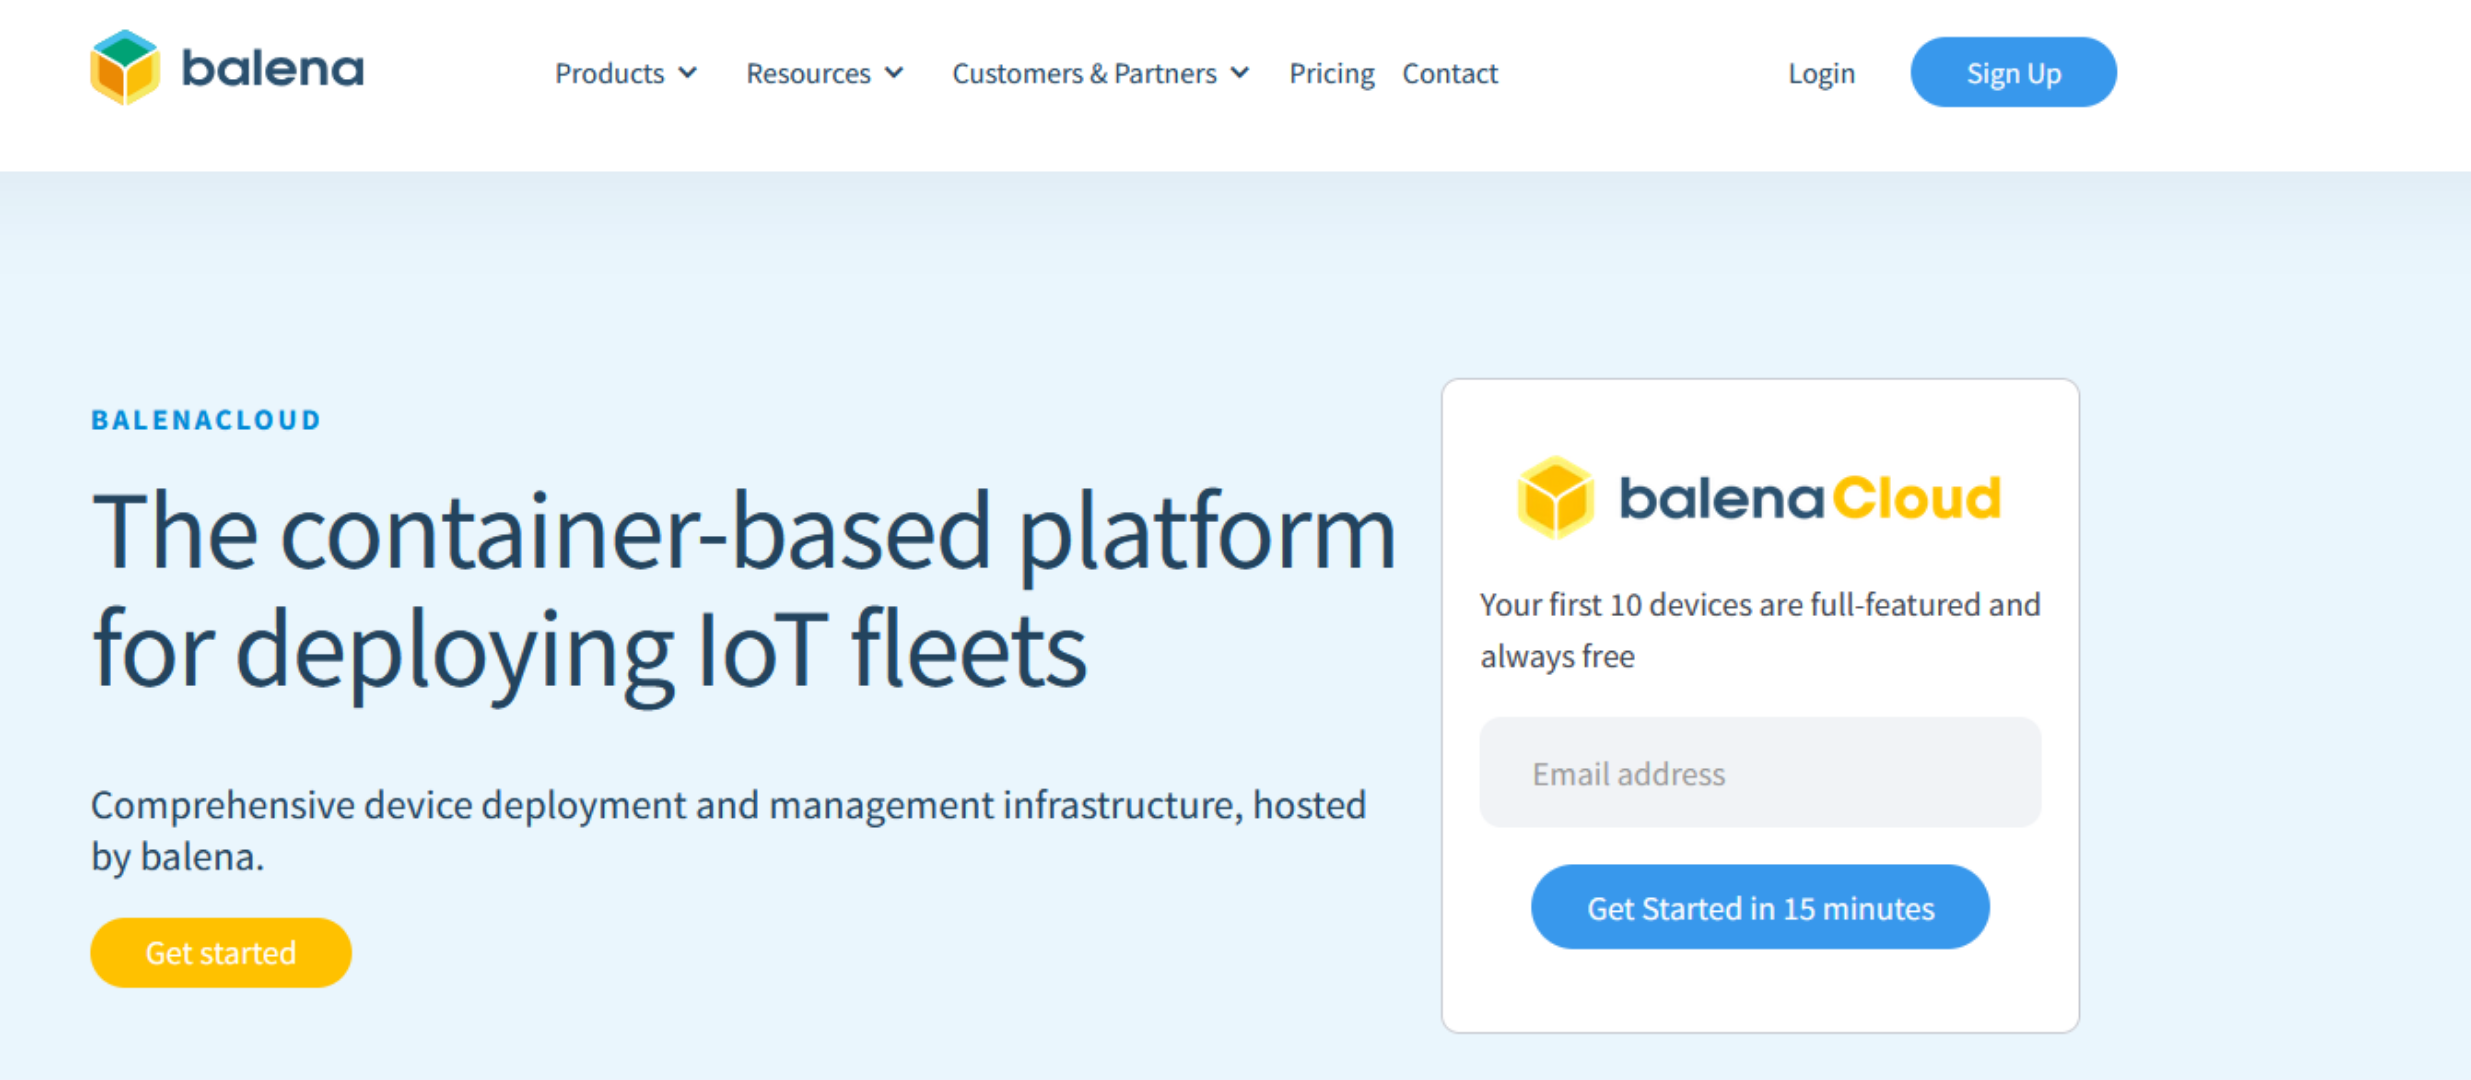
Head over to their website, and create an account.
Find the “Sign Up” button, and select it to start the sign-up process.
you’re free to sign up with an email account, GitHub, or Google.
Once you’ve created a BalenaCloud account, it will load up their dashboard.
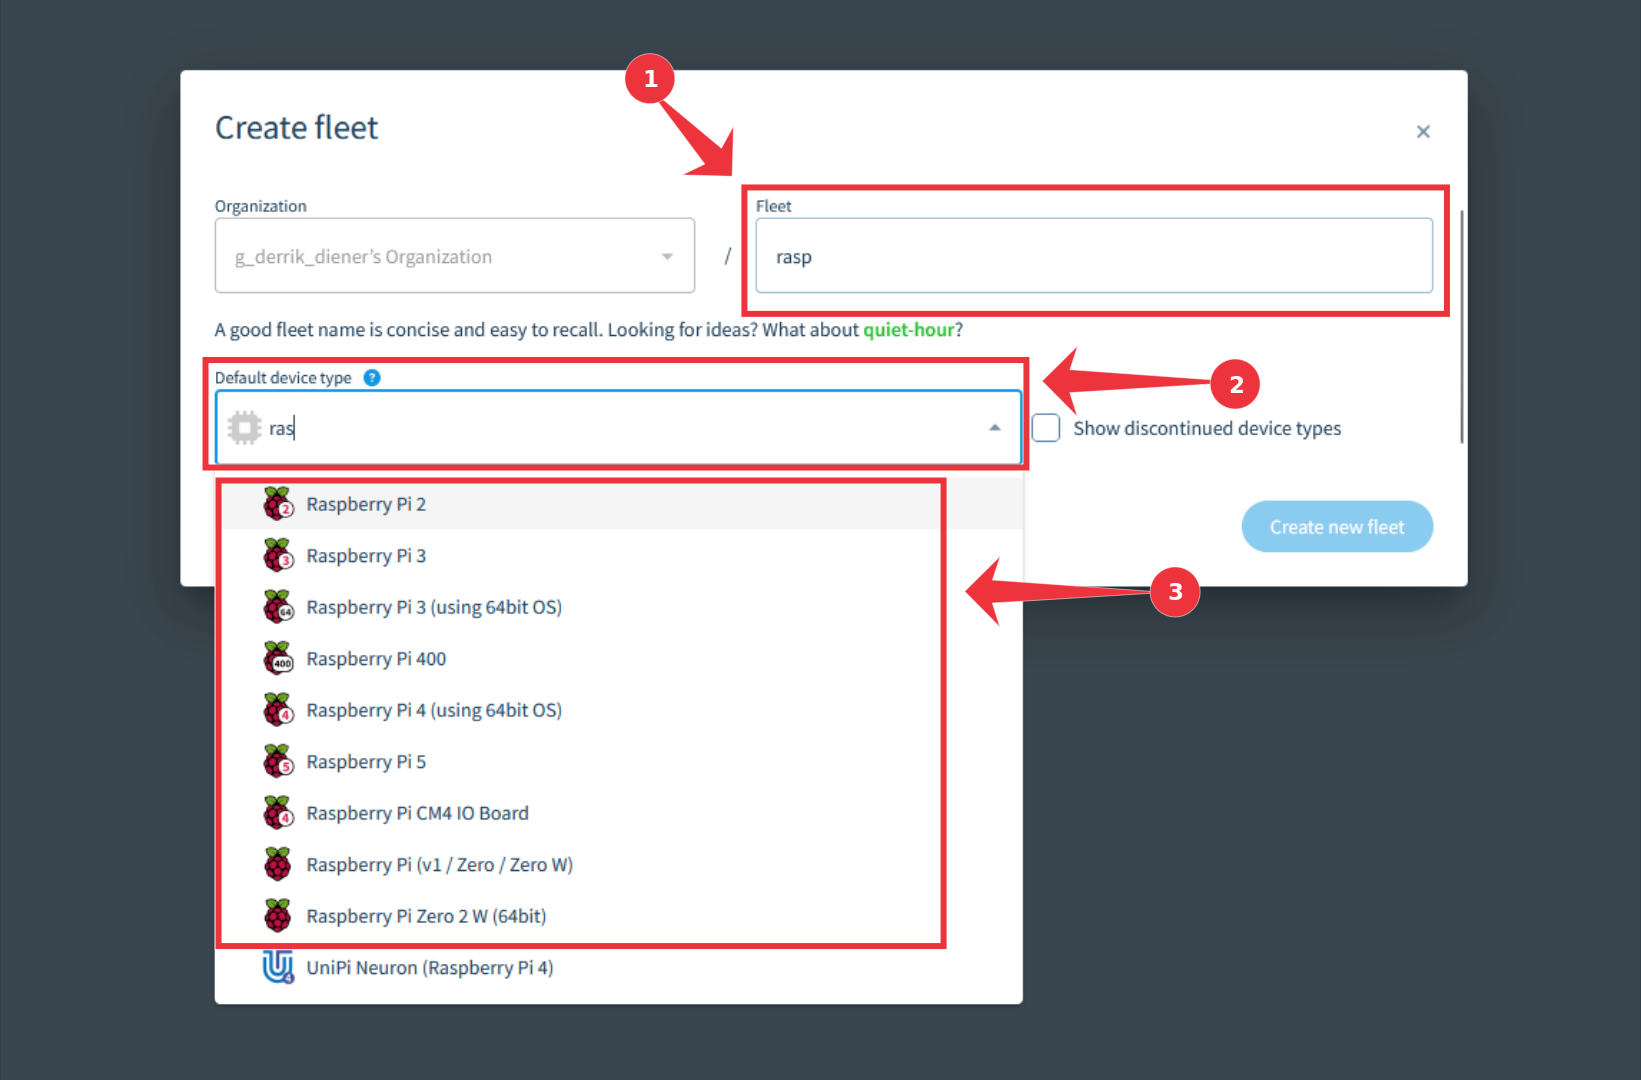
Creating a “fleet” allows you to monitor yourRaspberry Pi deviceremotely through the Balena interface.
When you’ve created your fleet, Balena Cloud will take you to the fleet dashboard page.
Take a look at the dashboard and familiarize yourself with it.
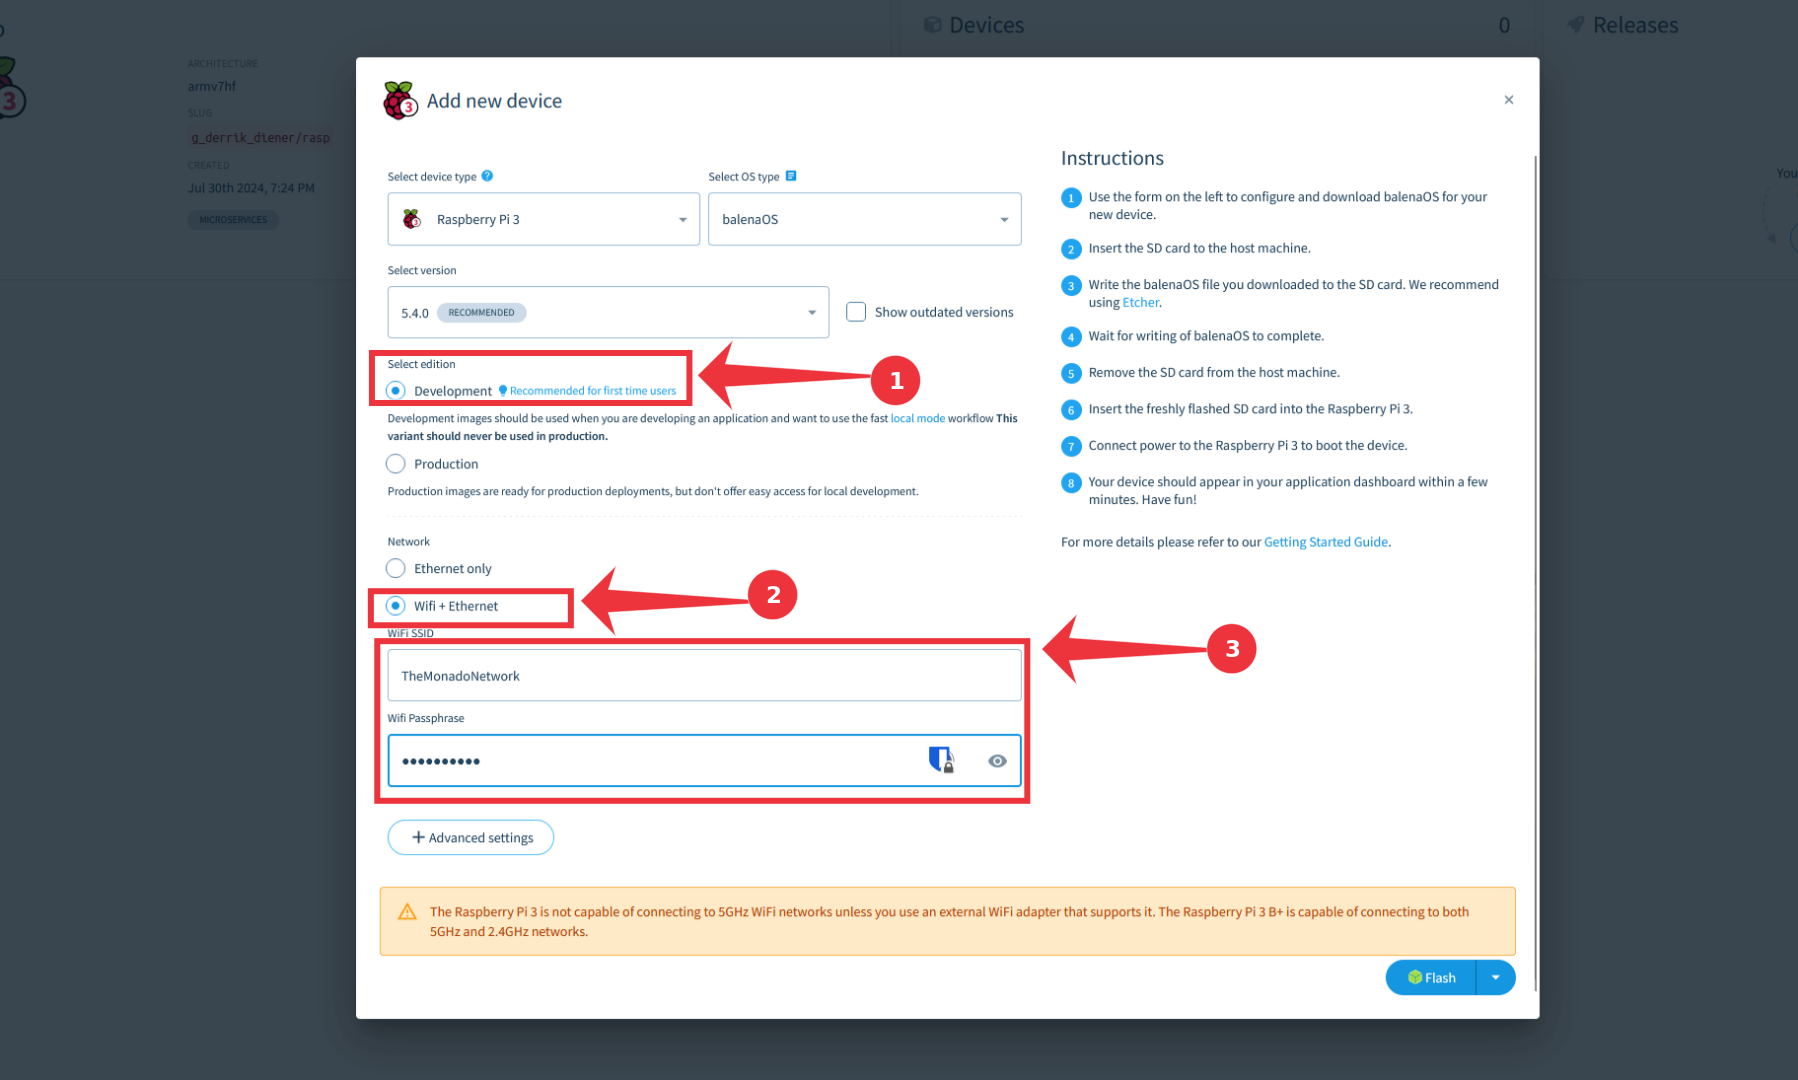
Once you’ve selected the “Add rig” button, do the following.
First, select “Development”.
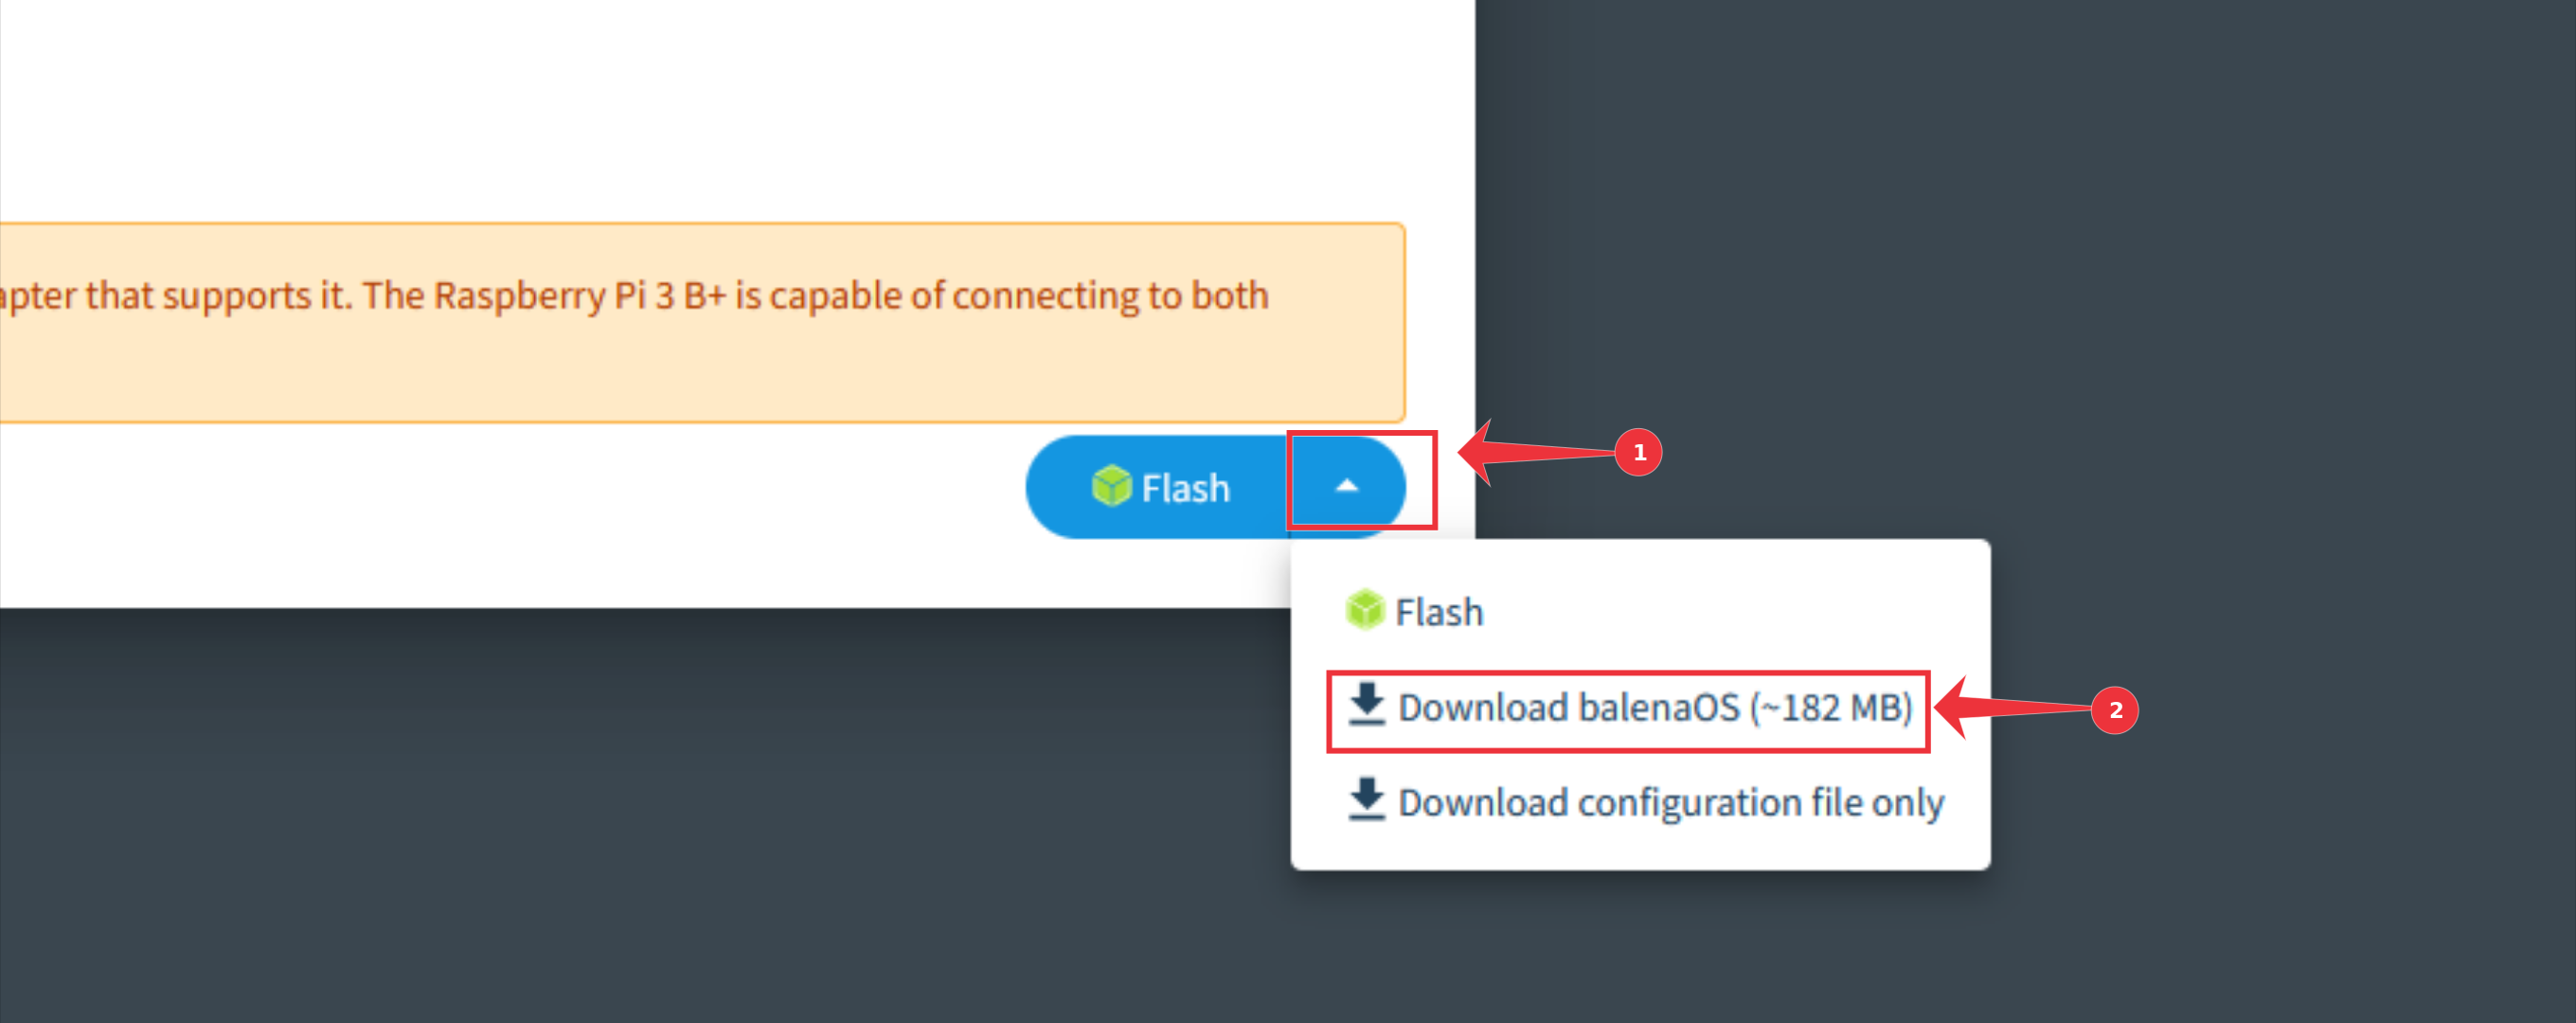
With your customized balenaOS downloaded, download theBalena Etchertool to your system and install it.
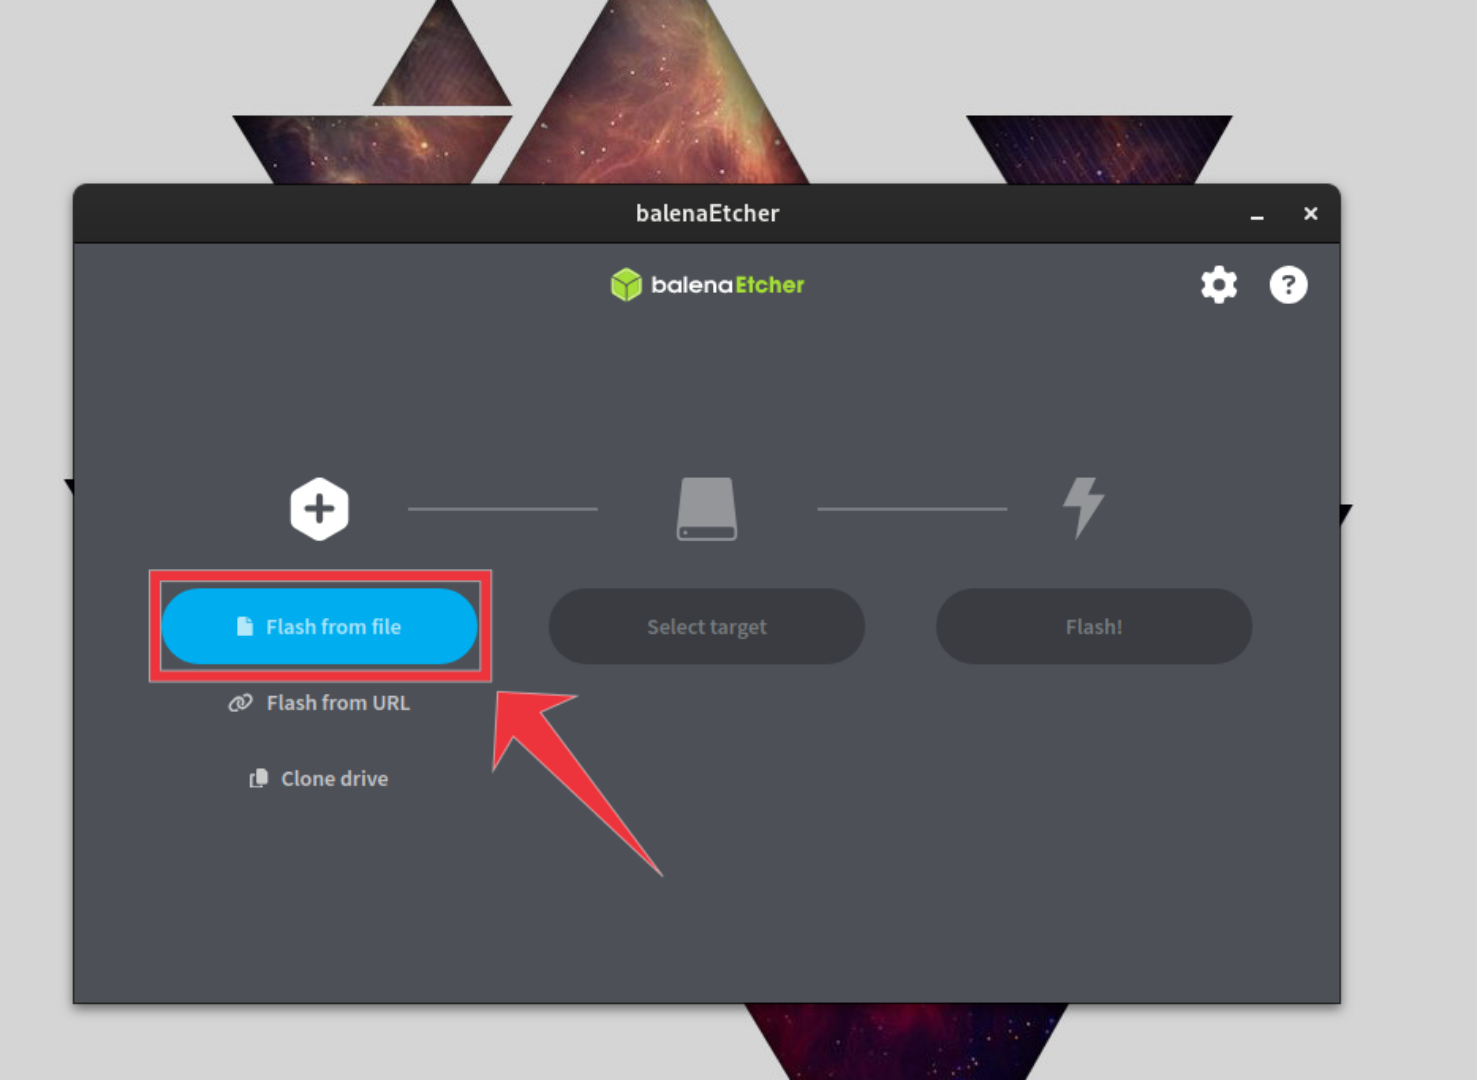
Then, do the following to install your image on the Raspberry Pi.
Find the “Flash from file” button and select it with the mouse.
From here, browse for the balenaOS file on your box that you downloaded from your Balena Cloud fleet.
Find the “Select target” button and select it.
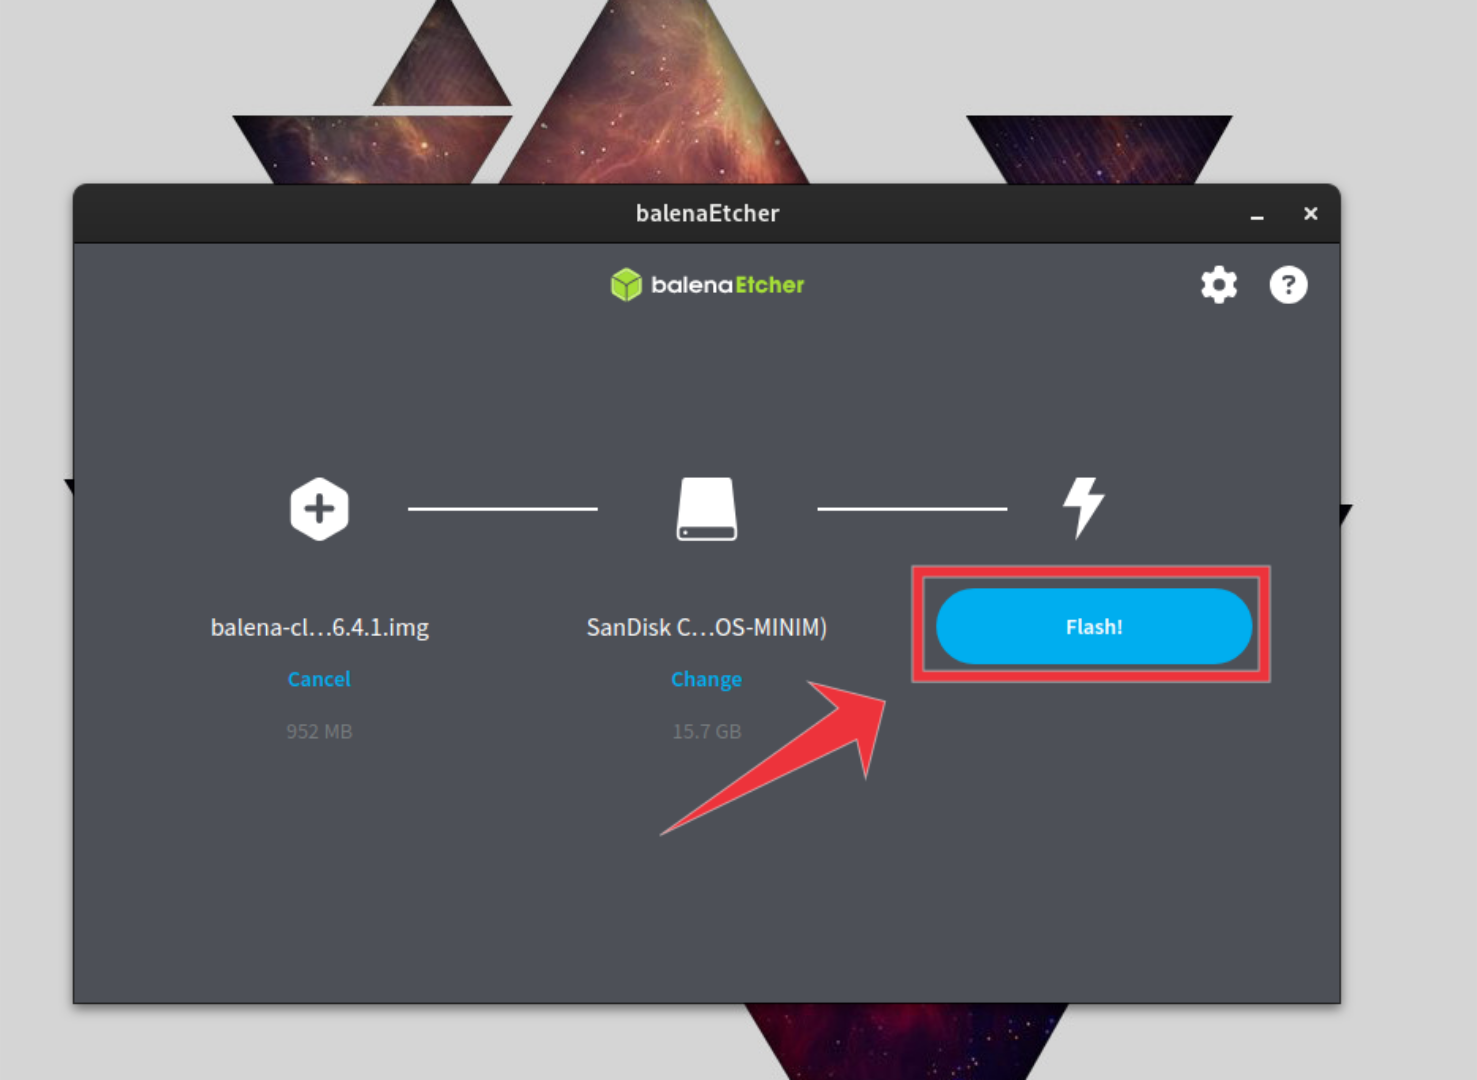
Find the “Flash!”
button and select it to begin the flashing process.
When the process is complete, eject your SD card and insert it into your Raspberry Pi.
Once it is online, pull up the devices in your fleet, and select your Pi.
Next, load up the BalenaSound page on the web, and hit the “Deploy” button.
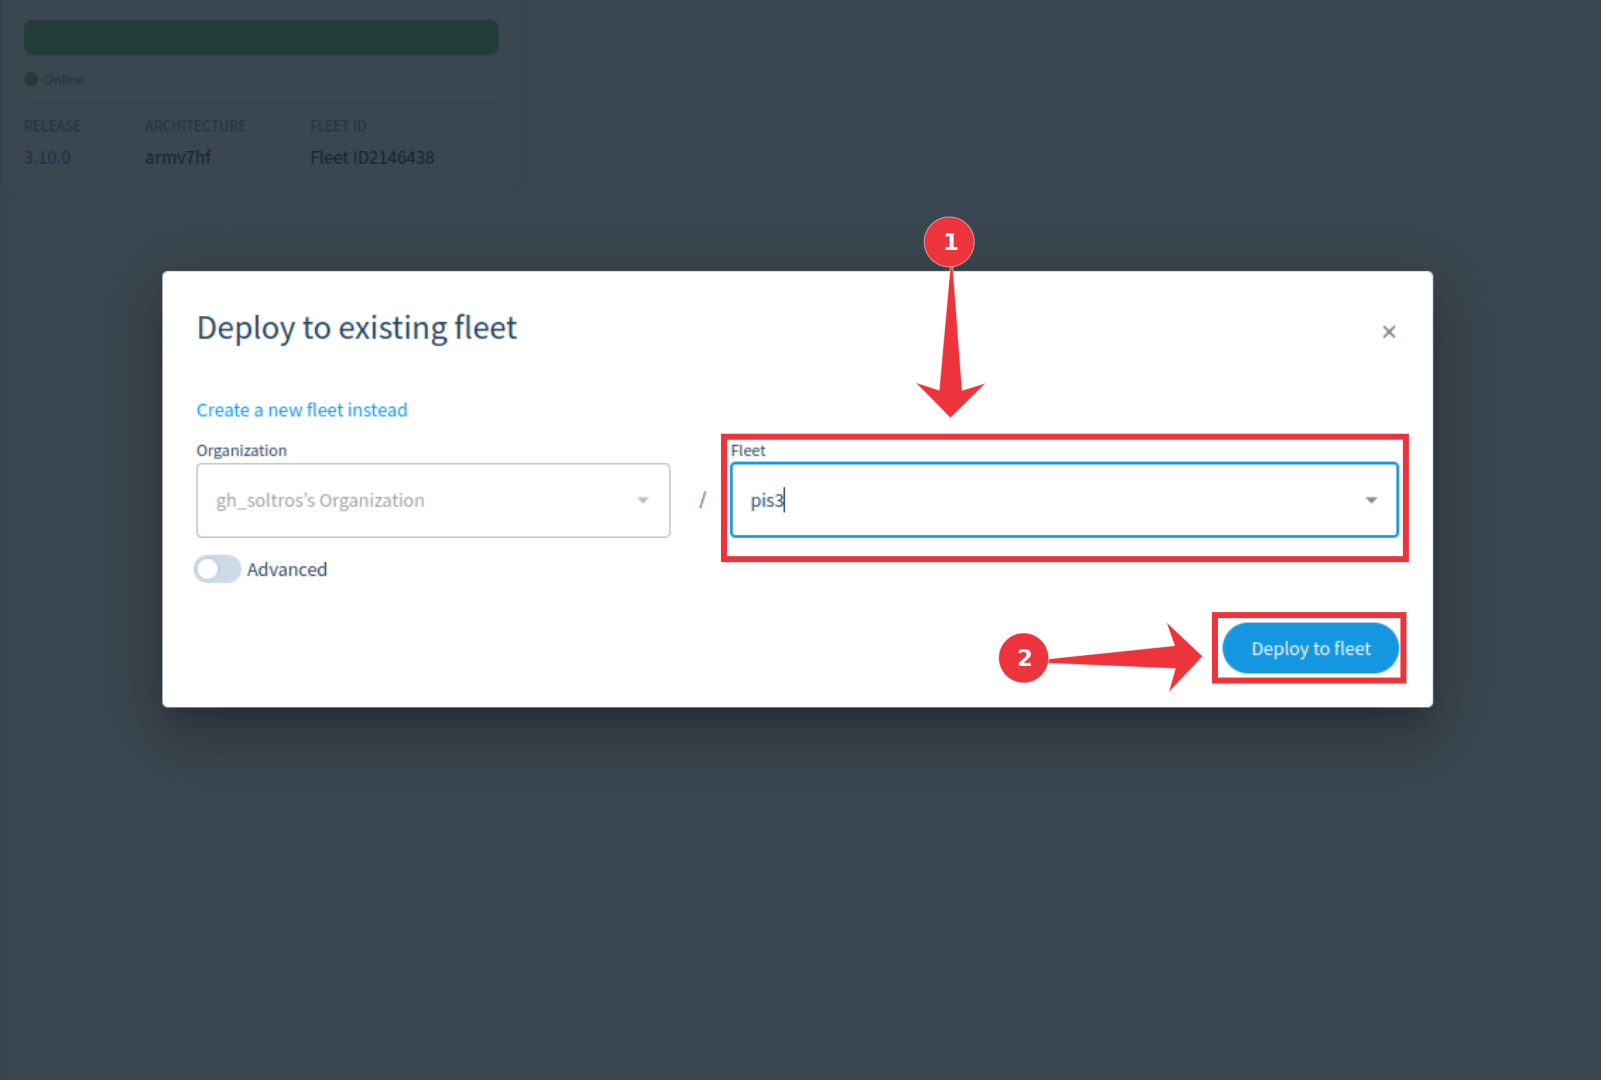
Find the “Use an existing fleet instead” button, and select it with the mouse.
opt for fleet your Raspberry Pi is on, followed by “Deploy to fleet.”

Selecting the “Deploy to fleet” button will download and install BalenaSound on your Pi.
To start, access your gadget in Balena Cloud.
Then, find “Terminal” and click “Select a target.”
Set the target to “audio,” and opt for “Start terminal session” button.
Once connected, you’ll be able to send commands to your Raspberry Pi sound system.
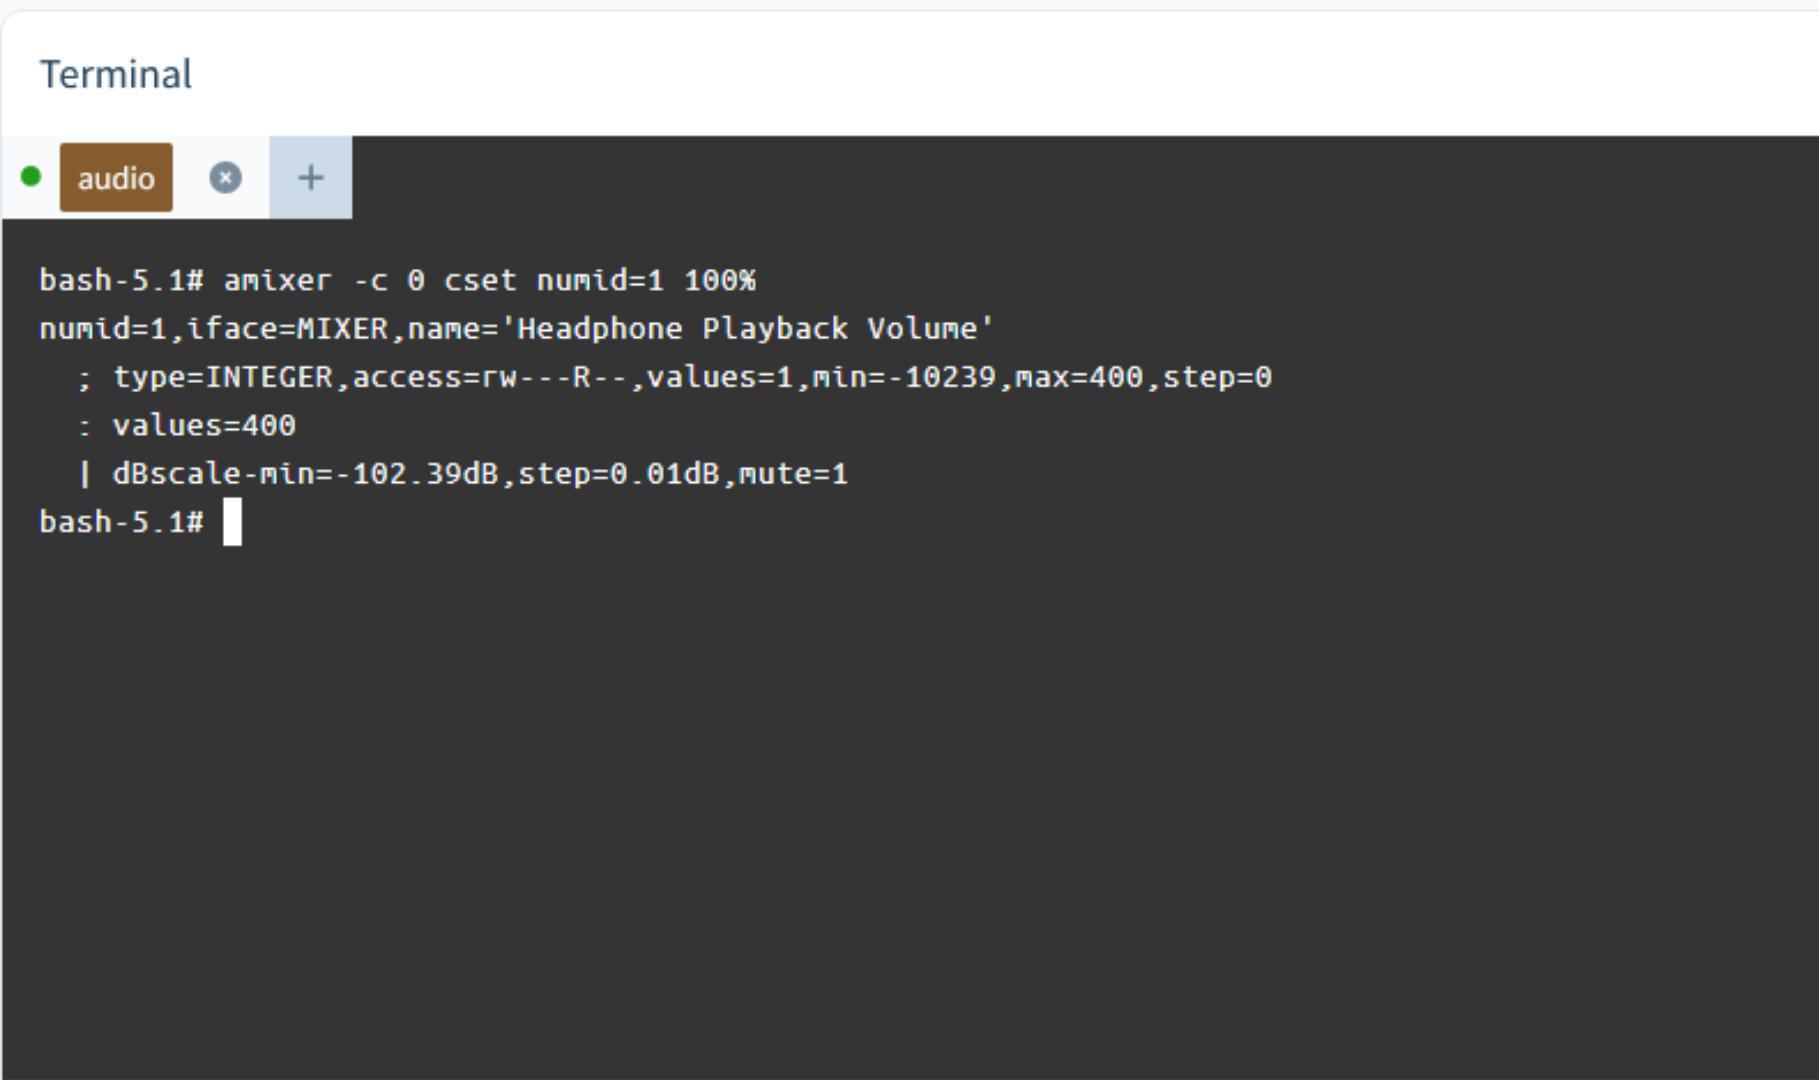
To start, you’ll want to set the Raspberry Pi’s sound to 100%.
If you don’t, everything will be too quiet.
Once connected, it will work just like any other Bluetooth speaker you’ve used before.
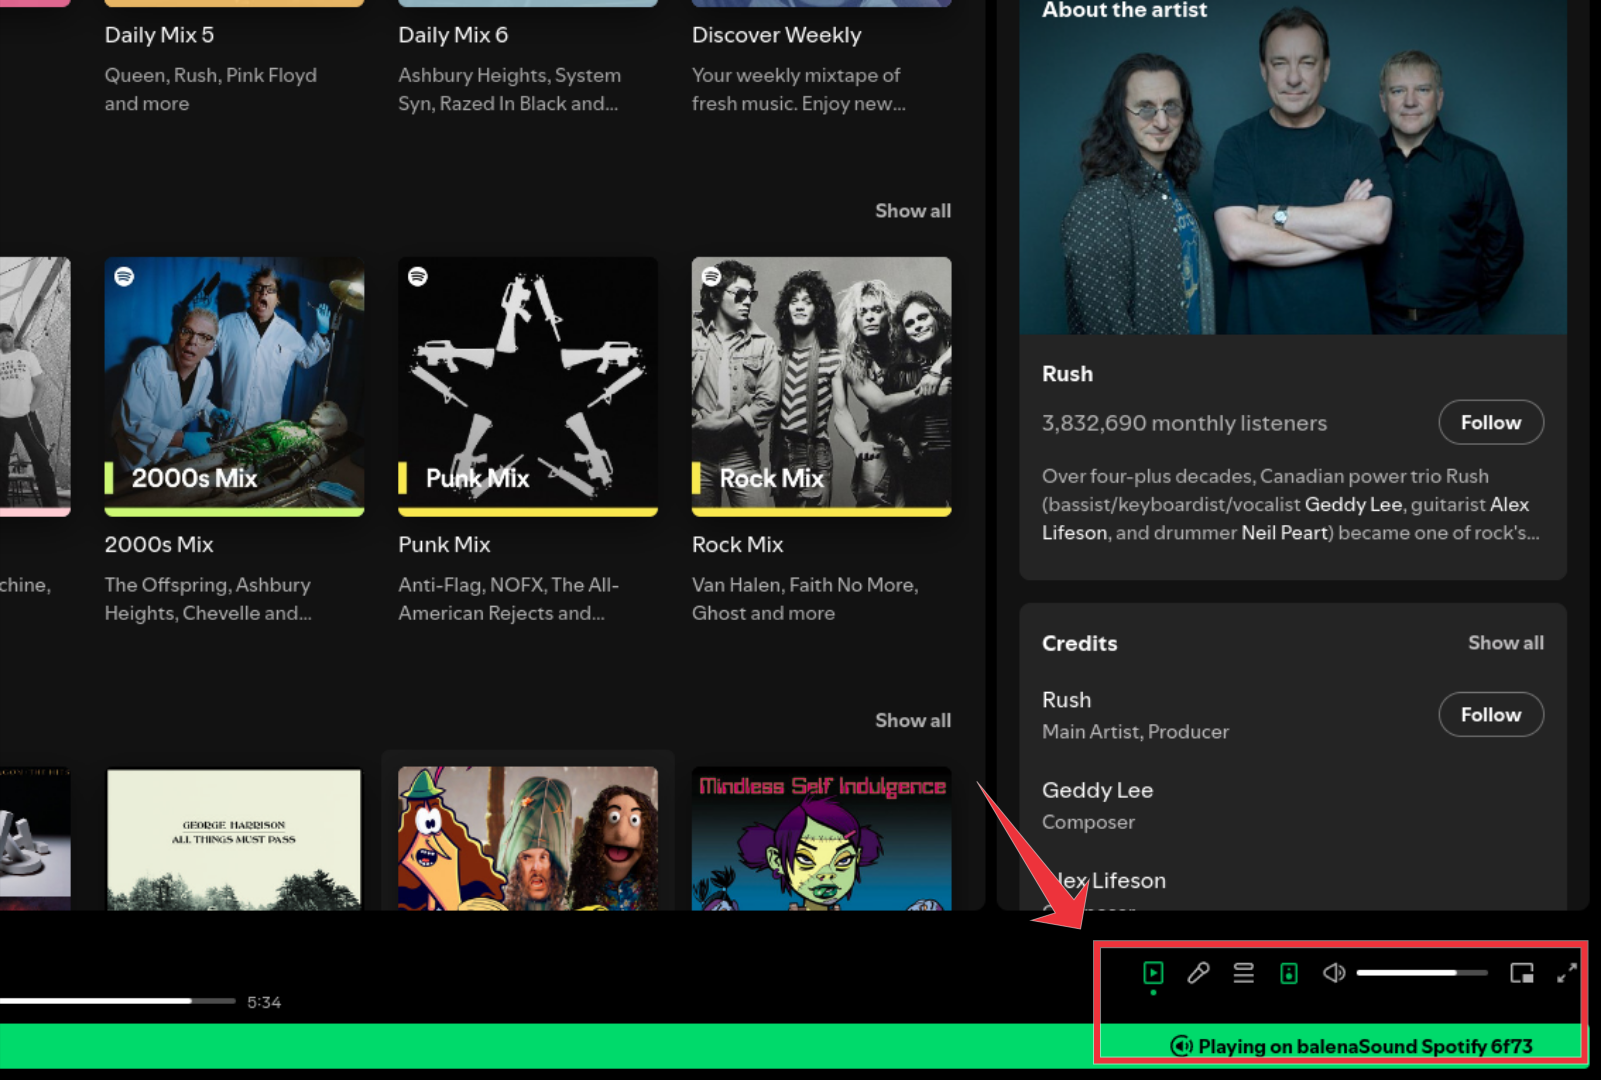
Want to stream music viaSpotify?
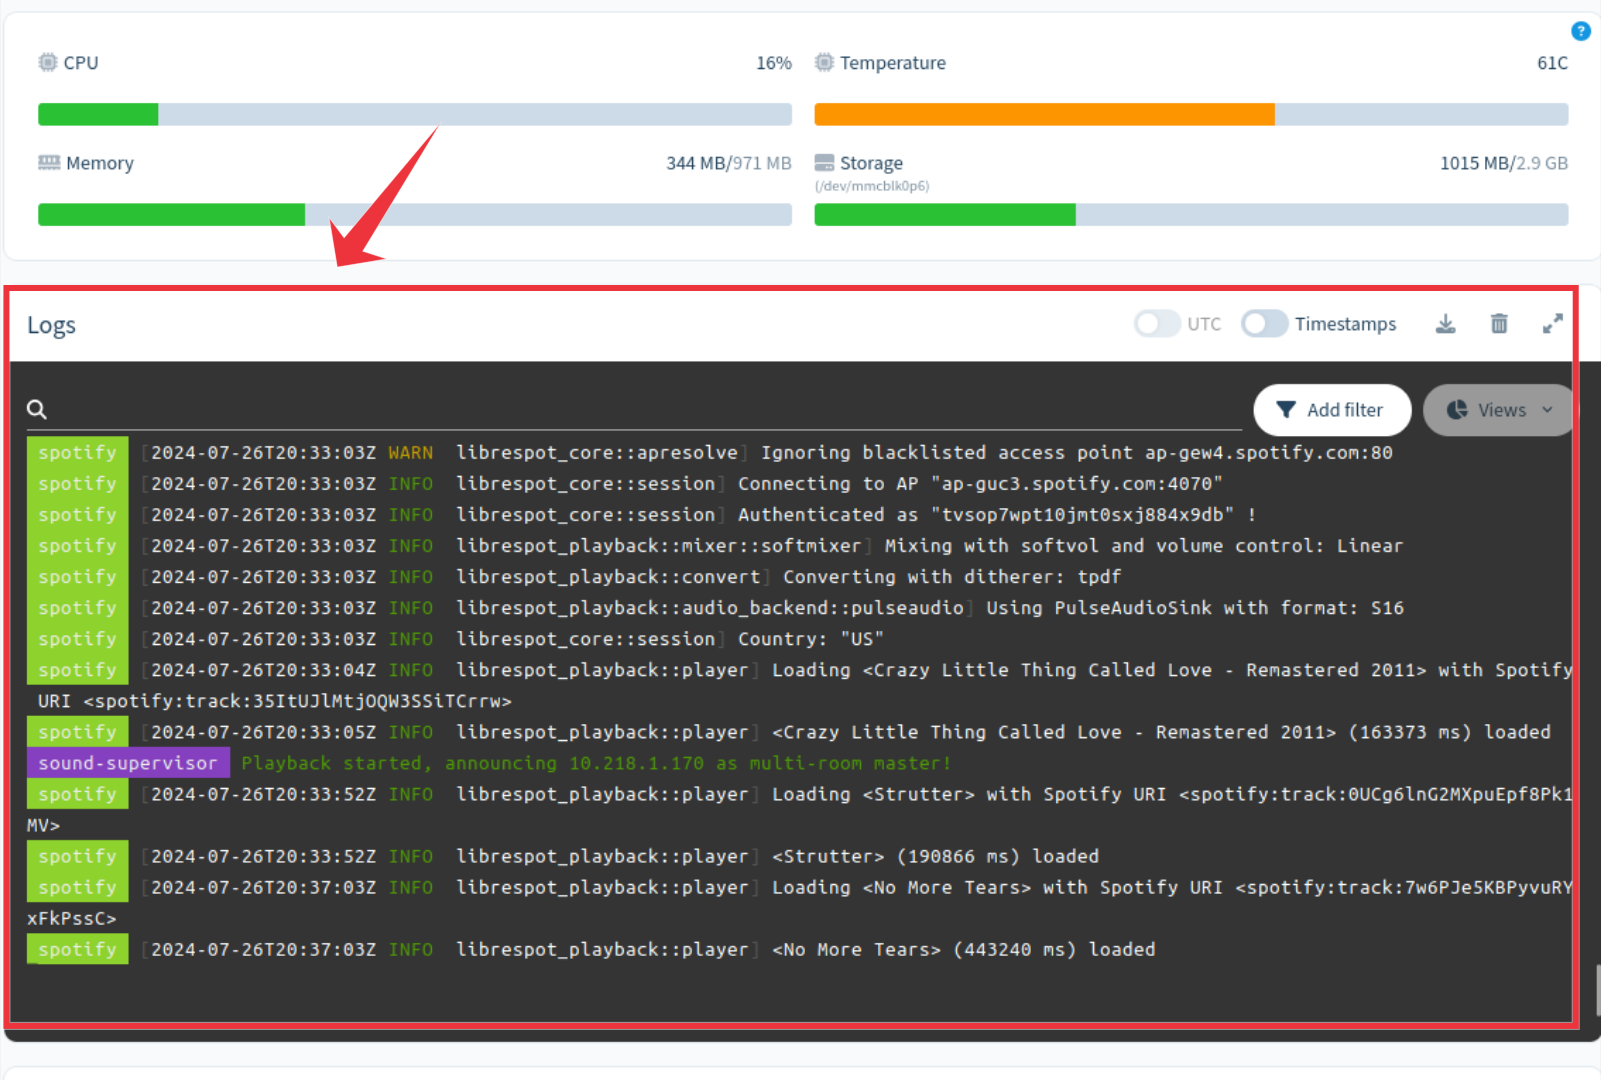
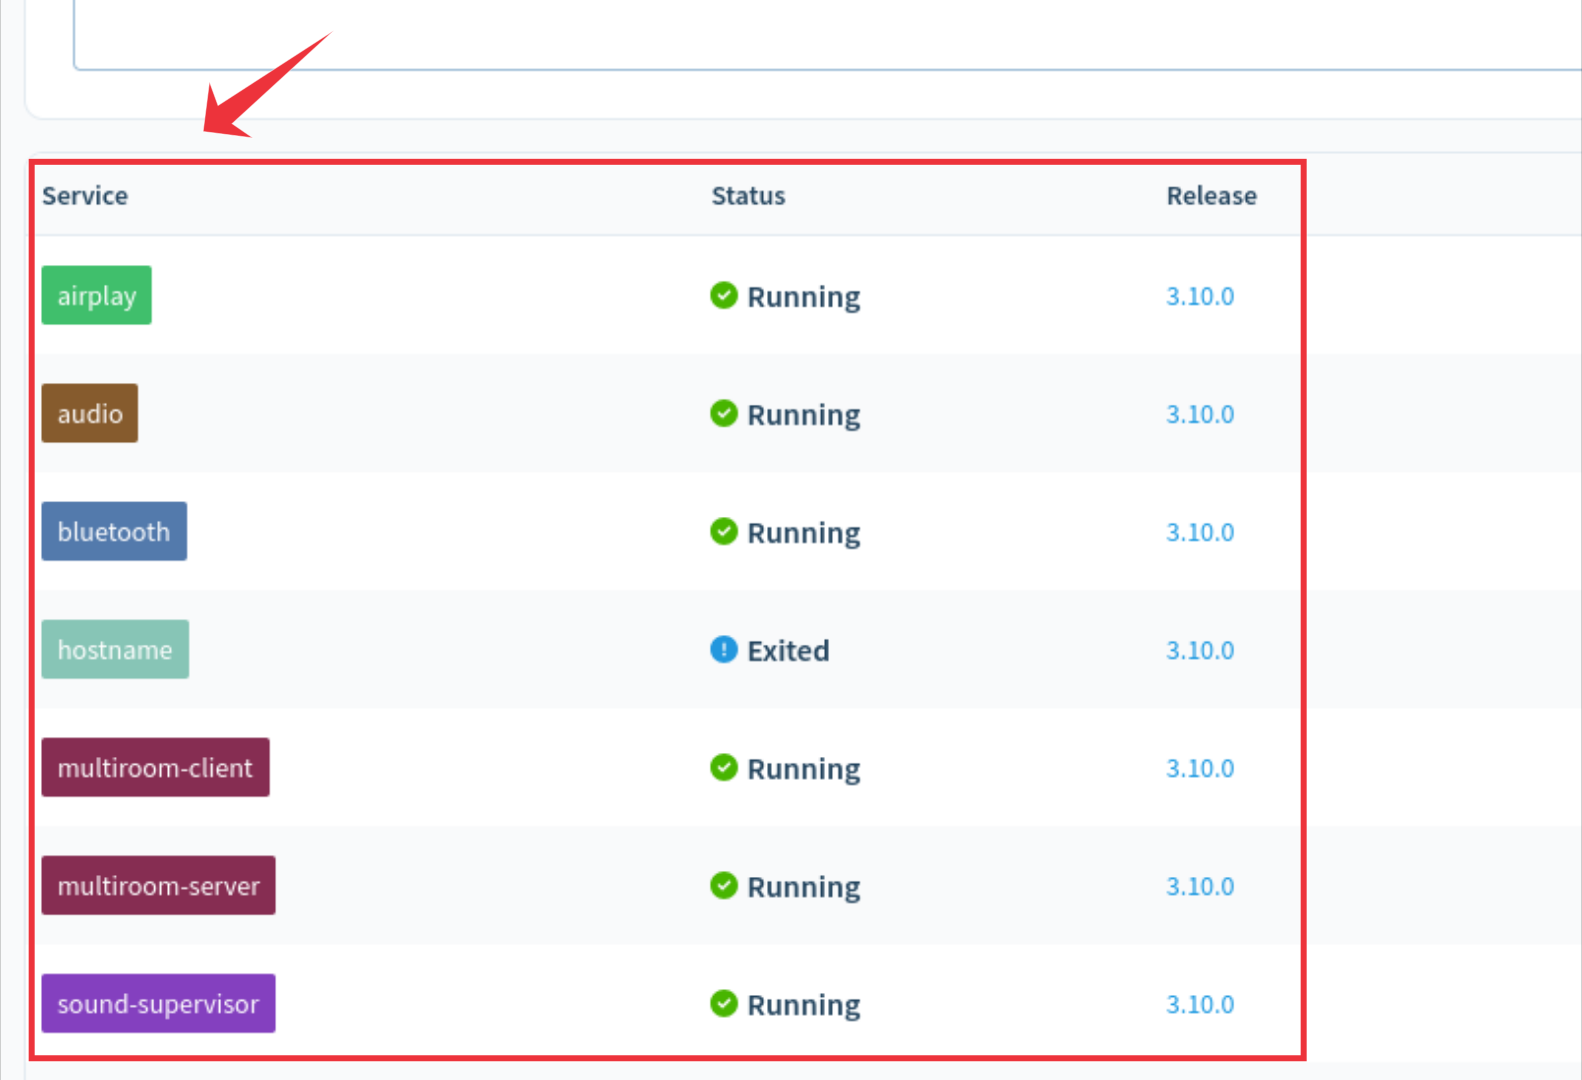
For example, below we see the Spotify service output, and it shows that it is working correctly.
it’s possible for you to adjust buffer sizes, latency prefs, and more to meet your needs.
Don’t be afraid to experiment and try out different configurations.
If you get stuck, theissues page on GitHubis always a good place to check.
What are you waiting for?
Dive in, and take your Bluetooth speaker to the next level.