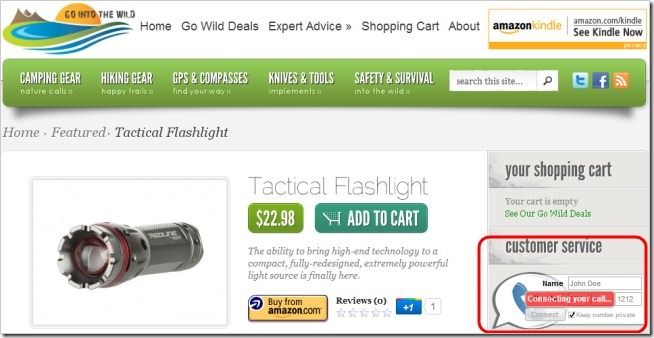
The Call Widget works using Google Voice to first call the number the customer types into the widget form.
Once connected, the user is prompted to connect to the number you have configured the widget to call.
Google voice connects the two numbers and you are talking away in an instant.

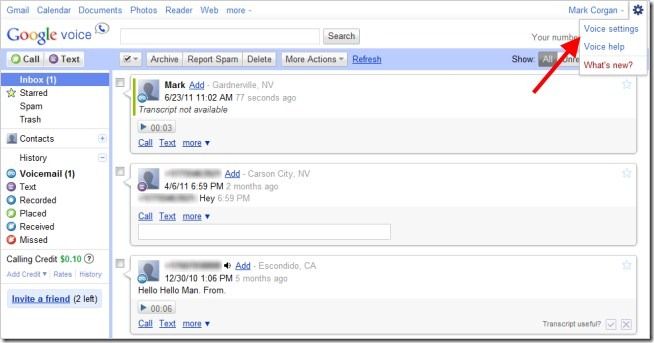
hit the Voice controls menu item.
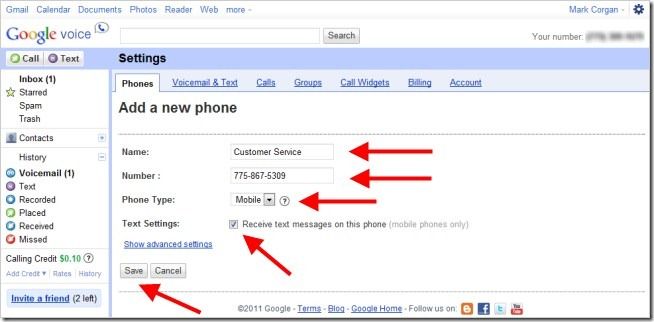
Fill in the name, number and phone throw in information.
tap the Save button to back up your options and return to the Phones tab.
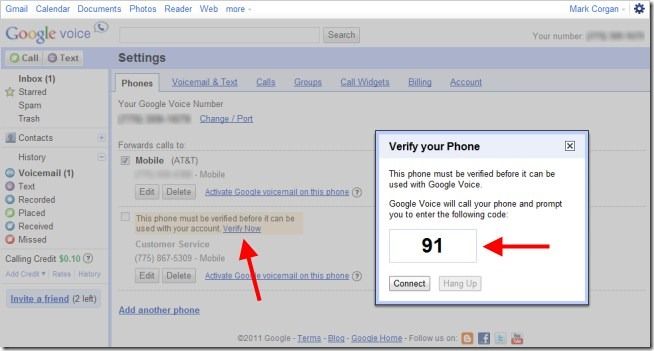
Google Voice will call the number and prompt you to enter a code.
Once this required step is completed, the number is available to use with the Call Widget.
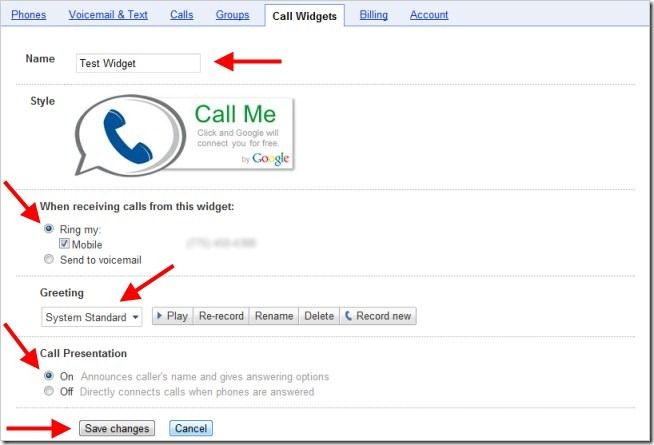
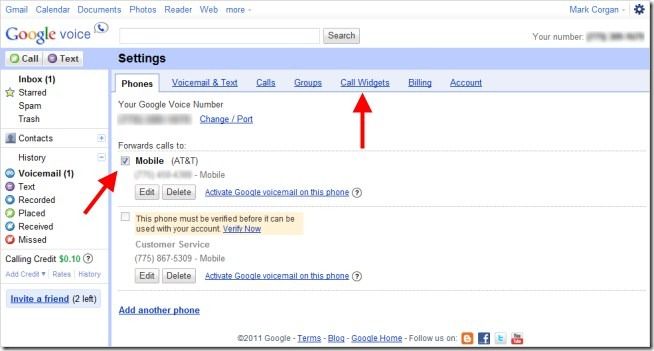
smack the checkbox next to the phone number you want the Call Widget to call you on.
If you want to use your Google Voice number, dont check any numbers.
smack the Call Widgets tab when you have chosen a number.
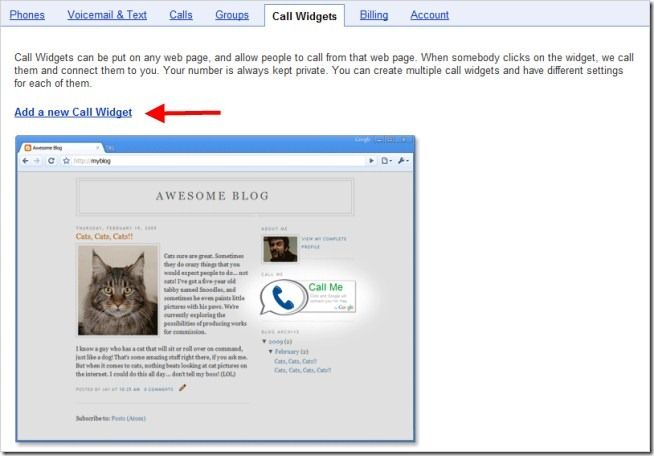
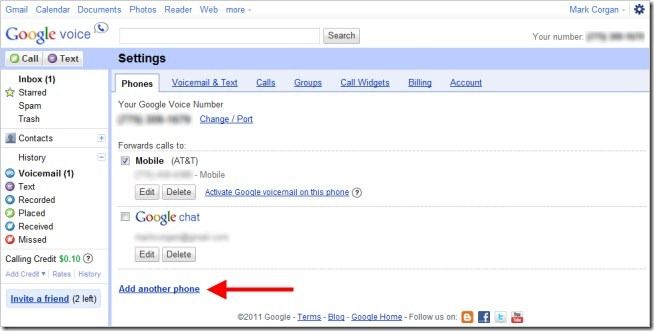
hit the Add a new Call Widget link to define a Call Widget for your website.
The Call Widget will use he number you checked in step 5. poke the Save changes button to save the Call Widget controls.
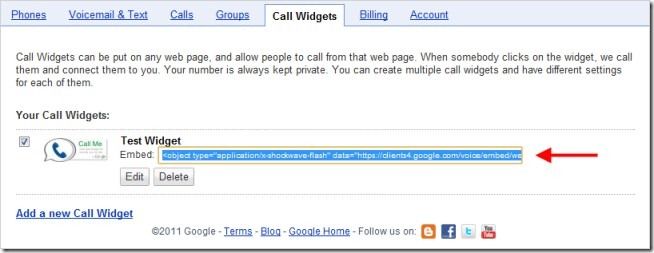
Select and copy all the text in the Embed field.
This is the code you will put into your blog or web page.
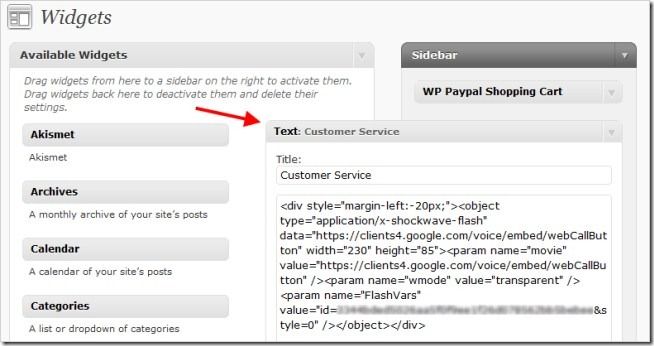
launch the web page you want to add the Call Widget to in your favorite HTML editor.
Paste the code you copied in step 8.
Save and view the page.
Check the Keep number private checkbox if you want your number hidden from the receiver of the call.
poke the Connect button and Google Voice takes care of the rest.
Now thats customer service!