But you’re free to do more than that!
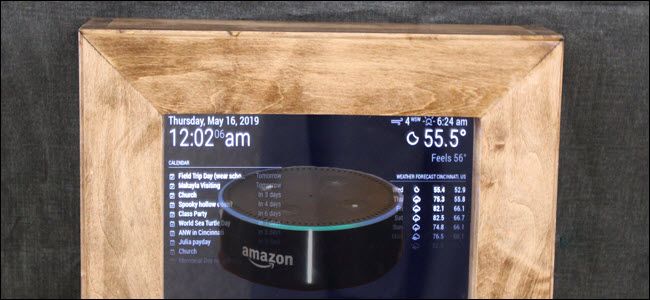
The Magic Mirror software lets you add modules for extra features, like Alexa for voice control.
Other developers create these modules.

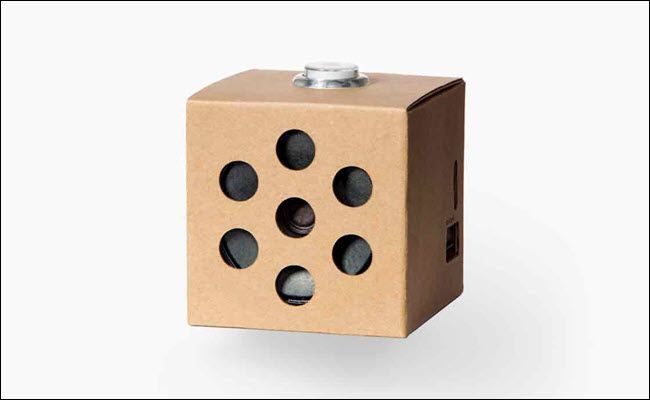
If you want the most straightforward setup, we recommend adding theGoogle AIY kitand using itsspecific tutorial.
Setting up Alexa requires more configuration than adding snowflakes, for instance.
Additionally, this particular Alexa module requires installing some additional software (dependencies) before downloading the module.
For the microphone and speaker, we recommend the originalGoogle AIY Voice Kit.
At $16, you’ll be hard-pressed to find a cheaper microphone and speaker combination.
Connect your speaker and microphone, and you’re ready to implement the Alexa module.
If you’re using the Google AIY kit, just follow itsassembly guidefor connecting the microphone and speaker components.
It’s always a good idea to modernize your Raspberry Pi before trying to install anything else.
Just run a command, wait for the download and install to finish, then initiate the next command.
Anytime you download a new module, you’ll want to be here to keep everything organized.
Now we need to remove the node_modules folder and install some additional dependencies.
It’s important that you stay inside the snowboy folder for these steps; don’t change directories.
Configuring the Alexa Module
Now that the mmm-awesome-alexa module is installed, we need to configure it.
The first step is to change directories to the root of the module.
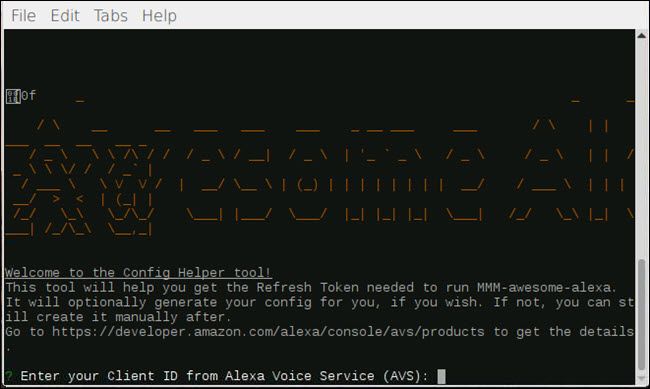
In terminal throw in:
You’ll see a prompt asking for a Client ID.
Then sign in with your Amazon account.
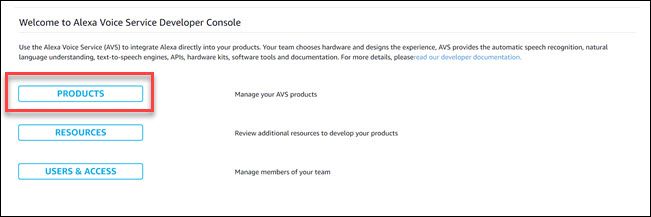
Once signed in, choose the “Get Started” button.
You’re creating a equipment, so click “Products” and click “Create Product.”
Select Smart Home for the category, and enable both the hands-free and far-field options.
On the security profile screen, click “Create new profile.”
Use the same name for your security profile as you did for the product ID.
Then jot down any description you would like, then click Next.
Check the agreement and click Finish.
In the allowed return URL entry punch in:
https://magic-mirror-avs.github.io/Alexa-Web-Helper/authresponse
Then smack the add button.
Scroll down and nudge the update box to finish adding the URL.
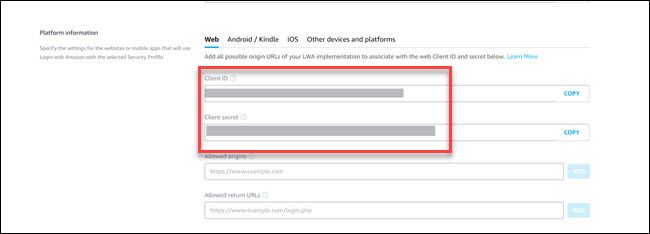
In the terminal, you’ll see a prompt for the client ID.
Copy the client ID from the surfing app, paste it into the Terminal, and then hit Enter.
Now the terminal will prompt for a client secret.
Copy that and paste it into your online window.
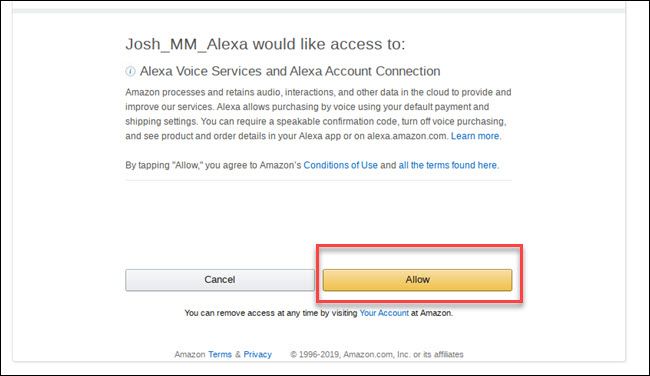
Then enter with your Amazon account, if prompted.

Click Allow on the next screen.
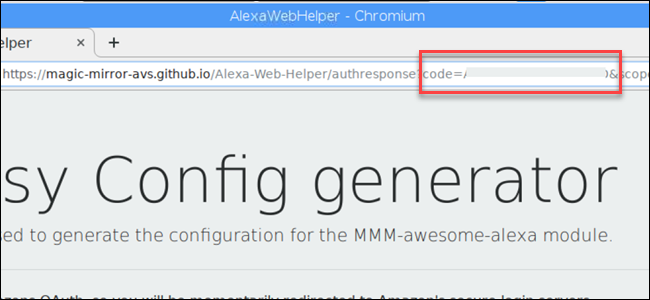
You’ll see an error on the web client, but don’t worry!
Scroll through the URL of the error page and find the “Code=xxxxxx” section.
Hit Enter when you’re done.
When asked if you want to generate the MagicMirror config, bang out Y, and hit Enter.
You’ll be asked which wake word to use.
Alexa is the default selection so hit Enter.
Answer no for using lite mode and visualization.
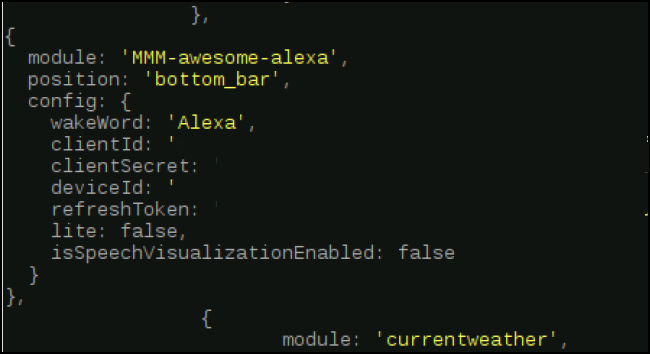
The configuration helper will generate your module information.
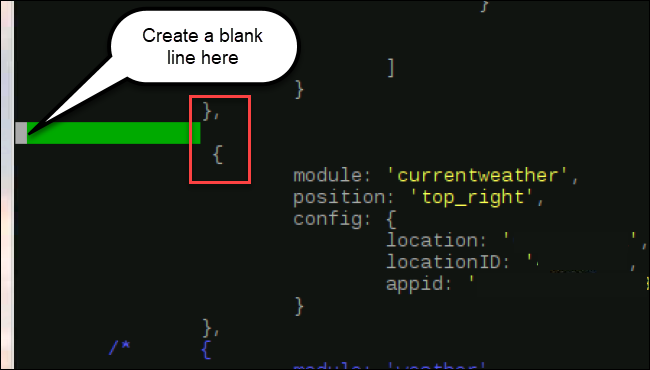
We need to add them to the Magic Mirror configuration.
On the new blank line you created, paste in the module code from the config helper steps.
The module is completed.
Alexa should now work on your Magic Mirror.
This is one of the more complicated modules you might set up for the Magic Mirror.
you could addsnowflakesto your mirror, ormotion detection, or even display yourGoogle Photos.
