This guide will show you how to do just that.
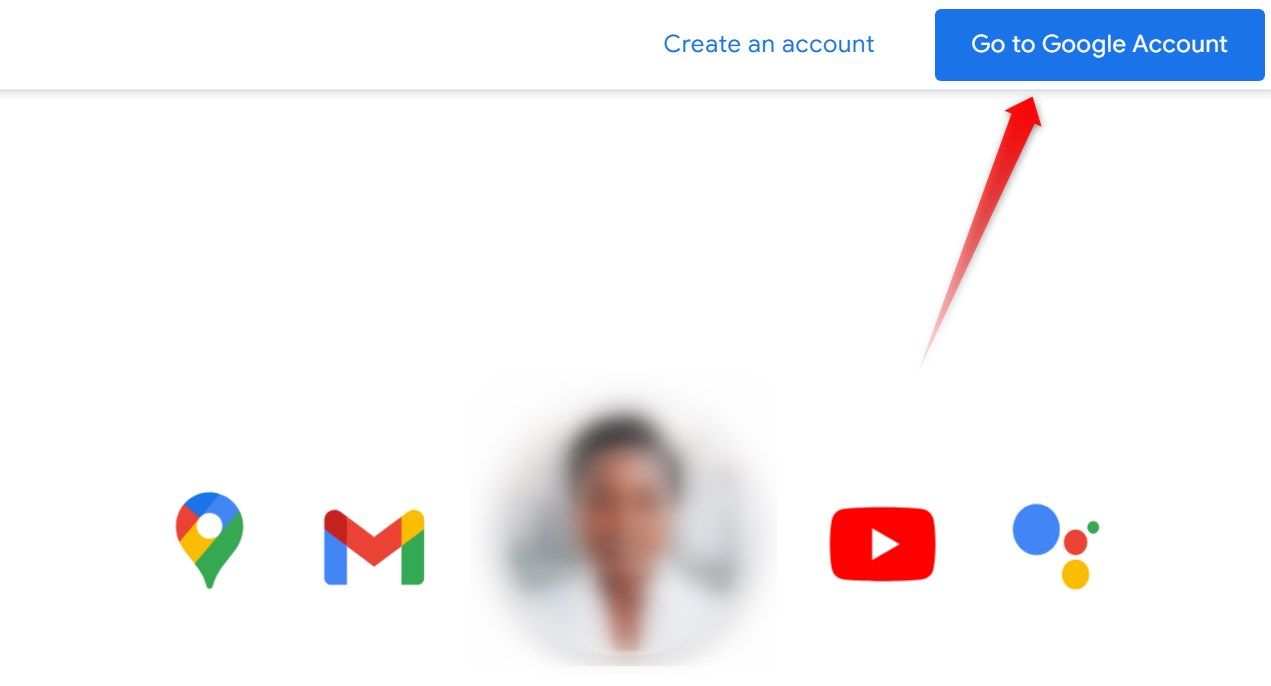
If you aren’t already logged in, Google will prompt you to do sogo ahead and do that.
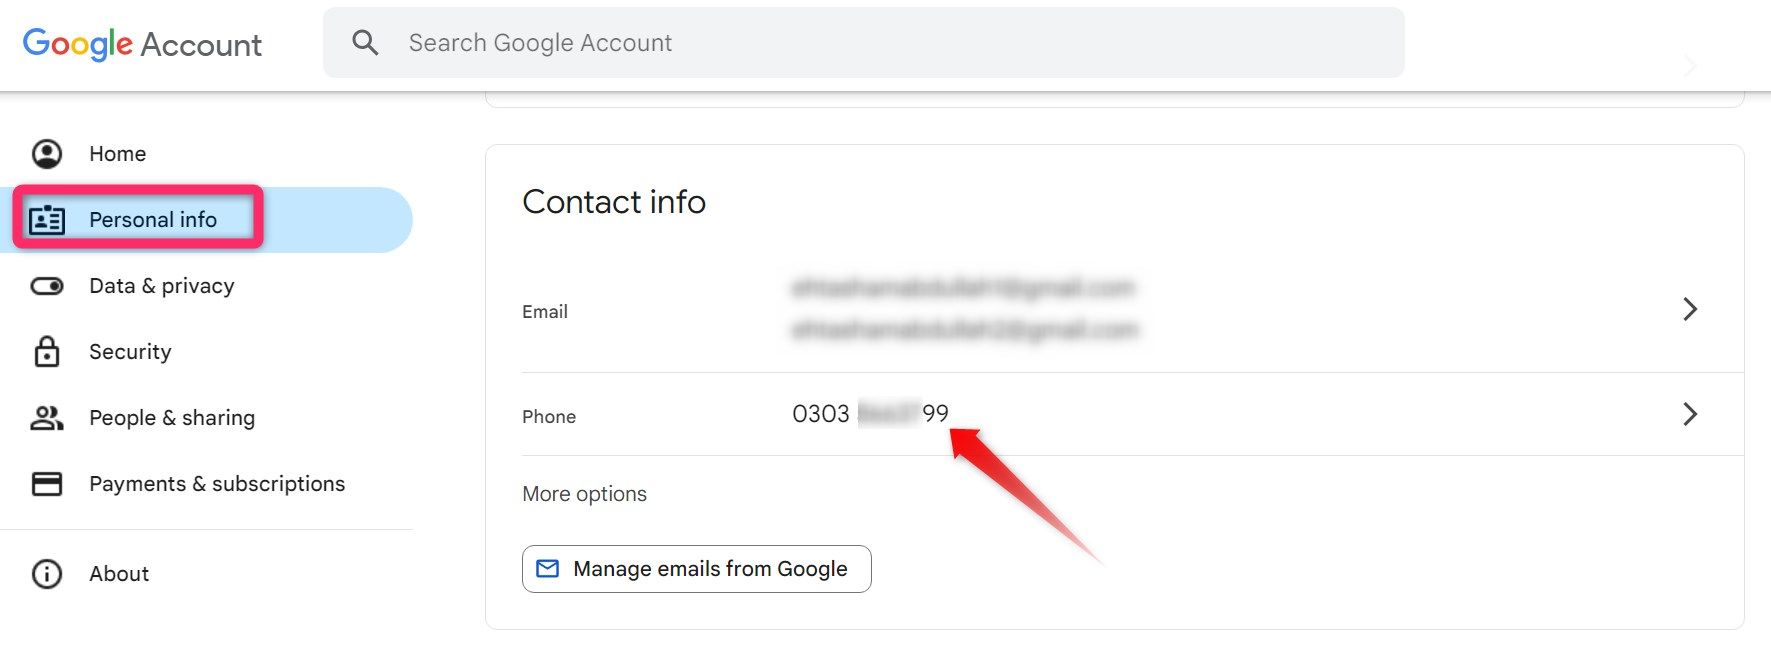
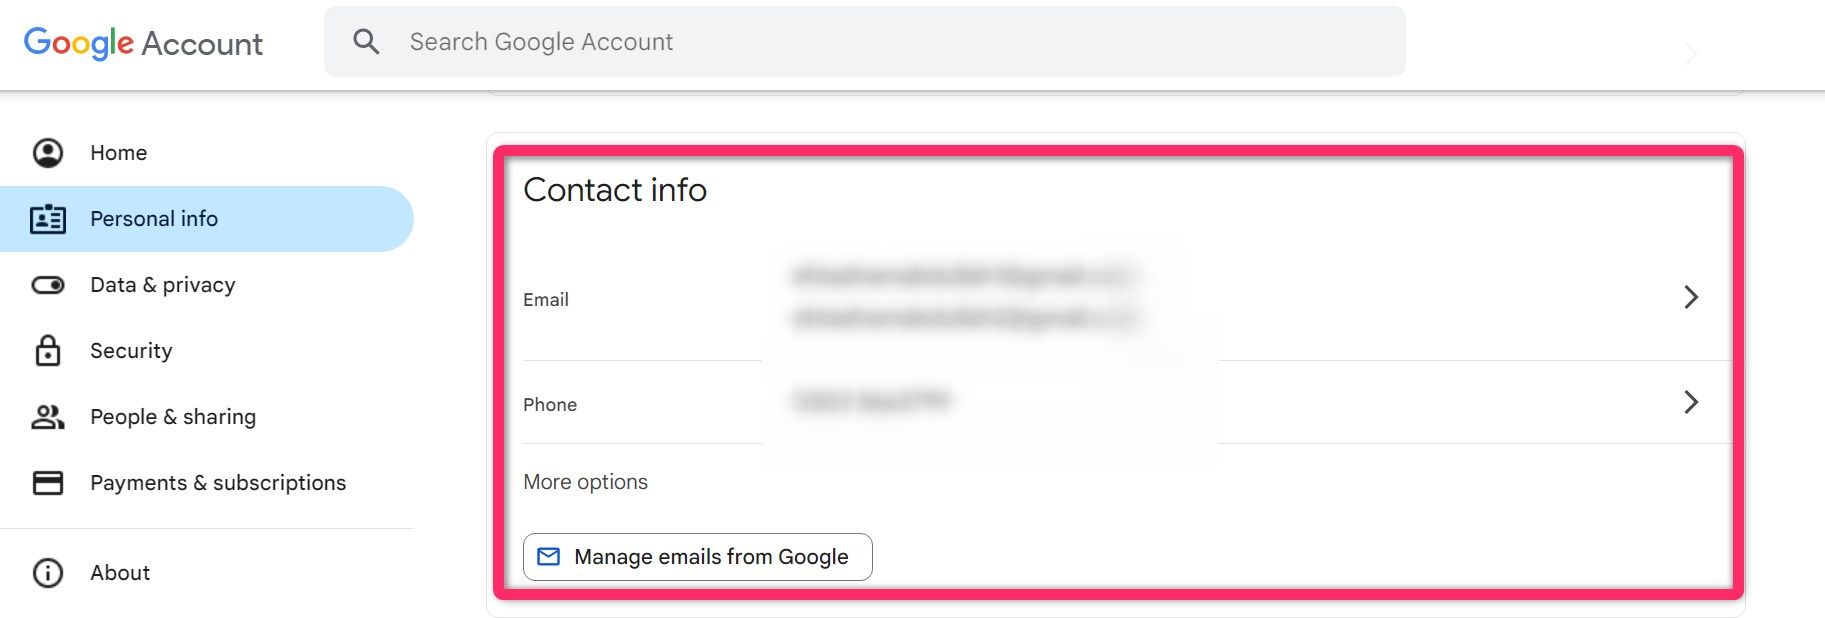
Here, you might remove, modify, or add your recovery phone number.
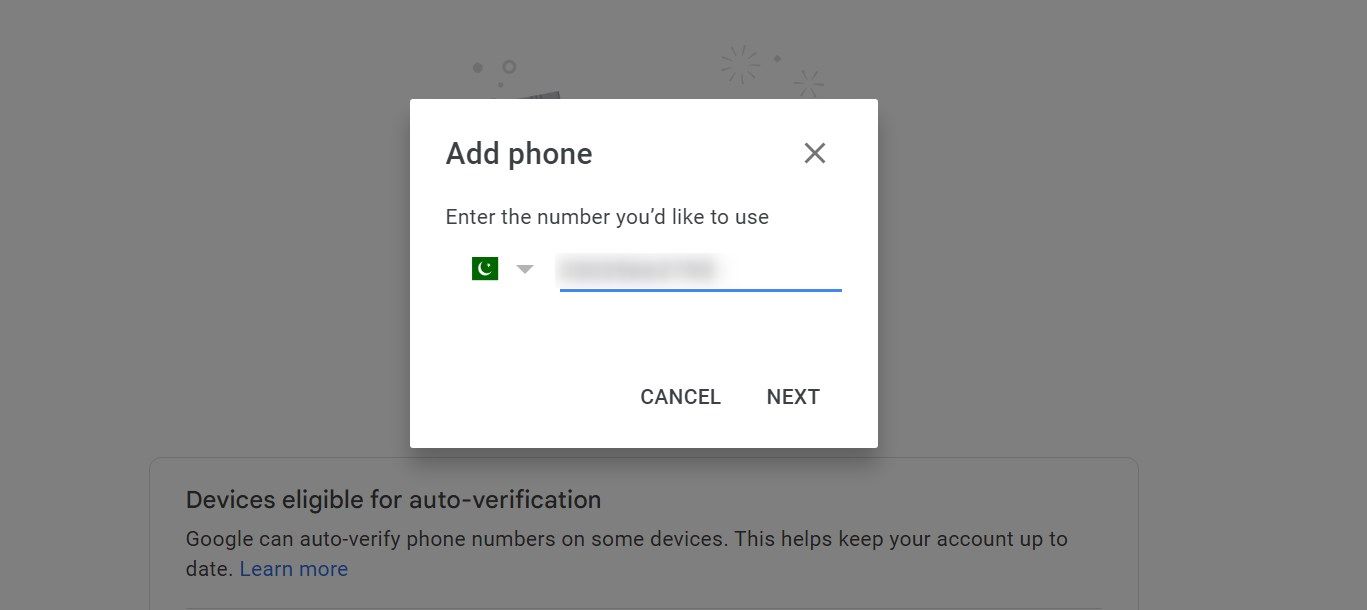
Then, click “Add Now” on the top-right side of the next page.
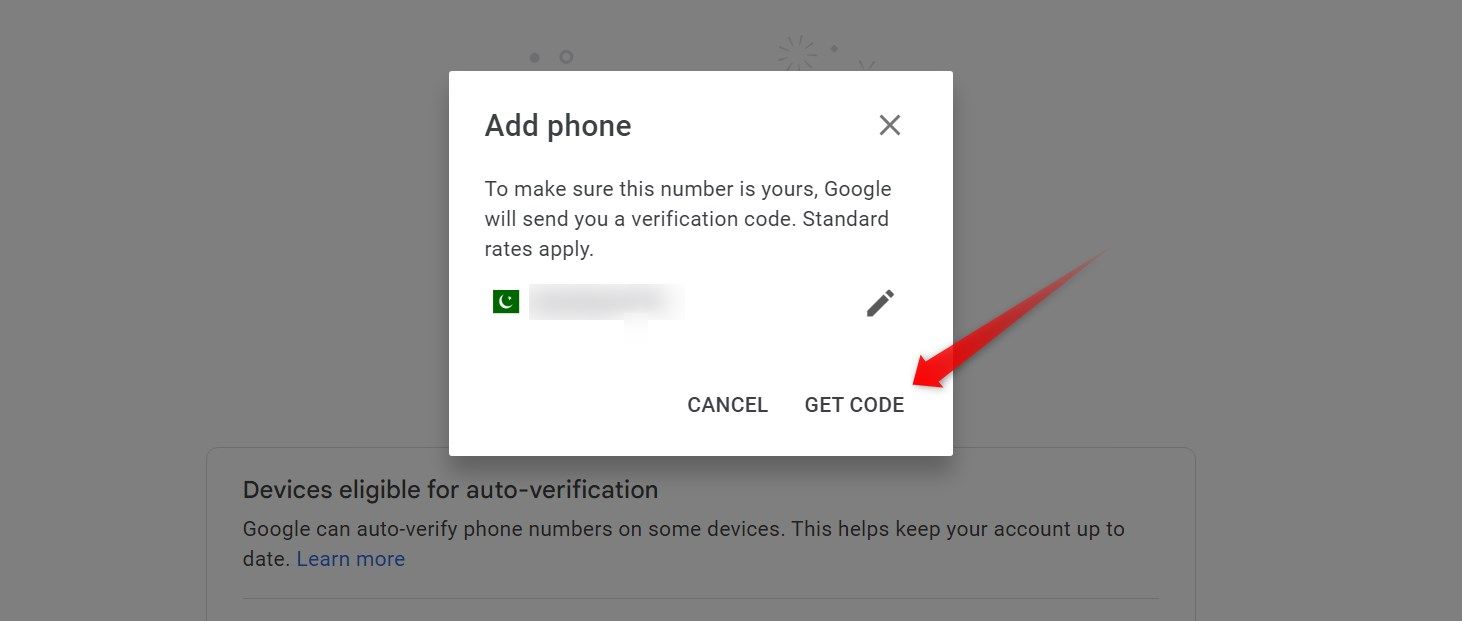
So, complete the verification process, and your phone number will be added successfully.
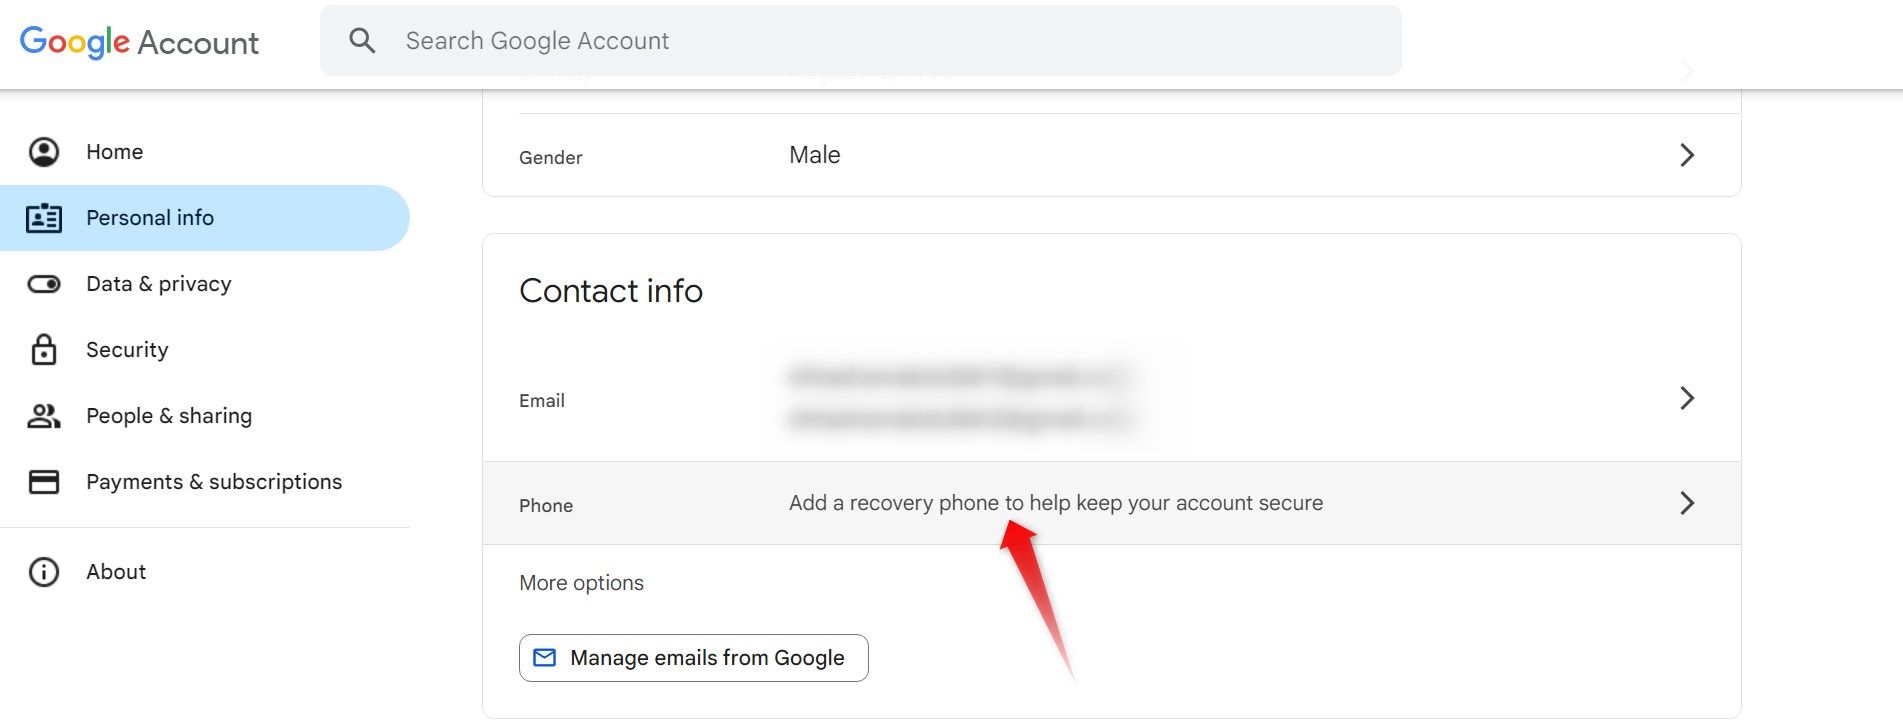
To do that, navigate to the “Contact Info” section and select your phone number.
After that, tap on your number again, and then tap on the pencil icon.
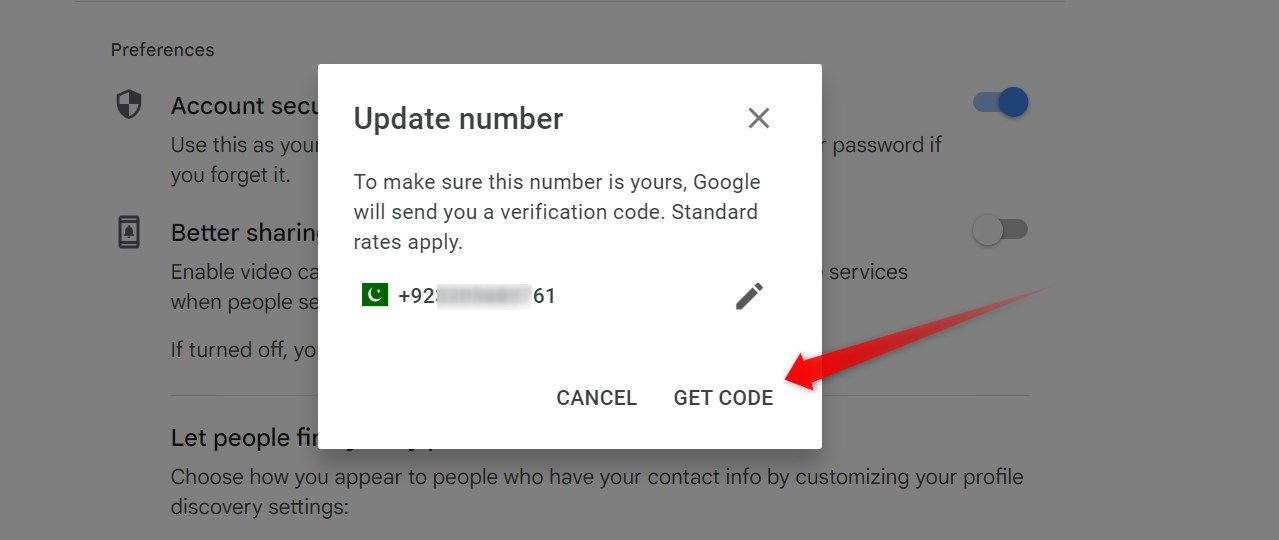
Then, key in in the new number and click “Next.”
Once you complete the verification process, your number will be updated.
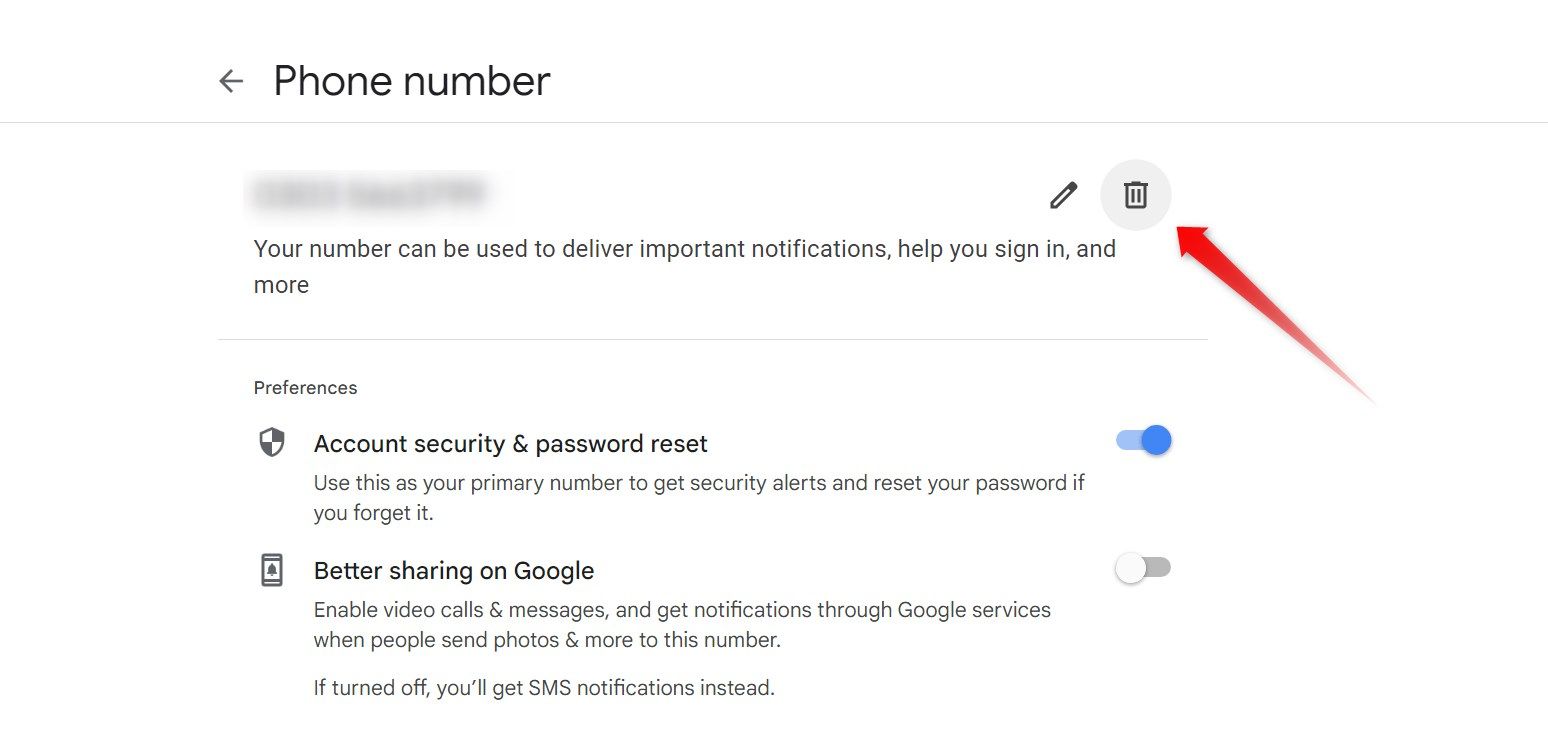
After that, press your number once again, and then press the recycle bin icon.
Google asks you to put in your account password to verify your identity.
So, do that, and you’ll be taken back to the previous page.
Here, hit the recycle bin icon again and then click “Remove Number” in the confirmation popup.
Once you click that, your account will be successfully removed.
If you lose access to that email account, recovering your account becomes nearly impossible.

For this reason, you should add at least one phone number as a backup recovery option.