Doing this manually can be a tedious task.
Thankfully, there’s a way to automate it.
Let’s show you how.
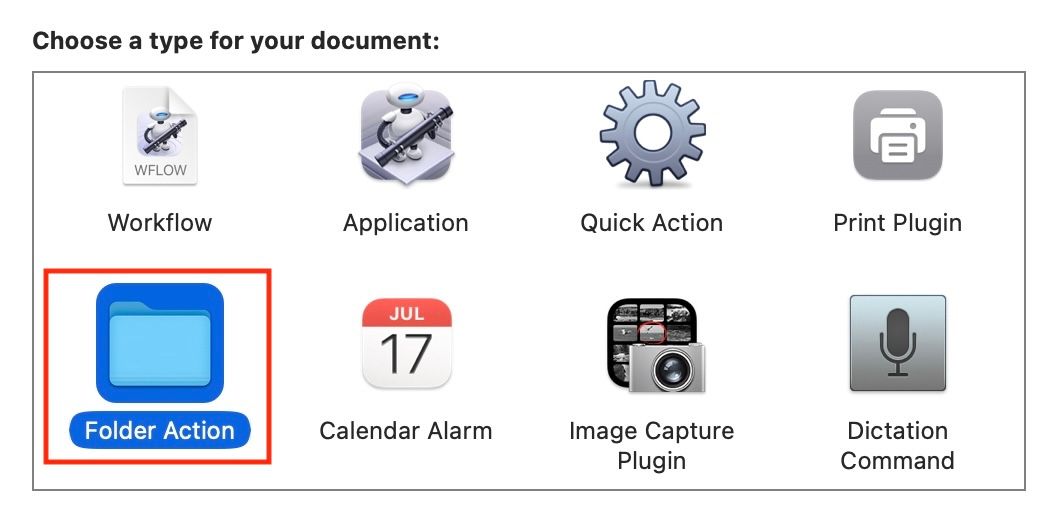
Automator supports multiple types of tasks.
Look for a dropdown box in the rightmost pane at the top of the screen.
It’ll appear next to the text “Folder Action receives files and folders added to.”
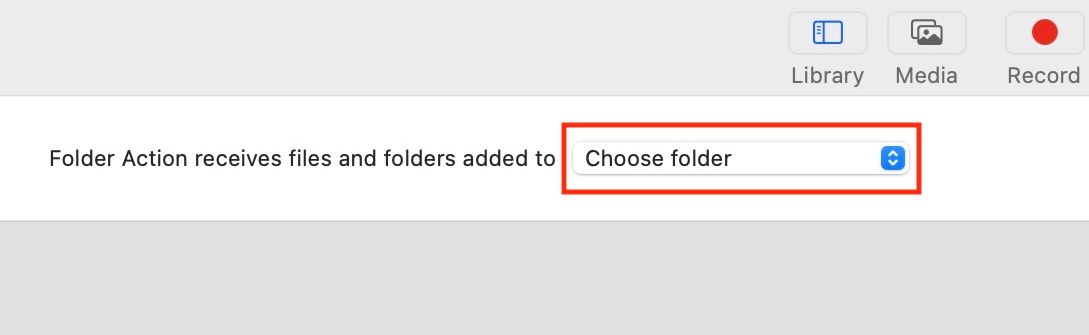
hit it and select “Other.”
Then, pick the “Downloads” folder in the Finder and hit “Choose.”
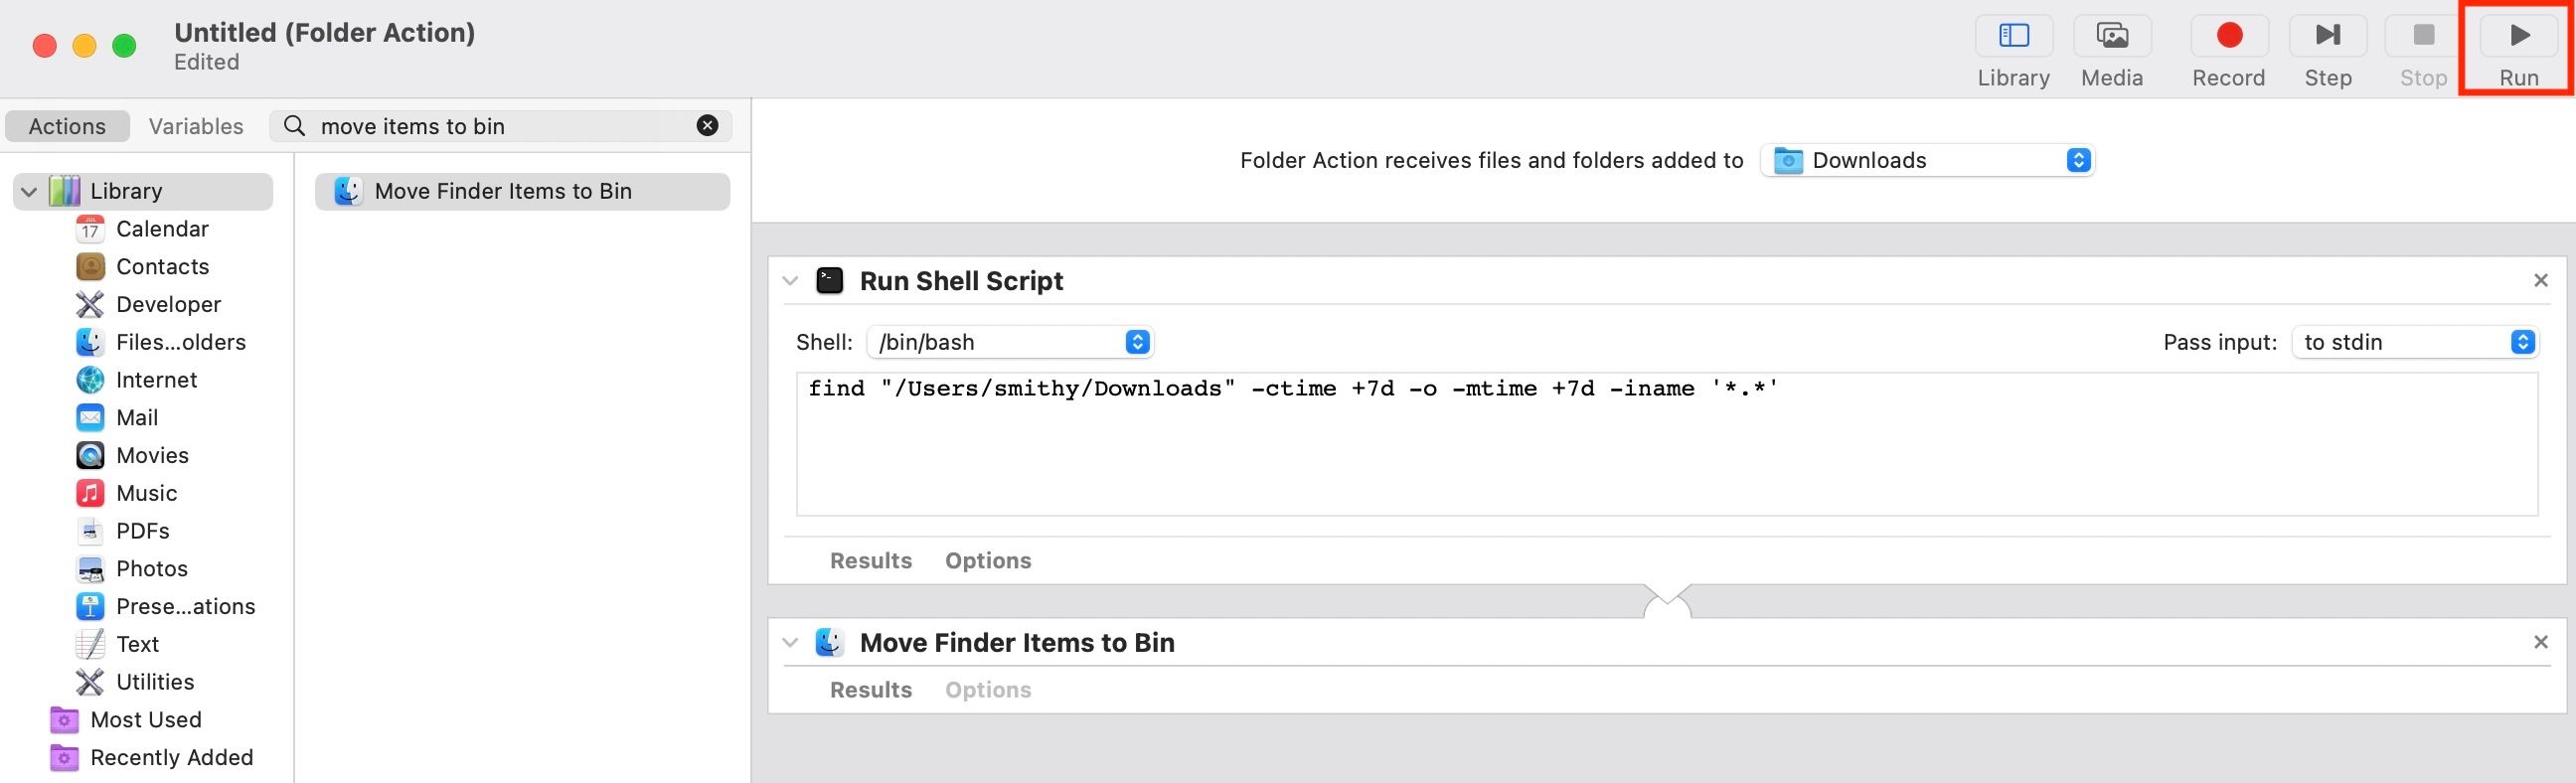
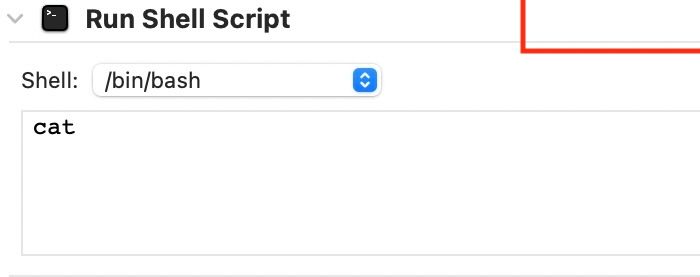
hit the search box in the middle pane and look for “Run Shell Script.”
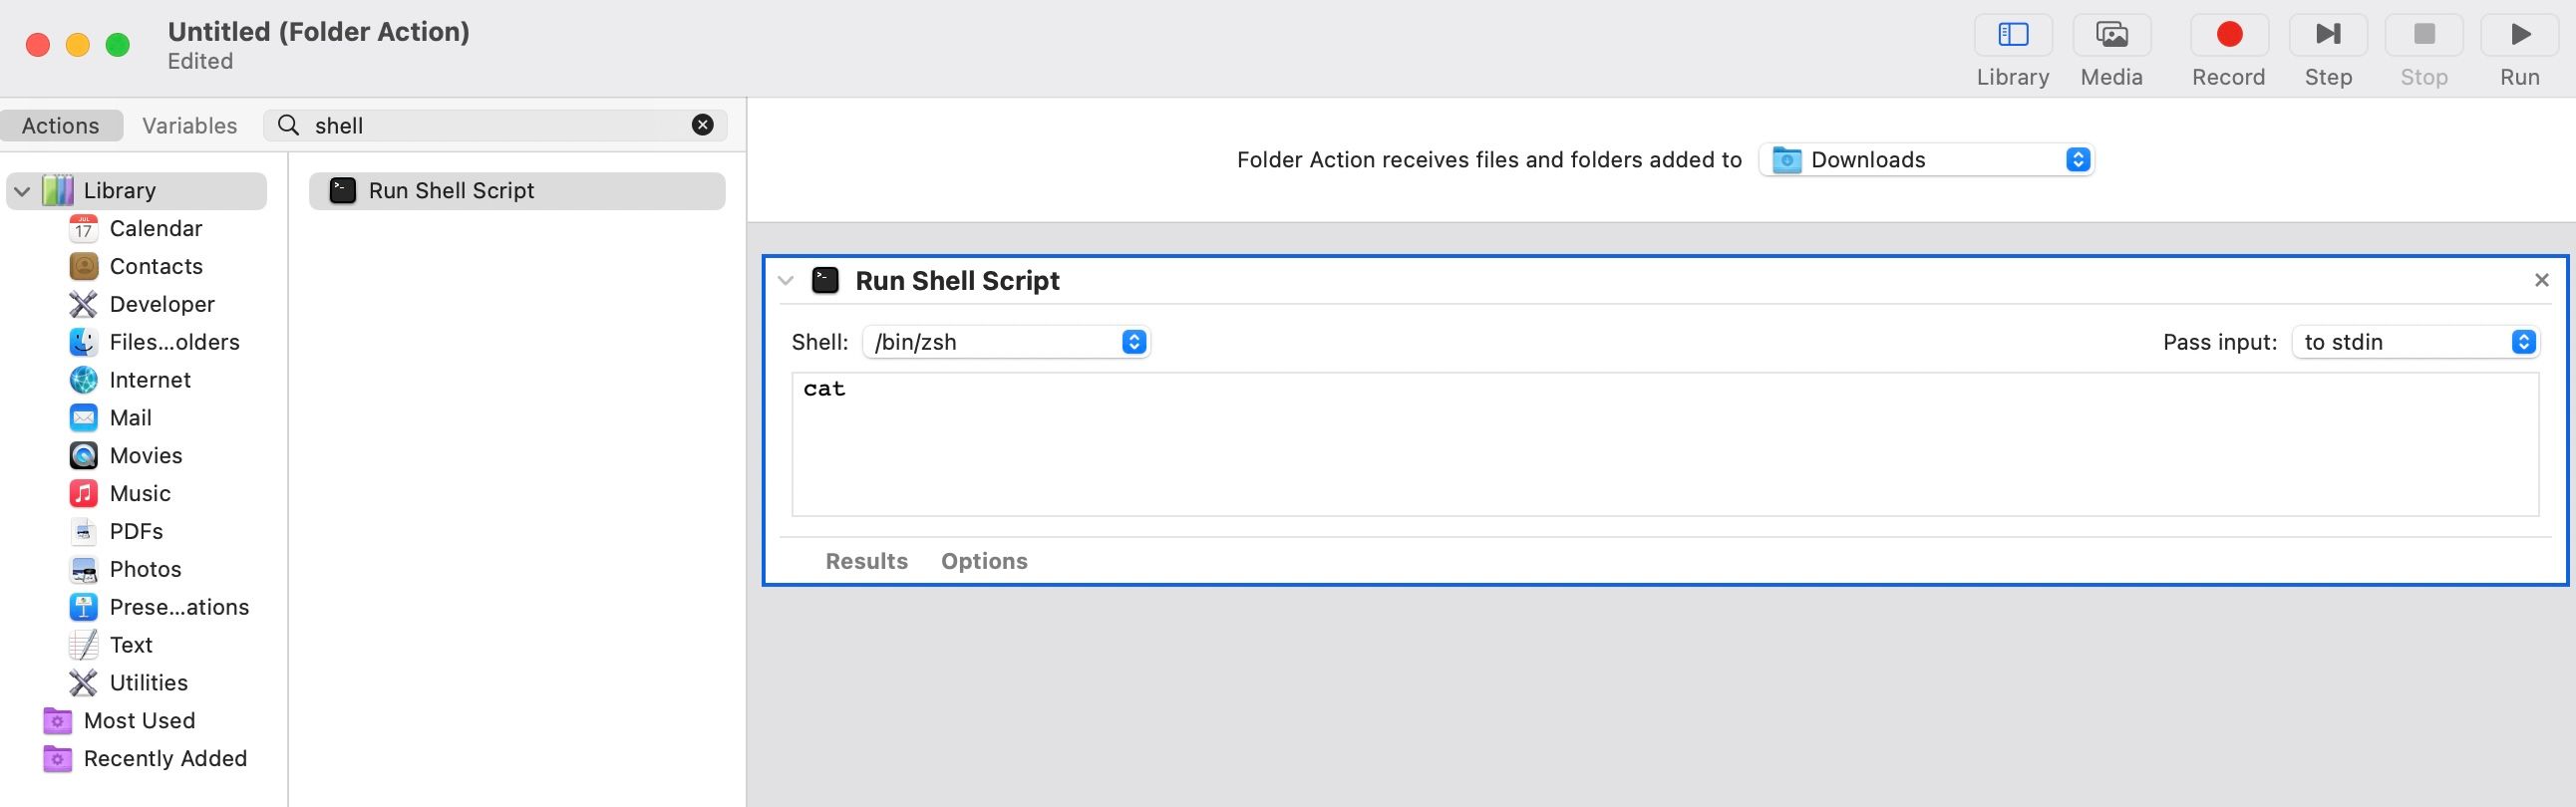
Drag this action to the right-hand pane to add it to the workflow.
you’ve got the option to change it to whatever time frame you like.
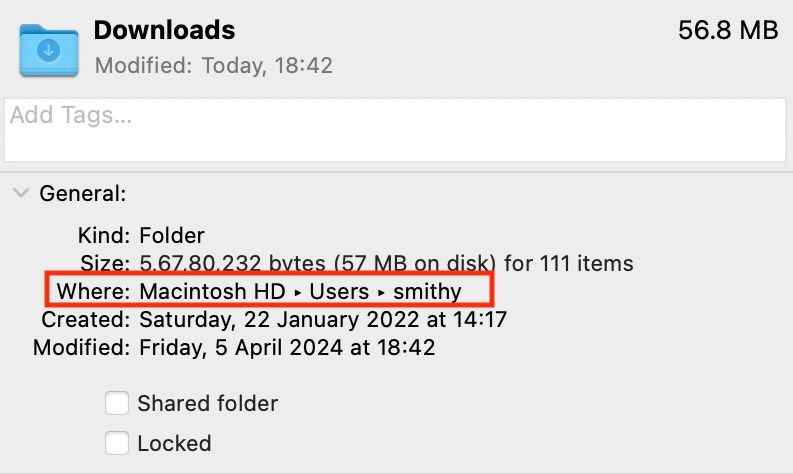
Right-snag the address next to “Where,” and select “Copy as Pathname.”
Finally, paste it into the command in Automator.
Remember to ensure that /Downloads is on the end of the path.
Now, smack the “Run” button in the Automator window to fire off the workflow.
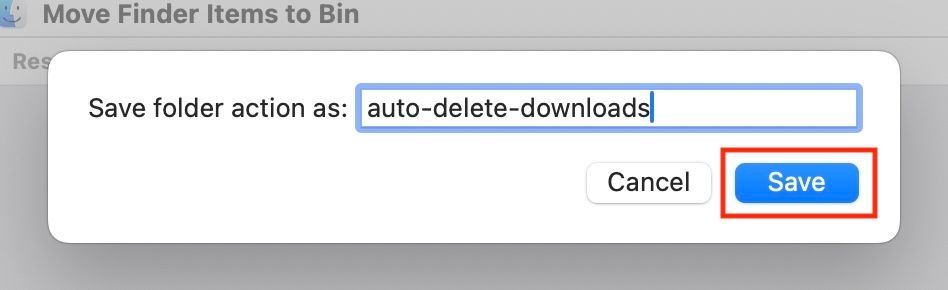
Finally, tap on File > Save or press Command+S.
Then, name the Folder Action and click “Save.”
macOS saves all your Automator Folder Actions under the “~/Library/Workflows/Applications/Folder Actions/” path.
However, you’re able to avoid this by automatically emptying your Trash every 30 days.