Here’s how to burn videos to a playable disc on Windows and macOS.
The programs in this tutorial are no exception.
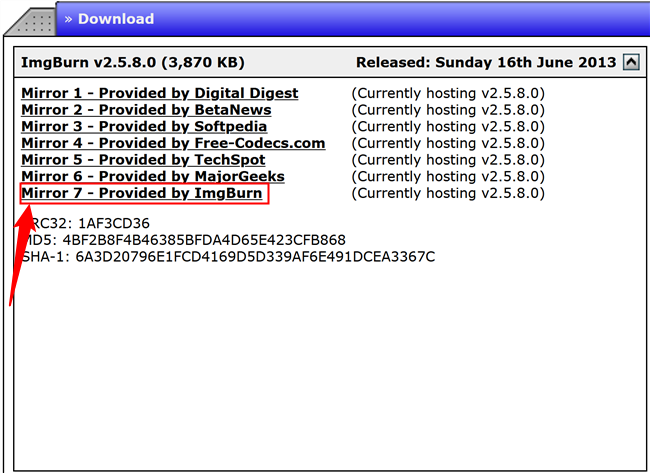
you should probably exercise caution any time you see tons of download buttons all over a page.
Sinisa Botas/Shutterstock.com
We recommend that you use the ImgBurn mirror.
once you nail everything you need, skip to the section for your platform to start burning.
It will then pass that converted video to ImgBurn to burn it to a disc.
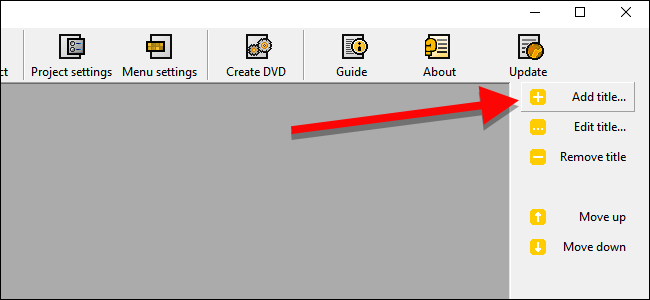
To get stared, open up DVD Flick and click “Add title”.
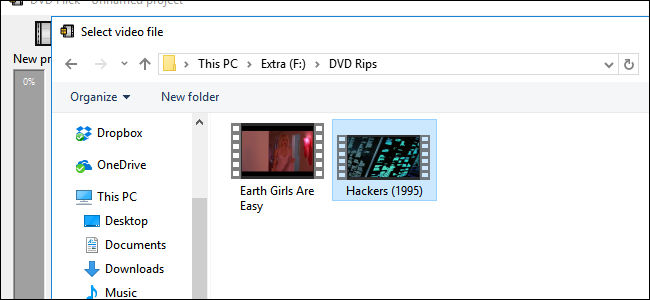
Choose the video file you want to burn to a disc.
DVD Flick supports a huge number of video and audio formats and containers.
you’ve got the option to seethe full list hereif you want to double-check your file is compatible.
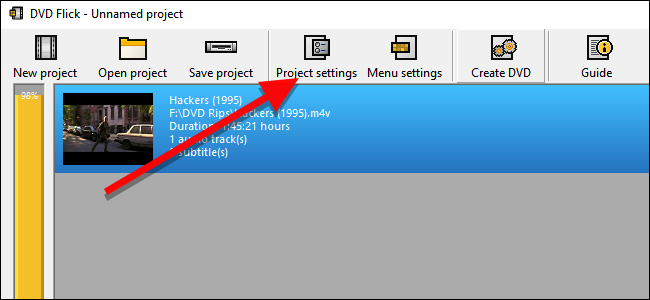
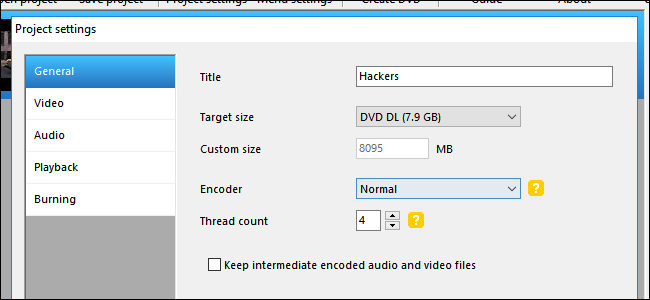
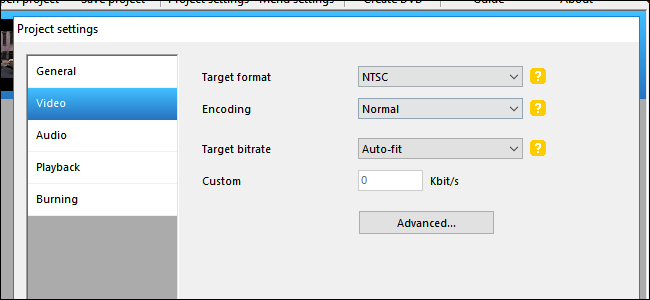
Next, click “Project parameters” to tweak a couple important video parameters.
On the General tab, give your disc a title.
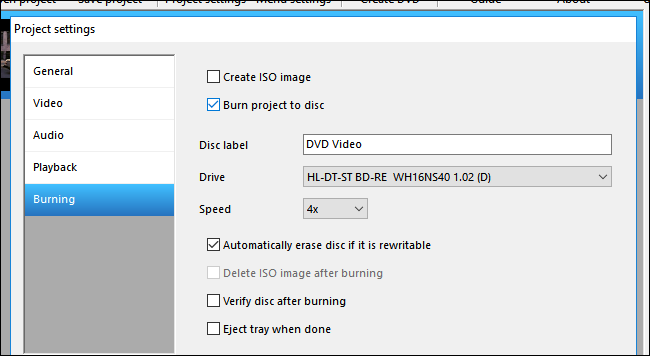
Finally, on the Burning tab, check the box marked “Burn project to disc.”
you could also choose the speed at which you want to burn your DVD.
If you want to be extra careful, check “Verify disc after burning.”
This willrun a series of checksto confirm your disc works properly after it’s done burning.
When you’re done, click Accept.
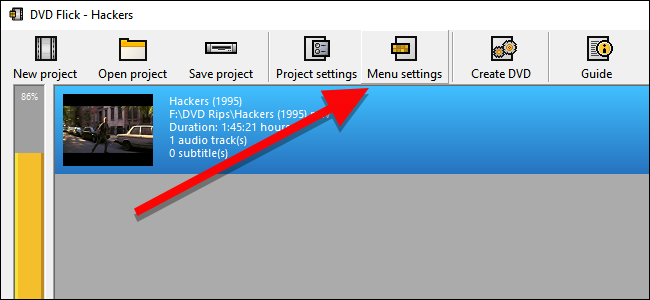
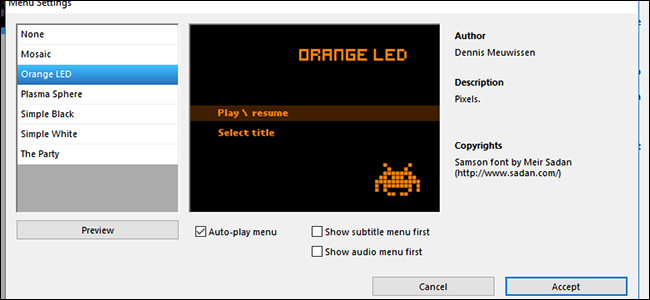
After this, you’ve got the option to tweak the DVD menu that DVD Flick will add.
To change these, click Menu options.
On this screen, you’ll see a small selection of DVD menus to choose from.
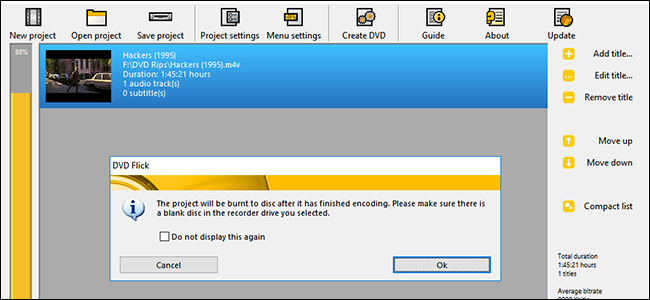
Once you’re ready, click Create DVD to start the conversion process.
After DVD Flick is done converting your video and adding the menus, ImgBurn should open automatically.
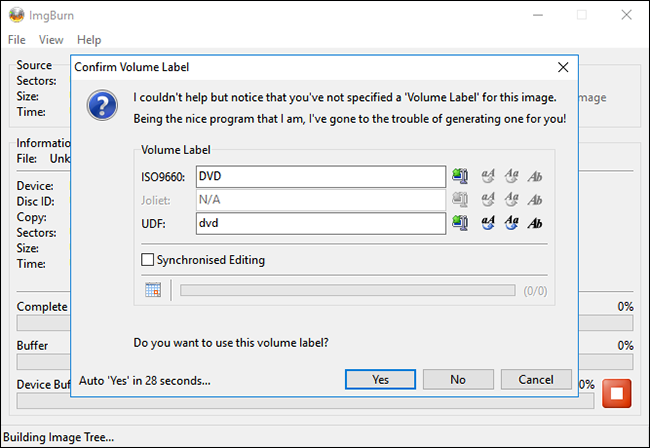
It will ask you to confirm a couple of options.
First, ImgBurn will ask you to confirm your DVD label.
If you don’t answer this box within 30 seconds, ImgBurn will use the default label.
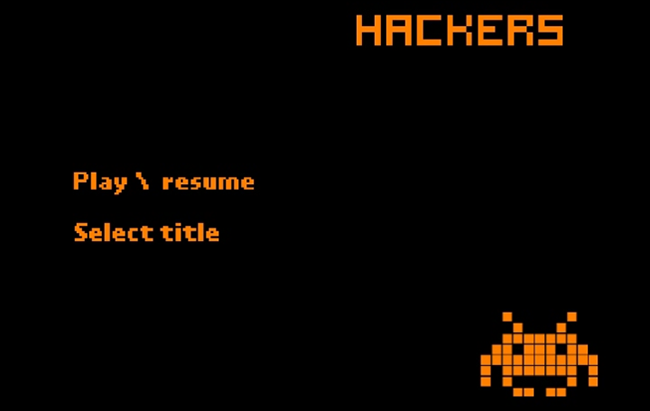
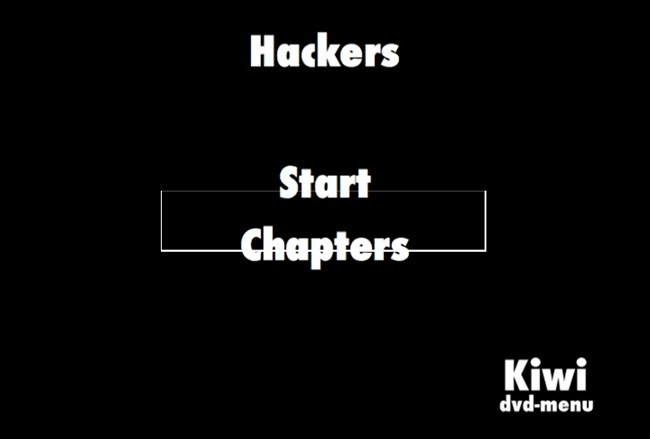
Pop your disc into any DVD player and you should see the menu you chose on the screen.
Click “Play/resume” to start your movie.
You only need one system, appropriately named Burn,which you might download here.
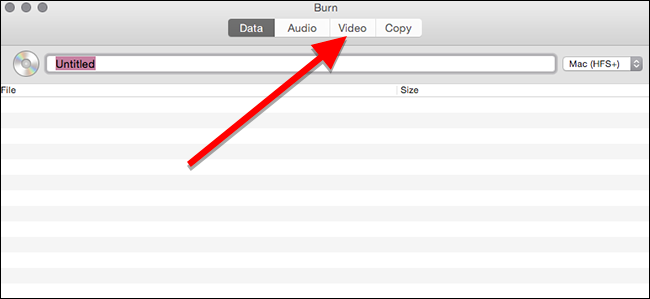
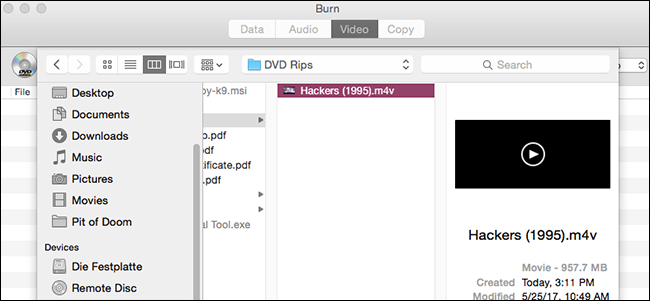
Once it’s installed, open up the app and hit the Video tab along the top.
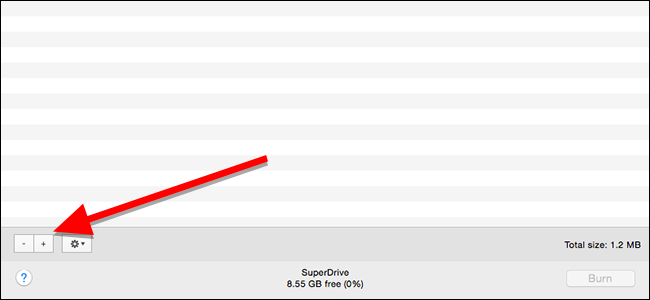
At the bottom of the window, poke the plus button to add a video file to your project.
In the window that pops up, choose the movie you want to burn and click Open.
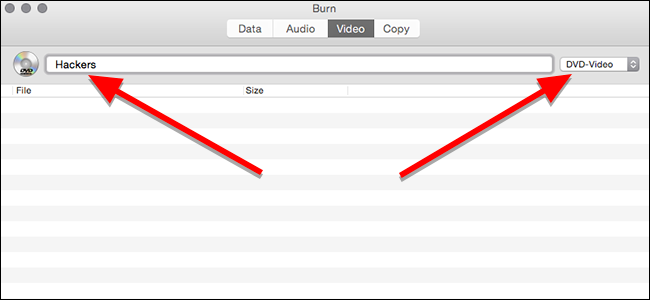
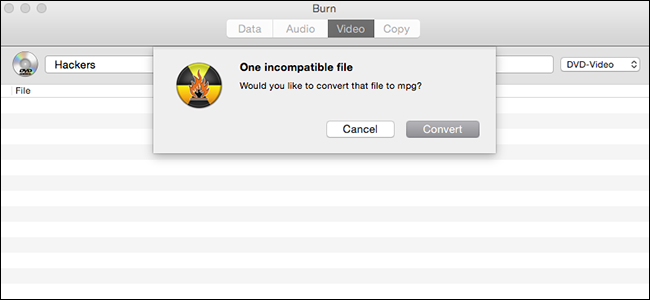
Technically, DVDs must be in aVIDEO_TS and AUDIO_TS folder format.
Your videos are probably not in this format already, so Burn will offer to convert them for you.
Click Convert to start this process.
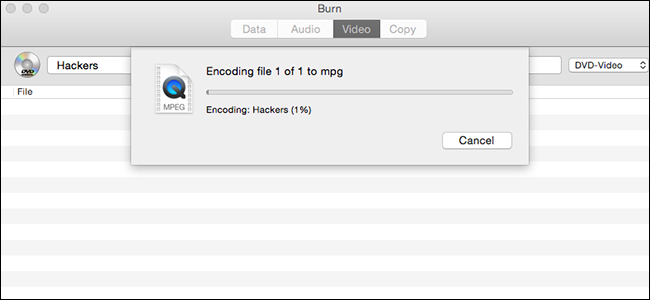
You’ll be asked to choose somewhere on your hard drive to (temporarily) store the video files.
Burn will show you a progress bar while it’s converting.
Grab a snack, this may take a little while.
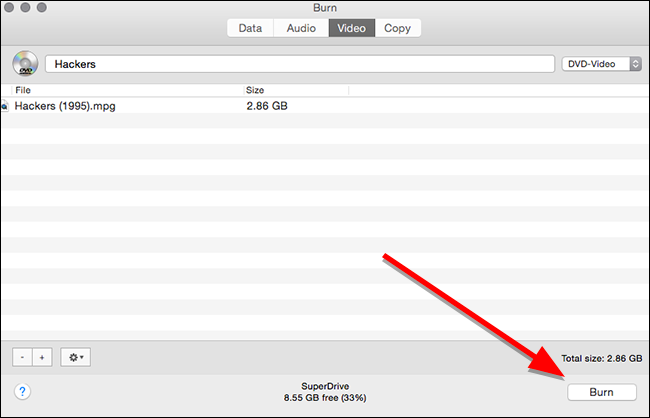
Once it’s done, you’re able to burn your video to a disc.
Once the conversion is done, your movie will show up in the list of files to be burned.
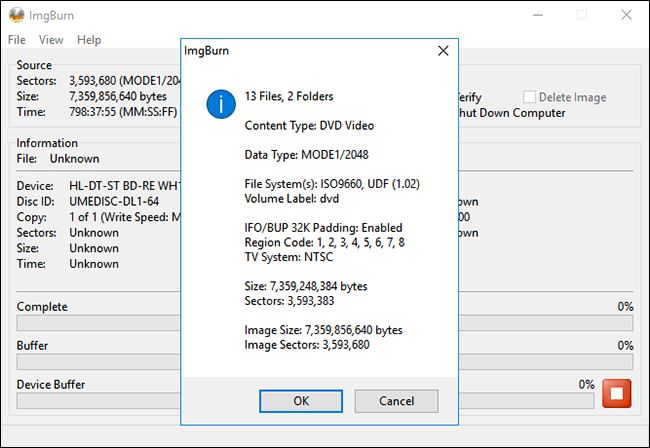
Remember, single layer DVDs max out at 4.7GB, but dual layer DVDs can store up to 8.5GB.
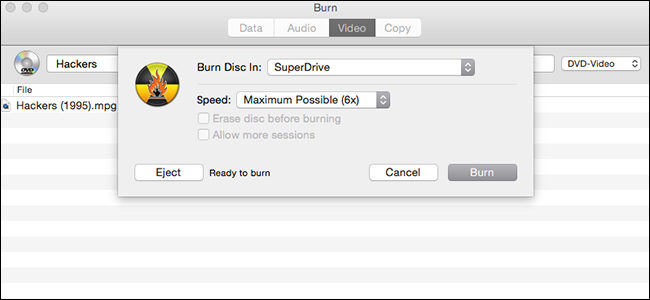
When you’re ready, put a blank disc in the drive and click Burn.
While you might customize the speed, it’s probably best to go with the recommended options.
Just to be safe, stick with the recommended defaults and click Burn.
opt for track you want to watch to play the movie.
As you’ve got the option to see, the menu isn’t perfect.
Otherwise, the movie plays just like any other DVD you’d buy from the store.