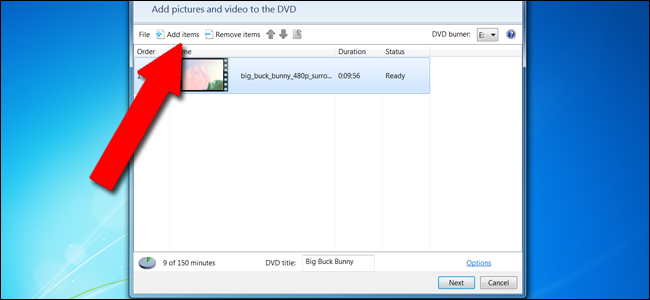
Step One: Load Your Media
Open your DVD drive and insert a blank disc.
Any pop in of burnable DVD (DVD-R, DVD+R, DVD-RW, etc.)
should work, as long as your DVD burner supports it.
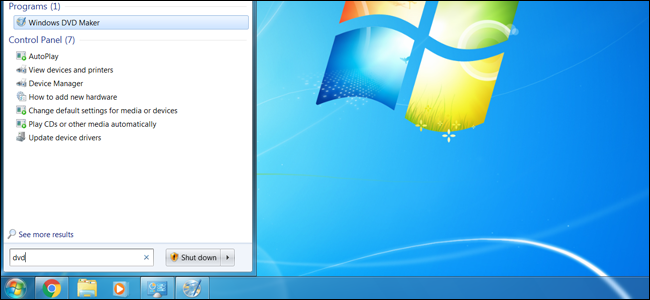
nudge the Start button, then punch in “dvd.”
“Windows DVD Maker” should be the first result—click it to launch the program.
From the introductory screen, you might add photo and video files to the DVD storage and menu system.
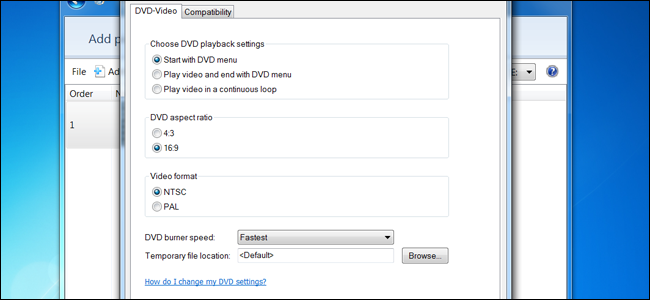
Step Two: Set Your Technical Options
Click “Options” in the lower-right hand corner.
Click “Next” in the main window.
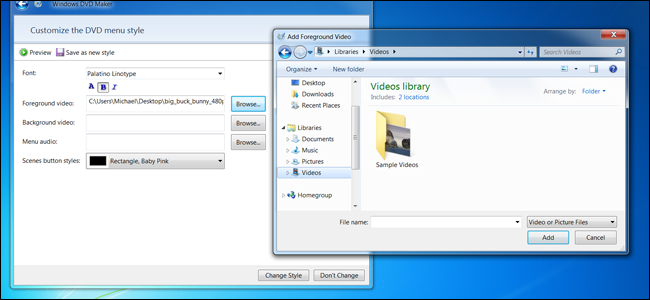
None of this is particularly important, it just lends a little extra flair to the presentation.
Standard styles can be selected from the scrolling box on the left.
“Customize Menu” allows you to modify the video that automatically plays behind the menu options.
Styles can be saved for use in later projects.
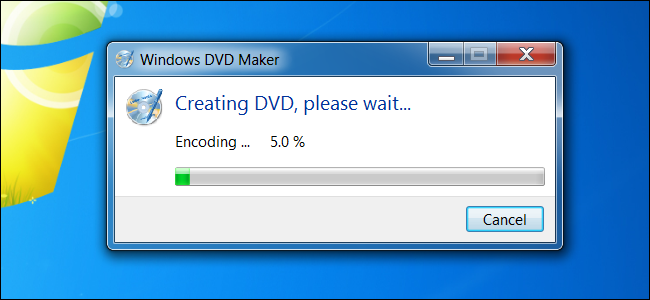
Step Four: Burn, Baby, Burn
When you’re ready, click “Burn.”
Image credit:Geoffrey Fairchild/Flickr