Here’s how you’re free to use the registry to change Windows 11’s system font.
Carelessly deleting keys or modifying values can break Windows 11.
If you carefully follow our instructions, you’ll be just fine.

That means we’ll have to modifythe Windows Registry.
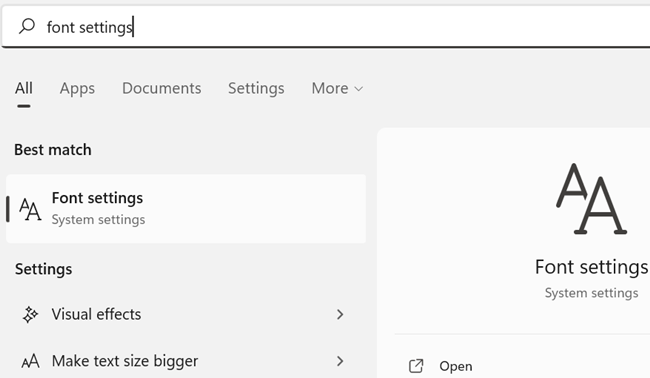
Scroll down in the fonts window until you find it, then note the name.
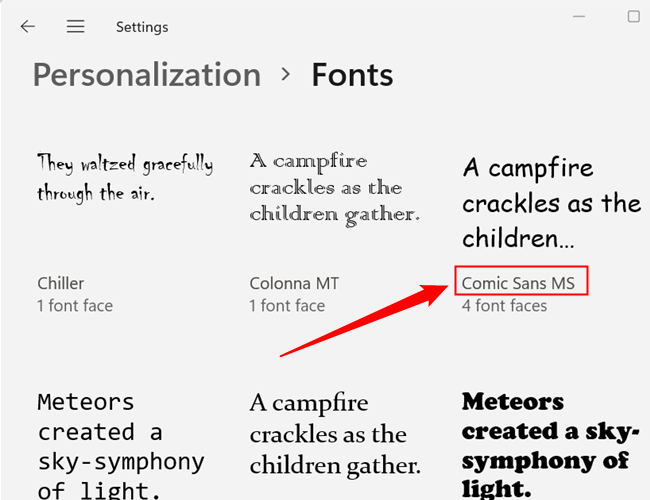
Let’s say for example we want to use the most controversial font in the world: Comic Sans.
The proper name is “Comic Sans MS” in our example.
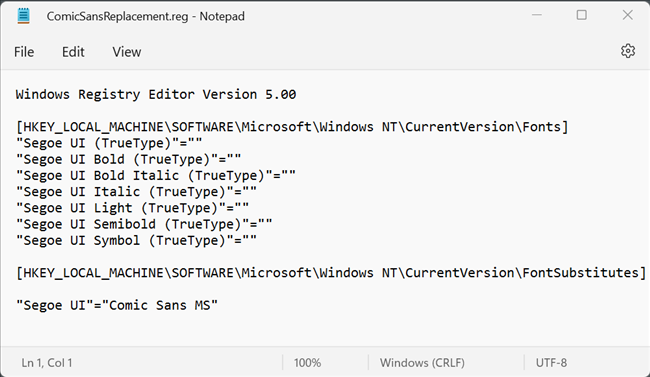
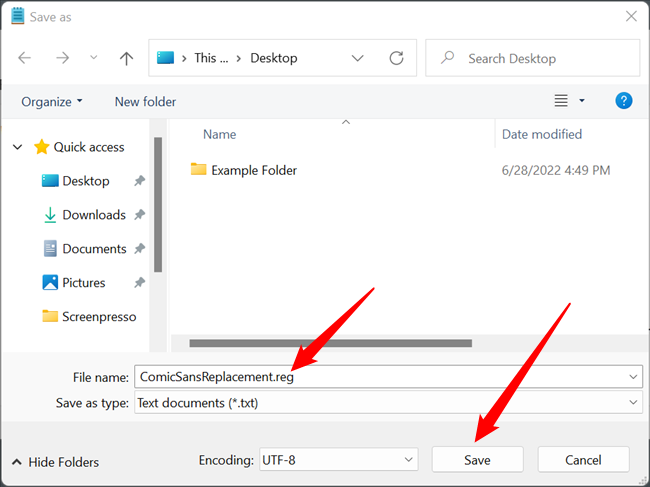
Create the REG File
You’llneed a plain text editorfor this step.
Notepad will do just fine if you don’t have any specific program you want to use.
Click “Save,” and you’re done.
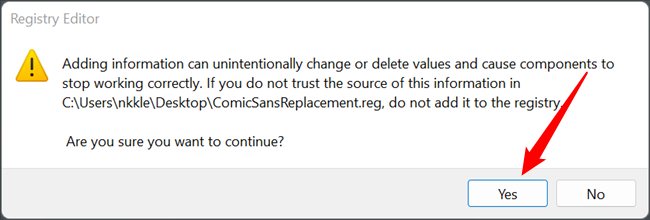
You’ll get a warning popup that using an untrustworthy REG file can harm your rig.
Generally, you shouldn’t trust random REG files you find on the internet without checking them first.
Go ahead and click “Yes,” then start your PC.
When it finishes restarting, you’ll be using a new default system font.
Of course, you aren’t permanently stuck with the new font once you change it.
you’ve got the option to easily change it back at any time.
launch the REG file, click “Yes” at the warning, and then reset your PC.
Your system font will be back to normal.