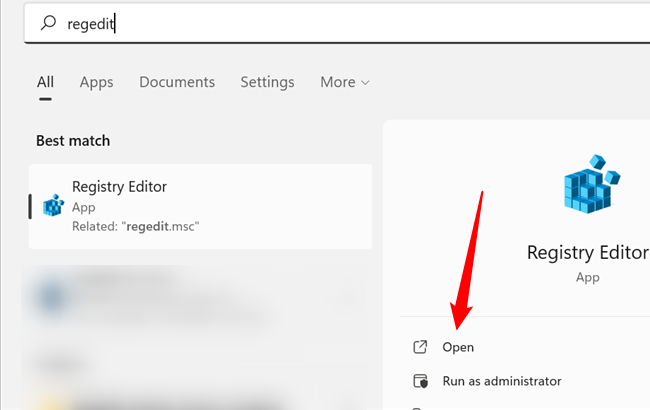
You’ll need to edit the registry to switch on the timeout controls in Windows 11.
Here’s how to edit the registry.
The most similar controls are the display timeout controls when your PC is not locked.
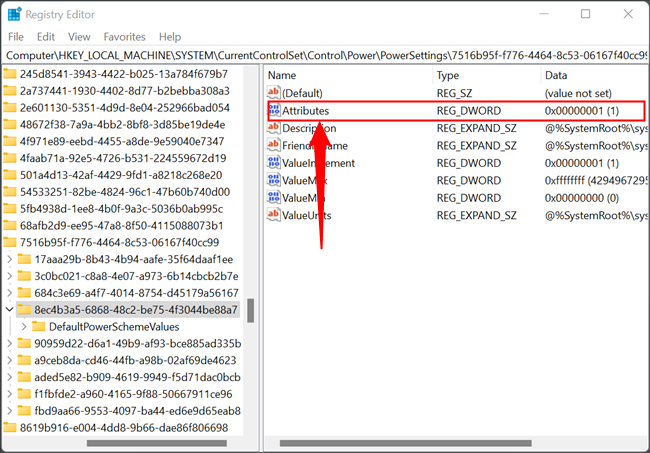
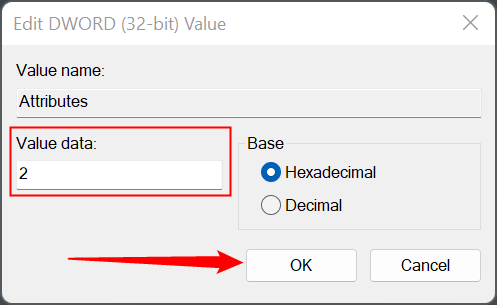
Double-poke the DWORD named “Attributes” to modify its value.
If you ever want to turn off the option, just change the value back to 1.
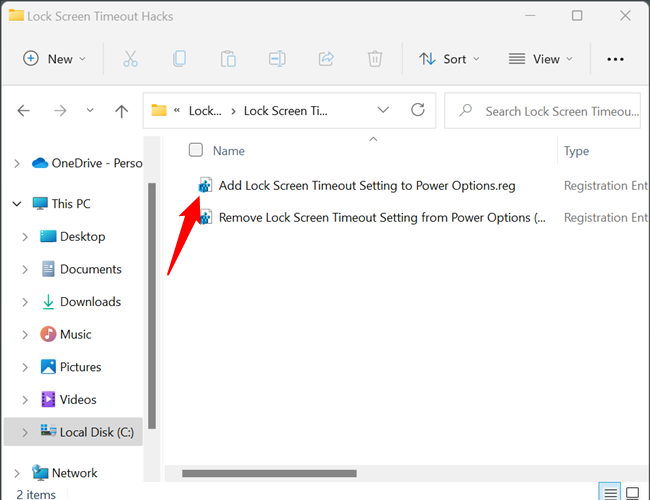
REG files just apply preset changes to the Windows Registry based on the contents of the file.
The change to the registry will take effect immediately.
Double-click “Remove Lock Screen Timeout Setting From Power Options.reg” to deactivate the lock screen timeout option again.
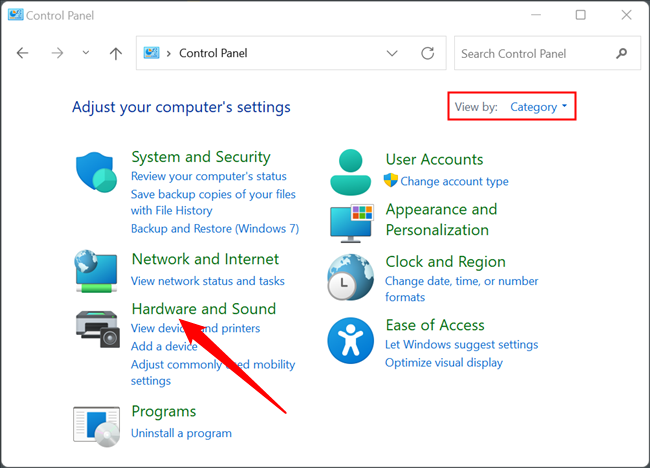
Click “Hardware and Sound” if your Control Panel is set to “View By: Category.”
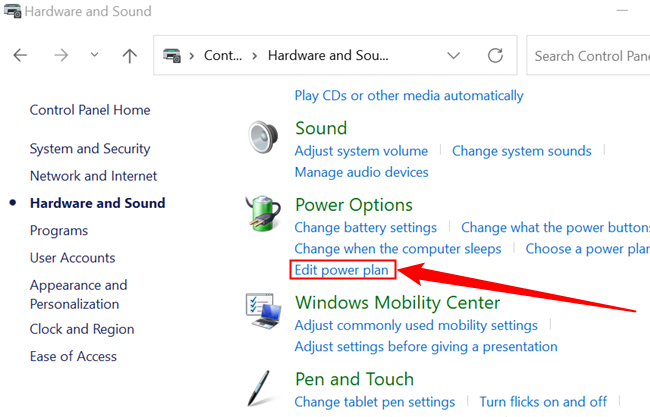
Click “Change Advanced Power parameters” near the bottom.
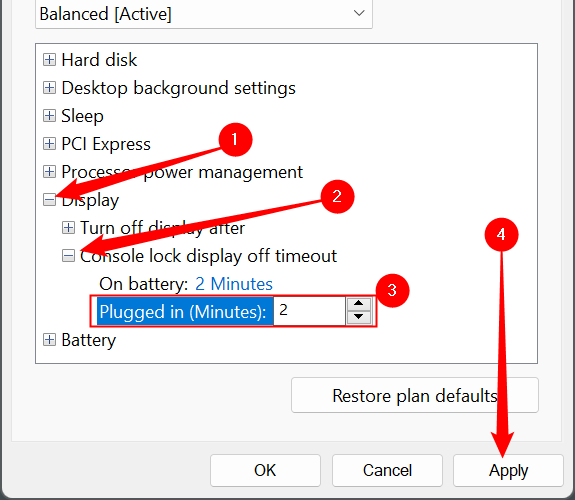
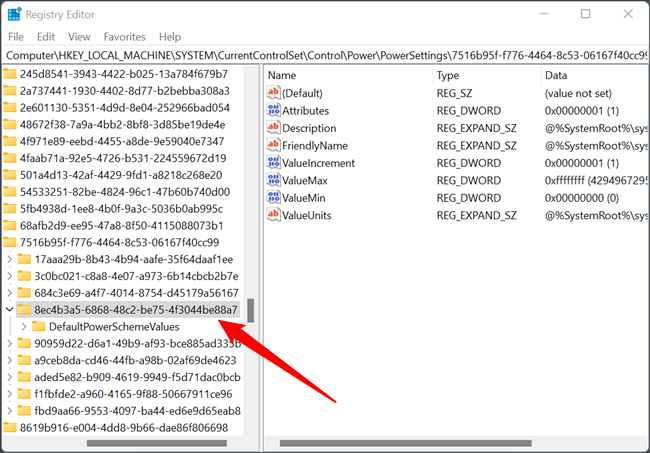
you better navigate to Display > Console Lock Display Off Timeout.
Then adjust the timeout for both “Plugged In” and “On Battery.”
There are a few important things to be aware of here.
Just adjust the option you have.
Additionally, the timeout you set will be slightly wrong.
If you want to suspend the timeout entirely, just enter 0.
If you need longer, you’ll have to wait for an update from Microsoft.