Fortunately, navigating between keyboard layouts and typing in your desired language is a breeze on Windows 11.
This will become the default language for your box.
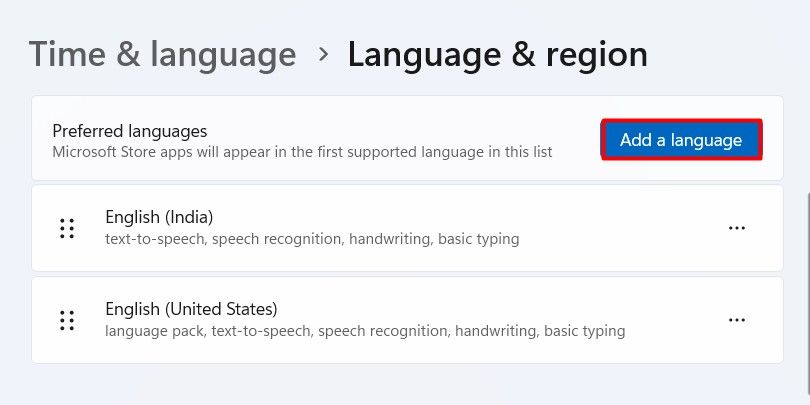
hit the “Add a Language” button.

Justin Duino / How-To Geek
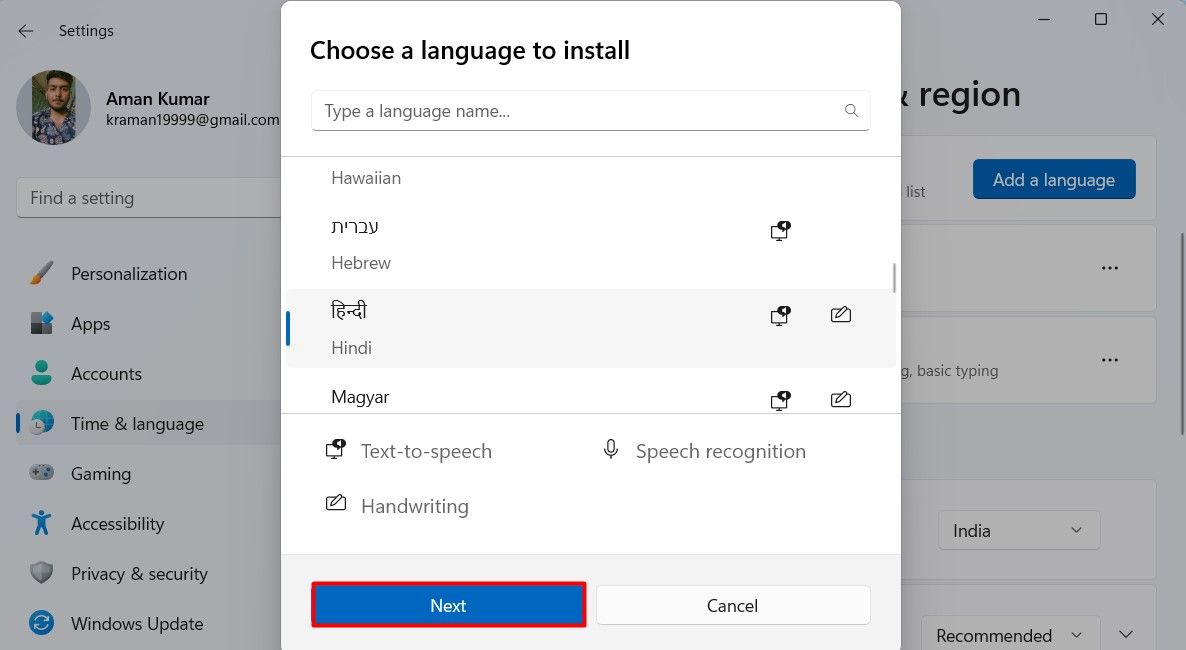
Choose the language you want to install and then smack the “Next” button.
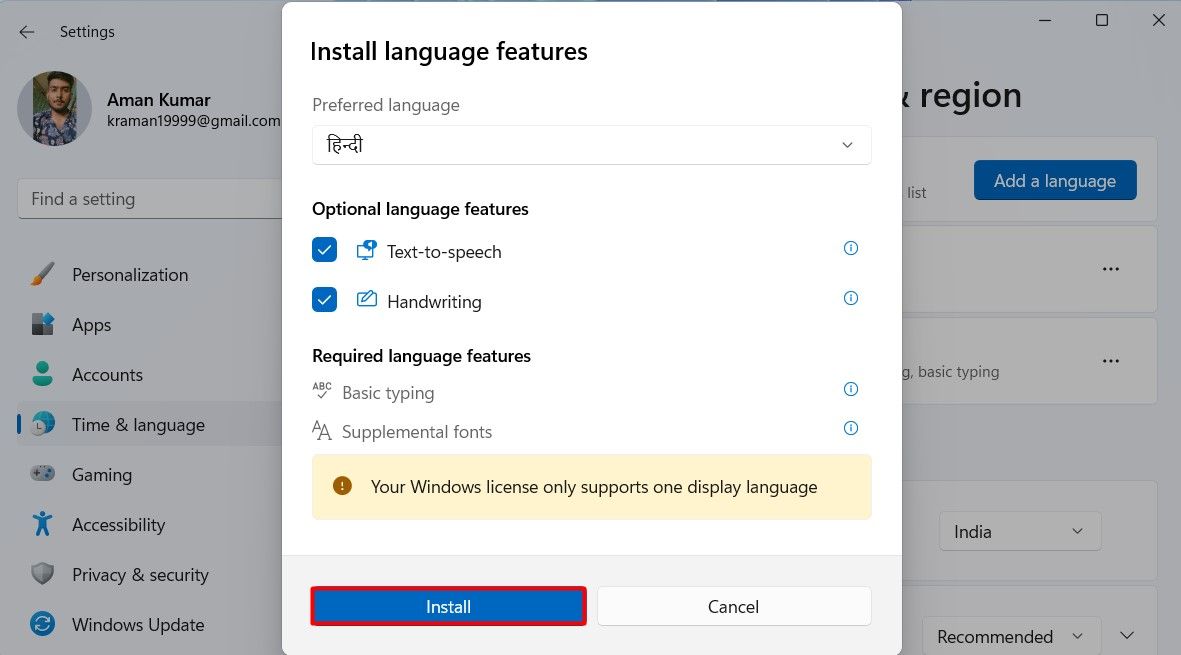
Click “Install” to begin the installation process.
Once your language is installed, you’ll see it listed under the Languages section.
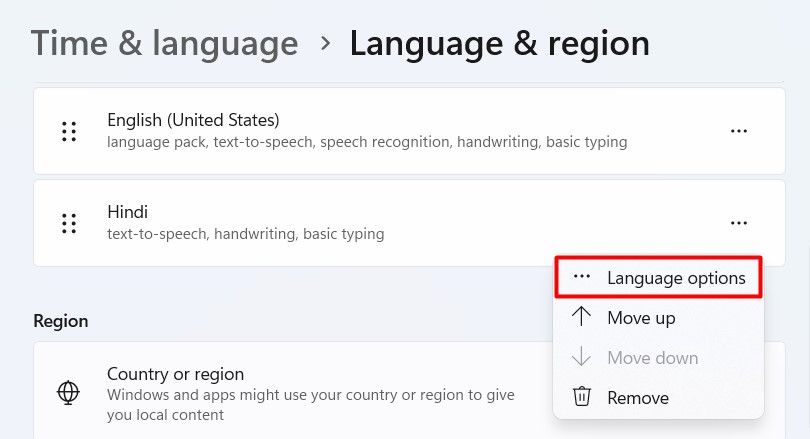
However, the default layout for your language might not always be the best option for you.
opt for three dots next to your language and select “Language Options” from the menu that appears.
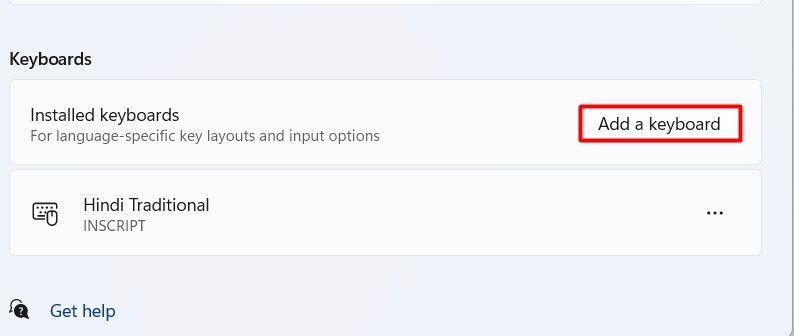
opt for “Add a Keyboard” button next to Installed keyboards.
Choose the layout of your choice to install it.
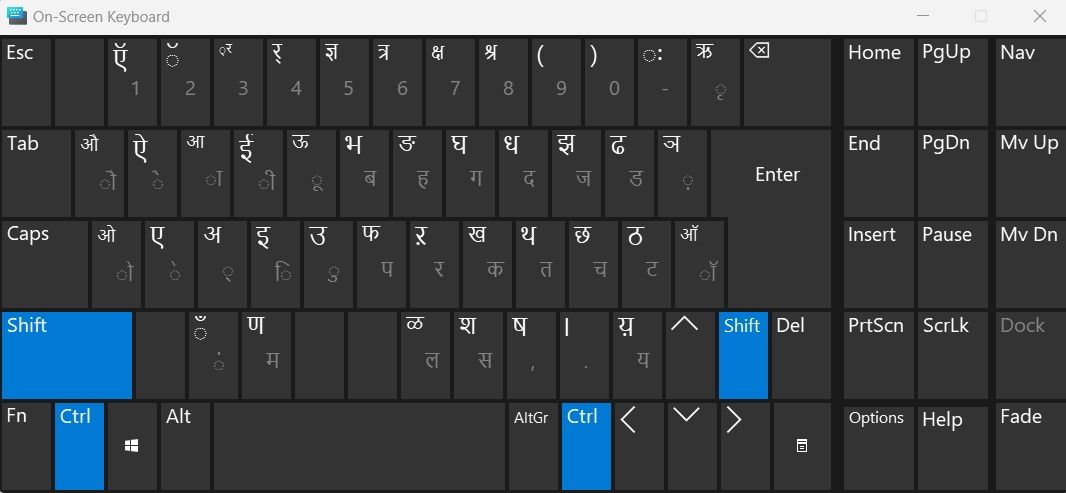
You canuse the on-screen keyboardto see how the selected layout will work on your system.
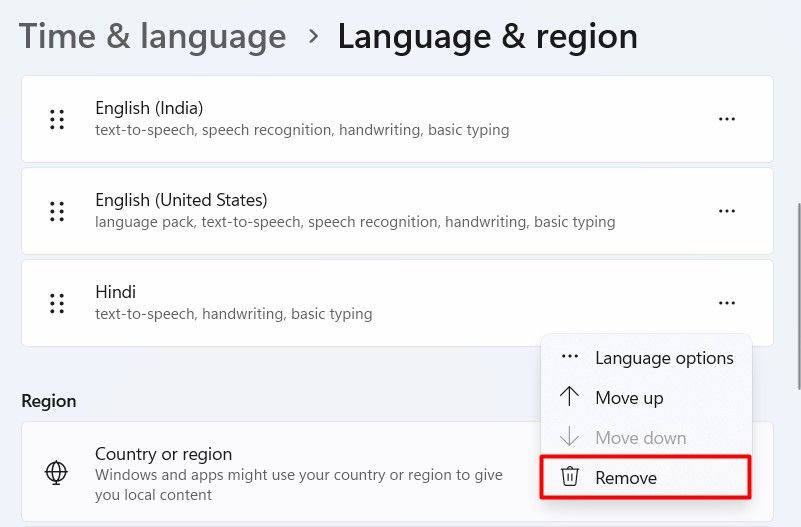
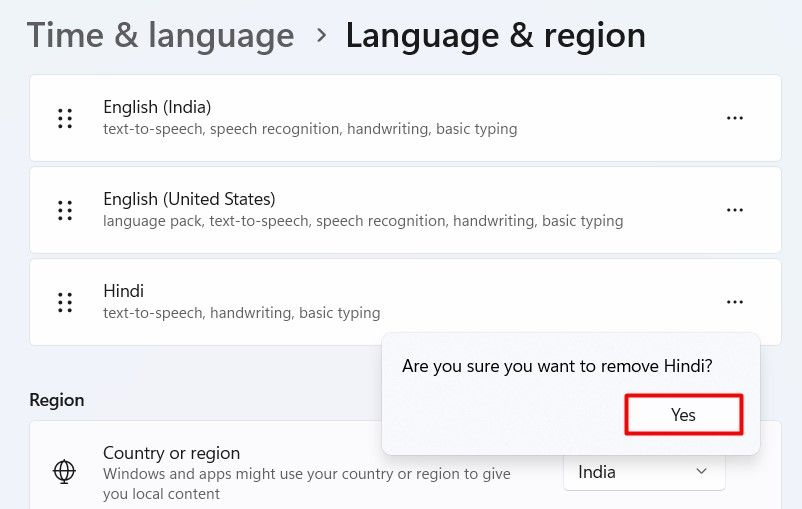
A prompt will appear asking you to confirm whether you want to remove the selected language.
Click “Yes” to confirm.
The selected language is now removed from your machine.
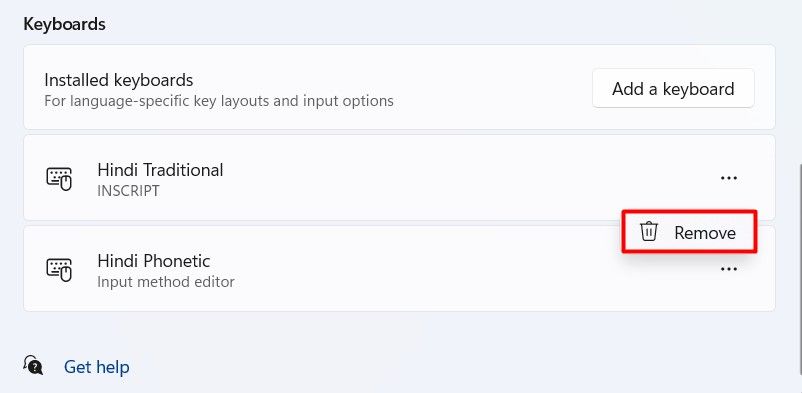
As we mentioned before, a language can have multiple keyboard layouts.
This was everything you needed to know about changing your keyboard language and layout on Windows 11.