In this guide, well show you how to install that plugin and then how to use it.
Step 1.
Ensure Notepad++ Has Plugins Admin
To compare files in Notepad++, youll use a plugin called Compare.
Your Notepad++ installation must havePlugins Admininstalled to add this plugin.
If it doesnt, follow the following steps to make the app plugin-friendly.
On the installers first screen, select “Next.”
Agree to the terms and conditions by selecting “Agree.”
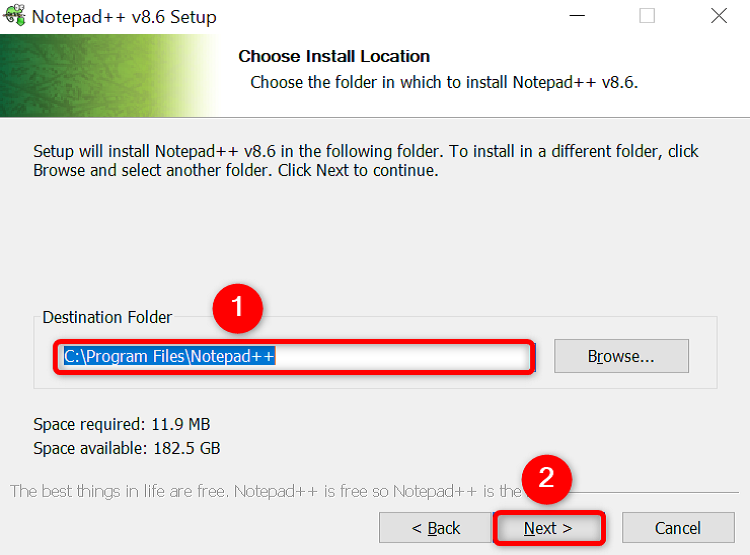
Change the installation path if youd like, then choose “Next.”
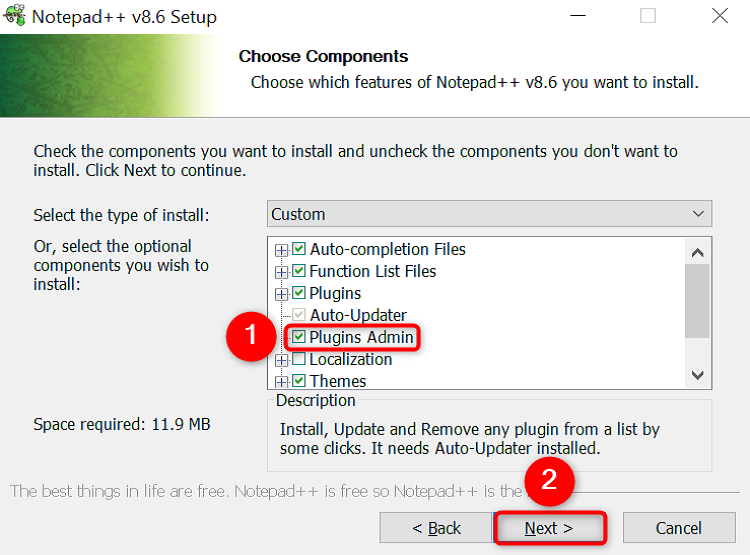
activate the “Plugins Admin” option in the component list on the “Choose Components” screen.
Then, at the bottom, select “Next.”
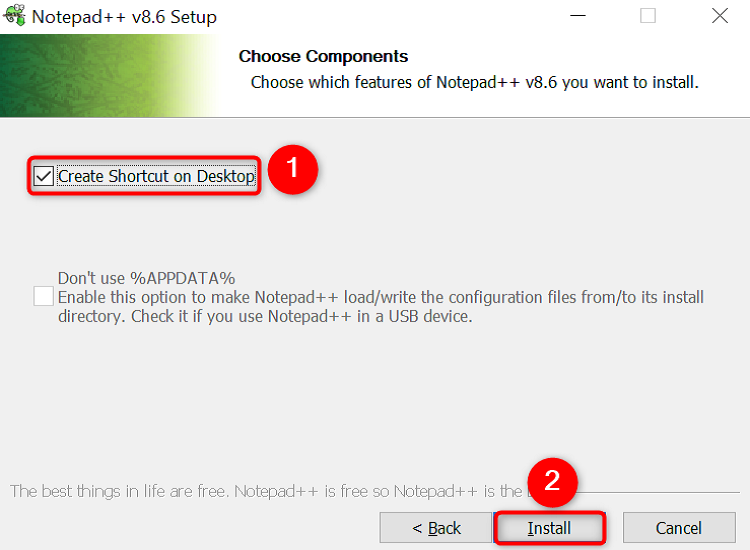
Then, click “Install.”
When youve installed the app, click “Finish.”
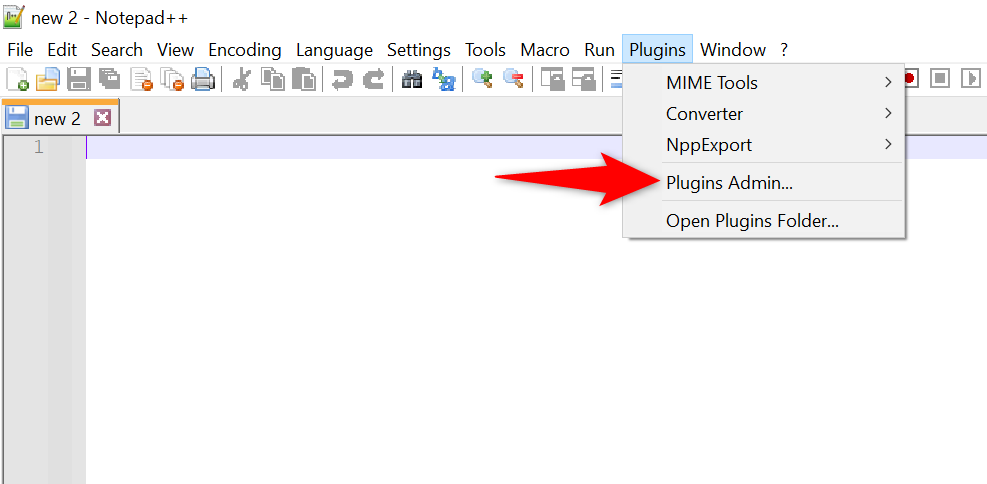
Select Plugins > Plugins Admin from the app’s menu bar.
smack the “Available” tab at the top of the “Plguns Admin” window.
Look for the Plugin section, then find and enable “Compare.”
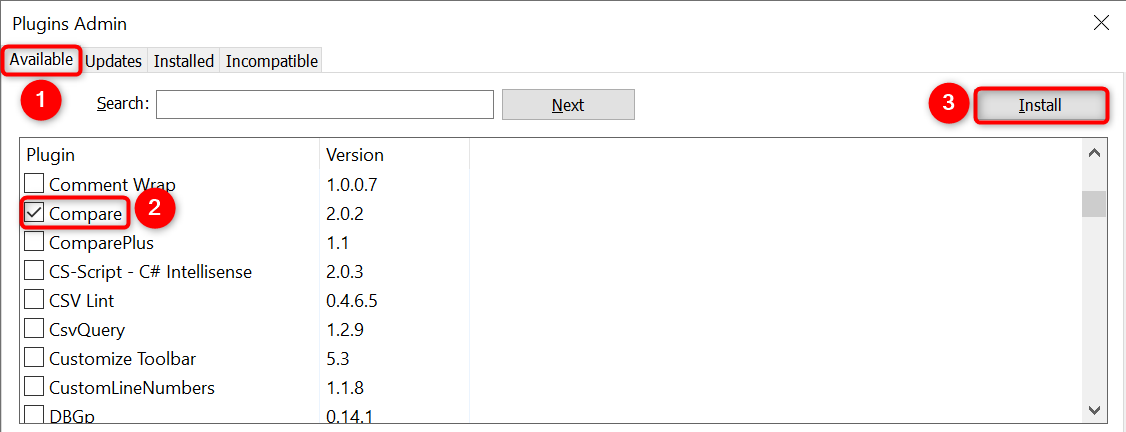
Then, in the top-right corner, click “Install” to plant the plugin.
If youd like to add other plugins, enable those plugins boxes before clicking “Install.”
Notepad++ will display a prompt saying the app will relaunch if you drop in the plugin.
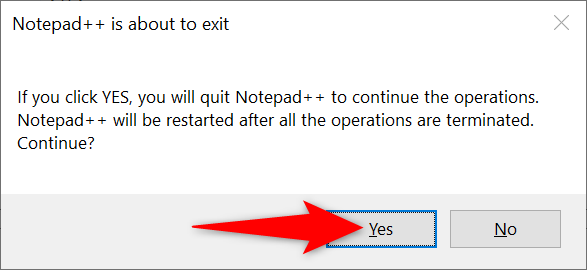
In the “User Account Control” prompt, select “Yes.”
Notepad++ will relaunch with the Compare plugin installed.
Step 3.
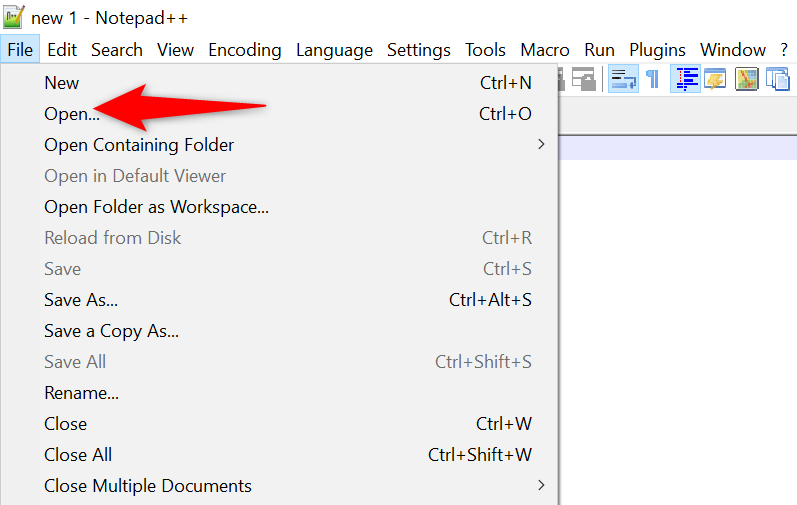
To begin, open both files you want to compare in Notepad++.
Do this by choosing File > Open from the menu bar.
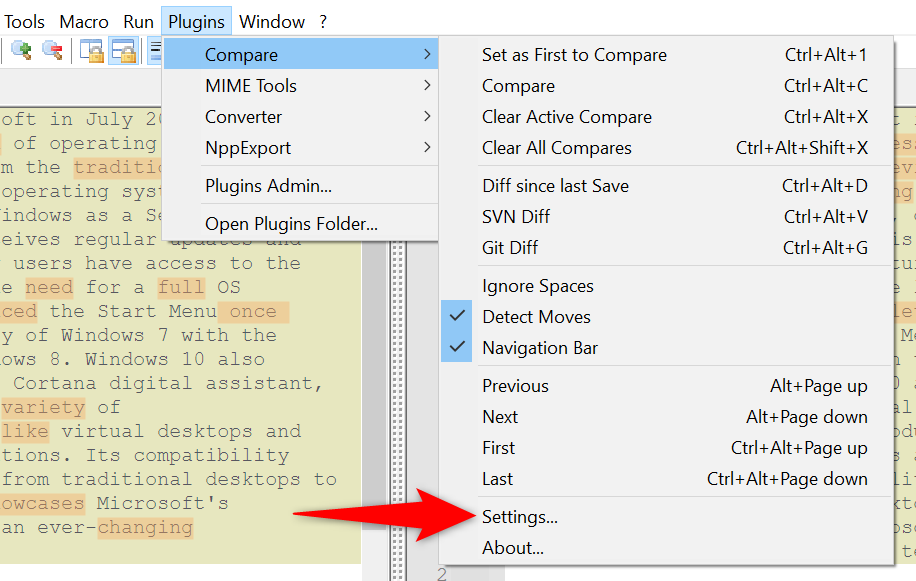
After opening both files, from the apps menu bar, select Plugins > Compare > Compare.
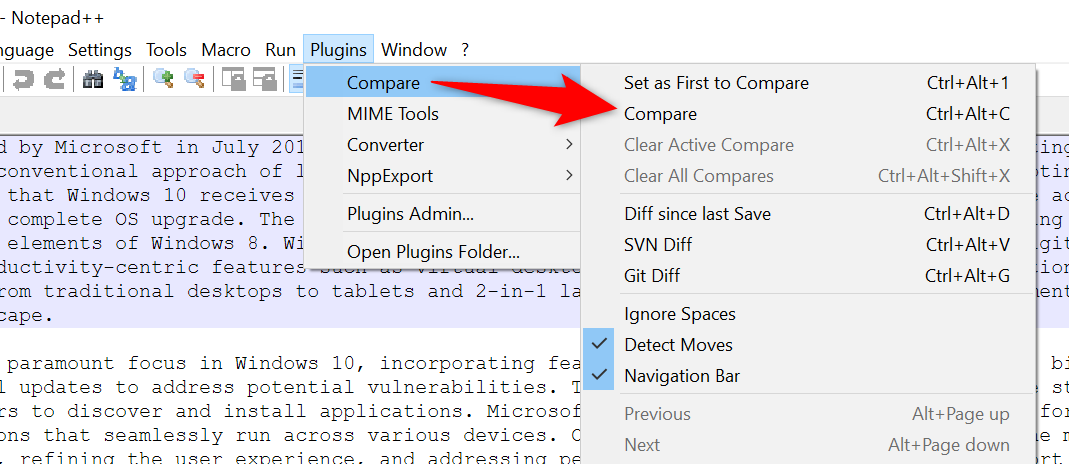
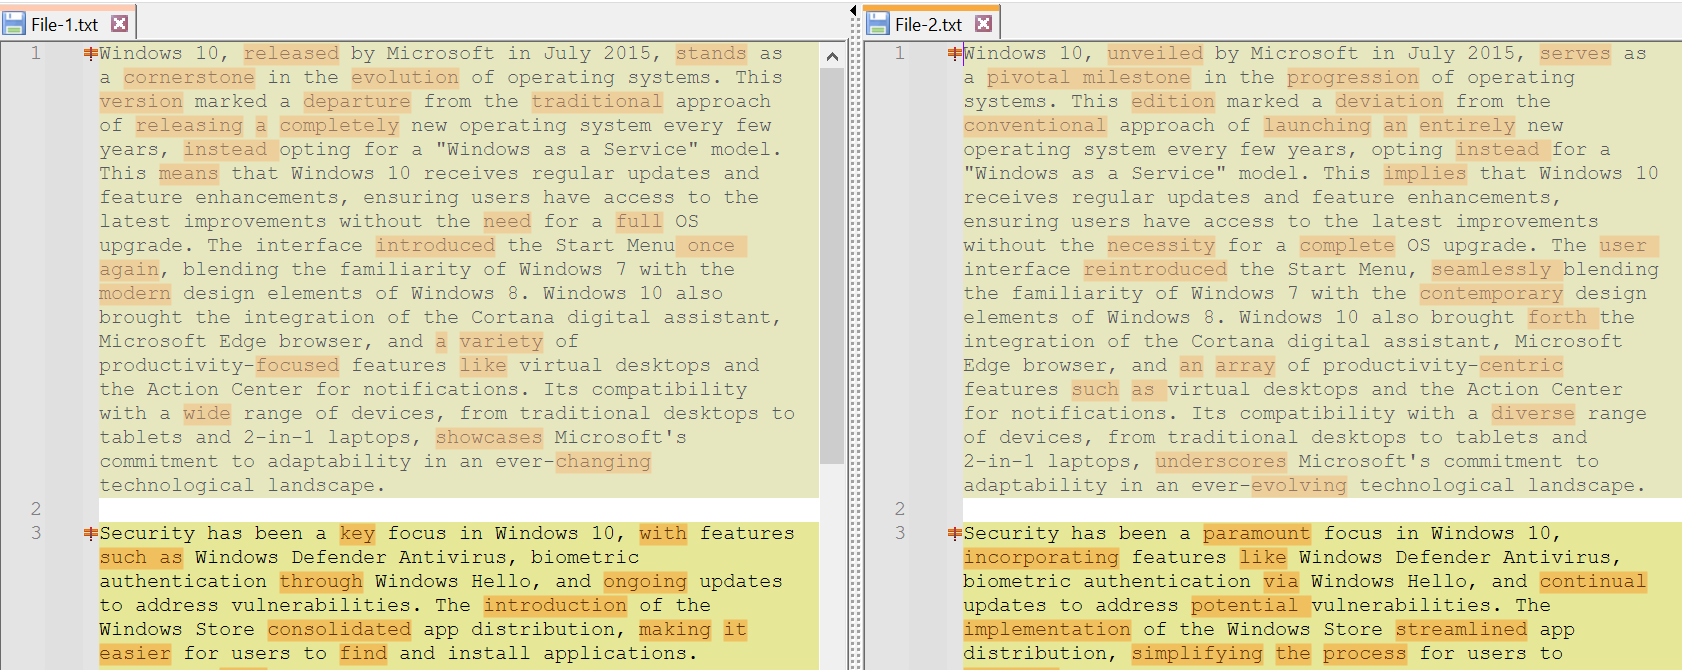
The Compare plugin will do its job, which is to start highlighting the differences in your files.
Youll instantly see your files differences highlighted.
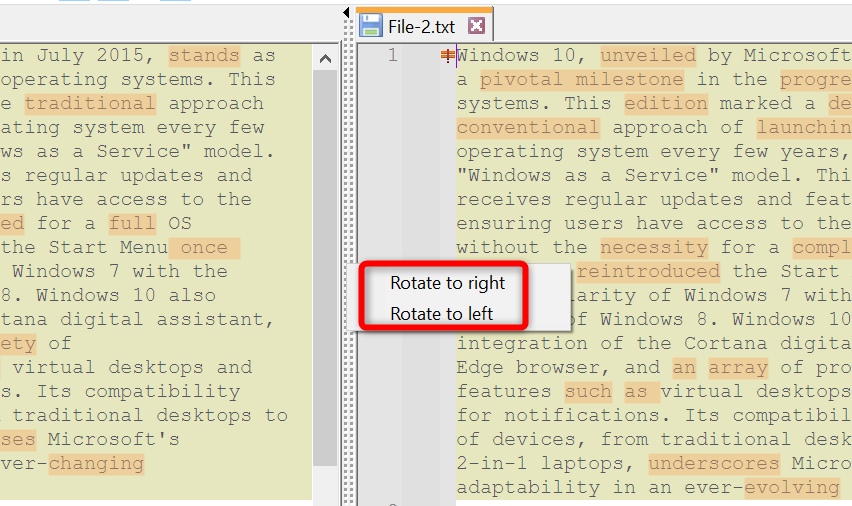
By default, the app shows your files in a vertical view.
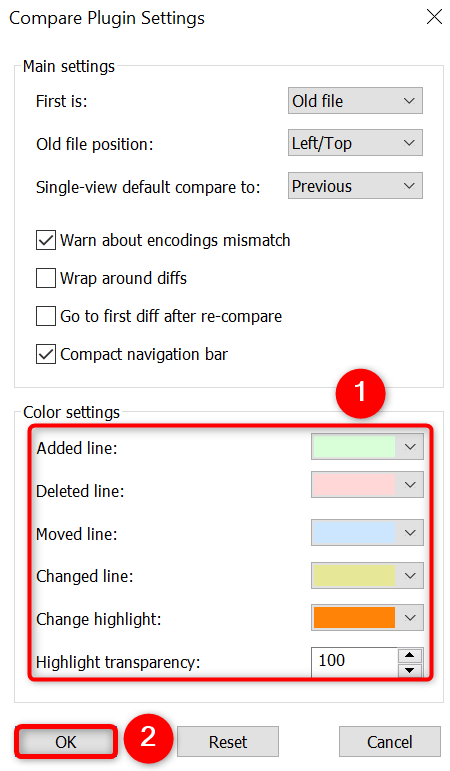
Then, click “OK.” To revert your changes, choose “Reset.”
It shines even more when you start adding plugins.