Office 2007 saw the addition of the Ribbon feature, which some users found confusing.
This allows for quicker and easier document creation.
This process should work in Office 2010, 2013, and 2016.
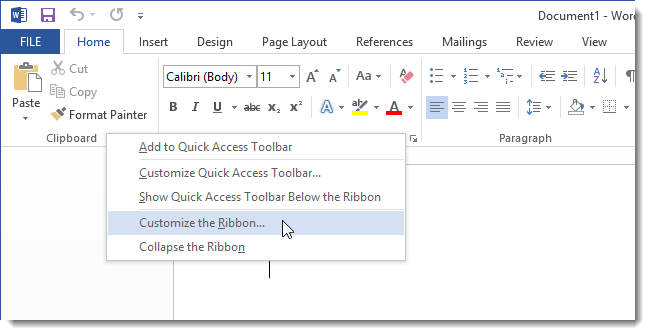
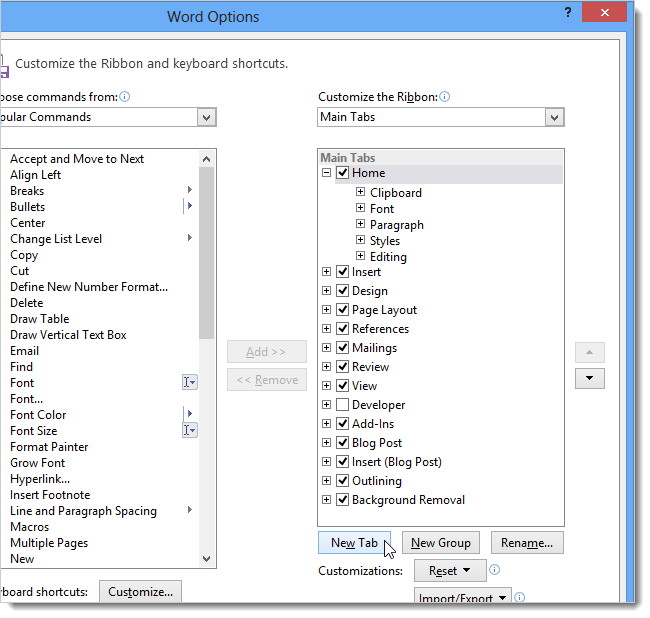
To create a custom tab, right-hit the Ribbon and select Customize the Ribbon.
The Customize Ribbon screen on the Word Options dialog box displays.
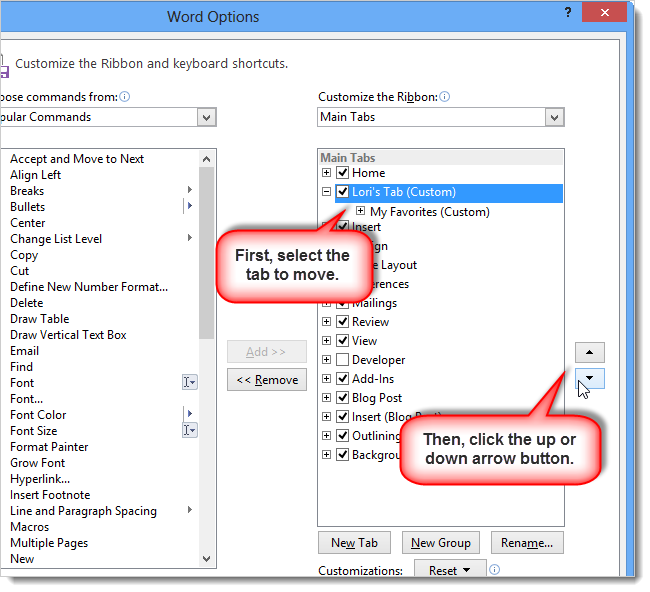
The tabs available on the Ribbon are listed on the right side of the dialog box.
Click New Tab at the bottom of that list.
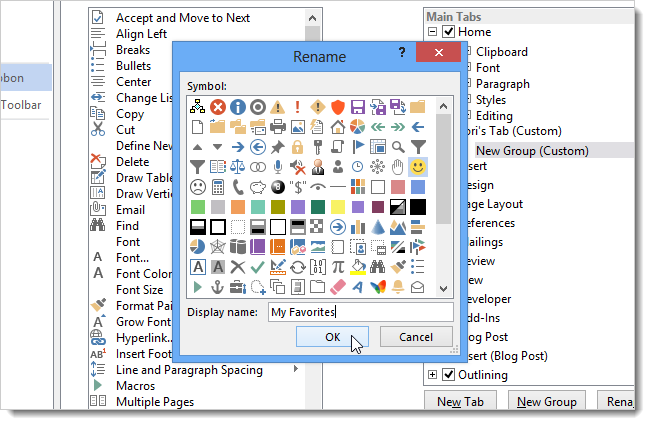
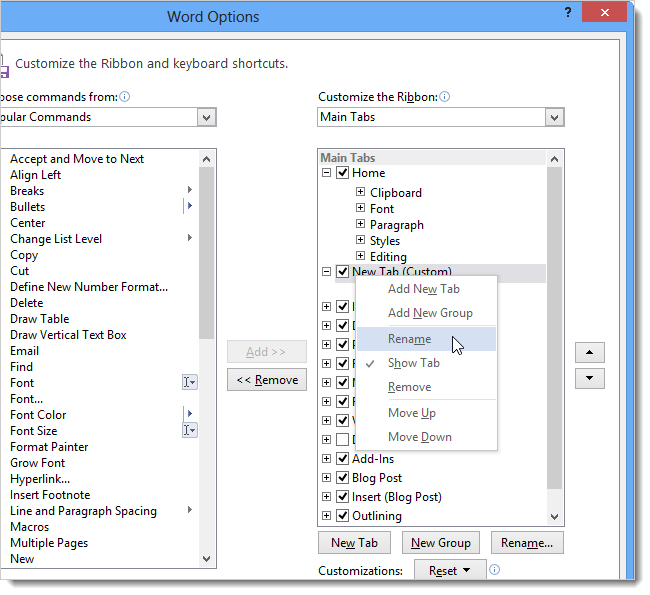
When you create a New Tab, a New Group is automatically added.
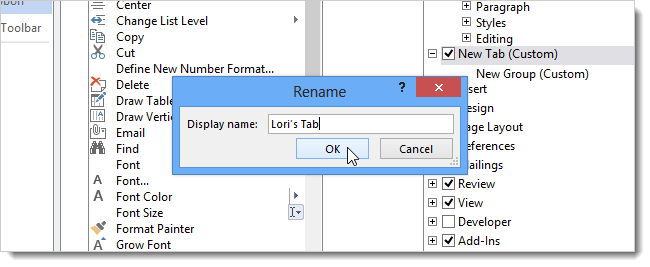
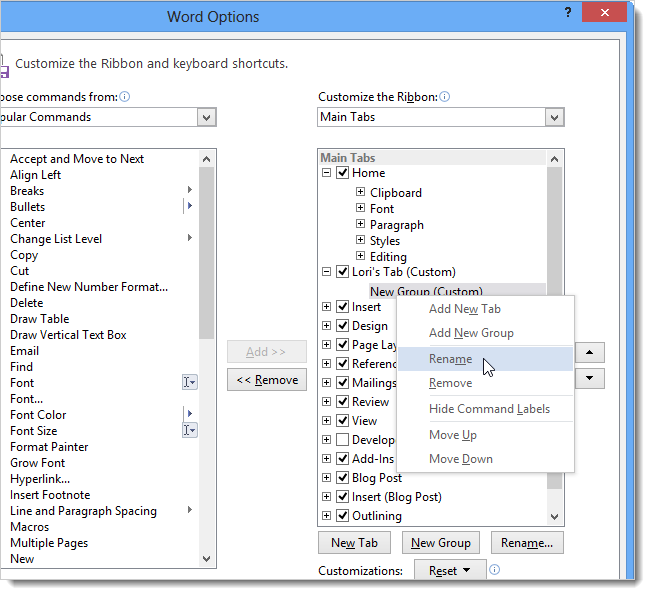
On the Rename dialog box, enter a name for the new group in the Display name edit box.
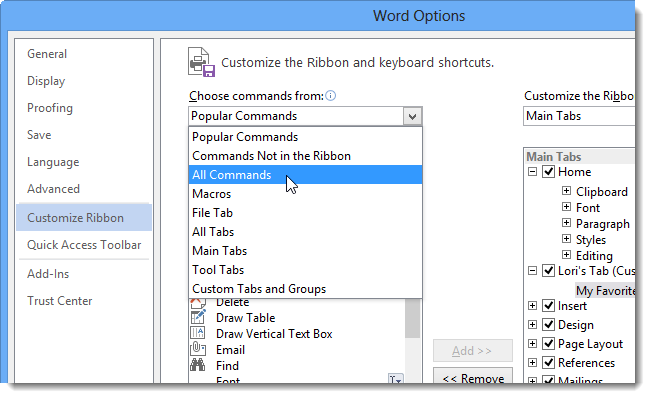
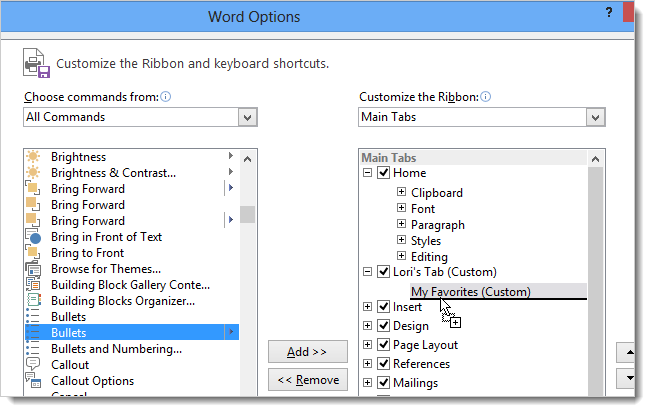
you could filter the list by selecting an option from the Choose commands from drop-down list.
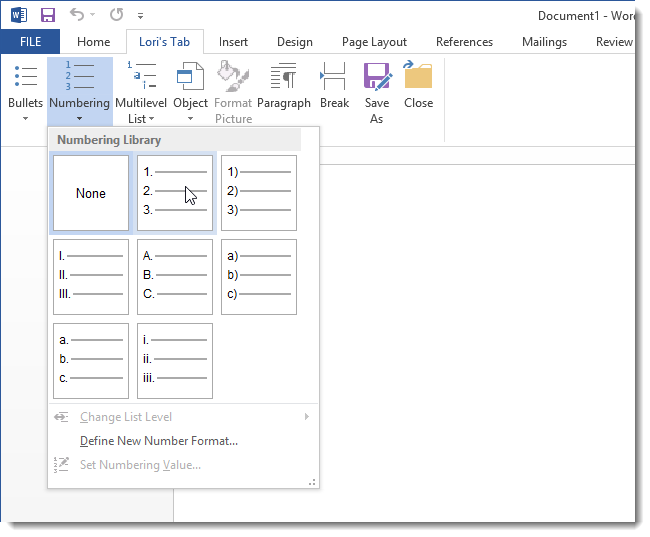
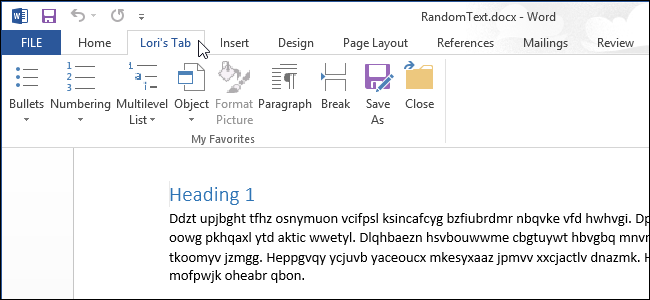
The new tab displays on the Ribbon, providing convenient access to the commands you use most often.
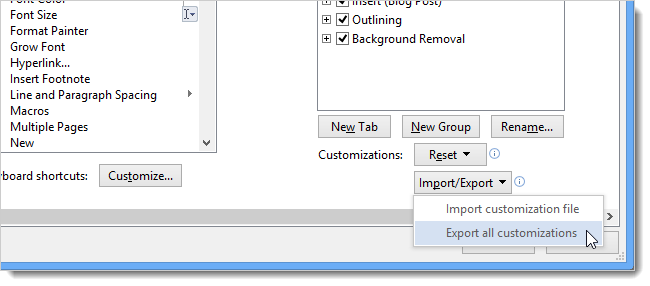
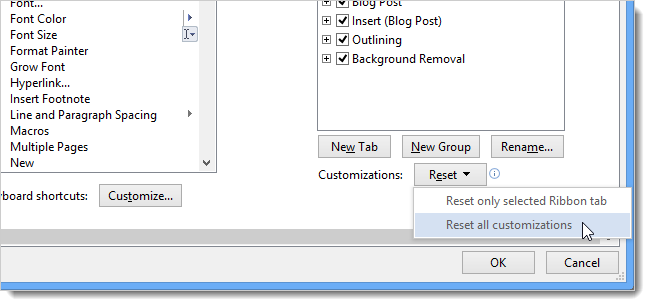
To backup your customizations, right-punch the Ribbon again and select Customize the Ribbon.
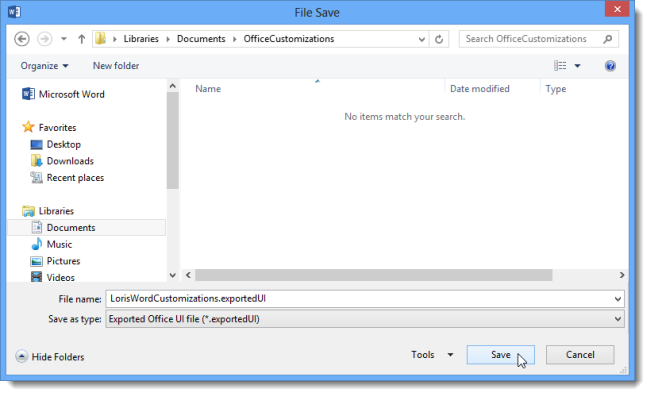
you’ve got the option to copy this file to an external drive for safekeeping.
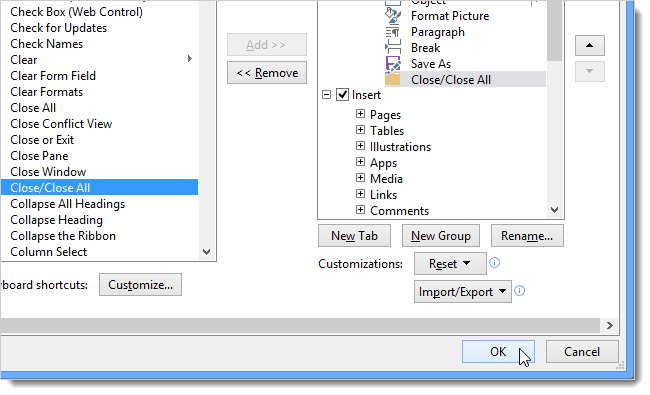
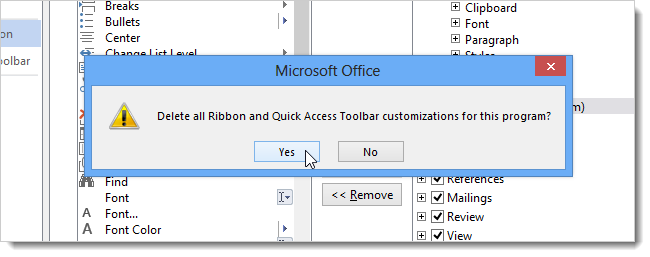
Click Yes to remove all changes to built-in tabs and all custom tabs you’ve created.
NOTE: No confirmation dialog box displays when you select Reset only selected Ribbon tab.
you could also remove a custom tab by selecting the tab and clicking Remove.
This will not affect any changes you’ve made to built-in tabs.
The commands you use most often can be grouped together, providing quick access.
Related:How to Show the Ribbon in Microsoft Excel, Word, and Outlook