If you need a quickly provisioned computing environment, DigitalOcean virtual machines typically become available in under 60 seconds.
Instead of using the user interface (UI), it’s often best to automate.
In this article, we explore how to use Terraform to provision a DigitalOcean Droplet (virtual machine).

Installing Terraform
Terraform is available for a multitude of platforms, Windows and Linux alike.
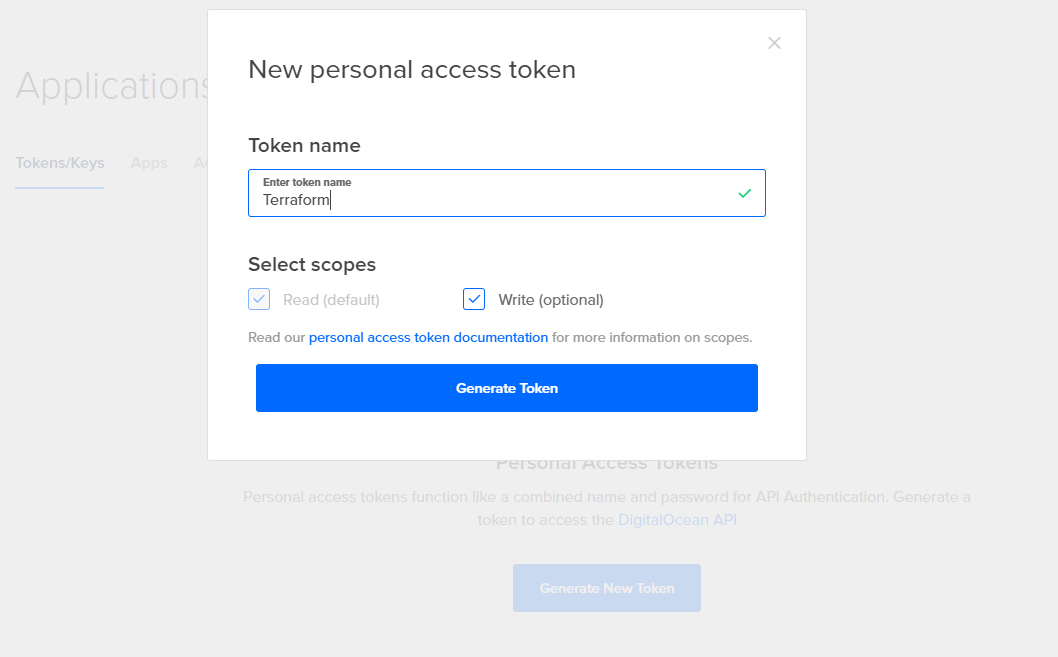
The following steps outline how to create a new API key specifically for use with Terraform.
Getting Started
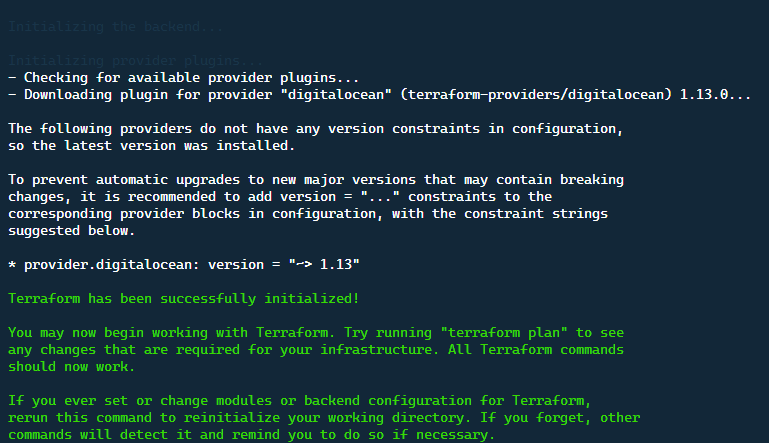
The first step with any Terraform setup is to initialize a new configuration.
First, create a directory to house our Terraform configuration.
This is a best practice, as to not hard-code the credentials.
Within thedigitalocean.tfvars, we will create a simple variable namedapi_token.
This will be used later on within our Terraform scripts.
Create the filedigitalocean.tf, and use the boilerplate code below to get started.
You will notice that the command output shows the provider being downloaded for use.

Additionally, we have told our provider to use the credentials that were previously specified in the.tfvarsfile.
Filling Out the Droplet Commands
In this case, we want to provision a simple droplet resource.
There are a couple of parameters that we are going to use.
Now that we have our base attributes, let’s construct a Terraform config for this droplet.
The additional commands that we are adding here are for monitoring, ipv6, and private networking.
IPv6 means that your droplet will be accessible from IPv6, which helps to future-proof your droplets.
There is one other very useful ability and that is user data.
We can include this right into the Terraform configuration, by adding this attribute on.
You might also notice a new.tfstatefile is created.
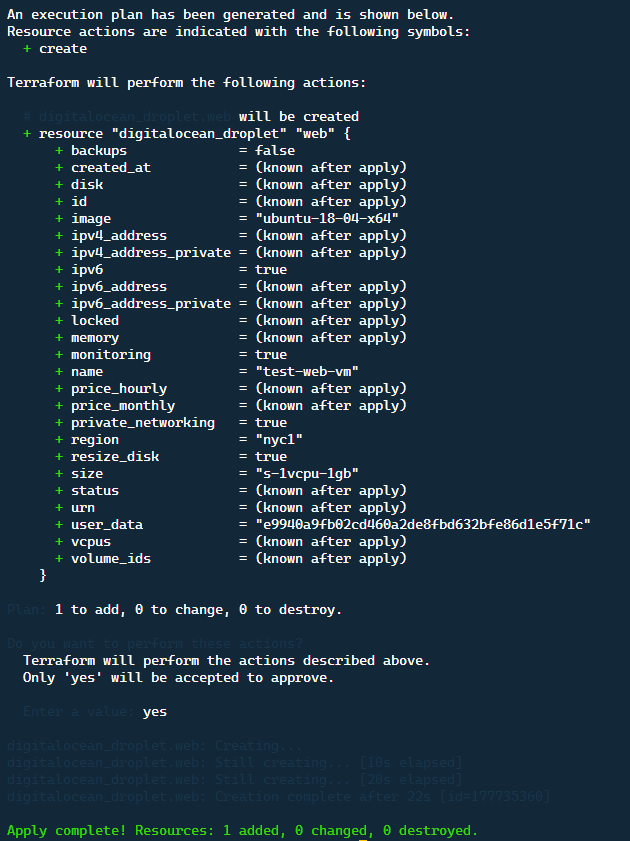
This captures the current state that Terraform knows of for your environment.
There are many more resources that you’re able to provision using the DigitalOcean provider.
