Quick Links
ALinux live USB driveis normally a blank slate each time you boot it.
it’s possible for you to boot it up, install programs, save files, and change tweaks.
You won’t have to set up your system up from scratch each time you boot.
There are a few limitations.
you’re free to’t modify system files, like the kernel.
you’re able to’t perform major system upgrades.
You also can’t install hardware drivers.
However, you might install most applications.
Persistence doesn’t work with every Linux distribution.

It should also work with Ubuntu-based Linux distributions.
In the past, we had luck with Fedora as well.
Just download the appropriate ISO file and follow the instructions below.

Previous versions did not, necessitating the below process.
Give Rufus a try if you’re using Windows and want to avoid the Linux command line process below.
You’ll also need a USB drive with enough storage capacity to set up persistence.

We used a 16 GB drive, but an 8 GB drive would have worked as well.
The bigger the drive, the more persistent storage you’ve got the option to have.
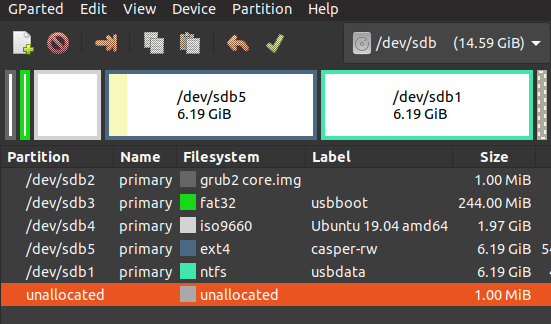
The grub, boot and Ubuntu partitions take up less than 2 GB.

The remainder of the space on the USB drive will be used for thecasper-rwand theusbdatapartitions.
Thecasper-rwpartition is used for persistent storage.
For example, software you install and tweaks files will be stored here.
Theusbdatapartition will be formatted with the NTFS file system.
It will be accessible to Linux, Windows, and macOS.
This partition is also available from within the live Ubuntu on the USB drive.
This means any files copied to theusbdatapartition from another computer will be accessible to your live Ubuntu.
That’s pretty cool.
The below screenshot shows how the resulting partitions looked on our 16 GB drive.
It would simply have less storage.
First, you’ll have to download theUbuntu ISO fileyou want to place on the USB drive.
It is not part of the standard Ubuntu installation.
You will need to install it.
To do so, enter the following three commands.
The first command adds themkusbrepository so that Ubuntu knows where to installmkusbfrom.

The next command forces Ubuntu to refresh its package lists for the registered repositories.
That’s great, but there’s nothing like knowing for yourself.
In a terminal window, pop in the following command.
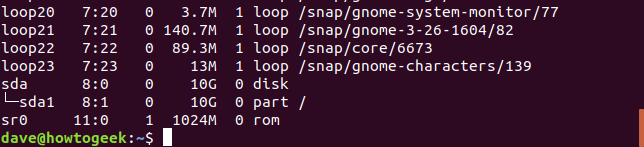
Thelsblkcommandlists the block deviceson your system.
Each drive has a block unit associated with it.
The output fromlsblkwill show the drives currently connected to your system.
There is one internal hard drive on this machine calledsdaand there is one partition on it calledsda1.
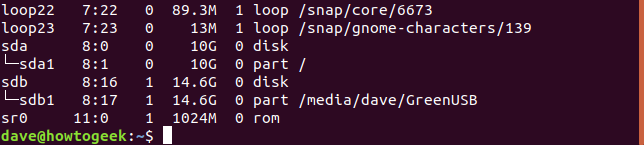
Plug in your USB drive and use thelsblkcommand once more.
The output fromlsblkwill have changed.
The USB drive will now be listed in the output.
There is a new entry calledsdbin the list.
It has one partition calledsdb1.
That’s the USB drive.
Once you know which rig your USB drive is, you could launchmkusb.
Press the Super (Windows) key and bang out “mkusb”.
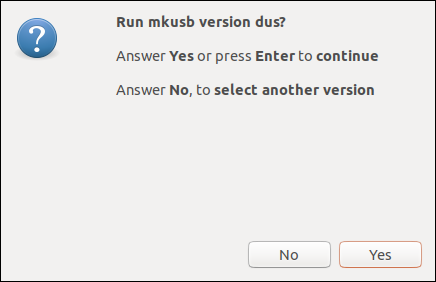
hit the icon or press Enter.
hit the “Yes” button.
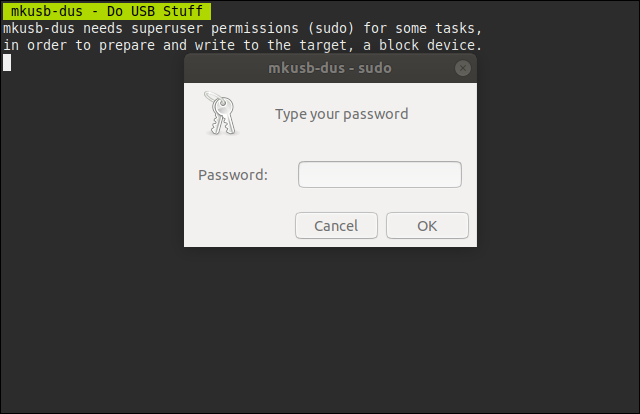
A terminal window with a black background will appear and a dialog box will prompt you for your password.
put in your password and smack the “OK” button.
Warning: This process will wipe the contents of the USB drive!
Click “OK” in the warning dialog to acknowledge you understand this.
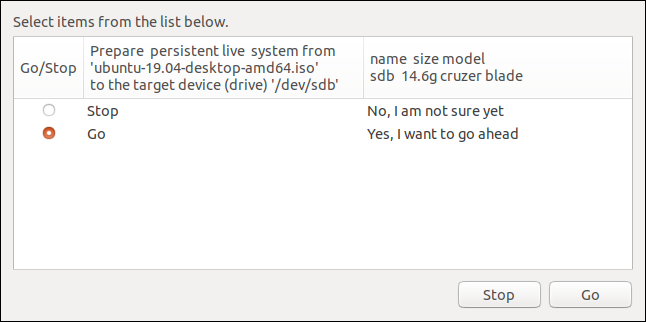
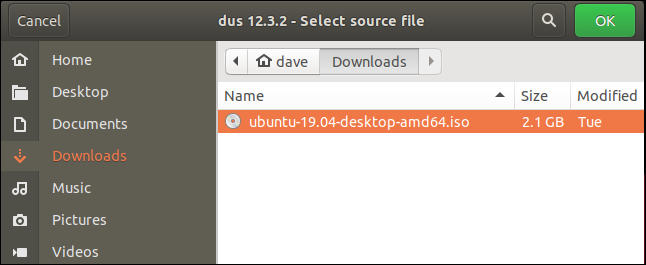
A file internet tool dialog will appear.
In the screenshot below, we’re selecting the Ubuntu 19.04 ISO image from the Downloads folder.
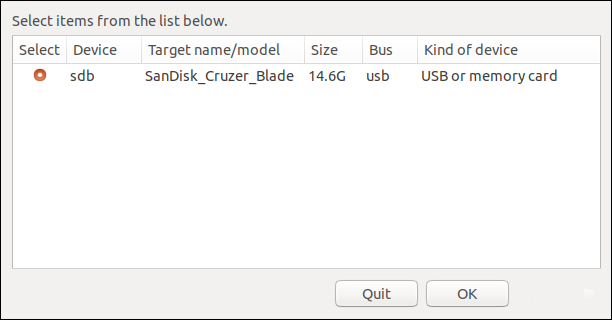
You’ll see a list of the USB drives connected to your rig.
This allows you to snag the appropriate USB drive.
There was only one USB drive connected to the test machine used for this article.
As we confirmed above, it is calledsdb.
We’ve confirmed that’s the USB drive we want to use so we can proceed with confidence.
nudge the “OK” button.
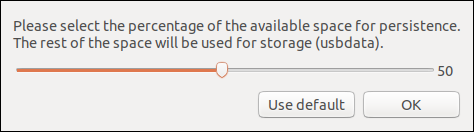
You have one more option to choose.
you could select what percentage of the storage space is for persistent storage in thecasper-rwpartition.
To be clear, this is the last point at which you might back out.
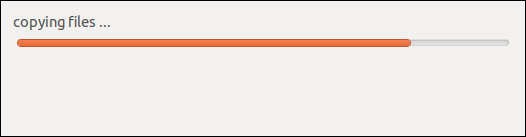
A progress bar shows you how shut the creation process is to completion.
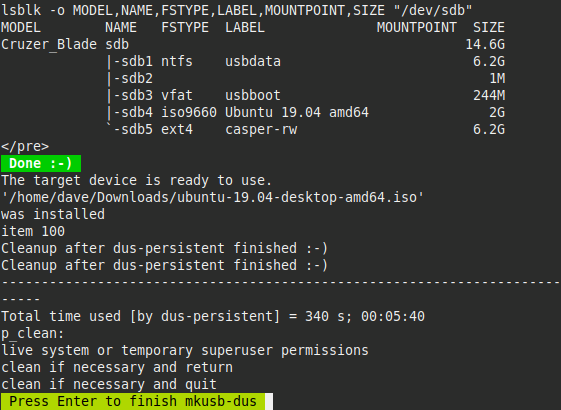
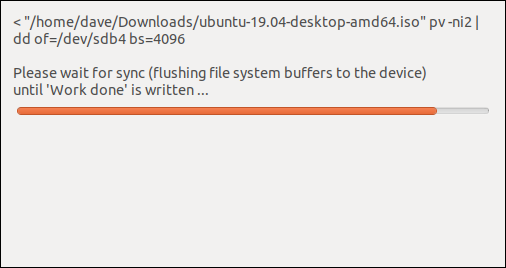
The final stage of the creation is to flush the file system buffers to the USB drive.
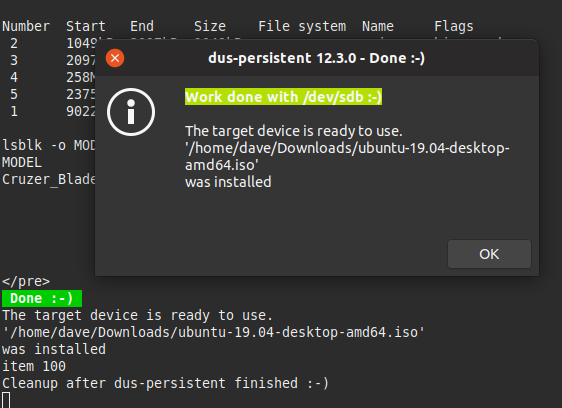
You are also advised to wait until you see the phrase “Work done”.
That will indicate the process has completed.

nudge the “OK” button.
If any other dialogs appear, close them by clicking on the “Quit” button.
A few more lines of output will scroll through the terminal window.

You will be prompted to press “Enter” when you are ready.
When you press “Enter,” the terminal window will close.
You’ll need to use the above method instead.

You’ll need a large enough USB drive to set up persistence.
(Update: The latest versions of Rufus now support persistent storage!)
Downloadthe Ubuntu ISO fileyou want to place on the USB drive and theLinux Live USB Creatorapplication.
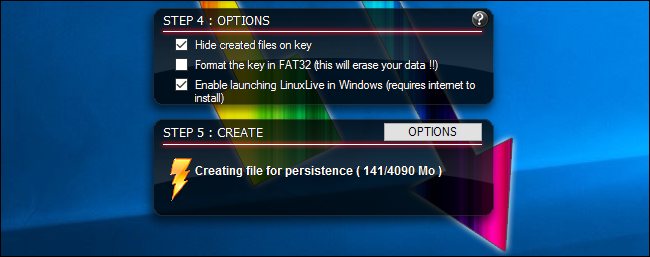
choose the USB drive you want to use in the “Step 1: Choose Your Key” box.
Provide your downloaded Ubuntu ISO file.
Drag the slider all the way to the right to go for the maximum amount of storage.

You’ve now configured all the tweaks it’s crucial that you configure.
Give the tool some time to create the drive.
Then, shut down your system and boot the live USB drive again.
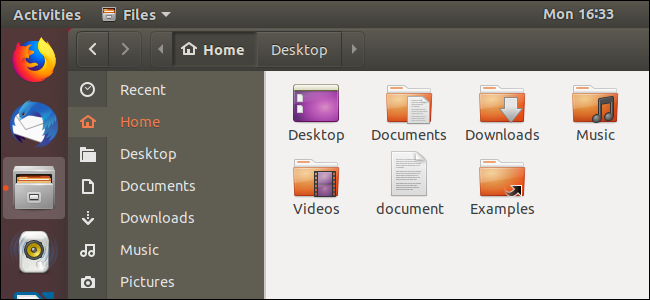
You should see the folder or file you placed on the desktop.
