Way back in 2007, we showed youhow to install Samba on Ubuntu.
Things haven’t changed much, except that there are more ways to configure it.
If that’s a bit too intimidating, just scroll down.
Open that up, and search for “samba” in the upper-right corner.
(Click screenshot for larger view.)
You’ll see a few different packages come up.
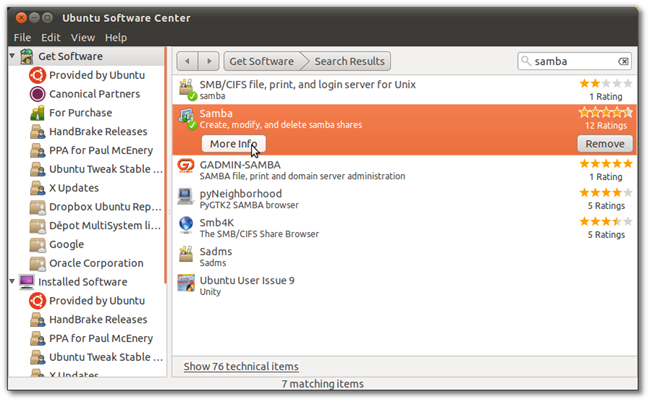
If you haven’t installed it yet, now is the time to do so.
Just tap on it and then nudge the Install button on the right that comes up.
For our tool, however, we want “Samba,” which is the highlighted software.
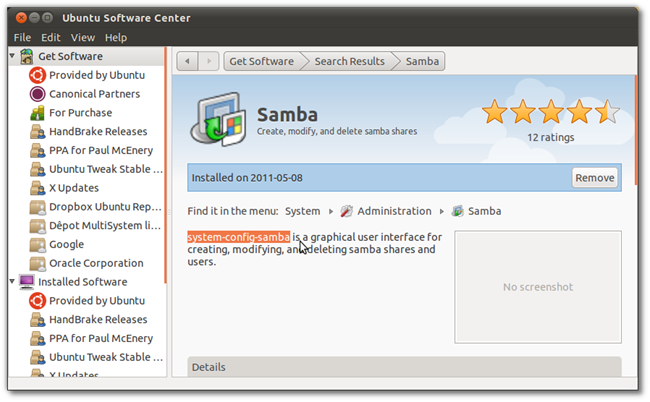
select More Info to check it out.
Just smack the Install button.
I’ve already got it installed, so I have a “Remove” button in its place.
Each Samba user will need a local account first.
Go to Preferences > Samba Users.
Here, you might add and delete users by clicking on the appropriate buttons.
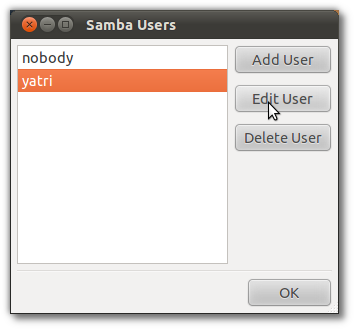
it’s possible for you to also manually change users' passwords by clicking Edit User.
It’s that easy!
Server options
Next, let’s change some server options to suit our needs.
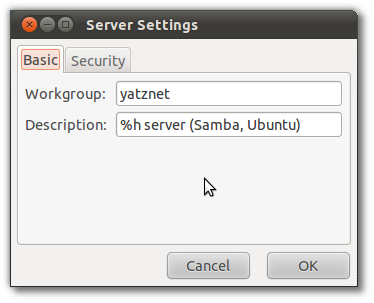
Back at the main screen for our utility, click Preferences > Server configs.
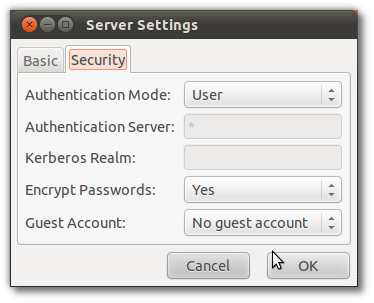
We also strongly recommend you encrypt your passwords and shut down the guest account.
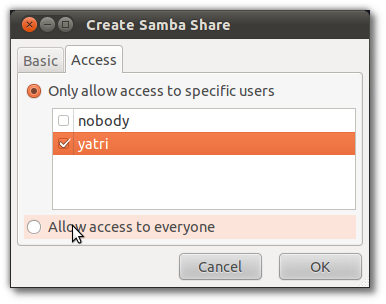
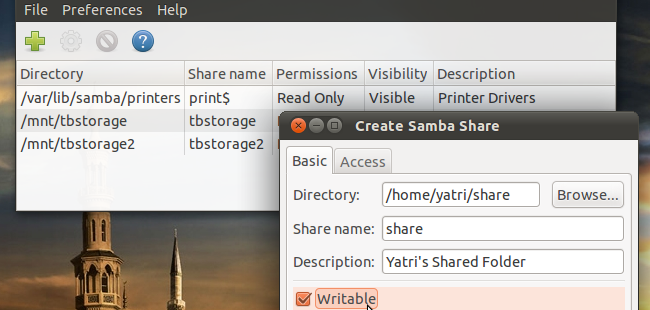
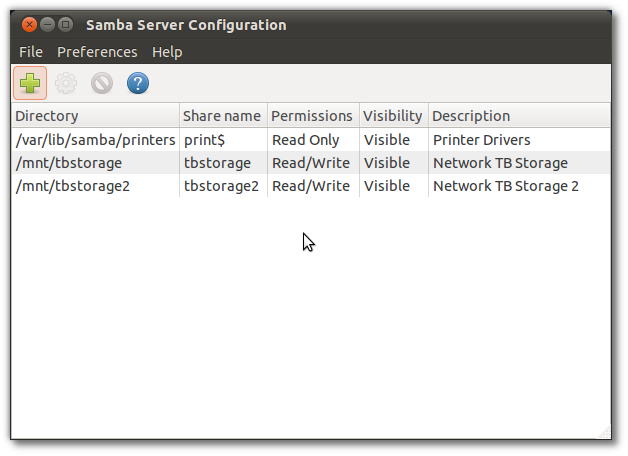
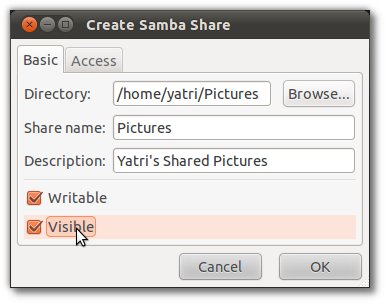
Enter the shared folder’s name and a description.
you might leave the share as read-only, or poke the check-box to make it writable.
To add more shared locations, lather, rinse and repeat!
Do you have a preferred setup for Samba?
Do you user something else instead?
Share your thoughts below!