Quick Links
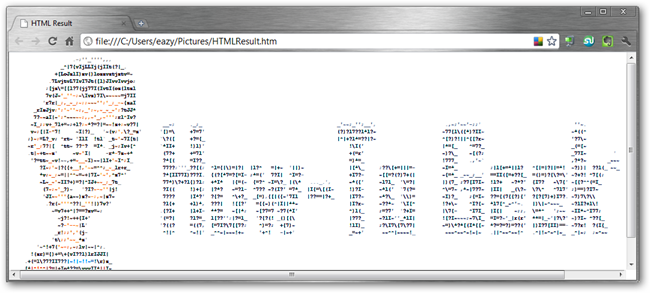
Creating pictures from monospaced ASCII characters may be useless, but it sure is fun!
Read on to check out how to do it.
What is ASCII, and Why Do These Pictures Look So Weird?
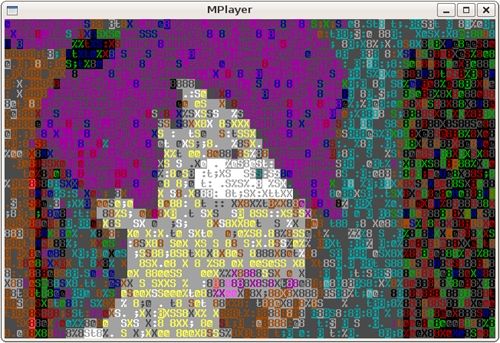
It’s a lot of fun to experiment with, and is completely free to download.
Check them out at theirwebsite, or simplydownload it here.
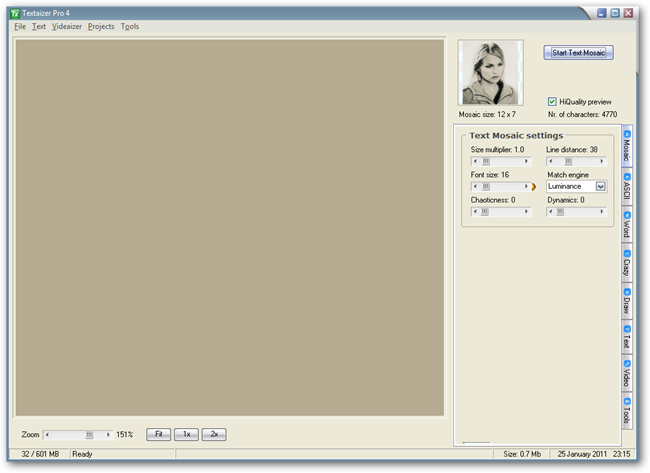
Using Custom Graphics in Textaizer Pro
Out of the box, Textaizer is not terribly exciting.
Let’s add some graphics and test it out.
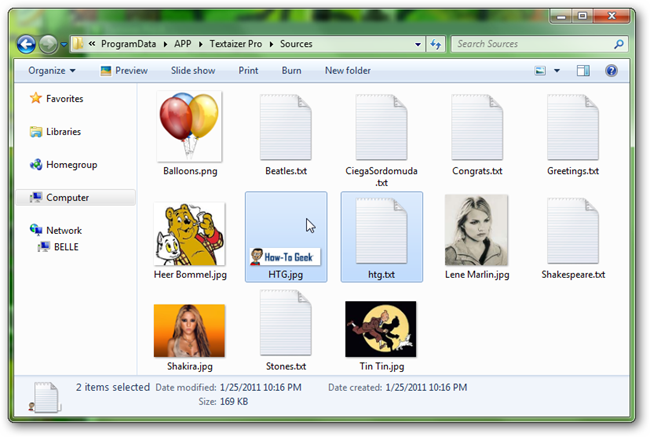
The program has a default folder that it installs in “C:/ProgramData/APP/TextaizerPro/Sources/”.
You’ll want to be sure your images aren’t too large.
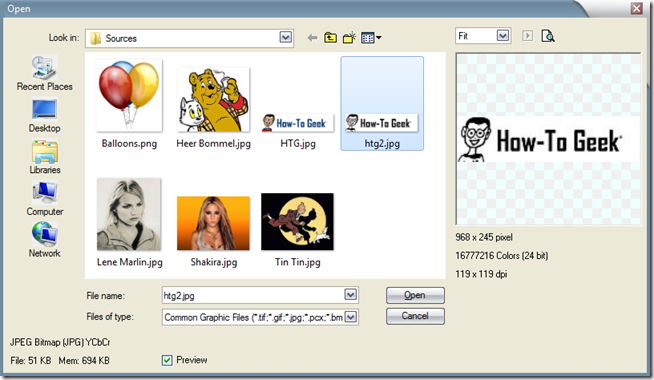
In Textaizer, navigate to File > New Picture, which will open up this dialog.
If you’ve already put your images in the Sources folder, you’ll automatically see it here.
If not, simply navigate to where it is and click “Open.”
It automatically loads the image for you, as you’re free to see here.
Making Custom ASCII Art From Your Graphics
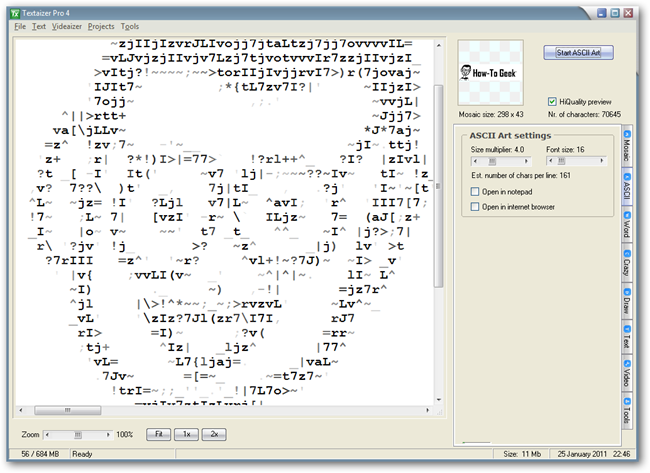
Now we’re ready to make our custom ASCII image.
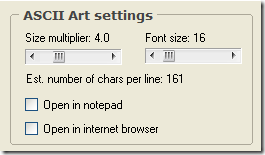
Click this tab to switch to the ASCII art setting.
Experiment with the prefs to get results you like.
You’ll find better results if you increase the “size multiplier” to around 3.0 or 4.0.
With ASCII, “Font Size” makes little difference.
you’re able to safely ignore it.
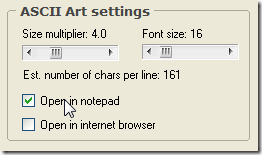
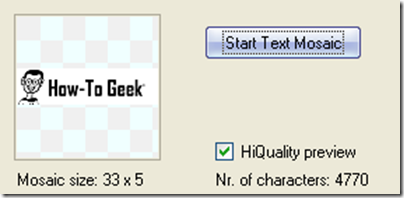
It is as simple as clicking the
button, and you’re given a beautiful ASCII image.
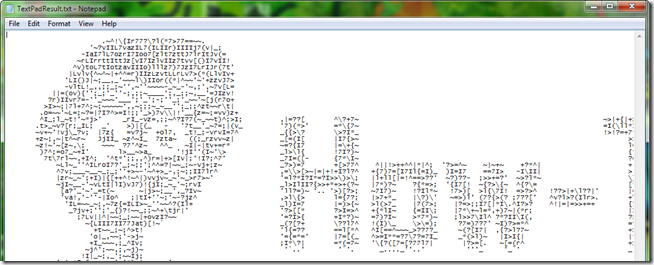
Textaizer exports to Notepad in an instant.
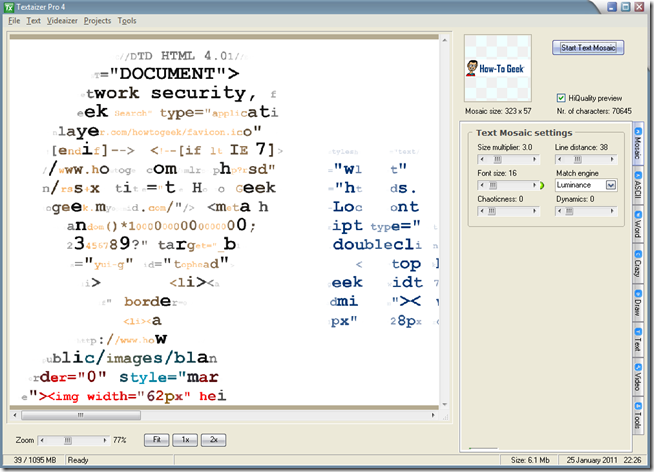
For instance, you might add text files and create “Mosaic” images with any text file.
Here’s the How To Geek Logo created from the source code from the How To Geek webpage.
Adding text files work in the same unusual and confusing way as images.

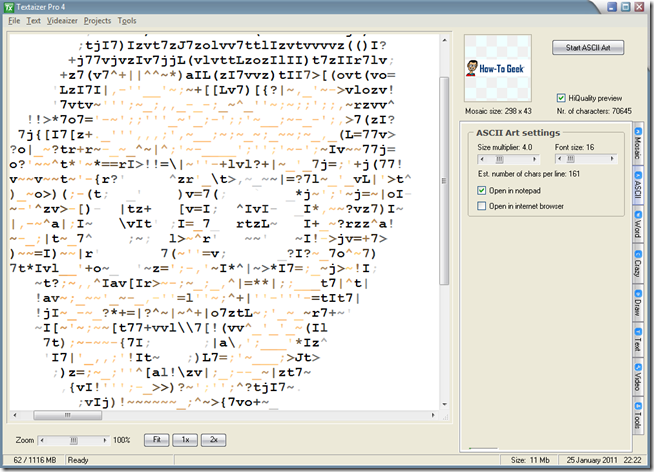
Some Errors and Reported Problems
Fair warning, Textaizer Pro is not perfect.
Here are some issues that came up in the preparation of this how to.
Still, don’t let that discourage you from downloading and testing this very slick, free download.
Have fun experimenting with it, and creating your own ASCII masterpieces.