Why Do I Want to Do This?
There are two big take-aways from today’s photo tutorial.
Finally, it’s just good clean digital editing fun.
What Do I Need?
What Concepts Are We Using?
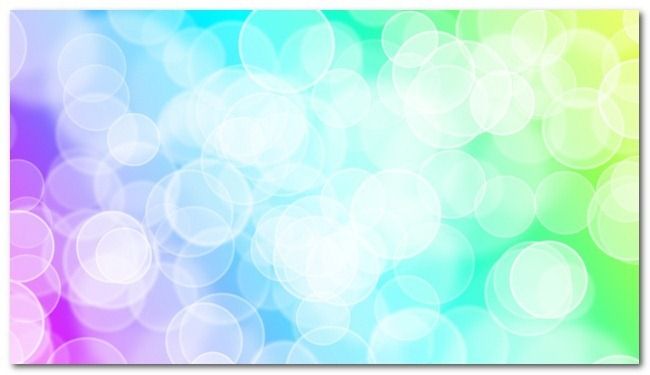
For this tutorial, there are a few key design elements we want to keep in mind.
We also want to recreate the variability of light size you would find in the real world.
In other words, we don’t want a flat image with uniform circle size.
We will then combine multiple layers of these variably sized circles to create the illusion of depth.
Create a new image in Photoshop that is the size of the wallpaper you wish to create.
We’re working with the standard screen resolution of 1920x1080 pixels.
Set your background to transparent.
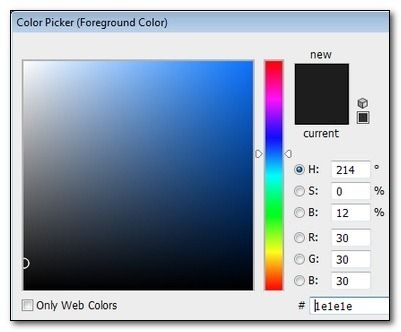
It doesn’t have to be particularly large; on our 1920x1080 canvas we drew a roughly 300-pixel-wide circle.
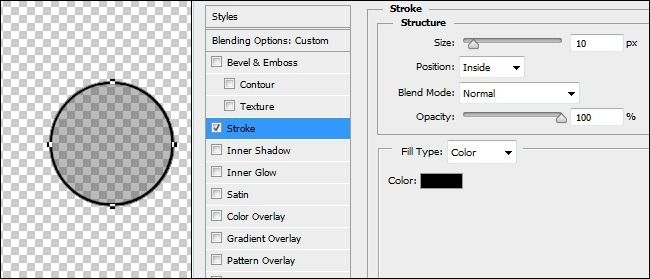
At this point, you’ll have a nearly-black circle sitting in the middle of the canvas.
Double tap on the layer entry in the Layers side panel and make two adjustments.
This not-so-exciting-yet circle is going to serve as the seed for our brush.
This is where the real magic happens in today’s tutorial.
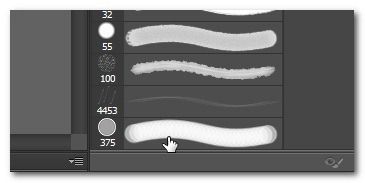
Once you’ve created the simple tinted circle above, navigate to Edit -> Define Brush Preset.
Name your new brush preset; we named ours “Bokeh Brush 1”.
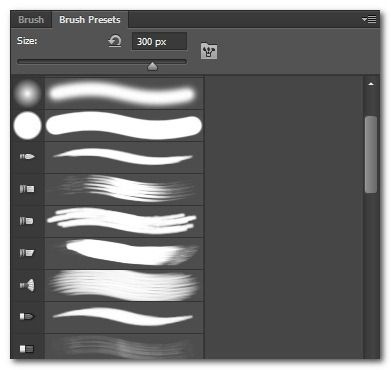
Then hit the Brush Presets tab.
With the default prefs, it looks like this:
You know what that doesn’t look like?
Gentle, natural, and dappled bokeh.
We’re about to change that.
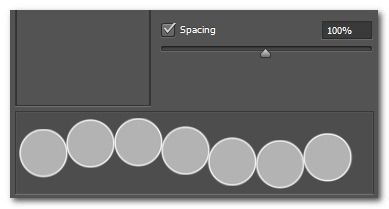
In the Brush Tip Shape entry in Brush panel.
At the bottom of the panel change the spacing from 25% to 100%.
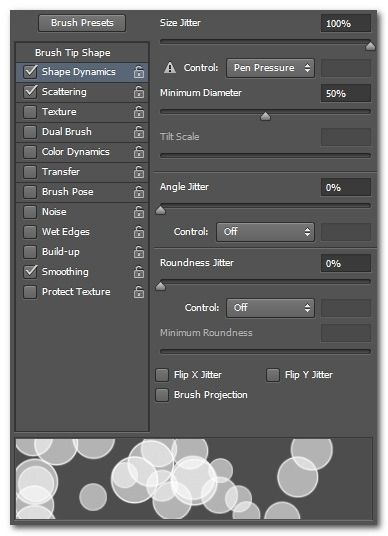
Let’s do something about the uniformity of sizing by navigating to the Shape Dynamics entry.
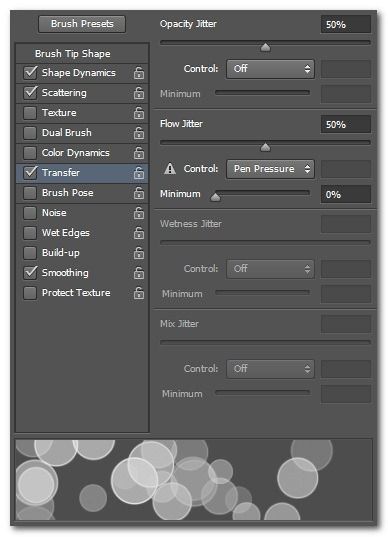
The final touch on our brush is to adjust the Opacity and Flow Jitter in the Transfer category.
choose Transfer and adjust the Opacity Jitter to 50% and the Flow Jitter to 50%.
Change the Control on the Flow Jitter to Pen Pressure.
With our brush defined, it’s time to move onto the process of creating the actual wallpaper.
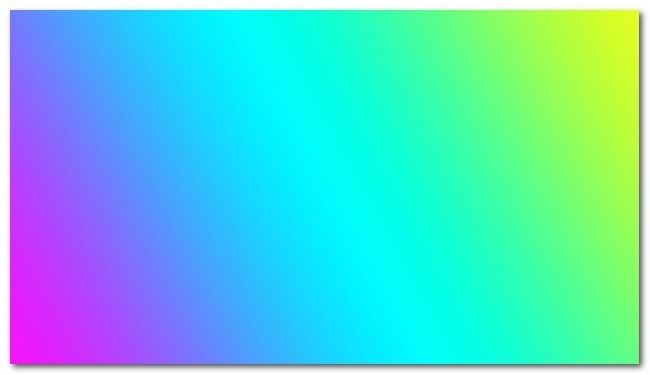
Label this layer “Background”.
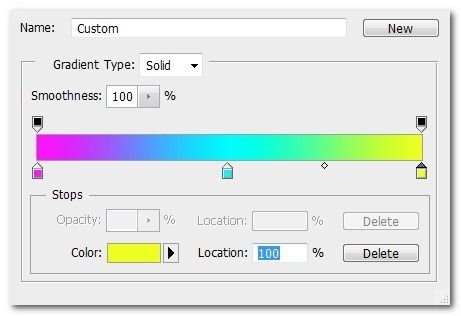
grab the Gradient Tool (G) and then pick one of the preset gradients or create your own.
Create a new layer called “Bokeh Background”.
snag the Brush Tool (B).
Change the brush color to pure white.
We’re playing it big today, so 500 pixels it is.
The next step (and its subsequent repetitions) is entirely a matter of taste.
Go light with the brush at first and then a little heavier if you wish.
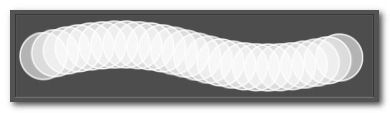
We’ve created a brush that effectively creates a very wide and very variable stroke.
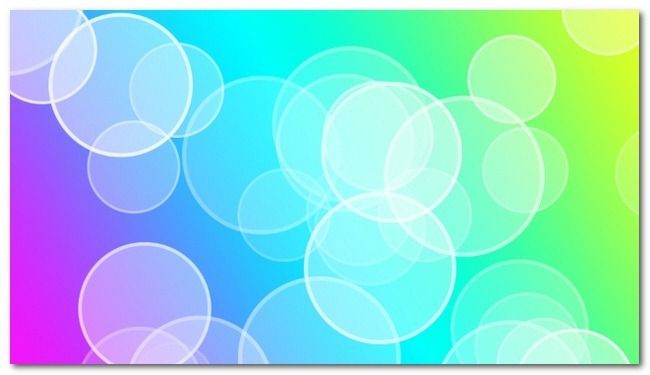
We’ve found that two solid passes left to right and then right to left does a nice job.
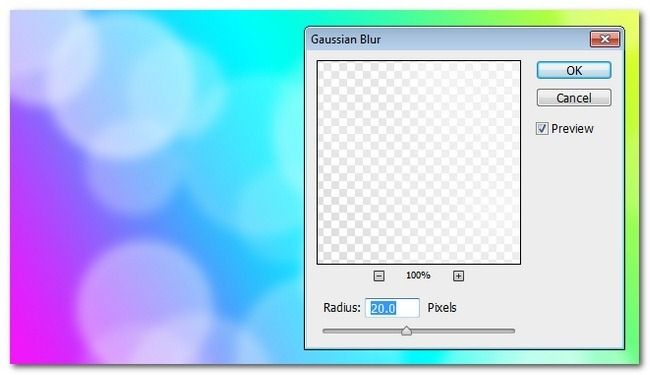
While still on the Bokeh Background layer, navigate to Filter -> Blur -> Gaussian Blur.
Create a new layer called “Bokeh Midground”.
Now it’s time for one more layer.
Create a new layer called “Bokeh Foreground”.
Repeat pass of the brush over the canvas.
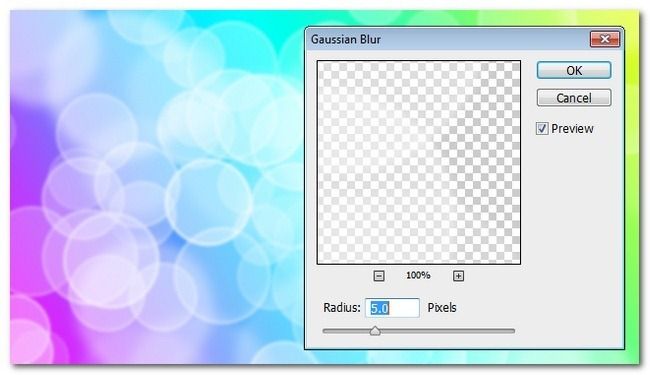
Repeat the Gaussian Blur, but drop the value to 1-5 pixels.