Today well take a look at how to crop images in Office 2010.
To insert a picture into your Office document, hit the Picture button on the Insert tab.
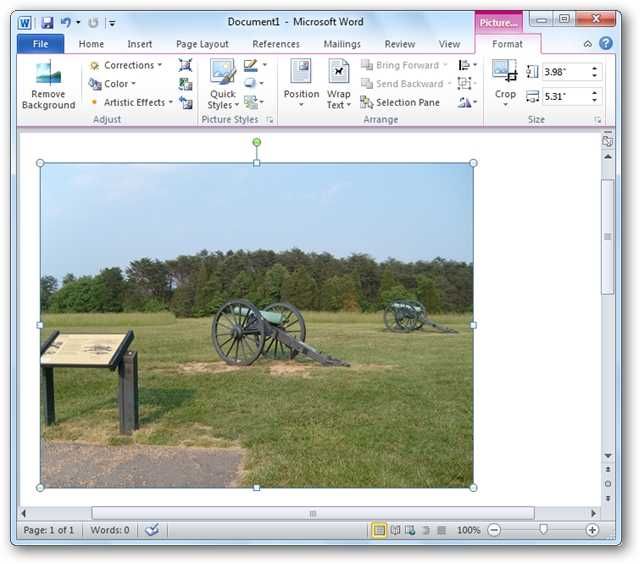
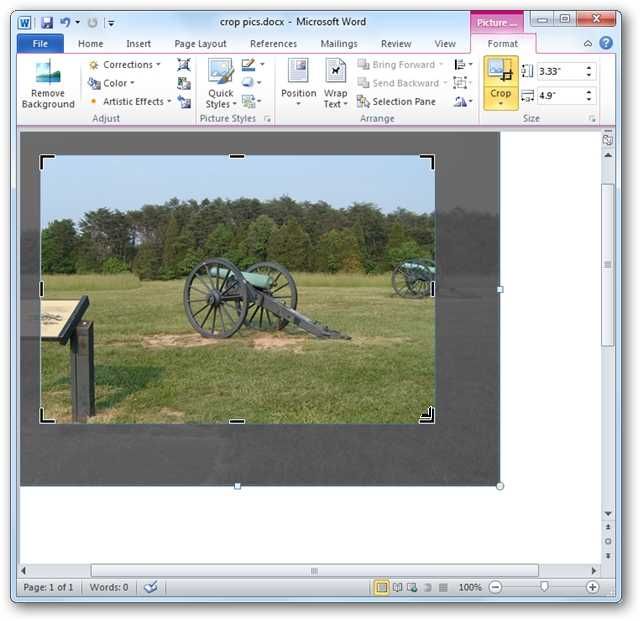
The Picture Tools format ribbon should now be active.

If not, punch the image.
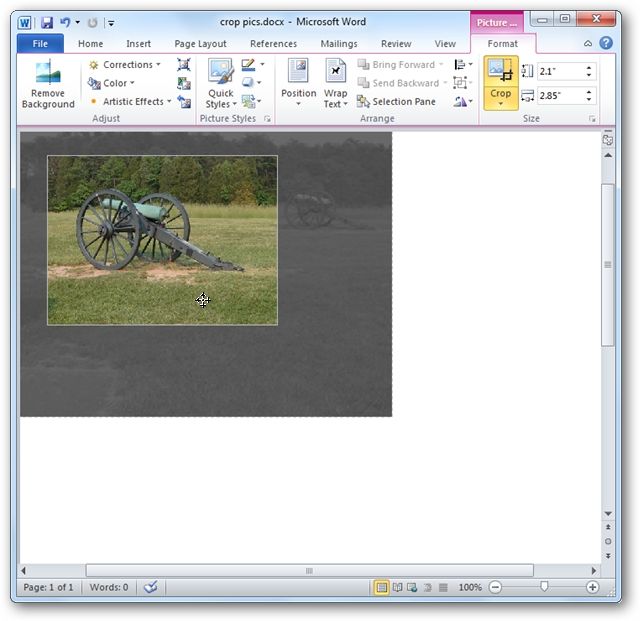
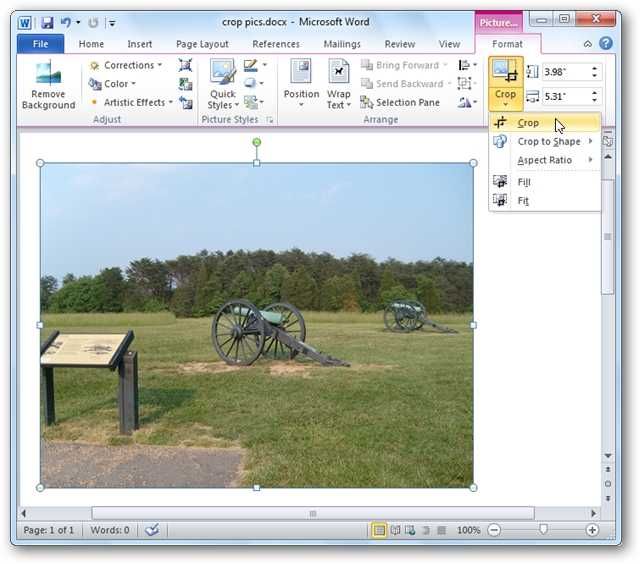
On the Format tab, click Crop.
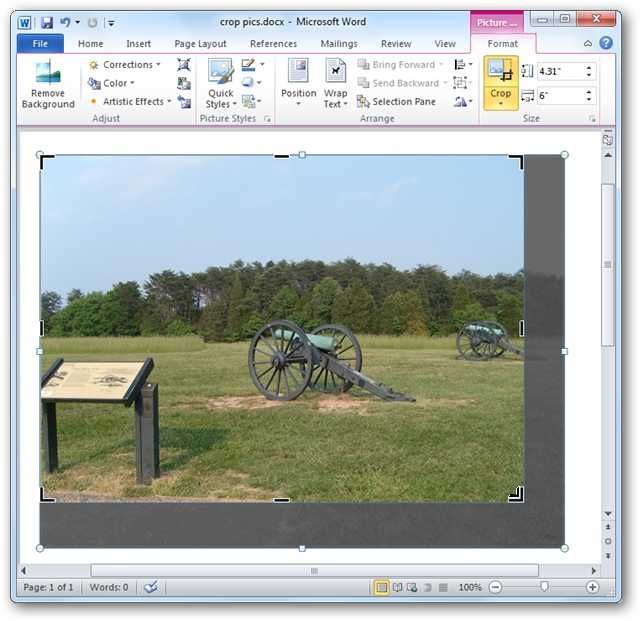
Click and drag inward any of the four corners to crop from any one side.
Notice you could still see the area to be cropped out is show in translucent gray.
you could further adjust the cropping area by clicking and dragging the picture behind the cropping area.
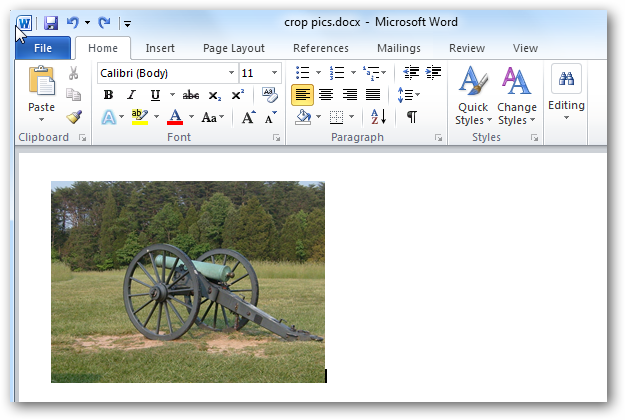
To accept the current dimensions and crop the photo, press escape or click anywhere outside the cropping area.
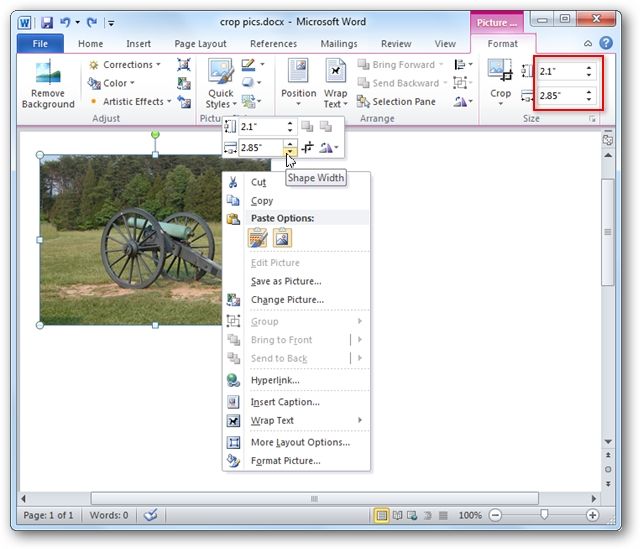
you’re free to manually crop the image to exact dimensions.
Crop to a ShapeSelect your photo and click Crop from the Size group on the Format tab.
Select Crop to Shape and choose any of the available shapes.
You photo will be cropped into that shape.
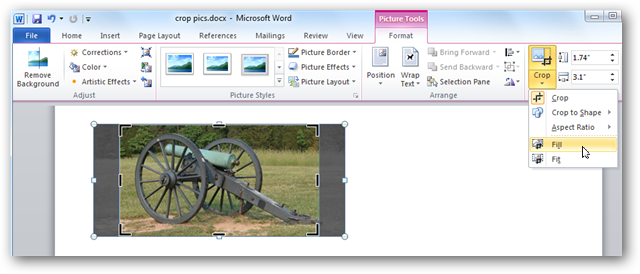
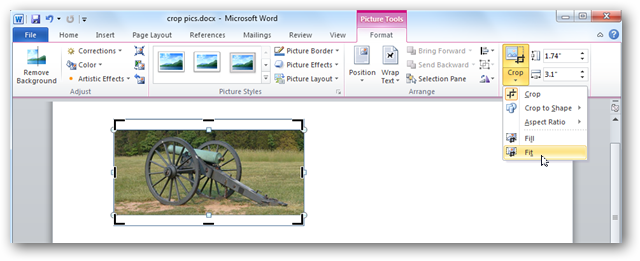
Using Fit and FillIf you wish to crop a photo but fill the shape, select Fill.
If you wish to have all of the picture fit within a shape, choose Fit.
The original picture aspect ratio will be maintained.