Quick Links
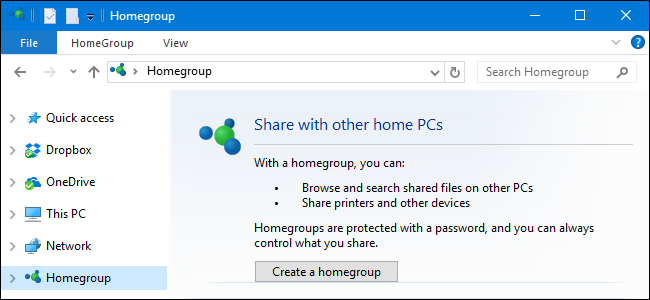
HomeGroups make sharing files and printers with other PCs pretty simple.
Related:Everything you gotta Know About Using HomeGroups in Windows
Windows networkingcan get pretty complicated.
Here’s how to get it done.
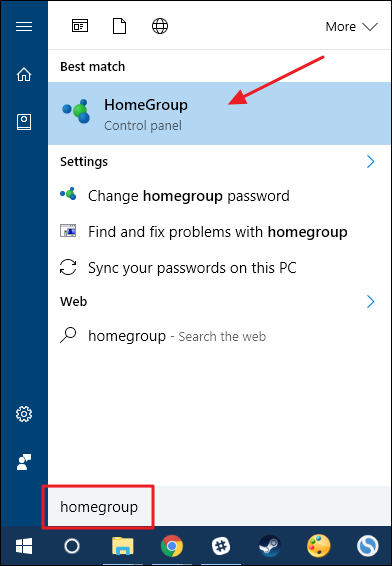
Click Start, punch in “homegroup,” and then tap the “HomeGroup” control panel app.
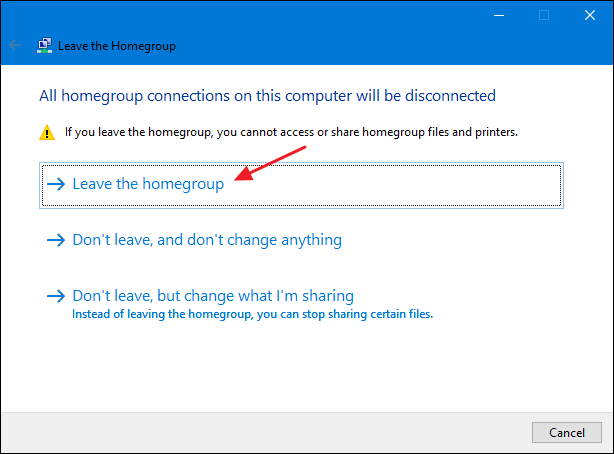
In the main “HomeGroup” window, click “Leave the homegroup.”
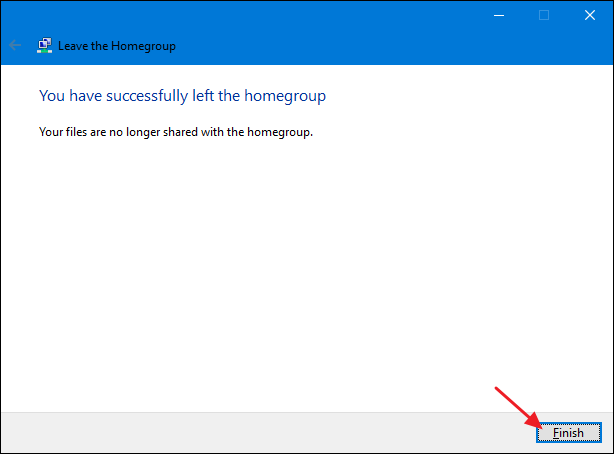
When the wizard finishes removing you from the HomeGroup, nudge the “Finish” button.
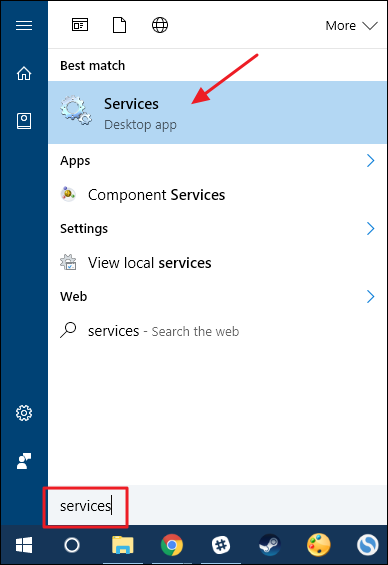
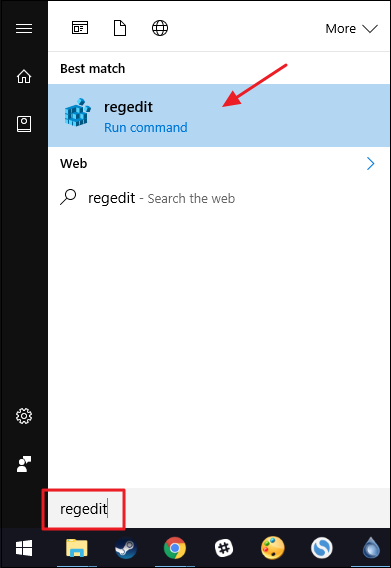
Click Start, punch in “Services,” and then tap the “Services” app.
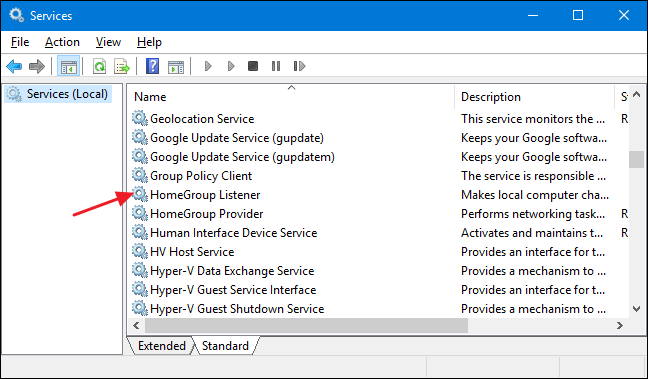
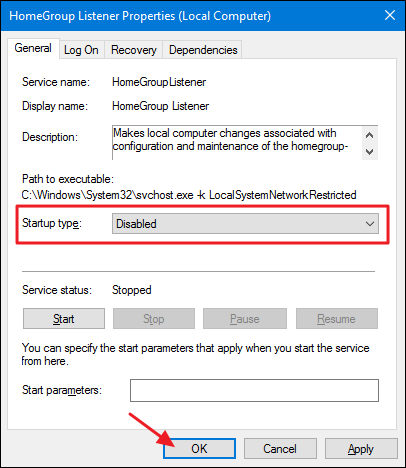
Double-poke the “HomeGroup Listener” service to open its properties window.
Open its properties window and set “Startup bang out” to “Disabled.”

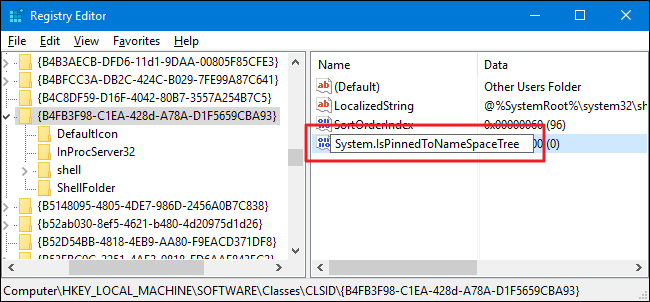
Name the new value “System.IsPinnedToNameSpaceTree.”
You should then be able see HomeGroup in File Explorer and create or join a HomeGroup again.