This is handy if you use the same or similar sources in various documents.
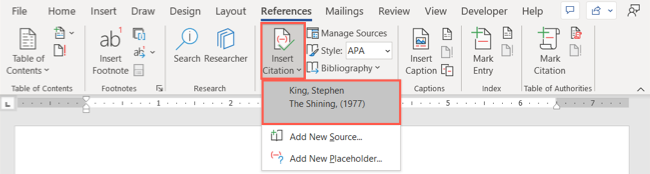
Then, just pop them into your document.
Once you kick off the list, the process for adding or editing a source is the same.

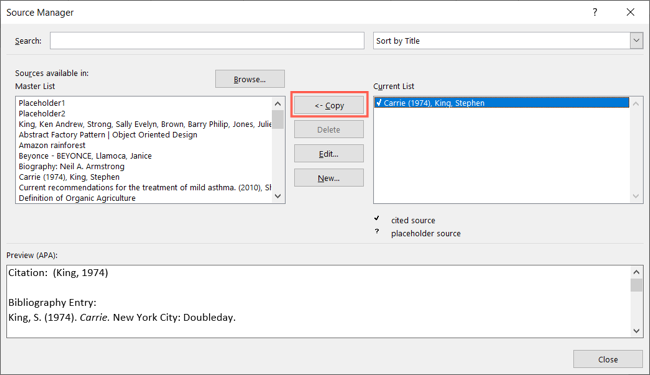
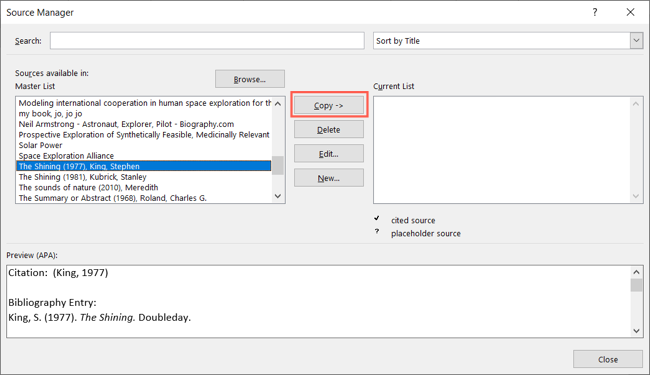
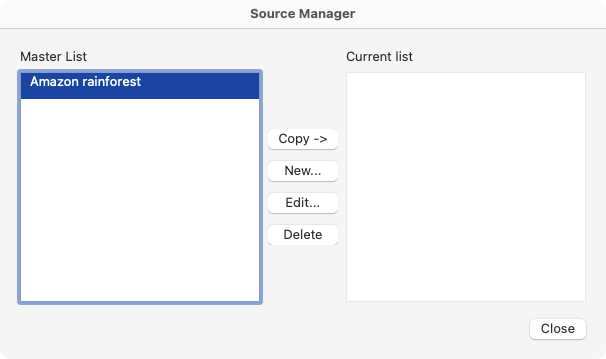
You’ll then see the Source Manager window display with your list of sources.
You’ll then see your list in the Source Manager window.
Select it and pick “Copy” to move it to the Master List on the left.
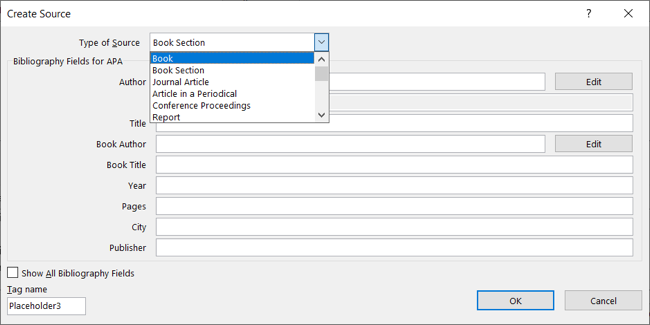
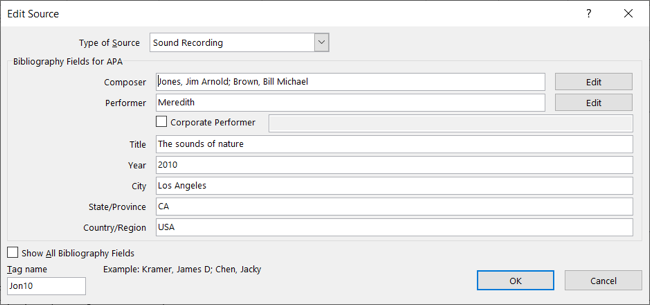
To add a source, pick “New.”
The fields for the source beneath vary depending on the punch in you pick at the top.
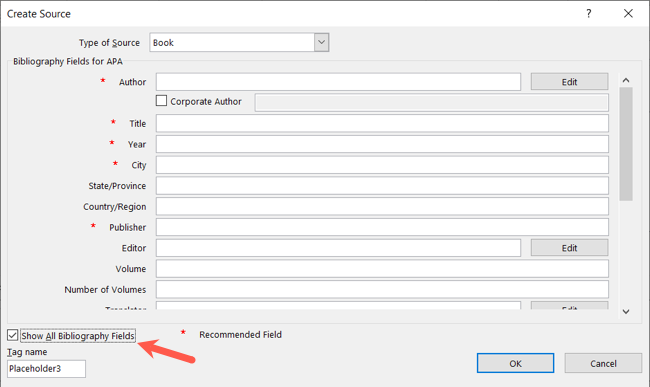
If you do this, you’ll see the recommended fields marked with an asterisk.

After adding the necessary details, click “OK” to include it in your Master List.
This is convenient if you want to find a particular source.
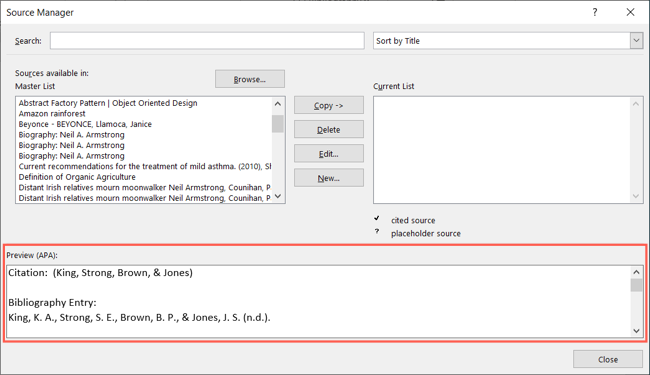
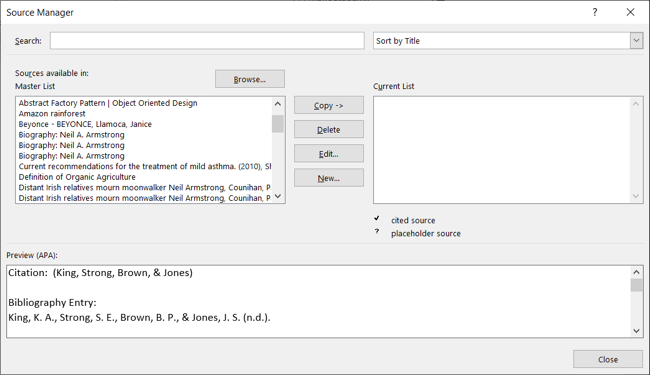
To view a source, select it on the left side in the Master List section.
You’ll see the preview at the bottom.
To make changes to a source, select it on the left and click “Edit.”
When the Edit Source window appears, make your changes and select “OK” to save them.
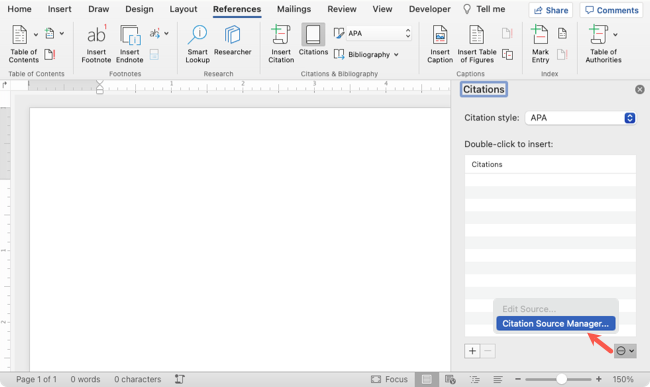
On Mac, you’ll find the source in the Citations sidebar.
When you finish adding new sources or editing the current ones, click “Close.”