Here’s how to turn it on and use it.
To get started with clipboard history in Windows 11, press Windows+V on your keyboard.
You’ll see a pop-up menu in the corner with a message that reads “Let’s get started.
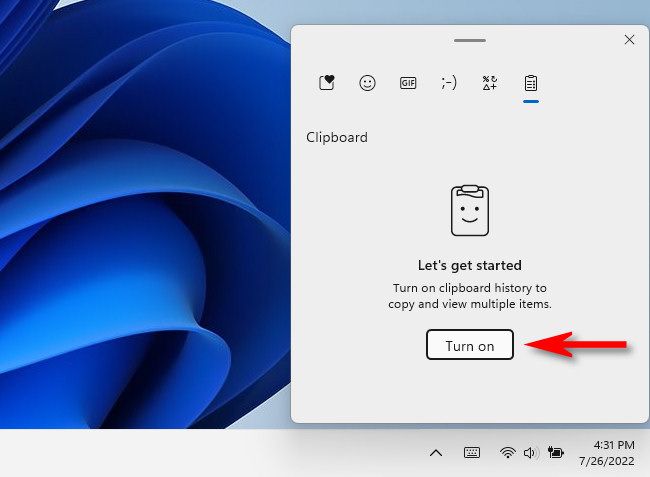
Turn on clipboard history to copy and view multiple items.”
Click “Turn On” to enable clipboard history.
Clipboard historysupportsup to 25 text, HTML, or bitmap items that are 4 MB in size or smaller.
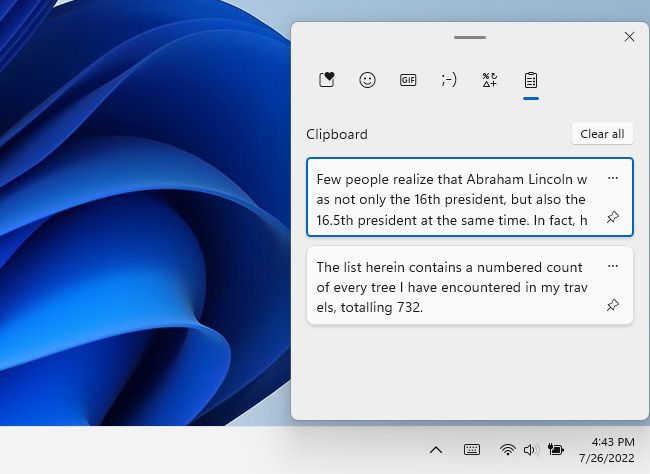
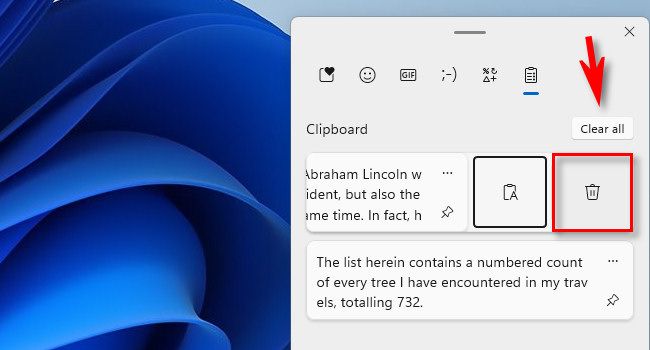
To see what you’ve captured in your clipboard history, press Windows+V at any time.
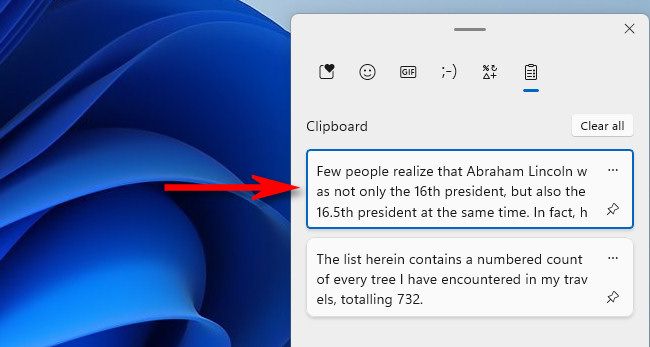
The most recent items you’ve coped to the history will appear at the top of the list.
you might unpin the item later by clicking the pushpin icon again until it is no longer filled in.
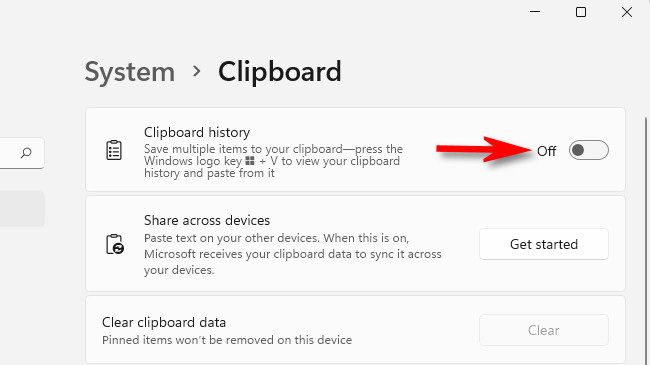
In prefs, navigate to System > Clipboard.
Under “Clipboard History,” flip the switch to the “Off” position.
That’s how you know it’s completely disabled.
Using Windows 10 instead?
You canuse the same Clipboard History feature on Windows 10, too.
Related:How to Enable and Use Clipboard History on Windows 10